It’s time to get loud, proud, raucous, and rowdy…the barbarians have arrived at story time!
We read Great, Now We’ve Got Barbarians! Written by Jason Carter Eaton, and illustrated by Mark Fearing (Candlewick Press, 2016). When a young man refuses to follow his mom’s orders to clean his room, he doesn’t just get pests…he gets barbarians! Soon they’re chomping cheese curls, infesting the garage, stealing pillows to make forts, and having crumb wars. Exasperated and desperate, the boy finally cleans his room. Thankfully, the barbarians skulk away. Things are peaceful again…until the boy lets the bathtub overflow one night and…oh no! PIRATES!
This story time project is a fantastic example of how we upcycle materials and reuse items from other programs. With the exception of the helmet, this entire project was sourced from previously used materials! Let’s take a look…
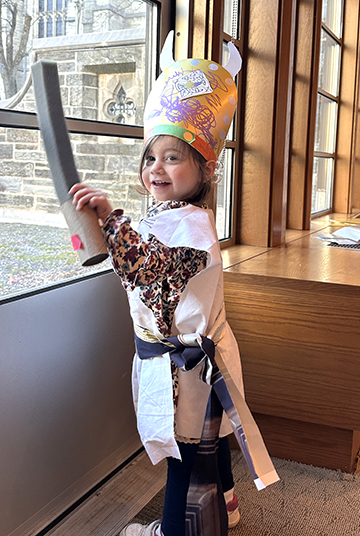
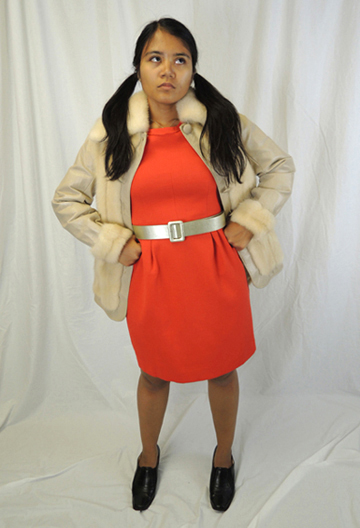
The barbarian costume basically consist of a helmet, tunic, belt, and sword. The helmet instructions can be found in this post. The tunics were cut from the white fabric photo backdrop we used at our thrift store costumes challenge. You can see it here, right behind Veruca Salt…
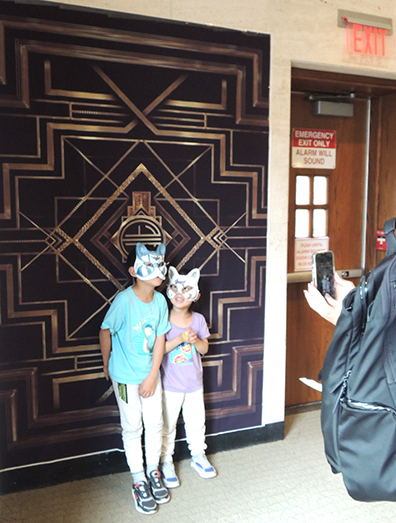
The brown and gold belts for the barbarian costumes were cut from yet another photo backdrop, this time from our Great Catsby event!
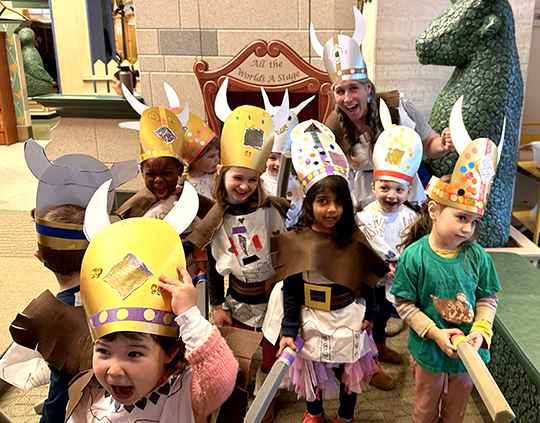
The tunics were topped of with “fur” (i.e. brown felt that found its way to our library from a campus theater production). We used some metallic markers, metallic dot stickers, plastic jewels, and masking tape to fancy everything up. As you can see, we had some seriously awesome barbarian duds!

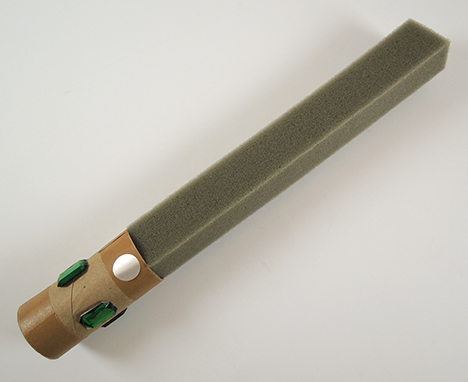
But the runaway favorite of the entire ensemble were the swords. The foam shafts are retired archival foam spine support strips from the Special Collections reading room. We pushed the foam into toilet paper tube hilts and decorated them lavishly.
Then we screamed and had sword fights for over 20 minutes. It was right before the holidays, so it was an absolutely perfect high energy, low mess story time!
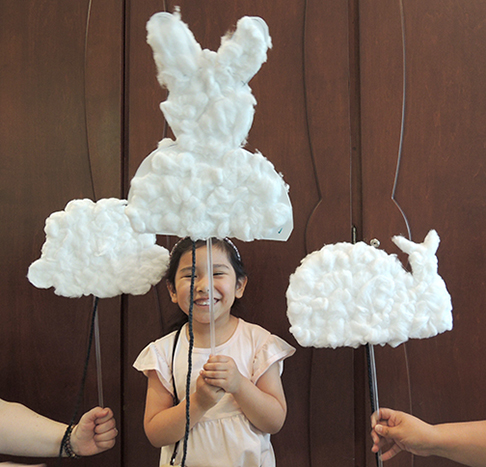
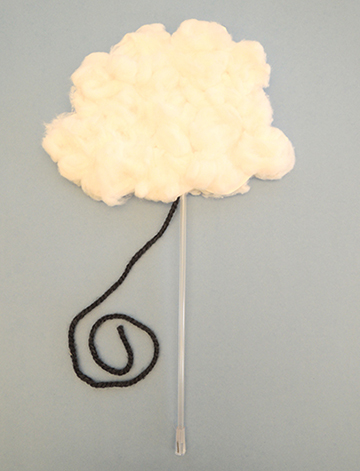
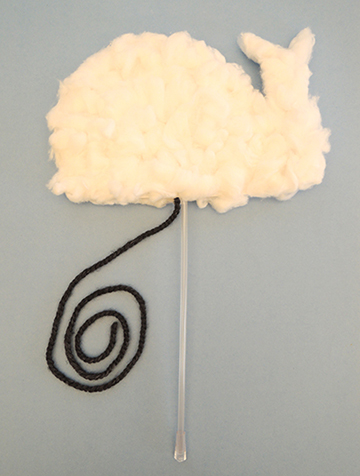
 To make a cloud, fold a 12″ x 28″ piece of poster board in half, then trace your cloud’s shape on the paper. Cut out the shape, and you have two matching cloud pieces. Cover the outer sides of each cloud piece with cotton balls. When you’re done, use the packing tape to attach the rod to the inside of one cloud piece, then hot glue the other piece on top. Add a piece of string or yarn for your cloud’s leash, just like the book!