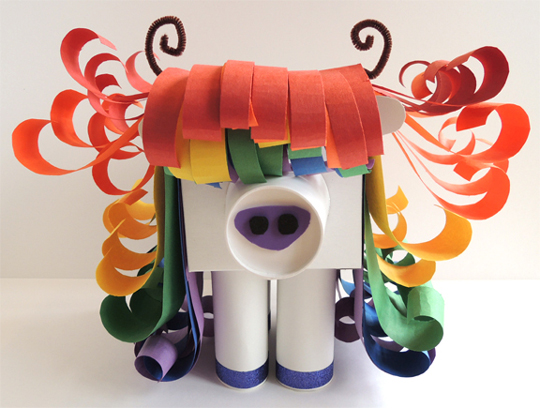
 I’d like to introduce you to my imaginary friend Roy, the long-haired rainbow yak. Perhaps you have an imaginary friend too? No? Well, we can certainly help you find one!
We read The Adventures of Beekle, The Unimaginary Friend by Dan Santat (Little, Brown, 2014). On a far away island where imaginary friends are created, a creature with no name is born. He waits, along with the other imaginary friends, for a child to pick him and give him a special name. But it never happens. So our unnamed hero sets off to find a child on his own. He arrives at a big city and is disappointed at what he finds (no kids eating cake, people in a hurry, and everyone appears in need of a nap). Climbing to the top of a tree, he searches for his friend. No one arrives. He is sad. Suddenly there is a shout! A little girl needs help retrieving her drawing from the branches of the tree. A friendship is born. Alice names her new friend…Beekle. I love this sweet, touching, and beautifully drawn book.
Depending on the type of friend you make, you’ll need:
- 1 small oatmeal container – OR – 1 box (mine was 4 ½” X 4 ½” x 6”)
- 1 – 4 toilet paper tubes
- Construction paper
- A variety of art supplies (more on this below)
- Markers for decorating
- Scissors, tape, glue sticks for construction
- Hot glue
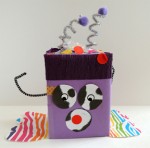
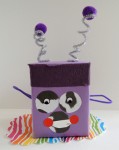
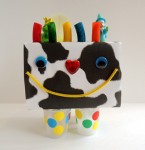
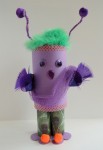
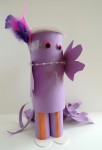
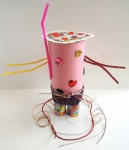
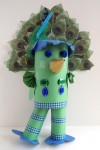
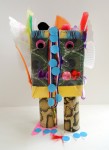
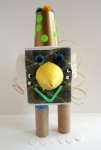
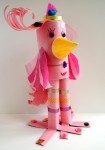
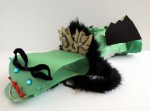
Katie and I made 4 example friends to demonstrate the various oatmeal container, box, and toilet paper tube leg combinations. We did have one request for paper towel tube legs, which we happily granted. Here are the example friends:
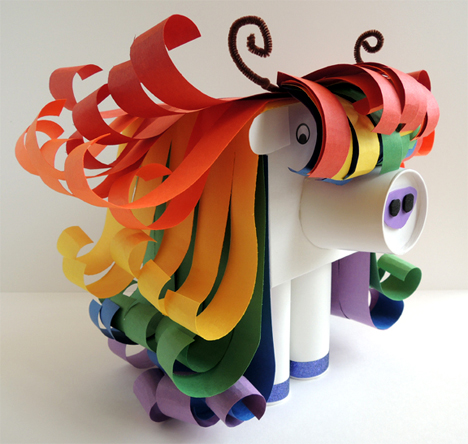
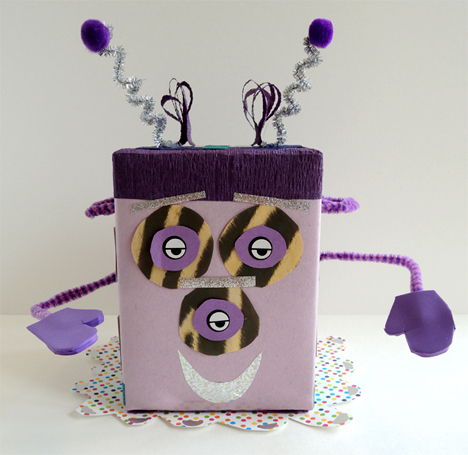
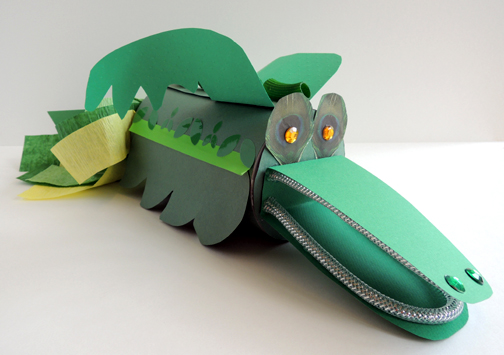
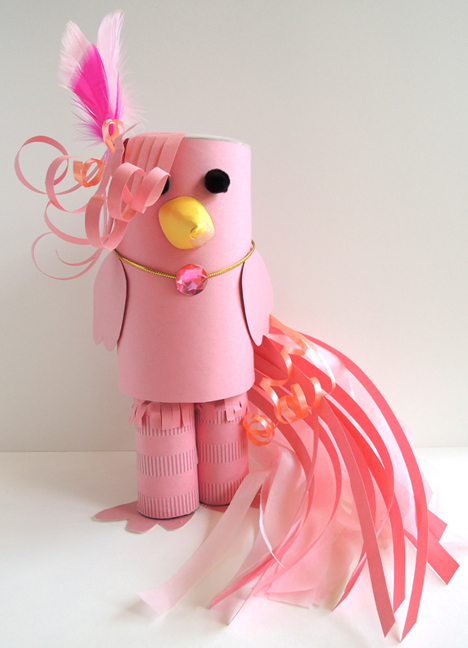 Once the kids decided on their friend’s body shape and legs, we steered them towards 2 tables (and 2 windowsills) piled with art supplies, warmed up our two hot glue stations (staffed by Katie and myself) and invited them to let their imaginations soar!
You can use any art supplies you’d like of course. Or even go with the simplicity of white construction paper and markers. But just in case you’re interested, here is the list of all the art supplies we provided, pulled from the depths of our storage closet and drawers…
- Construction paper (red, orange, yellow, green, blue, purple)
- A selection of pipe cleaners
- Tin foil
- A selection of crepe paper streamers
- A stack of tagboard
- A selection of patterned paper (including animal prints)
- Poster board squares and rectangles in a variety of colors
- 3 spools of metallic tie cord
- 2 spools of britelace
- A selection of dot stickers
- A selection of eye stickers
- Drinking straws in a variety of colors
- Paper doilies
- Paper & plastic cups in a variety of sizes
- A stack of cone water cups
- A selection of large gemstones
- A selection of wiggle eyes
- Small squares of patterned fabric
- Paper muffin cups
- Pieces of white tulle
- A selection of embossed foil paper
- Tissue paper
- Plastic eggs (typically stocked in Easter baskets)
- A selection of large plastic buttons
- A heap of fabric flowers
- A selection of twisteez wire
- Ribbon
- Pom-poms
- A pile of
- A selection of self-adhesive foam shapes
- A selection of small feathers
- A quiver of goose quills
- A selection of sparkle stems
- A selection of patterned tape
- The Bling Bin
The resulting friends were imaginative and utterly delightful. We managed to capture the majority of them in our temporary photo studio. You can click on any of the thumbnails below to open a larger image. The toilet paper tube legs were very popular, but check out “Cowmoo” and “Rose” rocking some alternative leg styles!
- Tono
- Birdie@alien
- Bundee
- Bungee
- Cowmoo
- Fire Engine
- Flower
- Lily
- Molly Rose Q
- Ned
- Birdie
- Polka Dot
- The Snowman
- Rose
- Crockie


