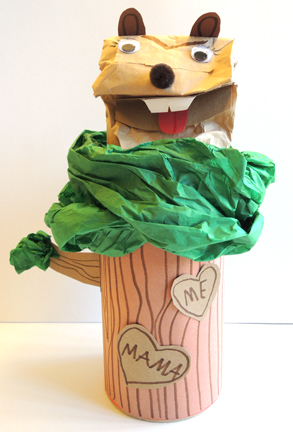
Twinkle twinkle little light! Are your ready for your journey to dreamland? This beautiful lantern and dream friend will help guide you on your way!
 We read Dream Friends by You Byun (Nancy Paulsen Books, 2013). Melody has a very special friend…a dream friend. They fly, play hide-and-seek, have marvelous adventures, and watch fireworks. But only in her dreams. In reality, Melody is a shy girl in a new neighborhood. Since her dream friend can’t leave her dreams, Melody decides to close her eyes and imagine her friend is with her. While dancing on the playground, Melody draws the attention of another little girl who asks to join her. Soon, the whole playground is dancing with Melody. Magical!
You’ll need:
- A 5″ plastic bucket container (more on this below)
- A 3.5″ x 5″ rectangle of mirror board
- A selection of foil star stickers
- Regular markers
- Hole punch
- 1 LED votive candle
- A set of window markers
- Lullaby CD
- A selection of shimmer ribbon
- Gold curling ribbon
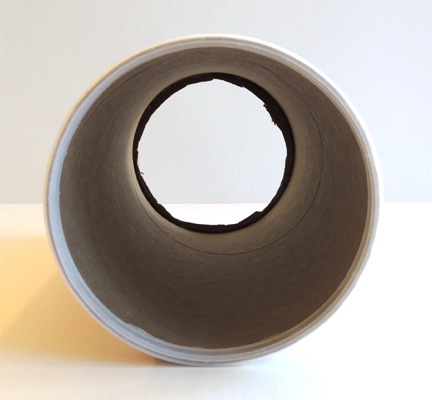
A bucket container (also sometimes called a craft container) is constructed of plastic and metal. It’s meant to hold party favors, candy, etc. I purchased mine from Oriental Trading Company. You can purchase them individually at Michael’s Craft store.
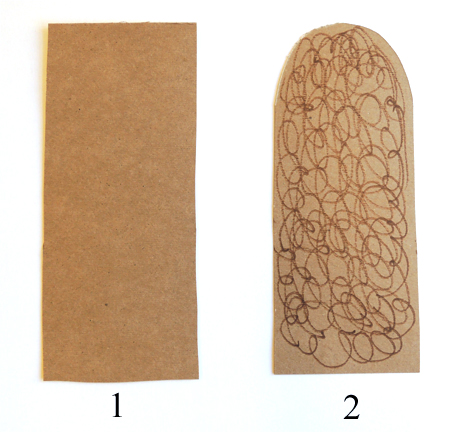
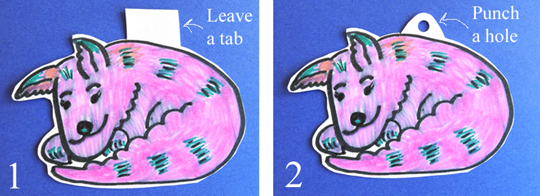
 To begin this project, use regular markers to draw a “dream friend” on the back of the mirror board (i.e. the white, non-reflective side). You could use white card stock instead of mirror board, but the mirror board is fantastic at reflecting the light of the lantern in the dark.
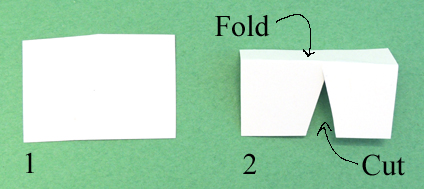
When cutting out your dream friend, make sure to leave a little tab at the top. Punch a hole through this tab (and round the edges if you’d like). This is where your ribbon will go later.
 Open the bucket container and stick the foil stars on the “floor” of the container and the underside of lid. Some kids stuck stars on the plastic sides of the container. This is fine – just make sure they keep the stickers on the interior of the container so they won’t interfere with the markers later.
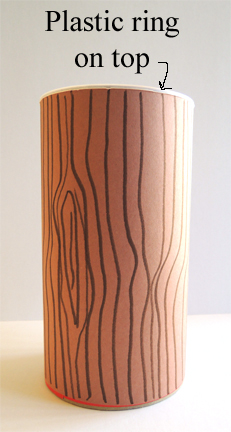
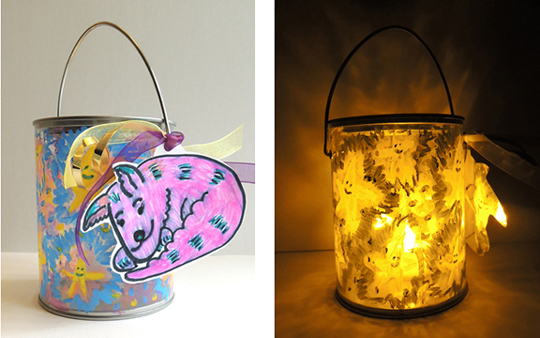
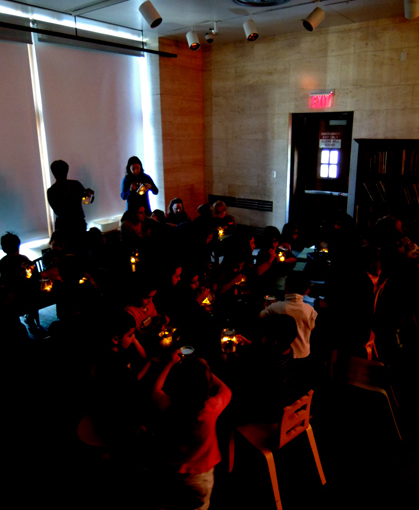
Now for the fun part. I dropped a twinkling LED votive in each container, darkened the room, put on a lullaby CD ( I highly recommend Sweet Dreams: Lullabies for Guitar by Nina Gerber), and the kids used window markers to decorate the exterior of their containers. The room was full of excited yet peaceful kids, decorating away amidst mellow, glowing lanterns.
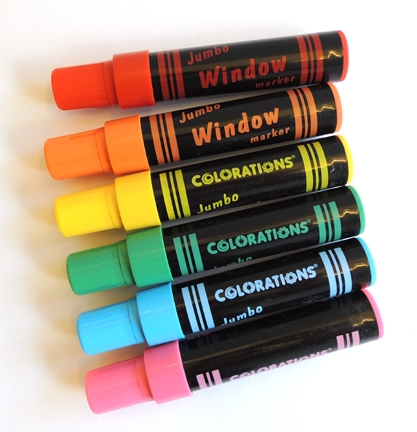
 A tip about window markers. I purchased this brand from Discount School Supply (alas, there is no purple marker in this set). I know from experience that this particular brand works on glass AND plastic.
 You have to draw slowly with window markers and allow them a little time to dry (about 30-45 second). Once they completely dry, then you can go back over them with another color. Otherwise, they get smudgy. So if you want to draw little stars with smiley faces like mine, just wait 30-45 seconds before you use the blue marker to draw the face on the yellow star.
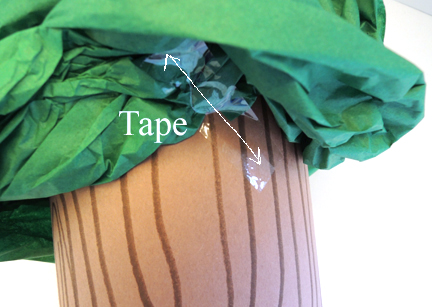
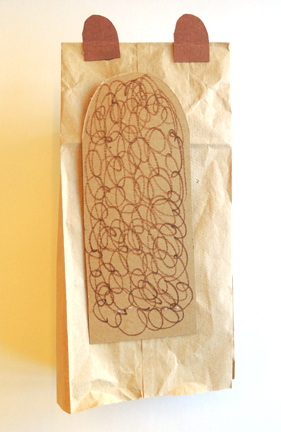
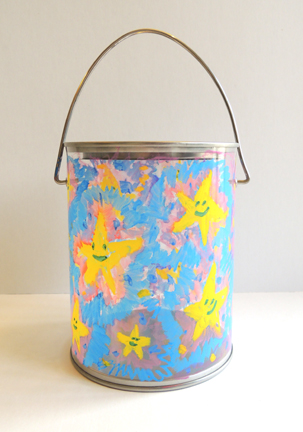 To complete the project, thread some shimmer ribbon and gold curling ribbon through the punched hole in the dream friend, then tie to one side of the lantern. Sweet dreams!