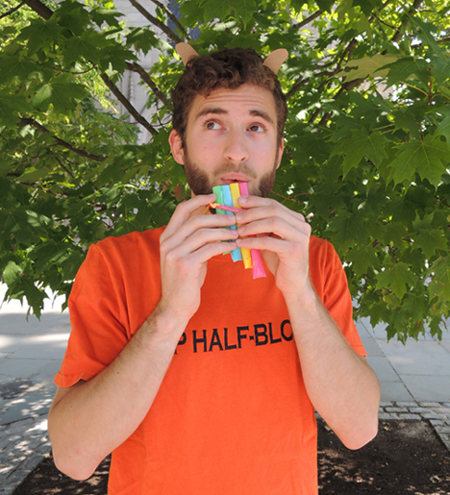
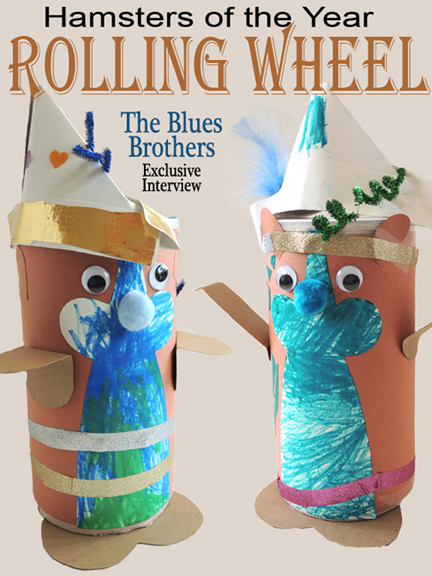
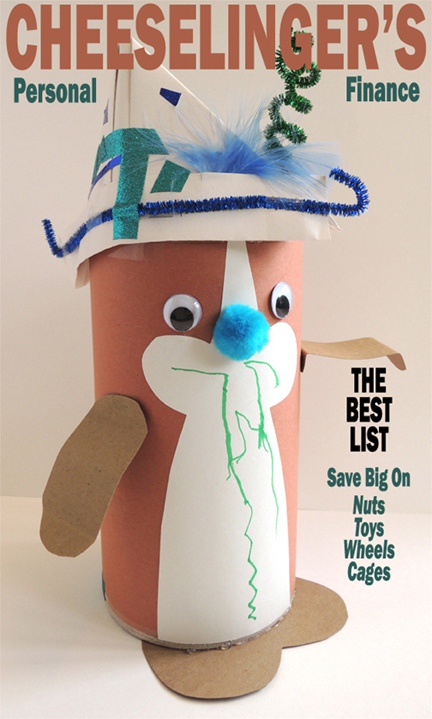
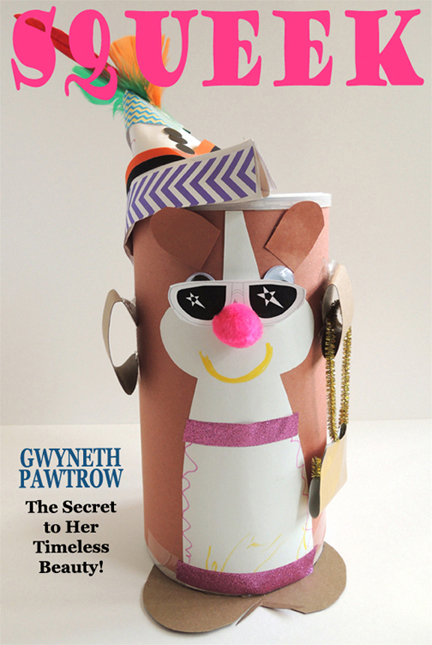
 Get your Grover on with these simple pan pipe necklaces! I designed them for a large-scale Lightning Thief event (you can read more about the event, and our awesome Mythomagic deck here). The pipes were part of a “Pan Pipes & Pythagoras” table hosted by Music Together Princeton Lab School. Since we needed to create several hundred sets of pan pipes (event attendance was around 5,000) I needed something inexpensive that would give kids a little taste of tone and pitch.
I considered PVC pipe, empty marker tubes, empty pen tubes…but they were either too expensive, impractical, too hard to cut, couldn’t produce a satisfactory sound, or required way too much prep time. Happily, the solution came when I stopped by Fruity Yogurt, a local frozen yogurt place. In addition to soft serve, Fruity Yogurt does bubble tea, which naturally comes with a bubble tea straw.
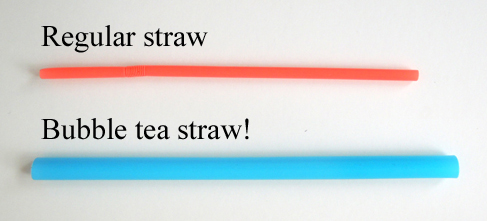 Bubble tea straws are thicker than your average drinking straw. I tested a few and they were perfect! Not to mention inexpensive and they come in jolly colors!
You’ll need:
- At least 4 bubble tea straws
- A small craft stick (for a 4-straw set of pipes, you’ll need a 3″ craft stick)
- A 28-29″ piece of yarn
- A ruler
- A Sharpie permanent marker
- Scissors and tape for construction
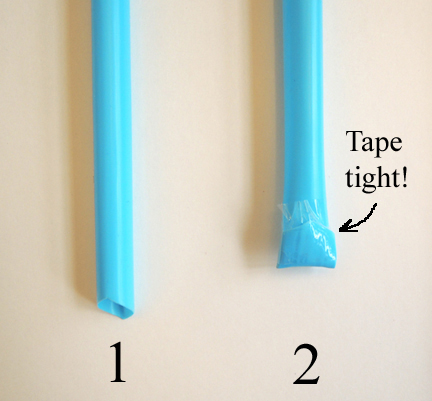
Start by folding the bottom of each straw up and taping it very tightly (some bubble tea straws have pointed bottoms – you can trim the point off if you’d like).
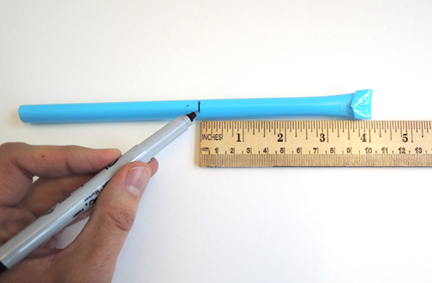
 Place the folded straw next to a ruler, and use a permanent marker to mark the desired length of the straw. I cut my straws in 0.5″ increments. So the first straw was 5″, the second straw was 4.5″, the third straw was 4″, and the fourth straw was 3.5″. If you’re doing this at a program or event and don’t want to fiddle with a bunch of rulers, you can use this straw measurement template.
 I did some experimenting with how long or how short a straw can be before it starts losing its tone. Based on my experiments, I wouldn’t go any longer than 7.5″ and no shorter than 2.5″. Beyond those lengths, the straws seem to lose their ability to hold a note.
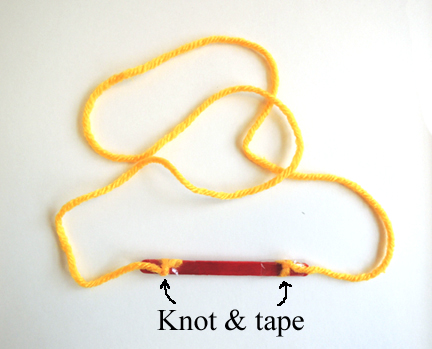
Next, knot the yarn on both ends of the craft stick, and reinforce the knots with tape.
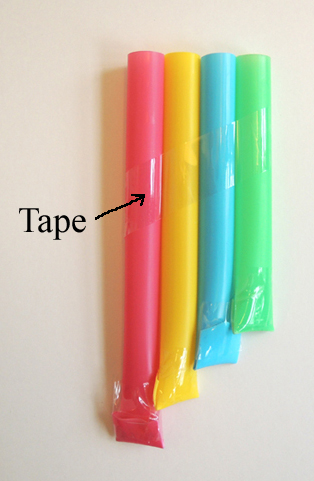
 Line all your straws next to each other in ascending order. Make sure the top (i.e. the open ends) of the straws are even with one another. Secure them with a piece of tape.
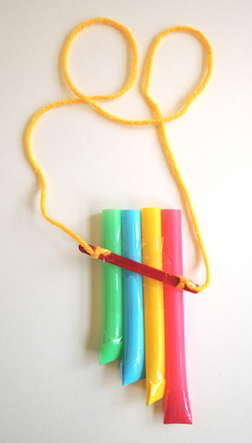
 Then flip the pipes over and tape the craft stick on the other side! Done!


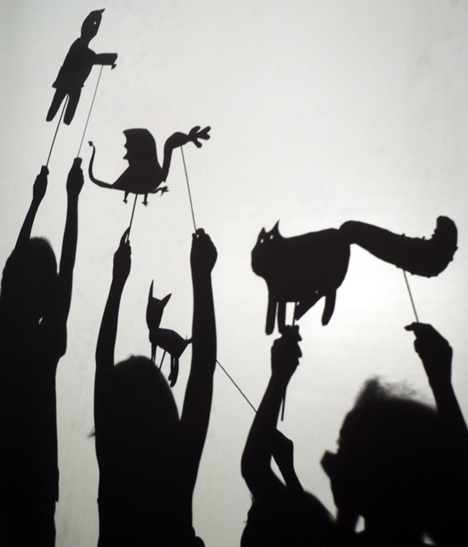
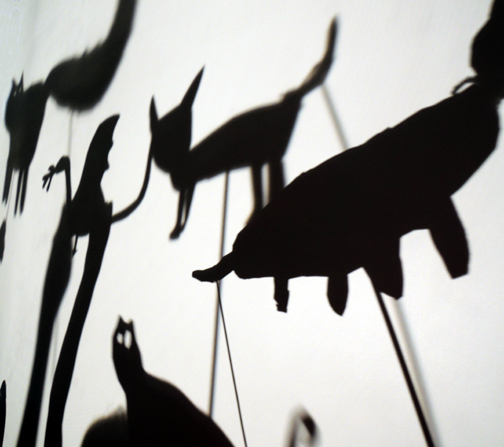
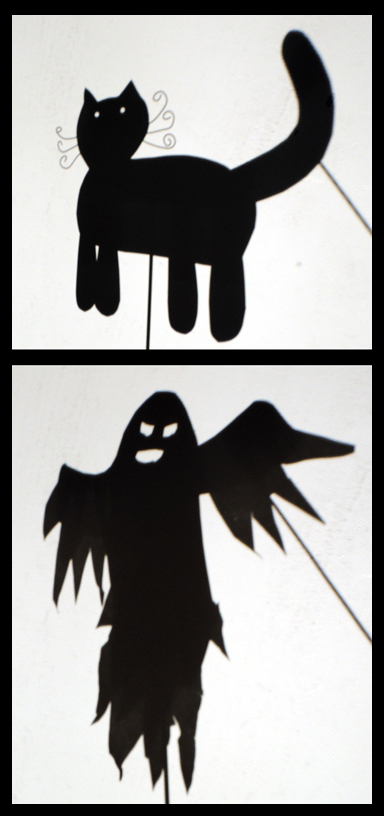 Needless to say, we had a total blast playing with our shadow puppets. The program ran for less than an hour, but it would have been interesting to keep it going for a few more – experimenting with different types of puppets, textures, and launching into spontaneous narratives. There are some interesting multicultural angles to shadow puppetry as well. Hmmm…maybe a more extensive weekend workshop is in order?