 Want a side of math with that story time? From simple to semi-sophisticated, here are some ways I’ve worked math into my library programs!
COUNTING SUPPLIES
There are multiple steps in my story time projects, and some of those steps involve selecting certain amounts of art supplies. So we’ll count together. For example, if the kids need 2 pipe cleaners for their project, I’ll hold out a bunch of pipe cleaners and count aloud as each kids selects them, “One…two! Great!”
NUMBERED SUPPLY CONTAINERS
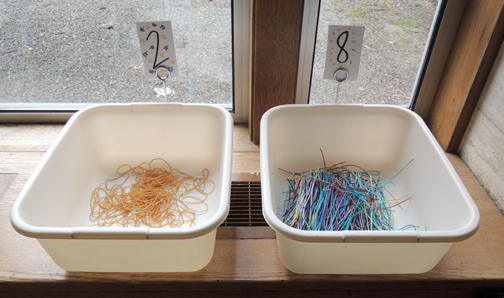
During projects, I’ll often put a line of supplies on the windowsill, and kids walk down the line and select certain amounts of supplies from each container. I used to use post it notes to mark the number needed on each container….
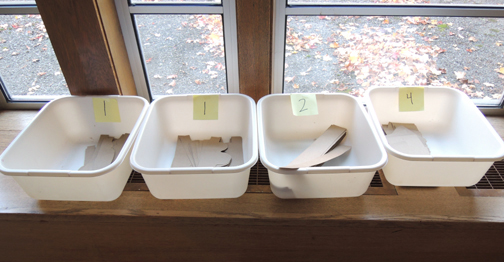 But then I found these little babies!
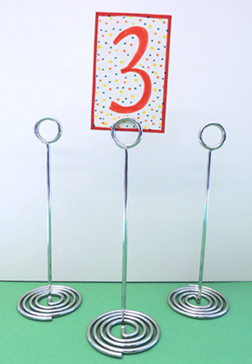 These are 8″ table card holders. I purchased mine from an online restaurant supply company (The Web Restaurant Store). Don’t they look snazzy?
 DIAGRAMS
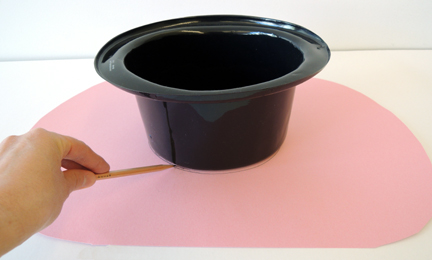
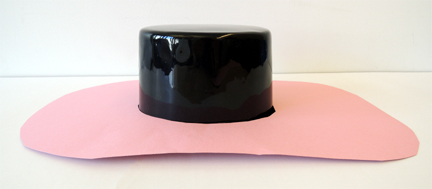
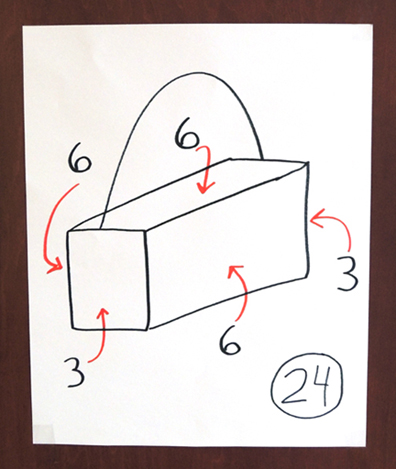
Sometimes, I’ll have a project that requires a diagram to demonstrates how much of something is needed. For example, this rainbow cloud project needed to be covered in cotton balls, so I drew a diagram showing how many balls needed to be attached, and how many cotton balls you’d need in total. Numbers, beautiful numbers.
I’ve also been known to sneak math into story time projects, like this lemonade stand that involves counting, sorting, and sequential thinking.
Now who’s up for something a little more…elaborate?
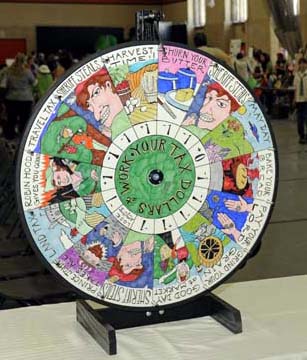
In 2012, my library hosted a large-scale Robin Hood event. I knew we just had to do something on taxes. But how were we going to design something that involved taxes, math, Medieval history, but was also simple enough for kids of various ages to grasp quickly? The answer came from my brilliant event assistant Katie. We would design a tax wheel game based on Hi Ho Cherry-O. We called it “Your Tax Dollars at Work.”
 Hi Ho Cherry-O is a classic early math game involving counting and numbers. The game is driven by a spinner that dictates whether you add or remove cherries from your basket during game play. But what if the spinner for our version pointed to various Medieval taxes, the game pieces were coins? We could even throw some Robin Hood characters on the wheel. Perfect.
We knew needed to go big and durable at such a large, crowded event. So I ordered a 36″ blank roulette wheel from Spinning Designs Incorporated. The company was very tickled by the novel use of the wheel. Perhaps that’s why they gave me a fantastic (and much appreciated) deal on a wheel that had “minor surface imperfections” (which I honestly could never find).
Then Katie and I researched the different types of taxes from Robin Hood’s day. There were a lot (honestly, who taxes you for churning your butter?). We also had to find a way to gain coins back during the game.
Ultimately, we came up with the following “Lose” and “Gain” categories.
Lose Coin
- Travel tax
- Churn your butter tax
- Bake your bread tax
- Pay your lord
- Grind your grain tax
- Sheriff steals
- Prince John takes all
- Land tax
Gain (or at least not lose) Coin
- Harvest time
- May Day
- Good day at market
- Robin Hood gives you coins
As you can see, there were more ways to lose your money than gain it. We intentionally designed the game that way. There were going to be so many people at the event (3,500 actually) we wanted the game play to average 3 minutes so lots of kids could have multiple turns. If you’re interested, here are the complete game instructions.
 In addition to the wheel, there were game boards designed to look like Medieval money bags. You placed 5 coins in your “bag” at the start of the game, then added or removed coins as the wheel dictated. We used metal replicas of Medieval coins. Because we’re nerds like that.
 When all your coins were gone, the game was over! As a “consolation” prize, kids got a chocolate foil-wrapped coin. Kids with food allergies or dietary restrictions got to take home one of the metal replica coins.
The “Your Tax Dollars at Work” wheel and game boards were drawn by Kemi Lin, an amazing Princeton University student artist. She did it all. By hand. With packs of Sharpies. After the event, the game was donated to the Somerset County library system. Long may it live!

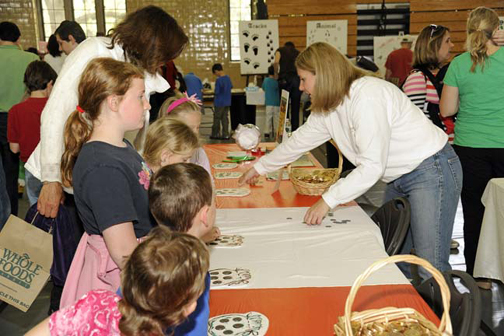
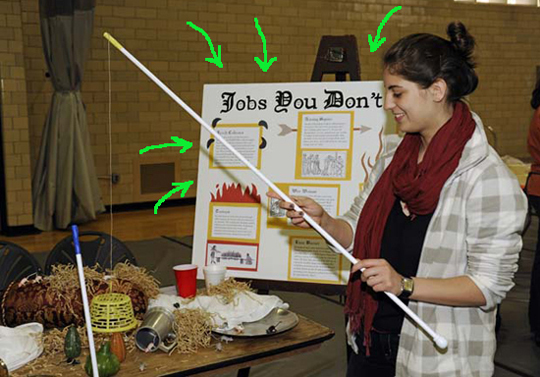 No, it’s not a sign that says “Free Cupcakes.”
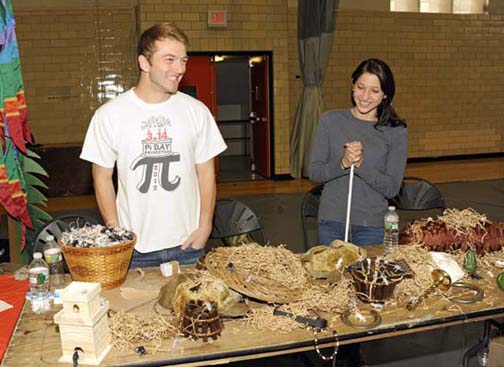 Kids attempted to “catch” a rat by using rat catching cages (i.e. plastic baskets strung on curtain rods). If you successfully lowered the cage over a rat, you got to keep it! You could play multiple times too, and therefore assemble quite a collection.
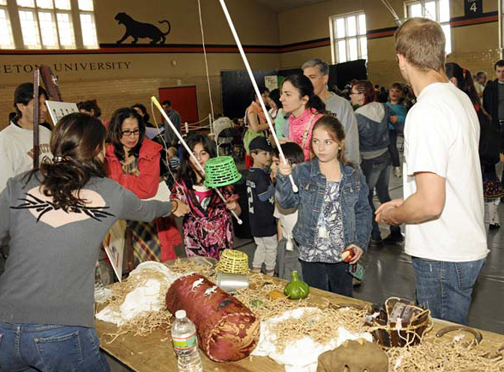 Also included at this event – professional stage fighters, archery, knights in armor, live period music, medieval fashions, a castle play area, siege engines, alchemy, illuminated letters, forest survival, stained glass, a kid-friendly alehouse, dragons, unicorns, live hawks, venison chili, a tax game (featured here in our sneaky math post), a pair of court jesters, and a food drive to benefit a local food bank. Check out the 2-page event map!