 What happens when you give a bunch of penguins a camera? In order to find out, we made oatmeal container penguins and armed them with tea tin cameras. The results? Here’s one image…scroll to the bottom of the post to see the rest!
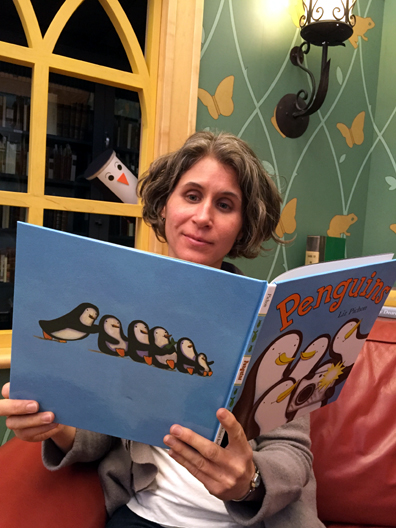
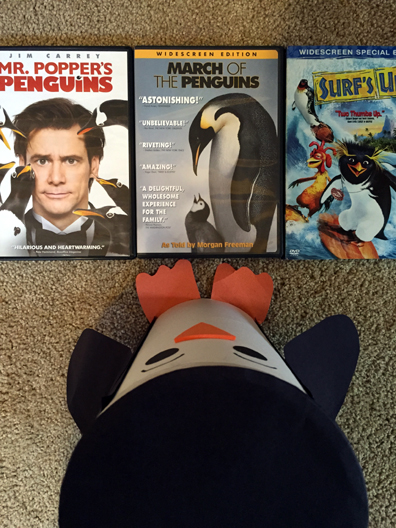
 We read Penguins by Liz Pichon (Orchard Books, 2008). It’s a regular day at the zoo…until a little girl accidentally drops her camera into the penguin habitat. Curious, the penguins gather round. It doesn’t take them long to figure out how the camera works, and pretty soon everyone is having a good time taking pictures! When the camera stops working, the penguins quickly put it back where they found it. The next day, the zookeeper finds the camera and returns it to the little girl. After the pictures are developed, she’s surprised to find photos of monkeys, lions, tigers, elephants, and lots and lots and lots of penguins (don’t miss the adorable fold out photos at the end of the book)!
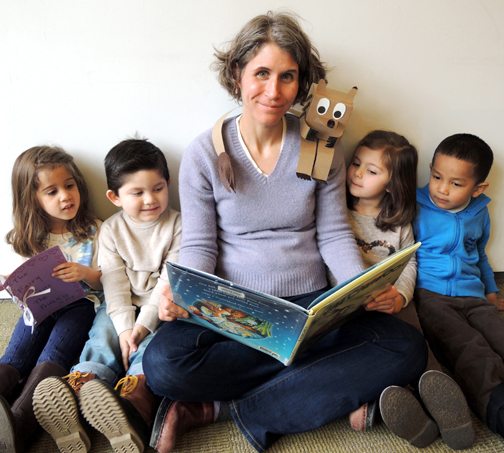
Both parts of this project are very simple to make. Parents, caregivers, and kids were especially tickled by the tea tin cameras with a clicking shutter button.
 You’ll need:
- 1 large oatmeal container
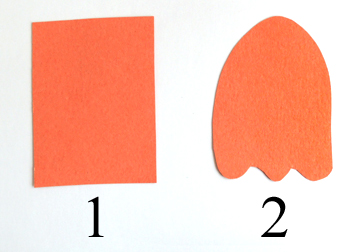
- 2 rectangles of orange poster board (approximately 2.25″ x 3.25″)
- 1 circle of black construction paper (approximately 5.25″ in diameter)
- 1 rectangle of white construction paper (approximately 5.75″ x 9″)
- Black construction paper
- 1 triangle of yellow self-adhesive foam (approximately 1.5″ tall)
- 2 black dot stickers for eyes (optional)
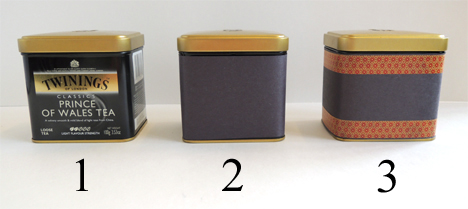
- 1 Twinings brand tea tin
- 1 strip of construction paper, any color (approximately 2.75″ x 12″)
- A selection of patterned tape
- A selection of color masking tape
- A 17″ piece of ribbon, any color
- 1 scotch tape core (approximately 1.5″ in diameter)
- 1 small circle of mirror board or tin foil (approximately 1″ in diameter)
- 1
- 1 small small gemstone
- 1 penguin viewfinder template, printed on 8.5″ x 11″ white card stock
- 1 bug clicker (more on this below)
- Scissors and tape for construction
- Markers for decorating
- Hot glue
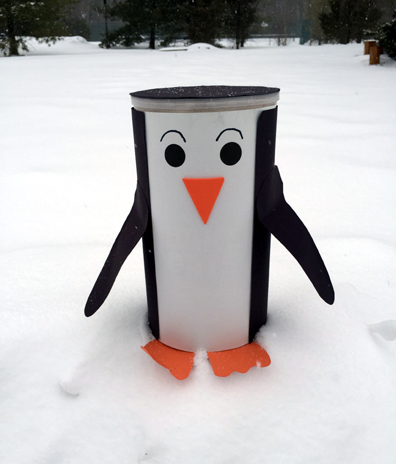
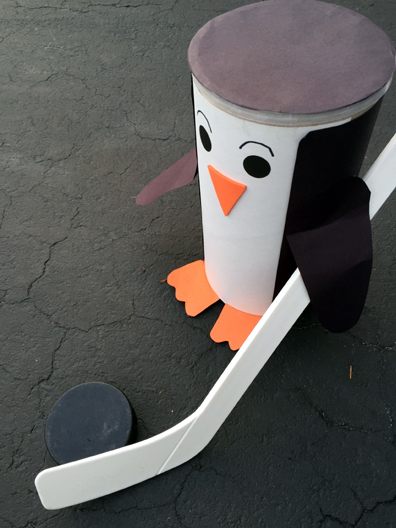
 Penguin first, then camera! First, tape (or hot glue) a black construction paper circle to the top of a large oatmeal container. Then, cut 2 rectangles of orange poster board into penguin feet. Hot glue them to the bottom of the container.
 Wrap a rectangle of white construction paper around the front of the oatmeal container (right above the feet) and secure with tape. Next, wrap a piece of black construction paper around the back of the oatmeal container and secure it with tape (or hot glue). The black construction paper will overlap the white construction paper, creating your penguin’s white tummy and black “jacket.”
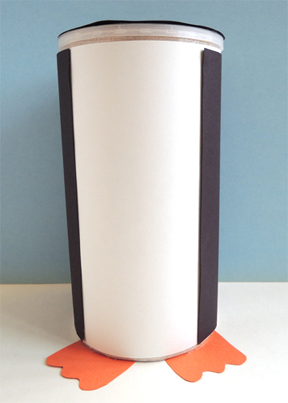 Cut a pair of rounded penguin flippers out of black construction paper, then tape (or hot glue) them to the sides of the container. Add a self-adhesive foam triangle beak and two dot sticker eyes (or skip the stickers and draw the eyes with markers). Use markers to add a pair of eyebrows and you’re done!
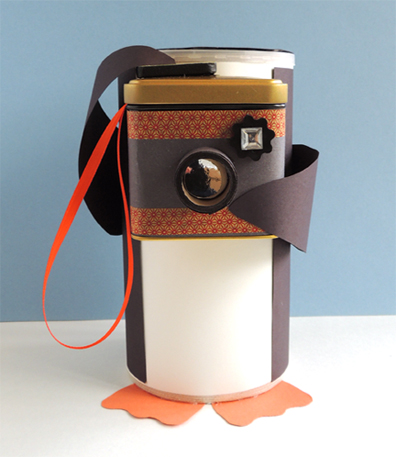
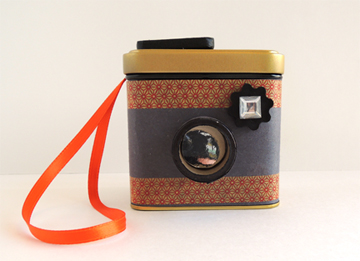
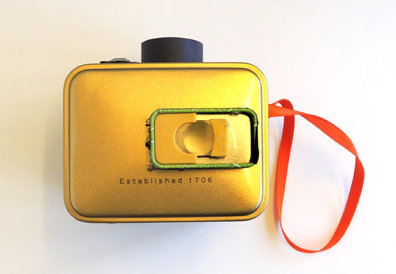
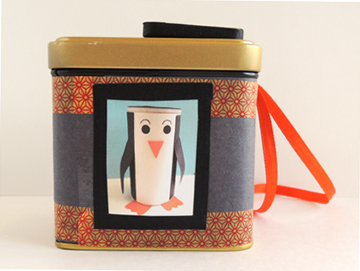
Now for the camera! Wrap a tea tin with construction paper (I went with classic black). Add strips of patterned tape to the top and bottom.
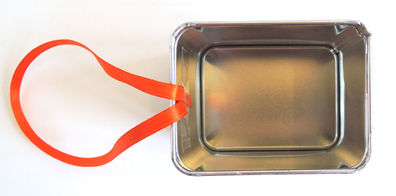
 To make a camera strap, take the lid off the tea tin and tape the ends of a ribbon inside it. Close the lid, and your strap is extra secure!
 Now for the camera’s focusing ring, lens, flash, shutter button, and viewfinder:
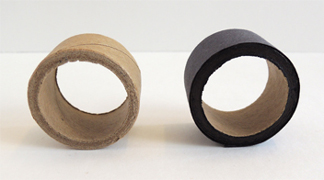
 To make the “focusing ring,” wrap the outside of a tape core with construction paper. Since I used cardboard tape cores, I colored the outside rim with a black marker. Here’s a before and after shot:
 Hot glue the core to the middle of the tin, then hot glue a small circle of mirror board inside the core. The mirror board is your camera’s “lens.” You could also use tin foil. To make your camera’s “flash,” hot glue a small clear plastic gemstone to the top of a large plastic button, then hot glue the button to the upper right corner of the tin.
 The “shutter button” of this camera is actually a bug clicker. Have you seen these things?
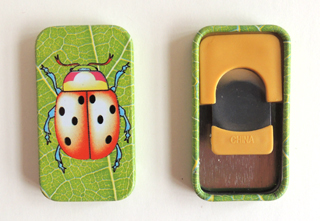 When you press the little plastic tab on the back of the device, it makes a crisp clicking sound. I bought my clickers on Amazon, but I’ve also seen them in party supply stores and the dog training section of pet stores. At our story time, we covered the outside and sides of the clicker with black masking tape, then hot glued it to the lid of the tea tin. But you can skip the tape and glue them straight to the tea tin if you’d like!
 You’ll notice the clicker is mounted off-center on the lid, and the clicker’s tab is close to the edge of the lid. That’s important! You want those little fingers to be able to reach up and click the shutter button.
Because most kids are used to digital cameras with viewfinders, I added a viewfinder to the back of the tea tin (with an image of a penguin, of course!). Print and cut a penguin from the template, and then use masking (or patterned) tape to attach it to the back of the camera.
 Project in hand, kids scattered to different parts of the gallery to pose their penguins and take “pictures” with their cameras.
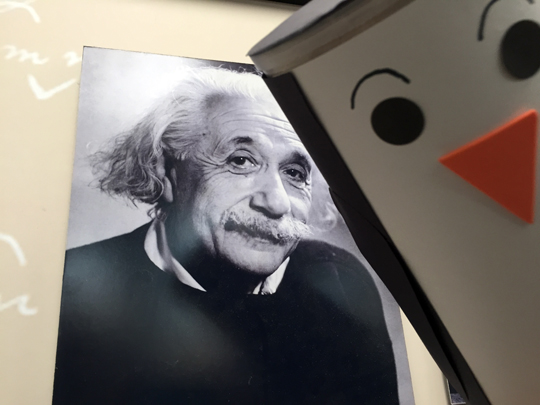
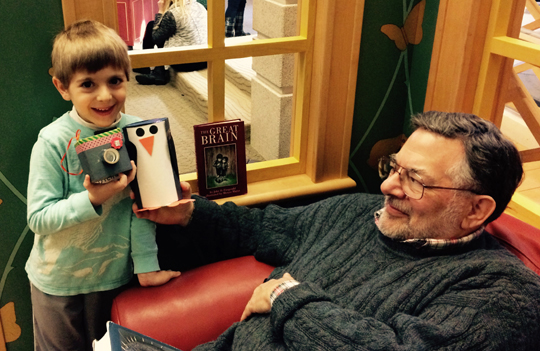 There may have been a penguin photobomb or two…
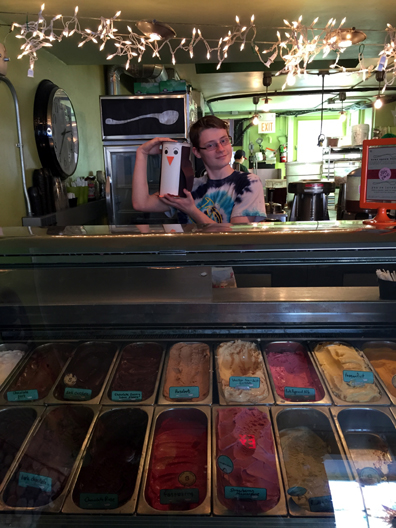
 The fun continued at home! Look at this lovely photo shoot:
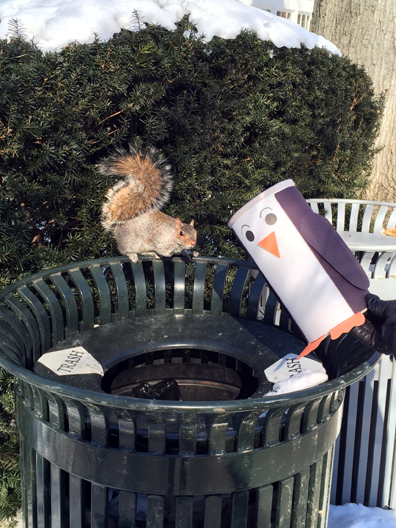
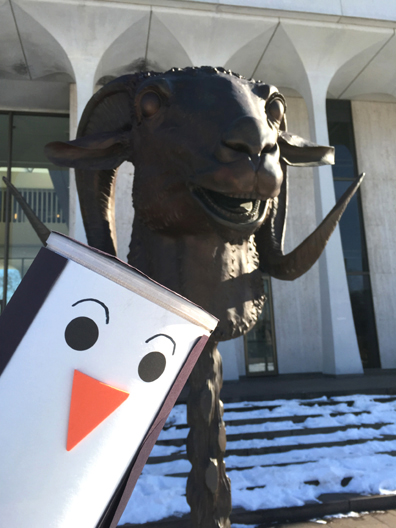
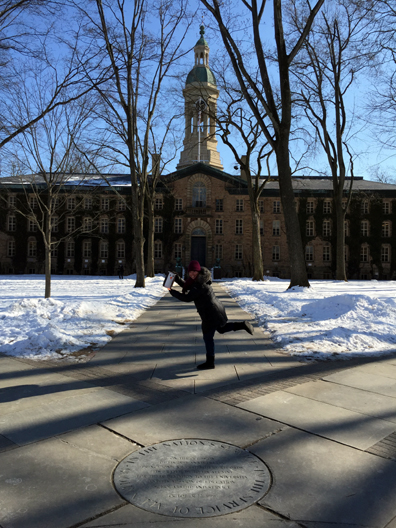
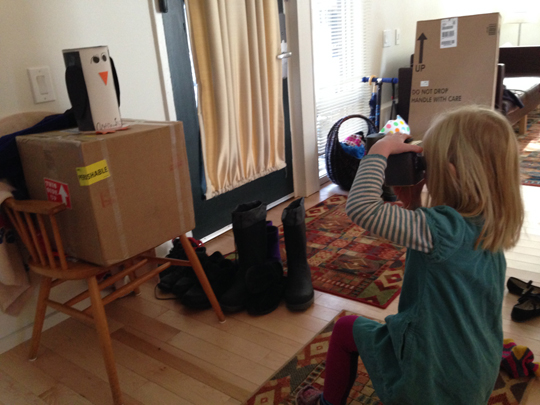 Mysteriously, my camera went missing for a few hours that day. Imagine my surprise when the following shots were e-mailed to me…

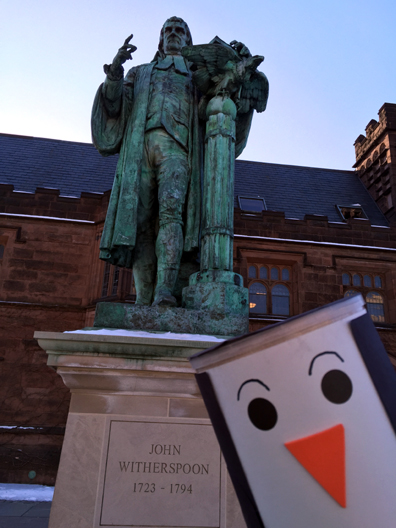
Charles Willson Peale, George Washington at the Battle of Princeton, 1783–84. Oil on canvas. Princeton University, commissioned by the Trustees. Courtesy of the Princeton University Art Museum.