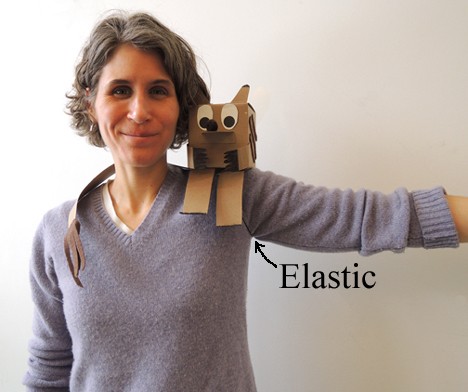
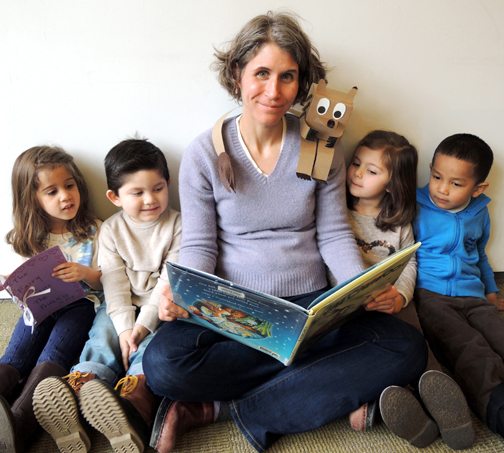
 Gather round for a soothing bedtime story, but don’t be surprised if a Snatchabook decides to join you! This sweet little creature attaches to your shoulder with an elastic cord, and is eager to listen to a book you’ve written.
We read The Snatchabook, written by Helen Docherty and illustrated by Thomas Docherty (Sourcebooks Jabberwocky, 2013). In cozy Burrow Down, animals are tucking in with their favorite bedtime stories. But what’s this? In the blink of an eye, the books are vanishing! Rabbit Eliza Brown decides to get to the bottom of the mystery. Using a stack of books as bait, Eliza lures the thief into her house and…it turns out that he is a tiny, furry, sweet-faced, long-tailed, winged creature called a Snatchabook. Crying, the Snatchabook confesses that he’s been stealing books because he has no mom or dad to read to him. Big-hearted Eliza comes up with a solution. First, the Snatchabook must return all the stolen books (and he does so, very neatly). Then Eliza introduces him to all her friends, who in turn invite the Snatchabook to join them for bedtime stories anytime he wants.
You’ll need:
- 1 small box (mine was 4″ x 4″ x 4″)
- A box cutter
- A 14″ piece of elastic beading cord
- tagboard (or brown poster board) for the ears, nose, arms, legs, and tail
- 1 mini (mine was 0.5″)
- A rectangle of brown felt (mine was 4″ x 5″)
- 1 Snatchabook wings template, printed on 8.5″ x 11″ white card stock
- 2 oval of white construction paper for eyes (approximately 1.75″ tall)
- Black dot stickers for eyes (optional)
- 1 piece of 9″ x 12″ construction paper, any color
- 2 pieces of 8.5″ x 11″ white printer paper
- Hole punch
- A 31″ piece of ribbon
- Scissors and tape for construction
- Markers for decorating
- Hot glue
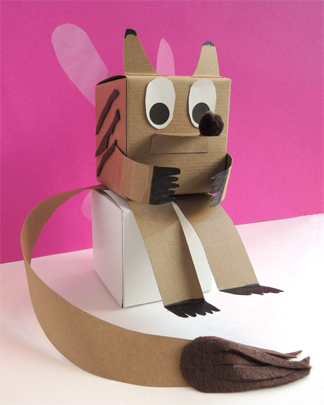 For our story time project, we made a Snatchabook that attaches to your shoulder with a bit of elastic cord, and a bedtime story book (written and illustrated by you of course!). We’ll begin with the Snatchabook. Use a box cutter to cut a 0.5″ slit in the bottom of a small box. Thread a piece of elastic beading cord through the slit. If your box has a locking bottom like the one below, definitely close the bottom, but make sure both ends of the elastic are still sticking out.
 You might be tempted to tie the ends of the cord into a knot, but don’t do that just yet! Wait until you attach all the body parts and the wings. That way, you’ll have a better gauge of how heavy the Snatchabook is, and how tight your elastic loop needs to be.
Next, cut the ears, nose, arms, legs, and tail out of tagboard (or brown poster board). The size of these items will vary according to your box, but here’s the general look of my Snatchabook parts. You can color the parts with markers if you like.
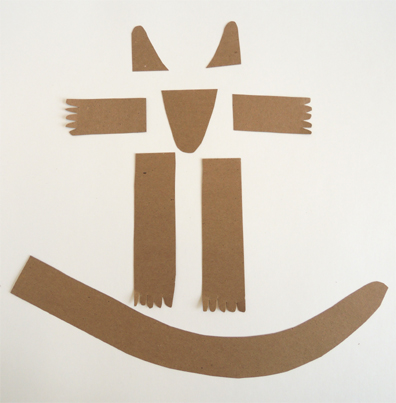 You’ll notice that the tail is very long! Because the tail needs to curl around the back of your neck and over your shoulder, it needs to be looong. The tail you see in the above image is 16″ from end to tip, not counting that big curve. Tab the ears, nose, arms, and legs and attach them to the box with hot glue (or tape). Hot glue a mini pom-pom on the end of the nose.
Hot glue the tail to the bottom of the box, then reinforce the connection with tape. Since the tail will go around the back of your neck, it needs to stick out from the side of the box (as opposed to the back of box). Here’s an image of the tail placement, as seen from the underside of the box:
 To make the eyes, stick 2 black dot sticker “pupils” inside 2 ovals of white construction paper (or simply draw the pupils on with markers). Attach the eyes to the box with hot glue (or tape). Use scissors to cut 6 “furry stripes” from brown felt, as well as a tassel for the tail. Hot glue the felt stripes to the sides of the box, and the felt tassel to the end of the tail.
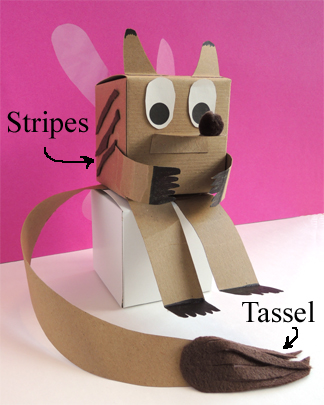 Finally, cut the wings from the template. Fold each side upwards along the dotted lines, then attach the wings to the back of the box with hot glue (or tape). I had some old archival mylar floating around (ah, the perks of working in a special collections library), so I traced the card stock template onto the mylar to make transparent wings. You could also use iridescent cello.
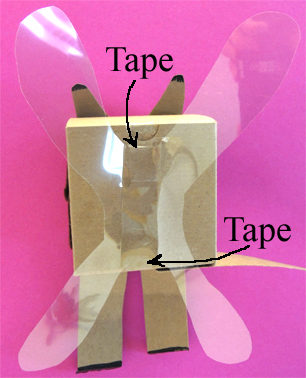 Sit the finished Snatchabook comfortably on your shoulder and knot the elastic cord under your arm tightly. Curl the tail around the back of your neck and over your shoulder. Done!
Set your new friend aside for the moment – it’s time to make the book! Place 2 pieces of white printer paper in the center of a sheet of construction paper. Fold the paper in half to make a book.
 You can simply staple the book’s spine together, or you can go with a slightly more artistic version. If you’re going artsy, close the book and punch 6 holes in its spine.
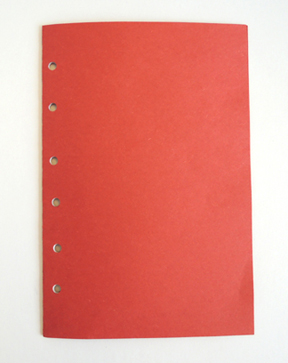 Decorate the cover of your book, then and write and illustrate a story inside it. When that’s finished, thread a piece of ribbon in and out of the spine holes:
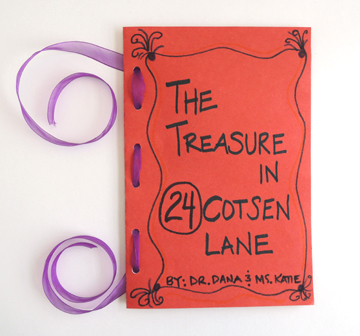 Then tie the ends of the ribbon together in a bow. You’re done!
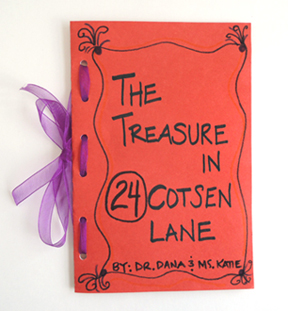 Slide your Snatchabook back on your shoulder, find a cozy spot to sit, and read a book to your new friend!

