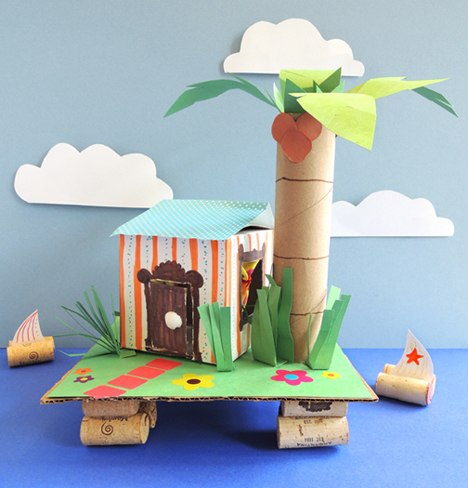
 This charming little island really floats! Thanks to some well-placed wine corks, the island (and 2 little sailboats) will bob away in your bathtub, pool, or water table. This project is also a good way to introduce a some science terms to the story time set – namely, prediction, testing, saturation, buoyancy, and capillary action.
 We read An Island Grows, written by Lola M. Schaefer and illustrated by Cathie Felstead (Greenwillow Books, 2006). This non-fiction rhyming book follows the growth of an island from the first tremors of an underwater volcano to a busy and colorful island community. Don’t miss the last page which is full of the scientific information behind the book’s charming rhymes.
You’ll need:
- 1 box (mine was 4” x 4” x 4”)
- 1 box cutter
- A selection of patterned paper
- 3 small squares of fabric (approximately 2″-3″)
- 3 short pieces of thin ribbon (approximately 3″)
- 1 small seashell (optional)
- 1 paper towel tube
- 1 corrugated cardboard base (approximately 8″ x 9″)
- Green construction paper
- Brown construction paper
- White construction paper
- Flower stickers (optional)
- 20 wine corks
- Scissors, tape, and glue stick for construction
- Markers for decorating
- Hot glue
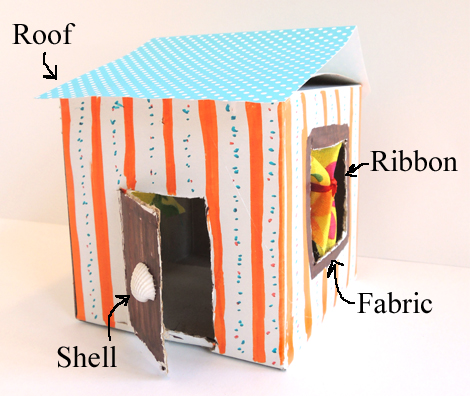
Begin with your island home. Use the box cutter to cut a door and three windows in the sides of a box. Decorate the outside of the box with markers and add a roof of patterned paper (or construction paper). Use tape (or hot glue) to attach fabric squares to the insides of the box, right above each window. Knot a piece of ribbon around the fabric squares to create a window sash. Finish by hot gluing a small shell to the door to serve as a doorknob.
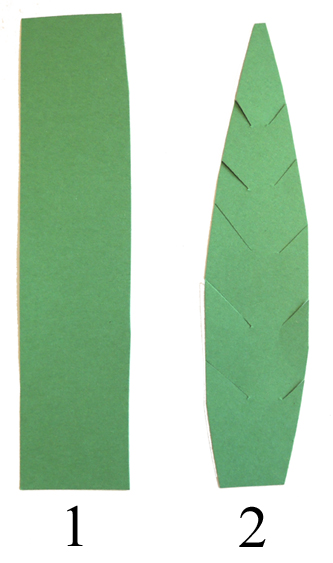
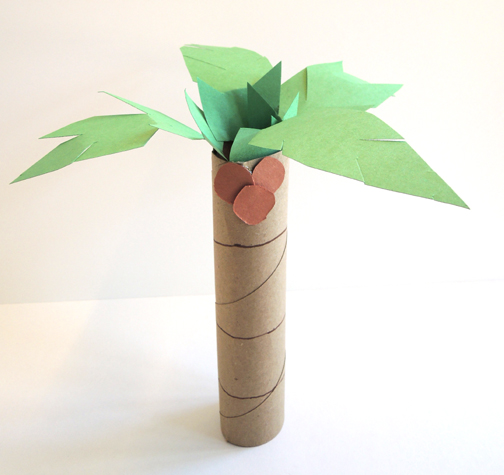
 Now for your palm tree! Start by cutting 3″ off the top of a paper towel tube. If you’d like, you can use markers to draw rings around the tree. Next, cut 4 rectangles from the green construction paper (approximately 2″ x 5.5″ each). Cut each rectangle into a leaf shape, and make small cuts around the edges so it better resembles a palm frond.
 Tape the palm fronds to the paper towel tube (I taped mine to the inside of the tube, but younger children might find it easier to tape them to the outside). To make coconuts, cut small circles out of the brown construction paper, then attach them to the tree with little loops of tape.
 At this time, I’d like to give a shout out to Anou, age 8, who came up with the coconut portion of our craft. I was in our library’s program area, trying to find a way to make three-dimensional looking coconuts that didn’t require hot glue. Anou walked up, offered the tape loop suggestion, and it looks great! Brilliant Anou, thanks!
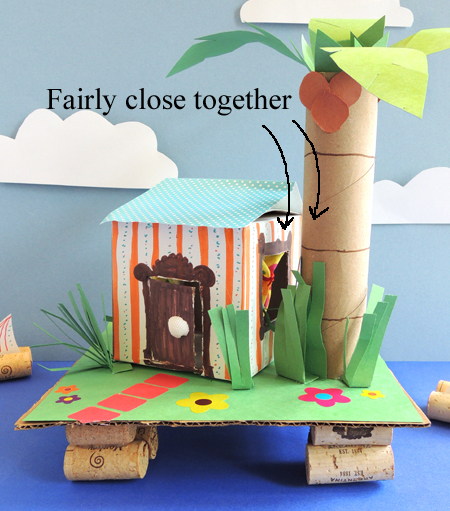
With the house and tree complete, it’s time to make your base. Start with a 8″ x 9″ piece of corrugated cardboard (I cut ours from copy paper boxes). Use the glue stick to attach green construction paper to one side of the base. Then hot glue the house and the tree to the top of the base. It’s important to keep the house and the tree fairly close together in the center of the base. This will keep your island balanced while it’s floating on water.
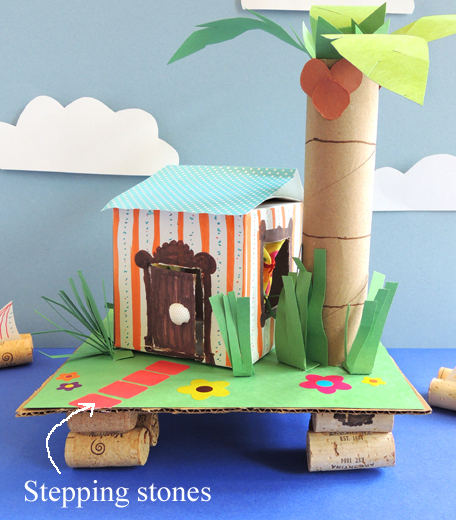
 Once the house and tree are attached, add a little landscaping with green construction paper fringes and flower stickers (or just draw flowers on the base with markers). We also used red file label stickers to create stepping stones leading to the front door of the house.
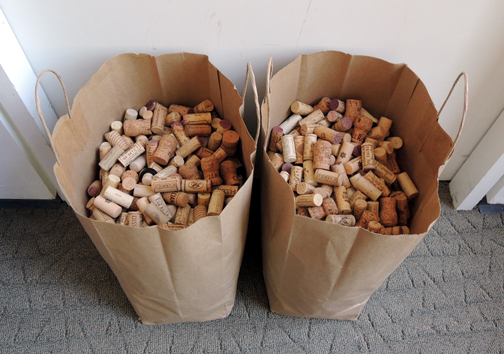
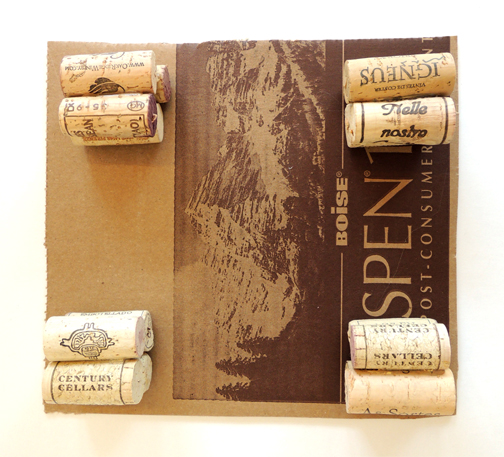
 To make your island and sailboats float, you’ll need 20 corks. Since we needed to prepare enough supplies for 24 kids, we needed lots of corks (480 to be exact). So we hit up a couple local wine shops and bars (thank you Public Wines, Cool Vines, Princeton Corkscrew, and Yankee Doodle Tap Room). But the real jackpot was a restaurant called Mediterra. They had THESE stashed in their kitchen. Woo hoo!
 To make your island’s “cork stilts,” begin by hot gluing 4 corks together like this:
 Repeat this step three more times until you have 4 stilts (composed of four corks each). Hot glue the stilts to the bottom of the cardboard base like so:
 We had to do a little trial and error to determine the total number of corks needed to get this project to work. You can turn our experimentation into story time science by doing the following…
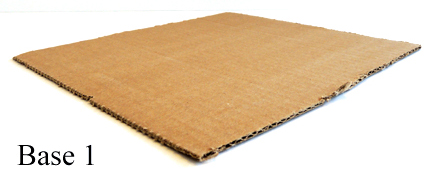
Fill a dish tub with water and set it on a table. Have three different bases prepped. The first base is cardboard with no corks.
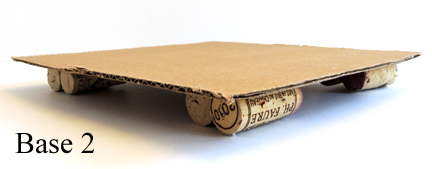
The second base is cardboard with cork stilts. The stilts are two corks each.
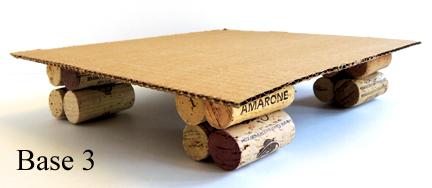
 The third base has cork stilts too. These stilts are 4 corks each.
- Start by saying “Let’s take a look at these bases and predict which one will work best for our island.” After the kids make their predictions, say “Time to test them out!”
- Place Base 1 in the tub. It will immediately become saturated. Ask “What happened? What do we need to change to make this float and stay dry?”
- Place Base 2 in the water. It will float, but barely above the water. Eventually, water will begin saturating into the bottom and edges of the base. Ask “Is this any better? What’s the problem now?”
- Place Base 3 in the water. The base will float above the water, keeping the island dry. Say “It finally worked! Any guesses why?”
During the experiment, you can refer to the concepts of saturation, density and buoyancy. A cork floats on the water because it is less dense than the water. This gives the cork buoyancy, meaning that upward force on the cork is equal to the weight of the cork. The cardboard base, however, was just too heavy for the 2 cork stilts. As a result, Base 2 sunk down and got wet. But Base 3, the 4 cork stilts, did the trick! They gave the island enough buoyancy to lift the cardboard (and the house & tree) above the water level.
Time for sailboats! Cut a small sail (mine were about 2″ tall) out of white construction paper, and color both sides with markers. Hot glue the sail to one side of a cork (make sure the paper doesn’t extend below the cork). Then, hot glue a second cork next to the first.
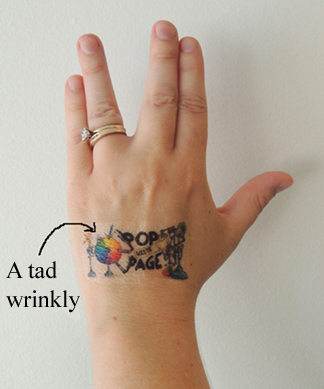
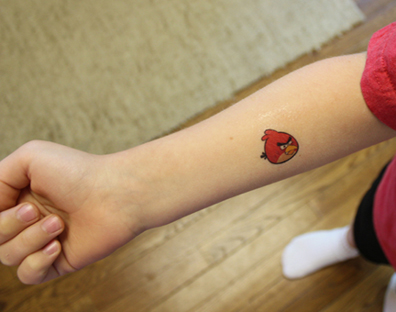
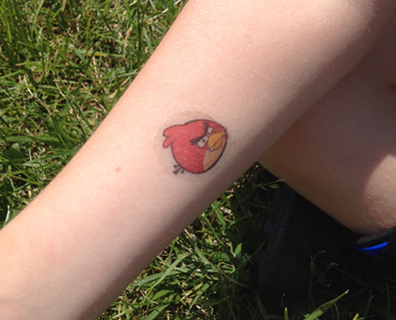
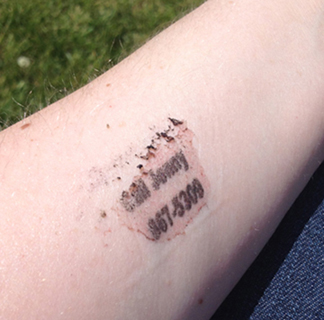
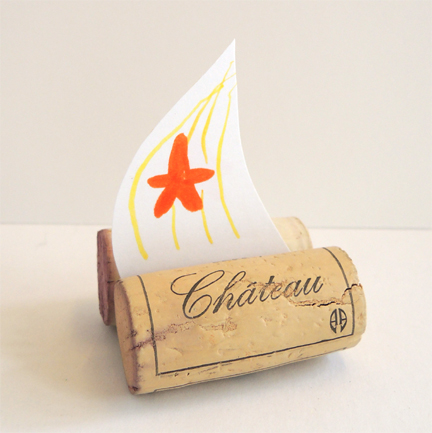 We discovered that, as the corks get wet, the water seeps up the sail, pulling the ink with it. This is capillary action…in action!
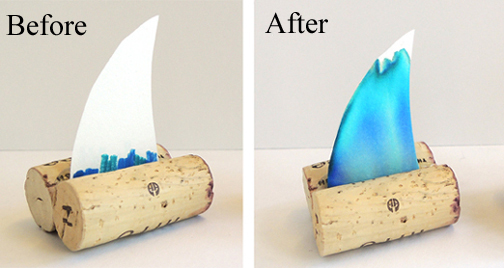 If you’d like to turn the sailboat activity into a quick science lesson, create the boat you see in the “Before” photo above. For best results, make sure the marker extends all the way to the base of the paper sail. Fill a dish tub or plastic plate with water. Then:
- Show the kids the boat. Say: “This sailboat needs a little more decoration. Want to see a super cool way to decorate the sail – without drawing on it?”
- Place the sailboat in the water. It takes a few minutes to really get started, so you might have to go for a couple rounds of “Row, Row, Row Your Boat” while you wait.
- Talk briefly about capillary action (i.e. the ability of water to flow up or though something – sometimes in defiance of gravity itself) and how they just observed the water moving up the paper sail, carrying the ink with it!
- If you’d like, you can prep a bunch of sailboats with different color inks, and see if the different colors move up the sail at different rates.
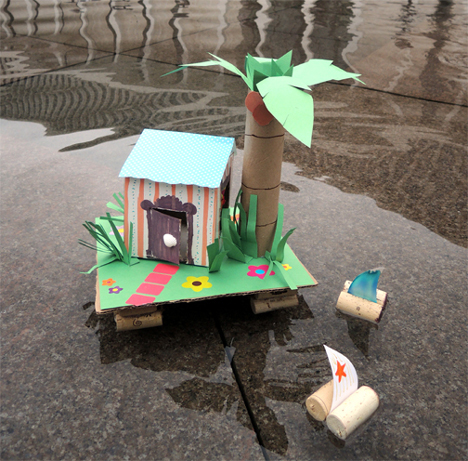
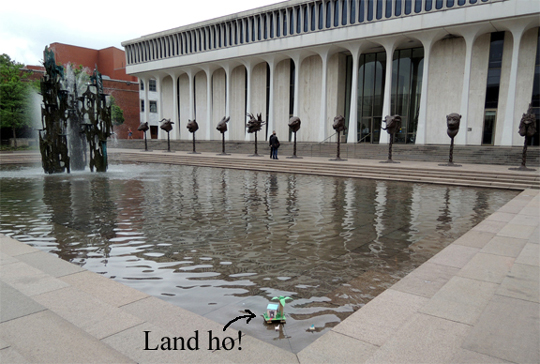
And that’s it! Your island and sailboats are complete! Float them in a bathtub, dish tub, baby pool, water table, or, in my case, the giant fountain outside of the Woodrow Wilson School of International and Public Affairs (that’s Ai Weiwei’ s Circle of Animals/Zodiac Heads you see in the background). The perfect place for an island getaway, yes?
 Looking for some more island experiments? Do you like coconuts? Check out this post!

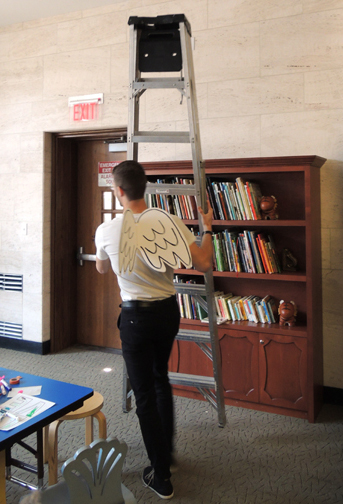
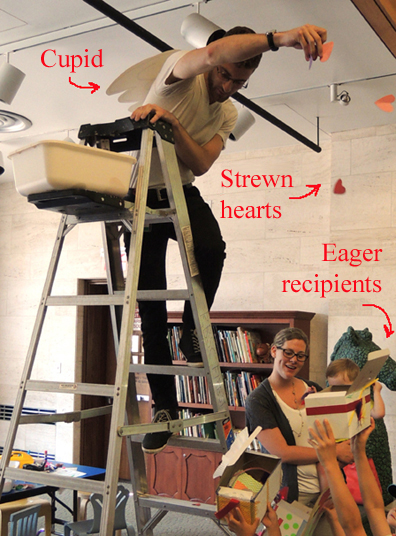 A cupid on a ladder, some strewn hearts, a sweet little keepsake box, some “love” letters…you don’t have to wait until Valentine’s Day to make someone feel special. I love you is all year round!
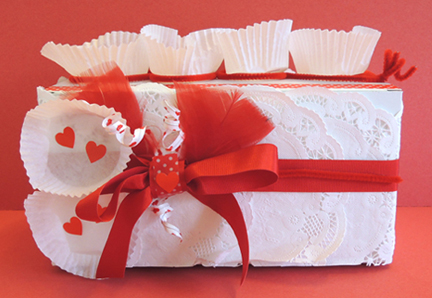 In addition to the art supplies in the list above, I told kids that if there was something else they wanted, to please come and ask. Only one kid took me up on this offer. A little girl who, for some reason, wanted wiggle eyes on her box. To say “Eye love you” perhaps?
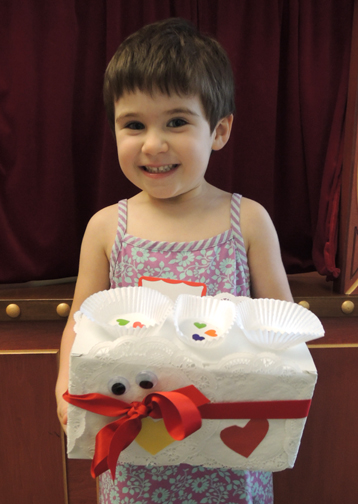 As the final touches were put on the boxes, I handed out the love letter templates, instructing everyone to decorate them, cut them out, and put them in their boxes to take home. Later, they could use them to infuse their homes with some L-O-V-E.
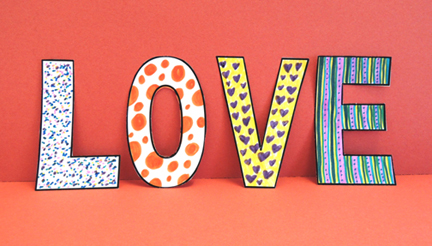
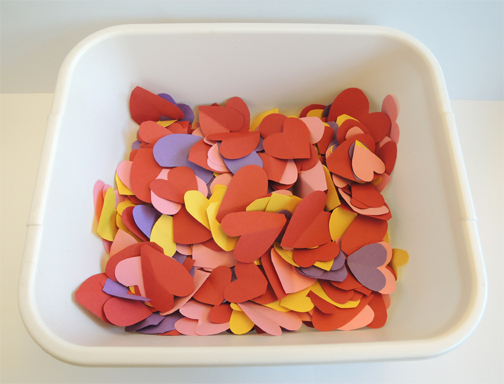 IMPORTANT! After you finish cutting a heart, make sure you soft fold it down the middle. Unlike a hard fold, where you push the paper down so the sides meet (and run your finger along the fold to create a sharp crease), a soft fold consists of gently folding the paper, but not letting the sides touch.
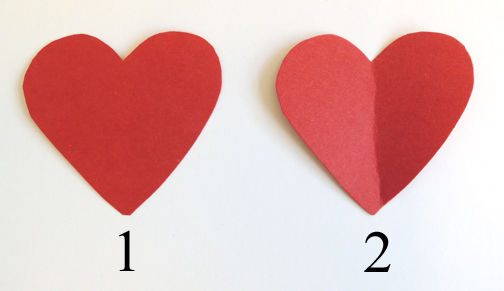 This step might seem superfluous, but after some testing I determined that a soft folded heart will flutter and fall better than a non-folded (or hard folded) heart, making it easier for kids to see and catch.
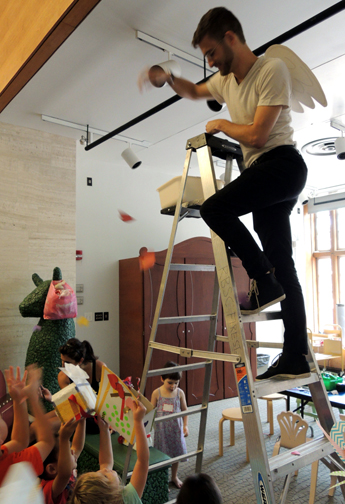 Then, in a serenade of violins, cupid departed, taking his 8′ aluminum ladder with him…