 Your fairy godmother has arrived! Yes, this fairy godmother grants wishes. But be careful. You’ll get what you ask for, but it might not be exactly what you expect! Meet Sylvia Jacobson. She’s a sophomore at Princeton University, an Environmental Engineering major, and a creative contributor to Cotsen Critix, our children’s literary group for ages 9-12. And this year, she was the group’s official fairy godmother.
At the beginning of the Cotsen Critix programming year, Sylvia asked each group member to make 3 wishes. She selected 1 of the 3 wishes for each kid and, over the course of the program, she would start each session by granting a wish.
Sylvia adapted the fairy godmother activity from a “Wish Night” she used to run at a sleep-away camp (a shout out to Habonim Dror Camp Moshava!). Sylvia and her fellow counselors would ask the kids to write down their wishes without telling them why. Then, on the appointed night, the wishes would be granted to the campers, which meant over 100 wishes total in one night!
The Cotsen Critix were warned that Sylvia was a literal fairy godmother. Not only did she get quite specific in granting wishes, she also invoked wordplay to achieve some truly hilarious results. Here are a couple examples of Sylvia’s handiwork:
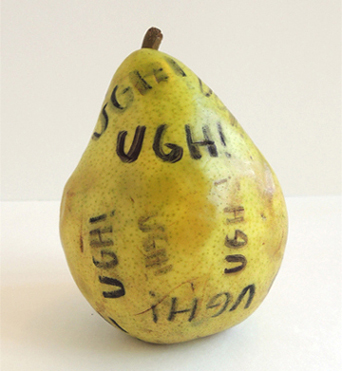
Wish: “A pair of UGGs”
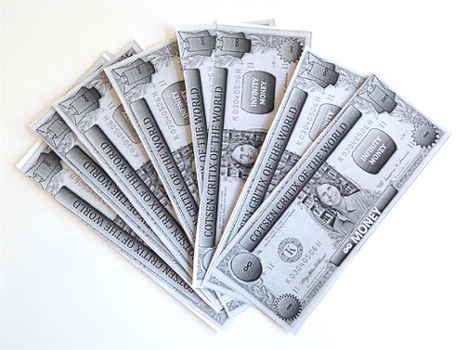
Wish: “Infinity money”
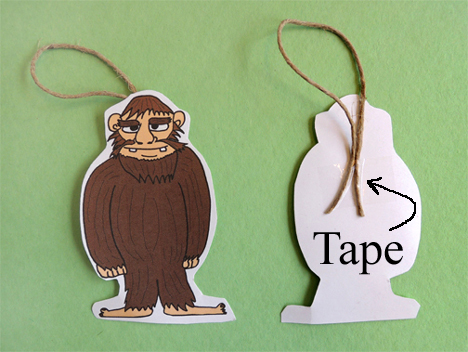
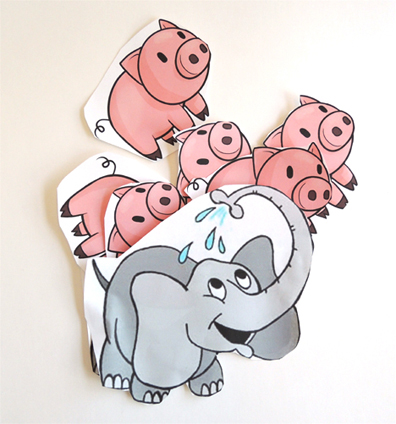
Wish: “A pig stuffed animal”
In case it’s not clear in the photo, that’s an elephant stuffed with pigs.
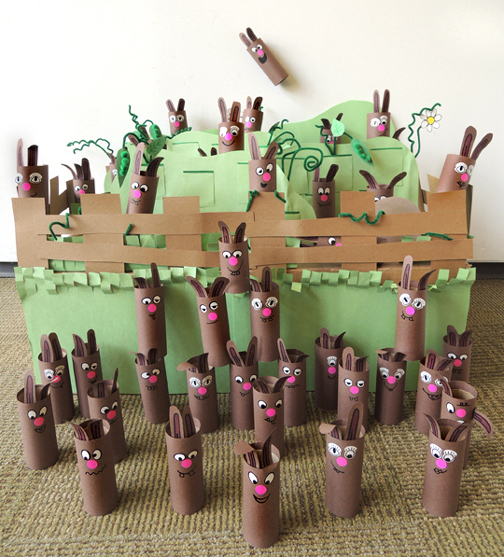
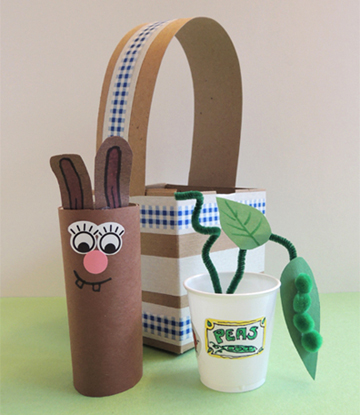
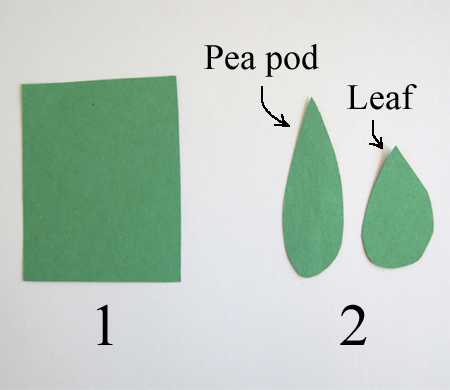
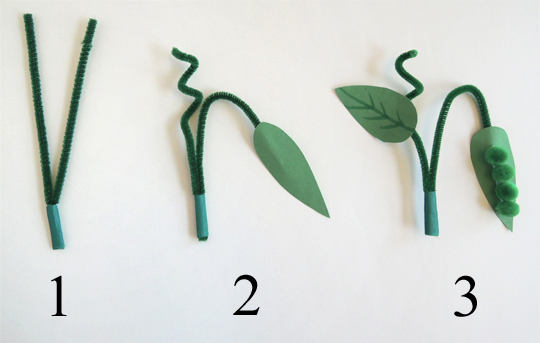
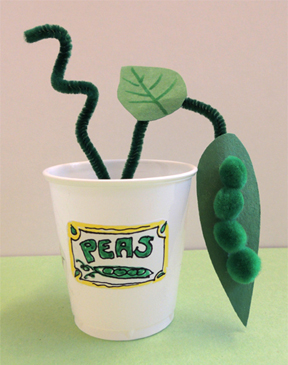
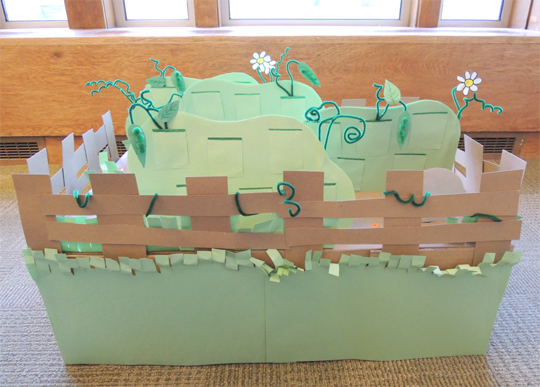
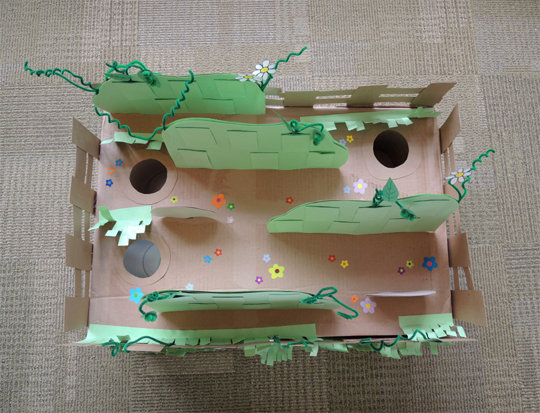
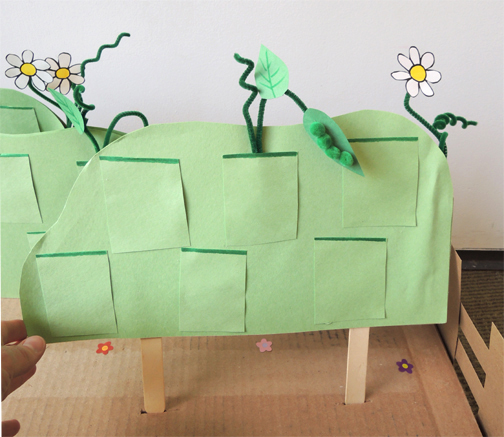
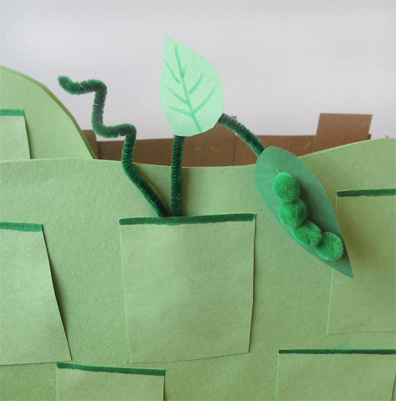
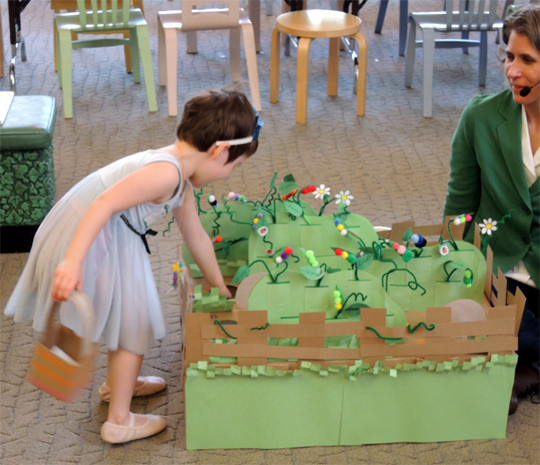
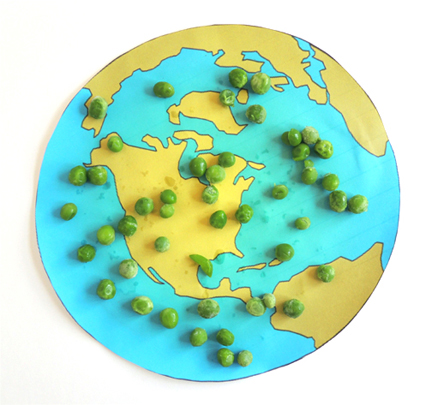
Wish: “I wish we can have a peaceful world”
One peas-full world, coming up!
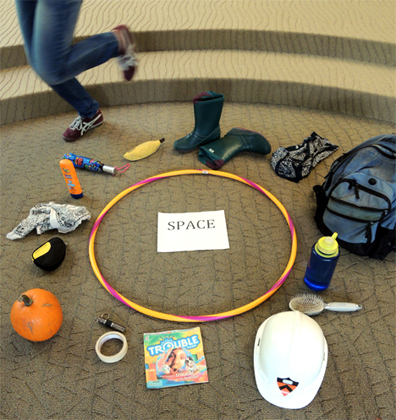
Wish: “To travel in outer space without any equipment or trouble”
The kid was instructed to travel around outside the area marked “space” without carrying any of the equipment or touching the board game Trouble.
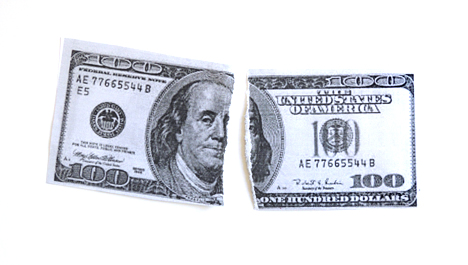
Wish: “To have a 100 dollars”
Rip a 100 dollar “bill” in half and yes! You halve a 100 dollars.
Wish: “5 more wishes”
Ah, the classic I’m-trying-to-break-the-system-wish. I’ll admit, this was mine. The fairy godmother, however, was ready for me. She handed me a piece of paper and asked me to write down 5 more wishes. Then, she took the paper from me…and immediately handed it back. Voila! Sylvia had officially given me 5 more wishes.
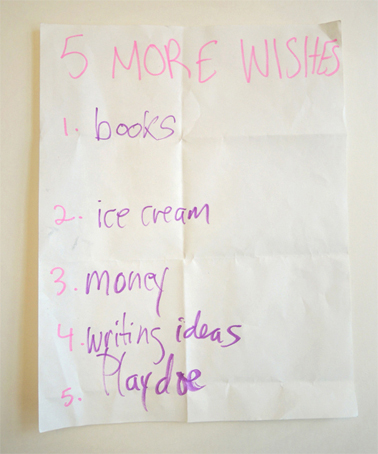 And now all the world can see that I don’t know how to spell the word “Play-doh.”
Doh!
The fairy godmother was a huge hit. Almost all of the kids mentioned this activity was one of their favorites this year. Sylvia’s favorite part? “The Critix’s surprised reactions. It was fun to give everyone what they asked for but not what they expected. Also, I loved the arguments each week as the Critix tried to convince me that I couldn’t be a real fairy. I’m still not convinced.”
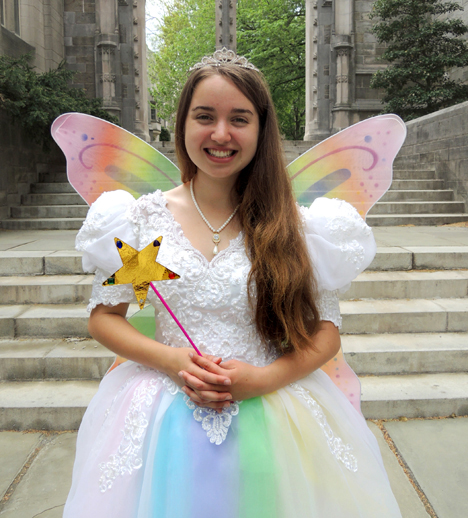
While Sylvia typically made her visits sporting fabric wings and carrying a homemade wand, on the last day of the program we surprised the kids by having her appear in a full-on, puffy, fluffy, sparkly and splendid fairy godmother costume.
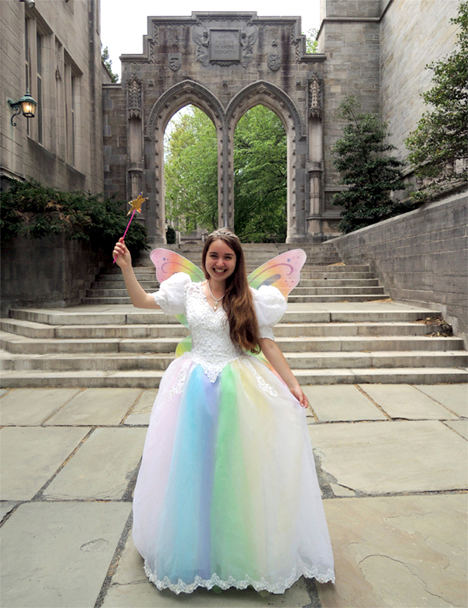 The dress was actually an old wedding dress I found in a local thrift/consignment shop called Nearly New. The owners were delighted by the project and gave me a wonderful deal on it. We added some pieces of rainbow tulle to match the wings, and borrowed a tiara and necklace from the University’s Lewis Center costume shop. The results were fabulous.
Make a wish!
Special thanks to the Lewis Center for the Arts’ costume shop and the Nearly New Shop for making our fairy godmother extra magical.