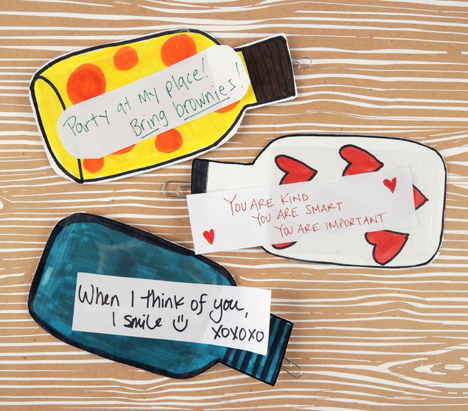
Messages of love, thoughtful notes, warm invitations…they’re all heading your way to be captured and stashed in your fishing creel AND your heart!
We read The Uncorker of Ocean Bottles, written by Michelle Cuevas, and illustrated by Erin E. Stead (Penguin, 2016). The Uncorker of Ocean Bottles’ job is to spot message bottles and deliver them to their proper recipients. But secretly, he yearns for someone to write a message to him. One day, a bottle arrives with a party invitation, but no name. So the Uncorker asks a number of people if the message belongs to them. Finding no success, he decides to take the bottle to the party and report his failure. However, when he arrives, he finds everyone he talked to earlier, waiting and ready to have a party with him!
You’ll need:
- 1 tissue box
- 1 strip of poster board strip for a box handle
- 1 wooden dowel
- 1 piece of string
- 1 wine cork
- 1 button magnet
- 1 message bottle template, printed on 8.5″ x 11″ card stock
- 3 rectangles of clear plastic (more on this below!)
- 3 paperclips
- Scissors, tape, and stapler for construction
- Markers for decorating
- Hot glue
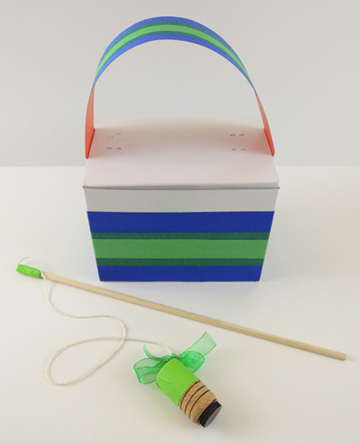
First, your equipment! The fishing creel is a box with a poster board handle stapled to the lid. We decorated ours with color masking tape, but markers work too! The fishing pole is a wooden dowel, and the “hook” is a button magnet hot glued to a wine cork.
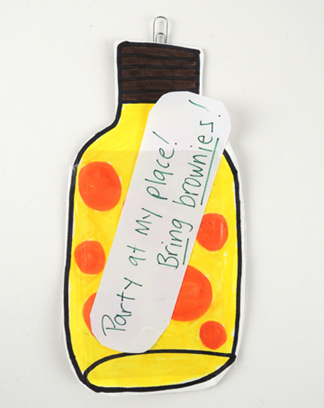
 Color and cut the 3 bottles from the template, then tape a little pocket of archival mylar to one side. You can find mylar sheets on Amazon, or you can use clear gift wrapping cellophane. Tape a paper clip to the top of the bottle. Finally, use extra paper from the template to write messages and tuck them into the pockets of the bottles.
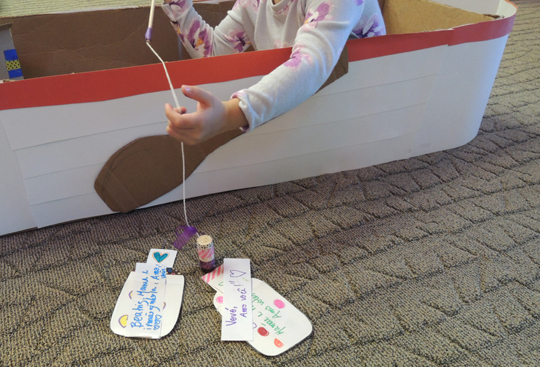
 Ready to fish? My son and I crafted this awesome row boat we dubbed the “Cape May III.”
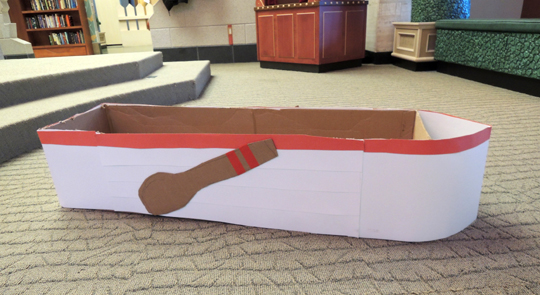
At story time, I scattered the kids’ bottles in the “ocean” while they sat in the boat. Then they “fished” off the side, connecting the magnet hook to the paper clipped bottles, which were then hoisted and deposited into the creel!
 The Uncorker of Ocean Bottles was actually a special request from Lydia, a little girl who was aging out of our Tiger Tales story time program. So Katie and I made a very special bottle message for her, and snuck it in with her other bottles. A little story time magic, straight from the heart :)

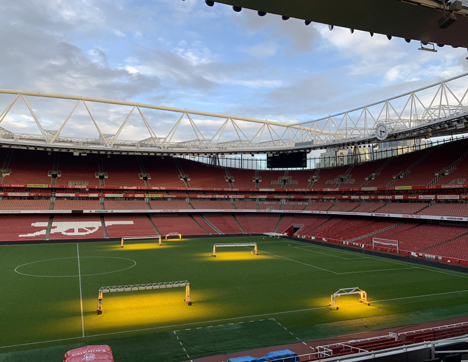
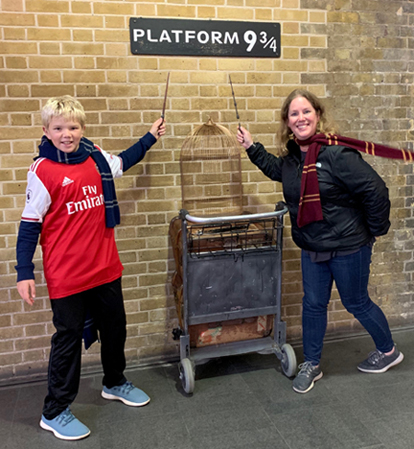 Flag down the Knight Bus and tap the butter beer…Katie’s in London! There she is at the official Platform 9 3/4 in King’s Cross Station. Her family also took a tour of London’s Quiddich…uh, I mean SOCCER stadium. Emirates Stadium, home of Arsenal!
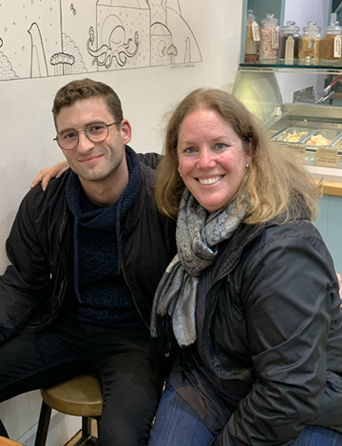
 Katie also caught up with another familiar Pop Goes the Page face…Ian! When last we saw
  Katie also headed to her
 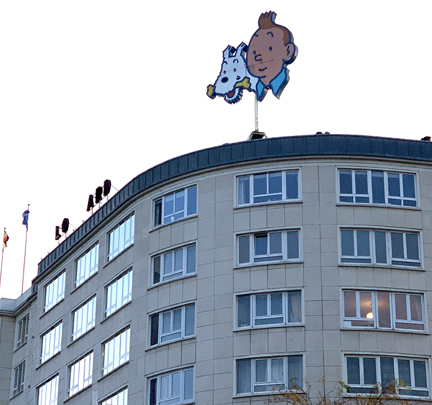 So Katie’s traversing Europe. I’m in the office, blogging. However, I’ve been assured some fine Belgium chocolate is coming my way. In the meantime, those who yearn for Diagon Alley are welcome to check out our regularly updated
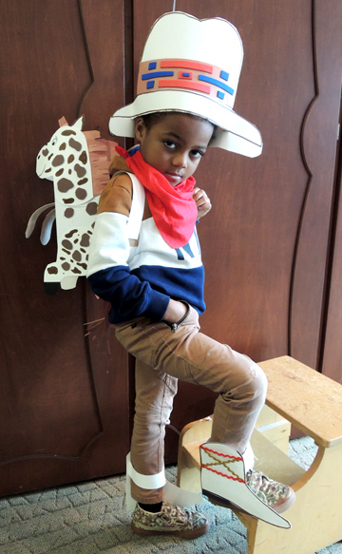
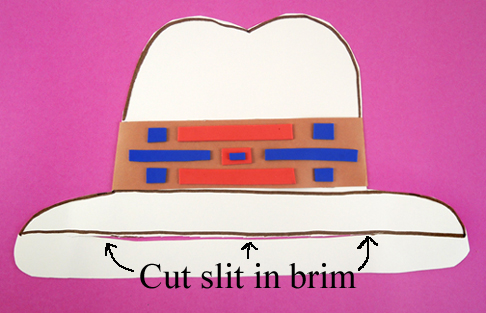 Now for the boots! Trace the
 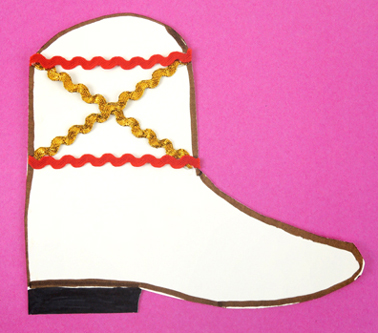 To wear the boot, attach a strip of poster board to the back of the boot, then loop it around your ankle and secure with tape.
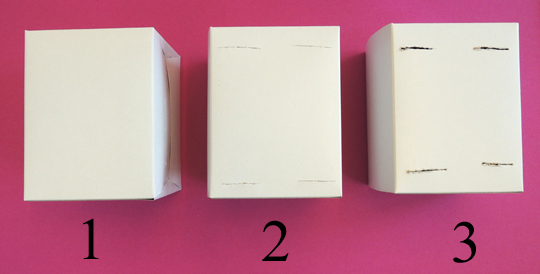
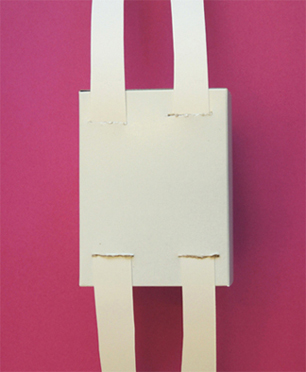
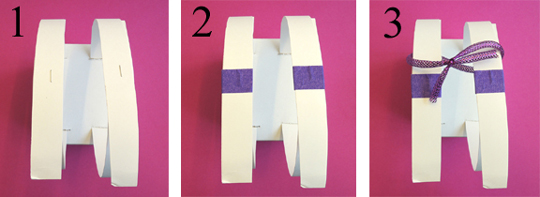
 Finally, the horse backpack! It’s the same as the robot backpack we made
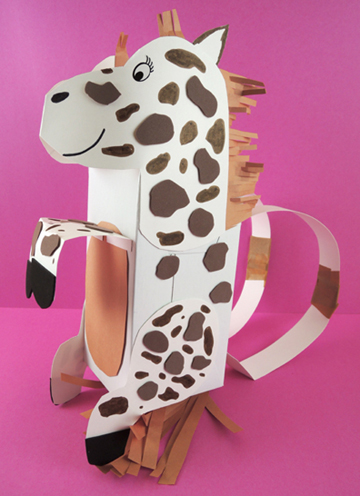 When your project is done, suit up, saddle up, and riiiiiide partner!