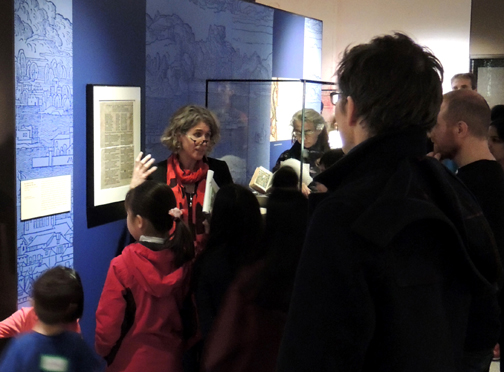
 Recently, the Department of Special Collections at Princeton University Library hosted an amazing exhibit, “Gutenberg & After: Europe’s First Printers 1450-1470,” and our library hosted a special event that featured a children’s tour and hands-on activities. If you’ve ever wanted to do something related to printing and the history of the book, read on!
The Gutenberg exhibit featured early European books that were printed on the first moveable type printing presses, including the world’s first dictionary, medical texts, law books, and the big granddaddy of ALL rare books, the Gutenberg Bible. That’s me in the above photo, leading the tour.
During my talk, I discussed hand-written books before print, how the early printing press worked, and how the growing availability of printed books evolved us into a culture of reading and writing. I had quill pens, actual 15th-century illuminated manuscript pages (thanks to this program!), vellum, and pieces of moveable type for kids to handle.
Meanwhile, in our children’s gallery, we had three hands-on activities: 1) Calligraphy; 2) A typewriter petting zoo; and 3) A pasta machine printing press.
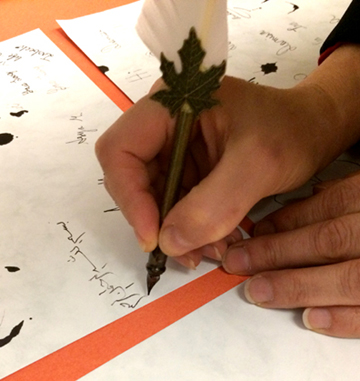
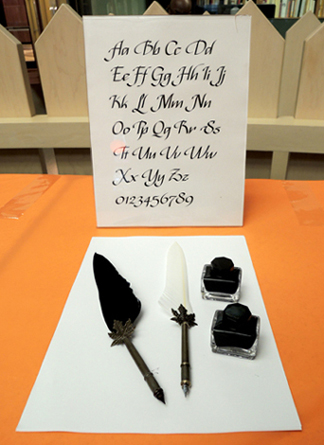 For the calligraphy activity, we purchased both traditional feather quill pens and metal nib quill pens on Amazon, along with bottles of ink. Katie printed different examples of calligraphy so kids could replicate some letters. We also had calligraphy pens and brush pens in rainbow colors. Everyone loved trying the pens, and the calligraphy wasn’t just limited to the English language…
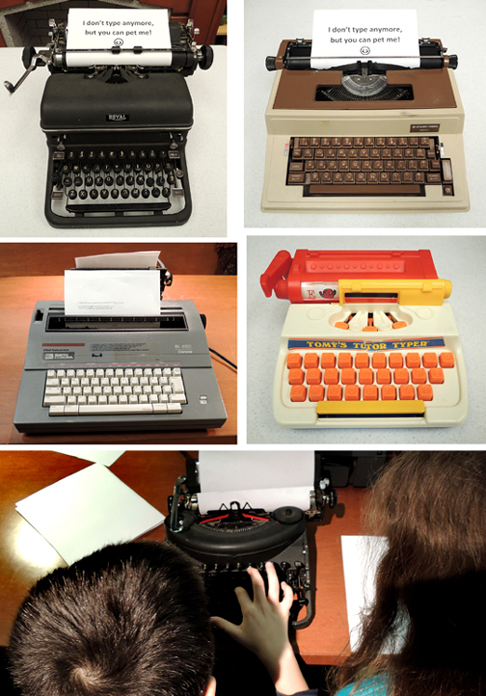
 We also had a massively popular typewriter petting zoo. There were 5 typewriters in all, 2 working, 2 non-working, and 1 toy for the really little kids. Kids could touch, explore, and clatter away on them! Katie and I were a wee bit worried about how loud the zoo would be, but quickly learned that the sound of multiple typewriters is actually incredibly soothing (at least to us!).
 The final activity was something I’ve been wanting to do ever since I spotted in on the Eric Carle Museum‘s blog (see this post for my tour of their awesome art studio). Namely, A PASTA MACHINE PRINTING PRESS! It was fantastic.
You can find detailed instructions here on the Carle’s studio blog. But basically, you’ll need foam trays, a carving tool, paint, rollers, paper, and a pasta machine. We purchased the cheapest one we could find on Amazon. It was $28. Just make sure the one you buy clamps to the table
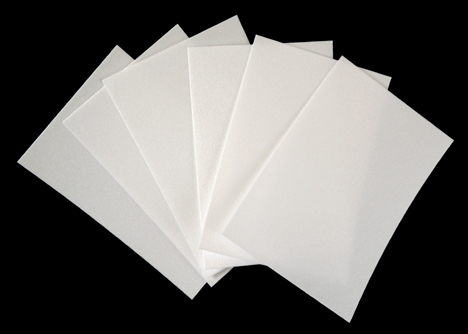
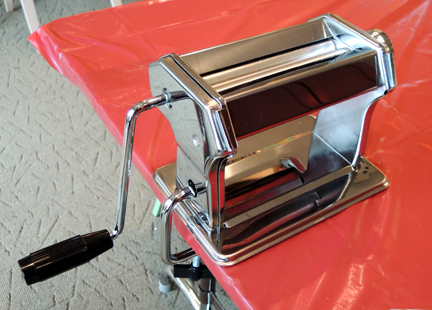 The steps for the activity are as follows: Firs, use a tool to carve a design into a foam sheet. The tool can be a pen, pencil, or wooden scratch art styluses. The foam sheets are the same material that meat is packaged on. We bought thinner versions on Amazon (Presto foam printing plates, a 100 pack of 6″ x 4″ sheets is $15).
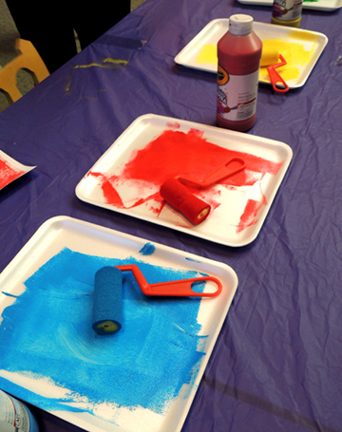
 Next, roll paint over your engraved foam sheet. We used trays to reduce the mess. They were definitely helpful!
 Finally, place a piece of paper on top of your painted engraving and run it through the pasta machine printing press. Peel the foam sheet and the paper apart, and you have a beautiful custom print!
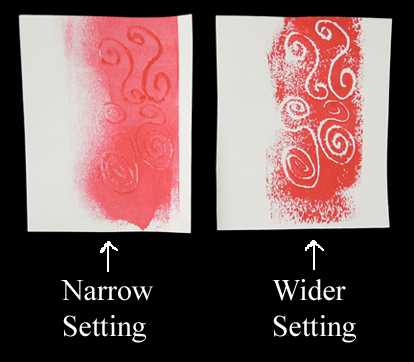
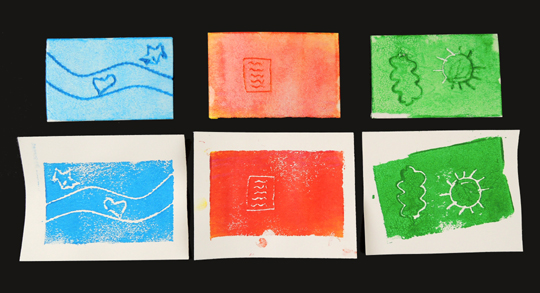 Important! Make sure the pasta machine is set to a wider setting. As you can see in the photo below, if the machine setting is too narrow, the paint will just squish into the lines of your engraving. The wider setting allows to white lines of your design to appear.
 Also, make sure kids know that if they want to print words, they have to carve them backwards as the printing process reverses the carved image. And you might want paper plates handy so kids can transport their still-damp prints home.
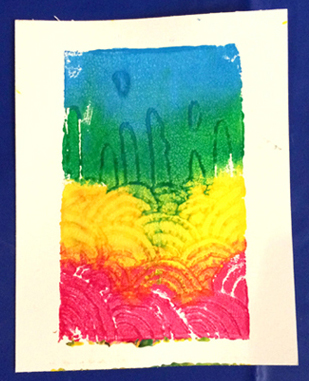
What’s really cool is that some kids started experimenting with printing in multiple colors. Including THIS gorgeously vibrant one. LOVE!
Many thanks to Eric White, Curator of Rare Books, for his enthusiasm, expertise, and assistance in designing the children’s tour. And to AnnaLee Pauls, for generously loaning her beloved and amazing typewriters to our petting zoo!

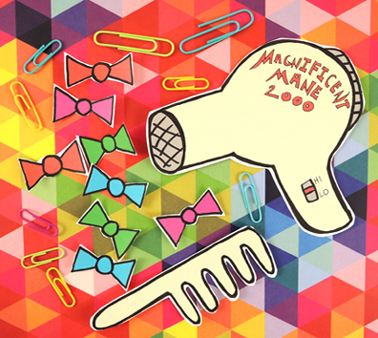
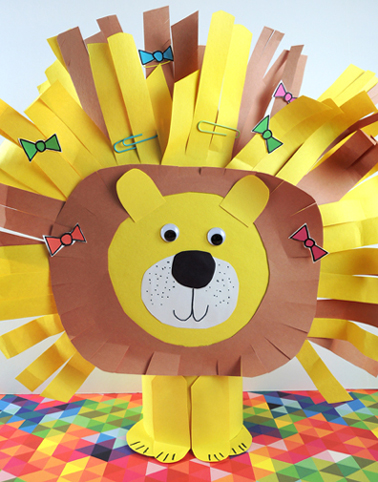 Is your mane getting a little wild and unruly? It might be time to tame those locks with a firm hand and LOTS of hair bows!
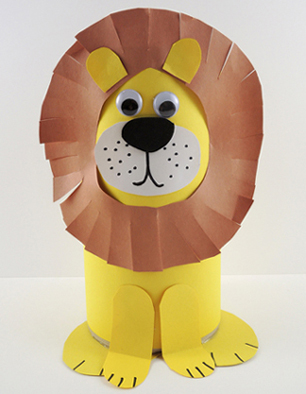 The lion is an oatmeal container decorated with construction paper and (optional) wiggle eyes. The original instructions can be found in our
 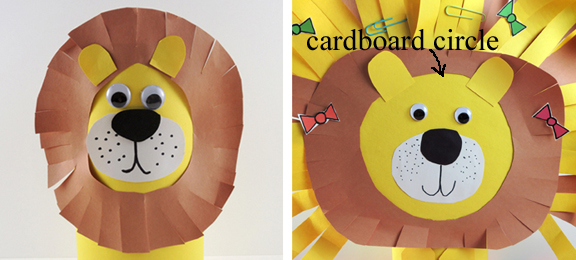 Glue a circle of yellow construction paper to a 7.5″ diameter corrugated cardboard circle (we used a
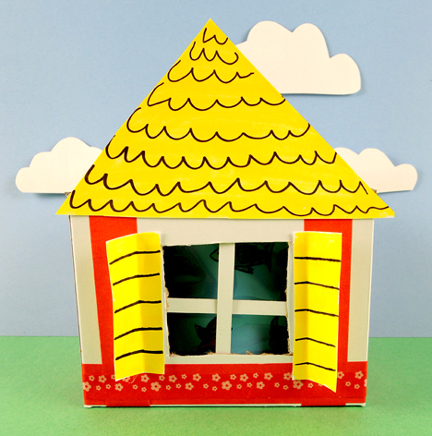
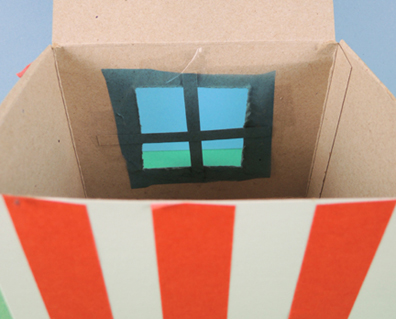 Now decorate the outside of your house! We offered construction paper,
  The final piece of the project is the spinning cylinder. This is a plastic cup attached to the roof of the house with a brass fastener. Two tabs extend from the top of the box, allowing you to easily turn the mechanism:
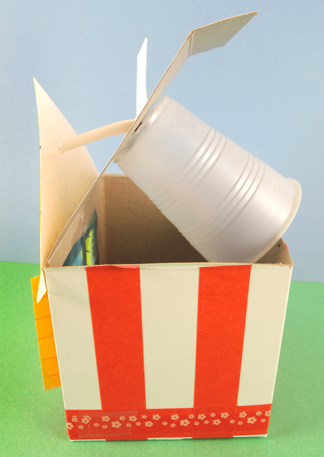 Our tabs were created with a 0.75″ x 3″ snippet of poster board. Punch a hole in the center, then thread a brass fastener through the hole. Push the ends of the fastener through small slits cut in the top of the box and the bottom of a plastic cup. Unfold the fastener’s prongs inside the cup.
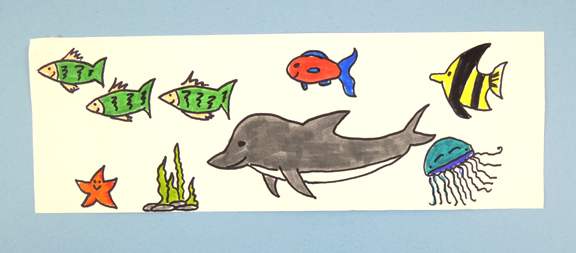
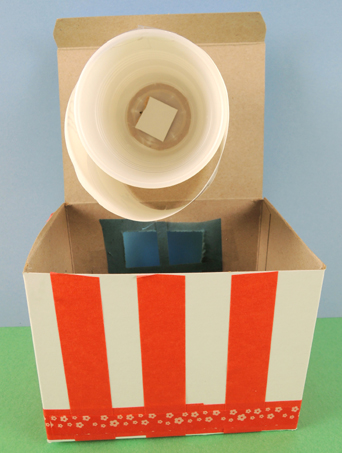 Finally, wrap your strip of ocean critters around the cup. As you can see in the above photo, the cup is tapered, so the strip won’t wrap around it in a perfect circle. No problem! So long as the strip is secured tightly to one point of the cup (we suggest the strip’s seam) it will work. Here’s a shot of the finished mechanism, which is then tucked inside the house. Secure the lid down with tape.
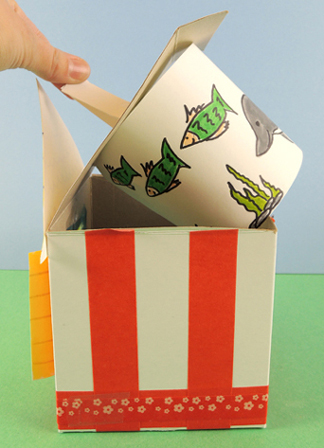 Ready to see this little contraption in action? The colors were a little muted in the video, so I removed the blue cellophane from the window to showcase the ocean critters more clearly. Swim my little friends, swim!