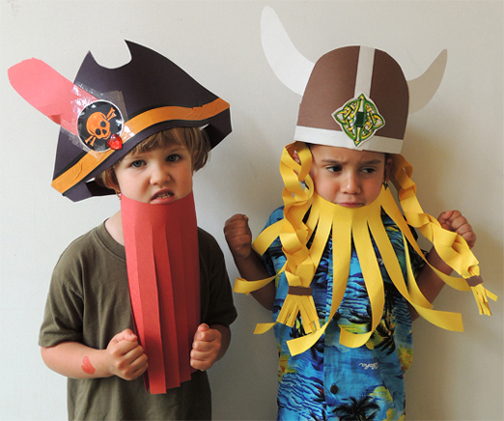
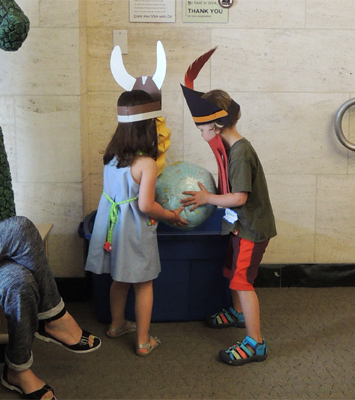
 Can’t we all just get along? Apparently not if you’re a pirate or a viking. We gave kids the choice of being a pirate or a viking, and then played cooperative games to show that yes, even pirates and vikings can learn to work together! I love this photo. I asked the kids to “make a mean face” and they still managed to look completely adorable.
We read Pirate, Viking & Scientist by Jared Chapman (Little, Brown, 2014).
Pirate and Viking are friends with young Scientist…but NOT one another. Things come to a head at Scientist’s birthday party. Instead of doing the right thing and getting along, Pirate and Viking erupt in a nasty, full-out, cake-throwing brawl. Putting the scientific method to work, Scientist tries to systematically solve the problem. After a few failed attempts, he finally hits on the solution – that Pirate and Viking both love boats, swords, pillaging, and plundering. Success! With these common bonds between them, the party is saved, and Pirate and Viking are now the best of friends.
For a pirate hat, you’ll need:
- 1 pirate hat template, printed on 11″ x 17″ paper
- 1 rectangle of black poster board (approximately 9″ x 17″)
- A selection of color masking tape
- 1 pirate hat emblem template, printed on 8.5″ x 11″ white card stock
- 1 large gemstone (optional)
- 1 piece of construction paper for your “feather” (approximately 4″ x 12″)
- 1 piece of construction paper for your “beard” (approximately 8.25″ x 12″)
- 2 rubber bands
- Hole punch
- Scissors, glue, and stapler for construction
- Markers for decorating
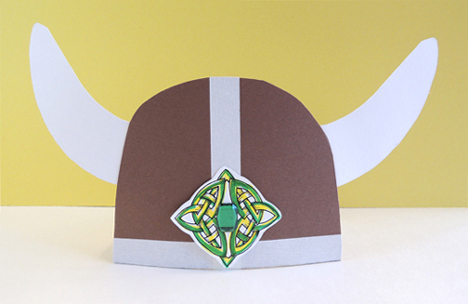
For a viking hat: you’ll need:
- 1 viking hat template, printed on 11″ x 17″ paper
- A piece of brown poster board (approximately 9″ x 22″)
- A selection of color masking tape
- 1 viking hat emblem template, printed on 8.5″ x 11″ white card stock
- 1 large gemstone (optional)
- 2 rectangles of white poster board (approximately 4.25″ x 7.5″)
- 6 strips of construction paper for your “braids” (approximately .75″ x 18″)
- 1 piece of construction paper for your “beard”
- 2 rubber bands
- Hole punch
- Scissors, glue, and stapler for construction
- Markers for decorating
- Hot glue
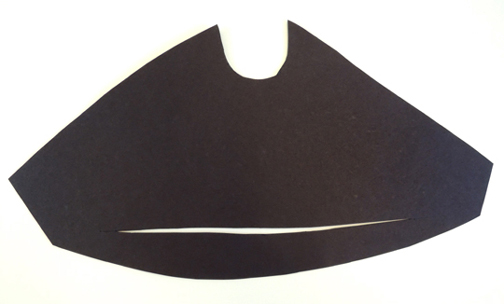
To make a pirate hat, begin by tracing the hat template on a piece of black poster board. Next, make a 12″ slit close to the bottom of the hat (this is where your head will go through later). Set the hat aside for a moment.
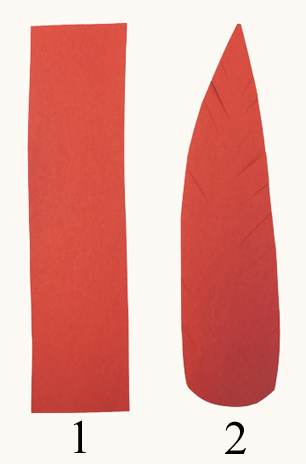
 Cut a 4″ x 12″ piece of construction paper (any color) into a feather shape and fringe the ends to give it some texture.
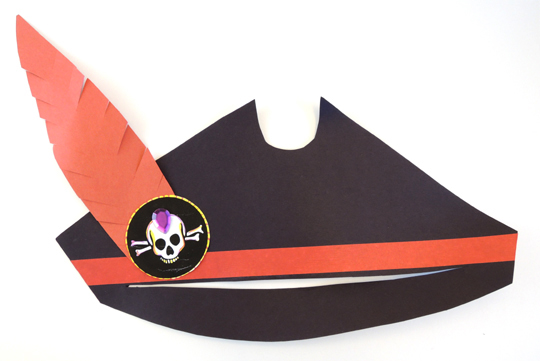
 Use color masking tape to add a hatband to the hat, and markers to color a pirate hat emblem. Hot glue (or tape or staple) the feather to the hat. Cover the bottom of the feather with the emblem, and hot glue (or tape or staple) it in place. If you’d like, attach a large gemstone with hot glue.
 To make a beard, cut a shallow scoop in the top of a 8.25″ x 12″ piece construction paper. Then fringe it.
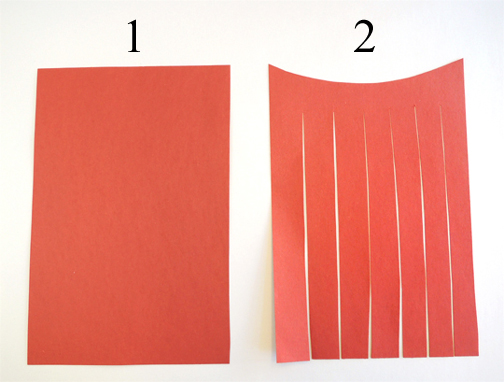 Punch holes at either end, and thread a rubber band through each hole.
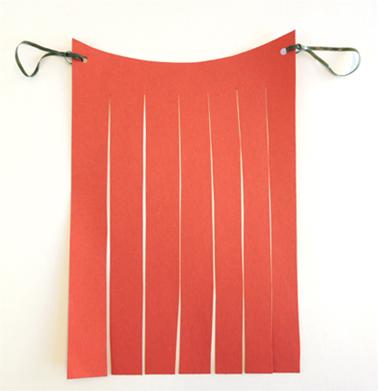 You can leave the beard straight, or curl it around a pencil or marker to give it some body. When you’re satisfied with the way it looks, press the beard to your chin and loop the rubber bands over your ears. Done!
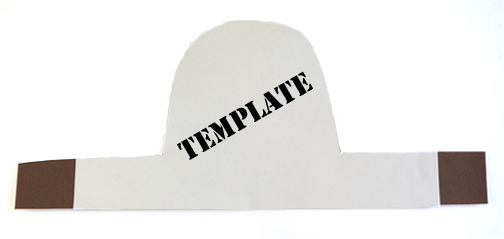
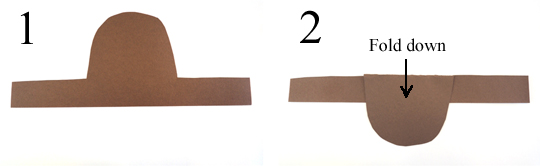
To make a viking hat, trace the hat template onto a 9″ x 22″ piece of brown poster board. Your template will be shorter than the piece of poster board. No worries! I had to fit the template onto an 11″ x 17″ piece of paper, and couldn’t include the last couple inches of the hat band. Just keep cutting past the template until you reach the ends of the poster board. Here’s an image of the template resting on top of a hat. You can see a couple inches of brown hat band sticking out:
 Fold the top of the hat downwards over the hat band, and hot glue it in place (you can also staple it in place, but might want to cover the staples with tape so they don’t scratch anyone’s forehead).
 Use color (or regular) masking tape to add some details to the hat, then shape a pair of horns out of white poster board and attach with hot glue (or tape). Color a viking hat emblem from the template, then hot glue (or tape) in place. Add a large gemstone if you’d like. Finally, circle the hat band around your head and staple it closed.
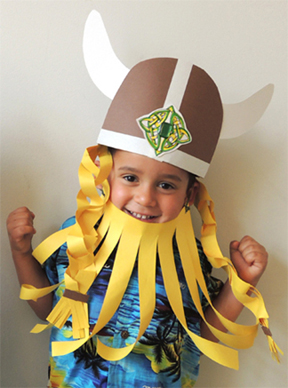
 Want braids? Staple the top of 3 long strips of paper together. I found that looser braids hung better (tighter braids tended to kink and bunch up). When you get to the bottom of the braided strips, staple them together. Cover the staple with a construction paper “thong” if you’d like. Repeat the above steps to make a second braid, then staple both braids to your helmet, close to your ears. Check these braids out!
 If you’d like to make a viking beard, follow the exact same steps for the pirate beard.
You’re suited up, now it’s time for the cooperative games! We separated the kids into two groups: Pirates and Vikings. For each game, we paired a pirate and a viking together, and ran the game until all the teams had a turn.
GAME 1: BEACH BALL BLISS
 Team members had to carry a ball across the room together, then deposit it into a bin. If they dropped it (or one of them grabbed it and ran with it), they had to start over again.
GAME 2: COIN CLAIM
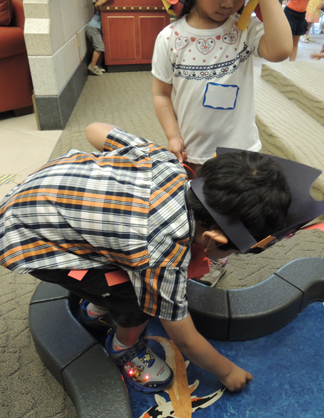 Teams had to carry a bucket across the room together, “dive” into a pond, and claim 2 treasure coins – all while still sharing the bucket handle. Then, still sharing the bucket, the team walked back to the finish line. We have a “koi pond” in our gallery, but a blue sheet on the floor works too!
The coins were interesting-looking pieces of foreign currency we requested through our recyclable program. But you could use regular old quarters, plastic coins, or shiny circles of paper and achieve the same effect. We made sure both coins in the pond matched, and refreshed the stock as each new team approached. Otherwise, there might have been a brawl over the “prettier” or “shinier” coin.
GAME 3: FRIENDSHIP TATTOOS
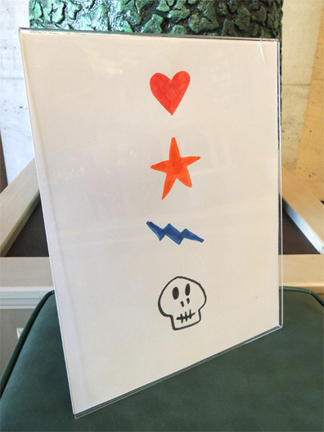 Pirates and vikings sat down in matching chairs, scanned a list of 4 tattoos (see above), and decided which one they wanted. But they also had to decide where they were going to get the tattoos, and the tattoo locations had to match! Eventually, the team members would come to a consensus and we drew the tattoos straight onto their skin with washable markers.
At our story time, most of the kids don’t know each other. We didn’t want to make anyone feel uncomfortable, so we kept the cooperative games low-contact and simple. But if you did this in a classroom where the kids know each other fairly well, you could up the challenge level. One example would be to play Beach Ball Bliss, but have the kids squash the ball between their bellies and, using no hands, walk the ball to the goal without dropping it!
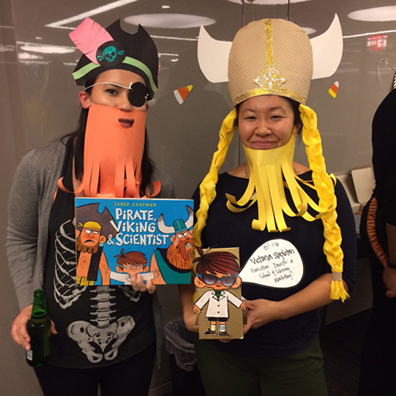
Postscript: The author, Jared Chapman, sent this to me! It’s an image from Little, Brown’s annual Halloween party. Two staffers from the School & Library team dressed up as Pirate and Viking using the costumes from this post! Don’t they look amazing? Thanks for the photo Jared!

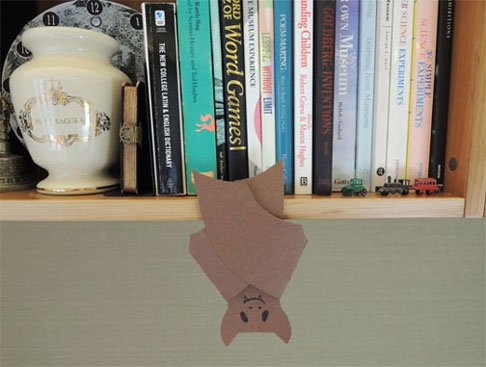 This terrific poster board bat can hang just about anywhere, thanks to its paper clip foot. The bat is a little science lesson too – open its wings and discover a mini exhibition of bat information!
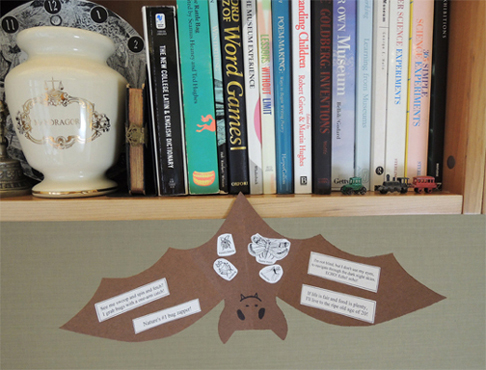 You’ll need:
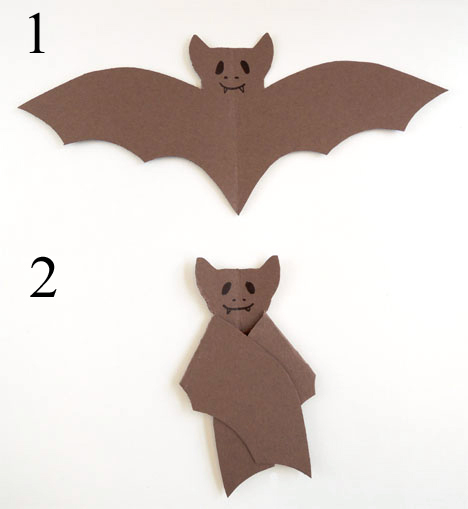 Unfold the wings and glue bat facts and bugs to the bat’s body. Two important things to remember: 1) Since the bat hangs upside down, you’ll want to attach the facts and bugs upside down as well; and 2) Keep the things you are gluing out of the creases in the wings. Otherwise, your bat’s wings will not fold as nicely.
 Tape 1/2 of the paper clip to the back of your bat, right at the very bottom:
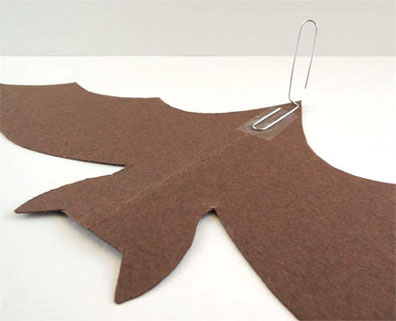 OK, your bat is ready to hang! Place the free end of the paperclip onto a shelf or tabletop. If you’d like to hang the bat on your shirt, on a nail, or on a garland with other bats, adjust the paperclip accordingly.
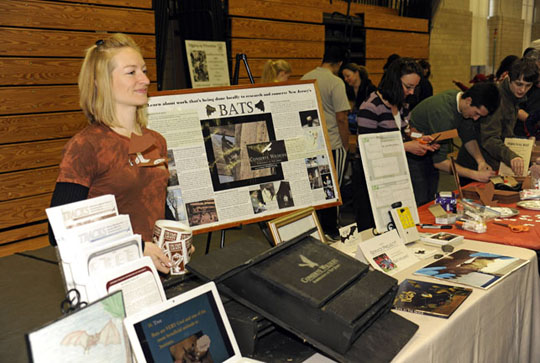 That’s MacKenzie Hall in the above photo. She’s a researcher, conservationist, wildlife educator, and author of the fabulous rhyming bat facts. This month, along with two other women, she won the Conserve Wildlife’s Foundation’s “Women and Wildlife” Inspiration Award. You go MacKenzie!