
 Messed up on a test at school? Misplaced your toad? Stole your father’s flying car? Brace yourself – you might be getting a Howler in the mail.
You’ll need:
- An 8.5″ x 11″ piece of red poster board (or red card stock)
- Extra red poster board (or red card stock) for pop-up elements
- A few pieces of white card stock
- Markers, pens, and/or color pencils for writing and decorating
- Scissors and tape for construction
- Optional (but fun!): sparkle stems, foil star stickers, and bits of red mirror board
While there are templates and patterns for the Howlers you see in the Harry Potter movies, some of them can get a little complicated. The folks who staffed the Howler table at our Harry Potter event wanted something kids could do with minimal instruction and assistance. As it turned out, kids of all ages loved making these simple pop-up cards. The table was hopping for 5 hours!
Our Howler is an 8.5″ x 11″ piece of red poster board (or card stock) folded in half. We offered 4 pop-up elements for the interior of the card: 1) Basic accordion fold; 2) Clustered accordion fold; 3) Spiral; and 4) Zigzag accordion fold.
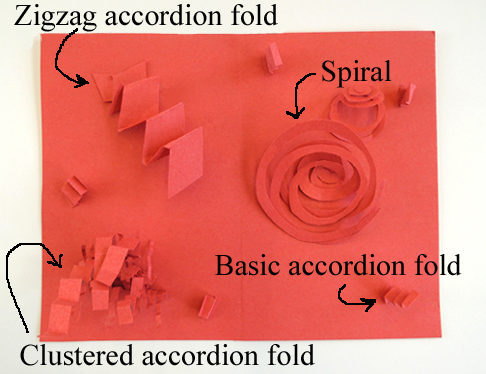 To make the basic accordion fold, take a strip of paper and fold it back and forth until it resembles a stair case. Attach one end to the card with tape. We cut a number of different size strips and let kids pick and fold the ones they wanted. We also had rectangular pieces available in case kids wanted to cut and fold a cluster of accordion folds.
To make a spiral, cut into a circle of poster board (or card stock), circling inwards until you reach the center. Attach one end to the card with tape. We prepared large and small circles in advance, and let kids pick and cut their own spirals.
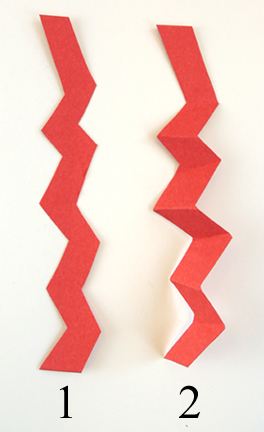
To make a zigzag accordion fold, cut a zigzag into a strip of paper, and then fold along the straight points of the zigzag, like so:
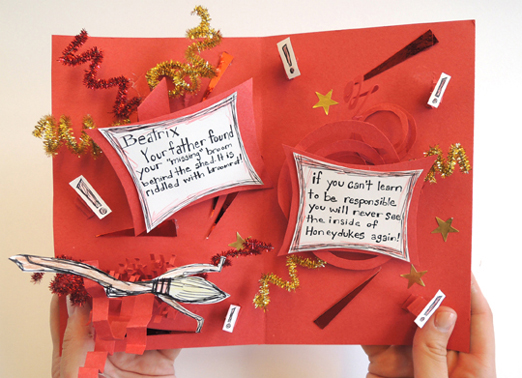
 We had sparkle stems, foil star stickers, and little bits of red mirror board available to decorate the cards (the idea was to make it look as explosive as possible, so lots of red and gold)! Finally, write magical crimes and consequences on pieces of white card stock and attach them to the card or pop-up elements. Feel free to add illustrations as well (like Marissa’s fantastic broomstick in the image below? And did you notice the little exclamation marks popping up on accordion folds?).
Tsk tsk tsk Beatrix. You really should be more responsible with your broom.
 It’s Harry Potter week at Pop Goes the Page! Harry Potter and the Cursed Child, Parts 1 & 2 will be released this weekend, and there will be launch parties and countdown events galore. I thought it would be helpful to compile all of Pop’s Harry Potter posts and projects, just in case you find something that might come in handy at your wizardly celebration.
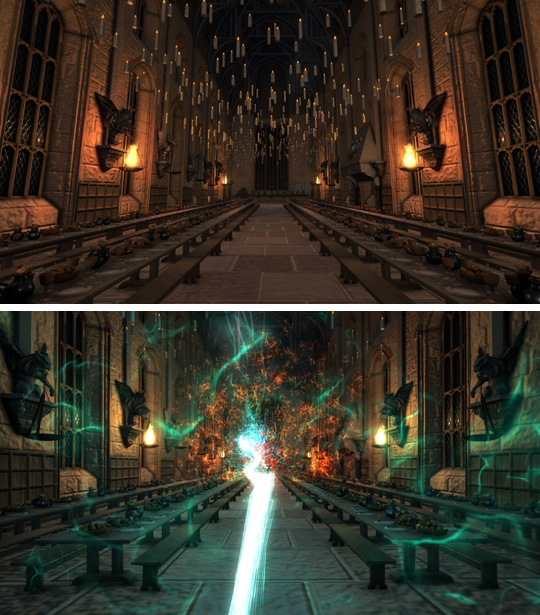 And now for more amazing-ness. This
 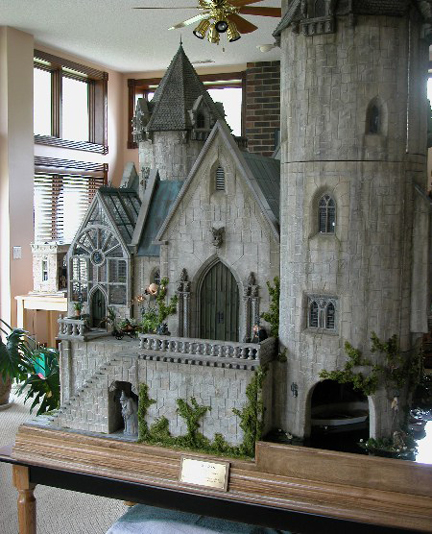 However, if your magical real estate aspirations need to be on a slightly smaller scale, try this Gothic
 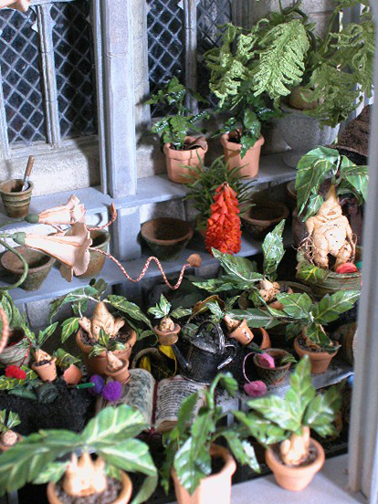 Herbology continues with this little dried herb
 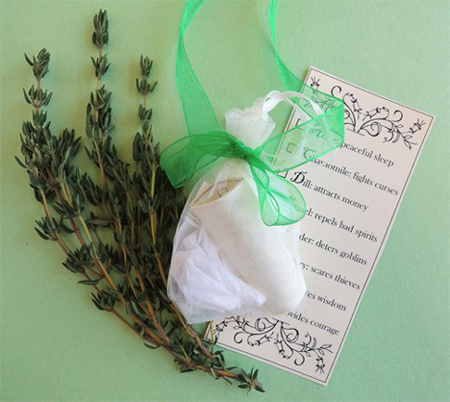 And these dashing, yet simple,
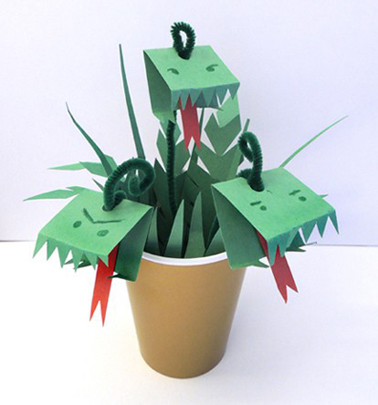
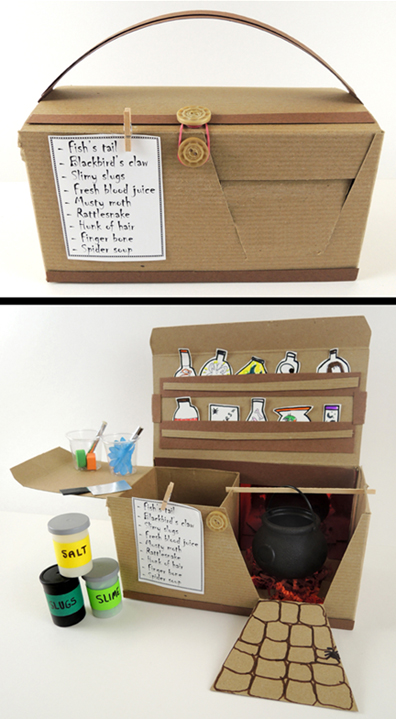 Another Harry Potter post I dearly love is this
 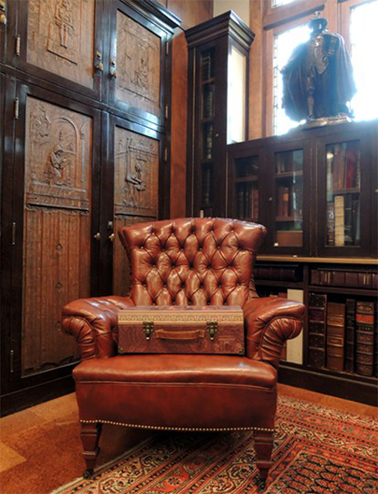 We’ve also made plenty of dragon and monster projects in the past, from this
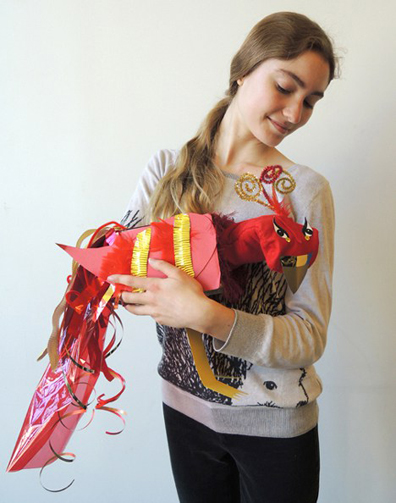 Moving on to school supplies, try these simple, but immensely popular,
 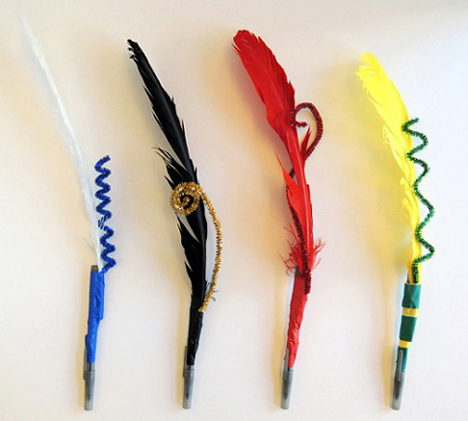 If it’s a wand you need, take a look at the custom wands we made at our Harry Potter
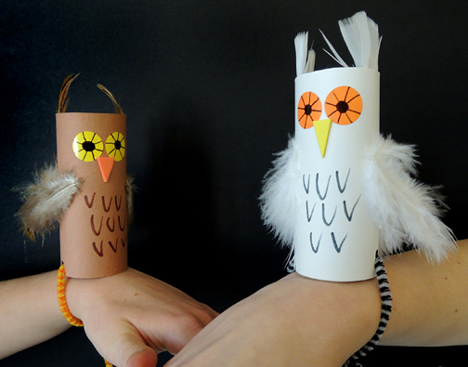
 Or, learn some smaller spells. A pair of Slytherin students joined us at our
 And what would Harry Potter be without some treats? Check out the gourmet
 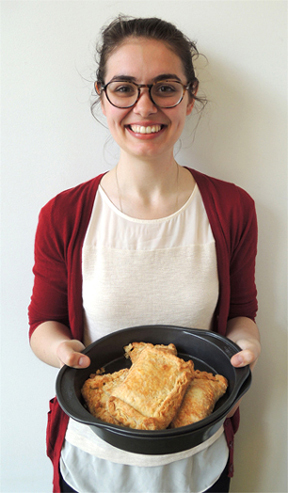 We also tested a couple recipes from the The Unofficial Harry Potter Cookbook by Dinah Bucholz (Adams Media, 2010). Including Hagrid’s famous rock Cakes!
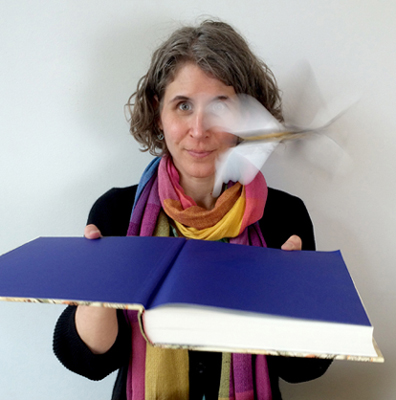
 Those wanting a more academic perspective on Harry Potter (not to mention a look at some goodies from our rare books vaults) should check out the
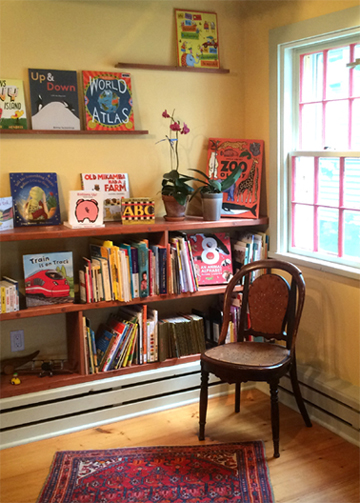
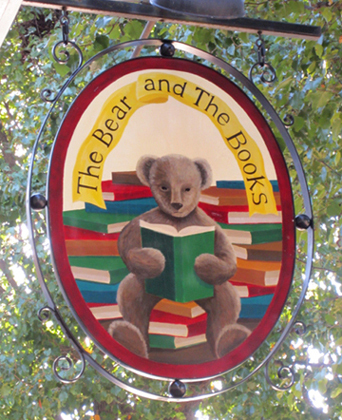 These days, independently owned bookstores are an endangered species. And independently owned children’s bookstores? Those are as rare as unicorns (and some may argue, just as mythological). It is with great joy, then, that I share a very special children’s bookstore situated in the little town of Hopewell, New Jersey.
 How did you decide on the name of your shop?
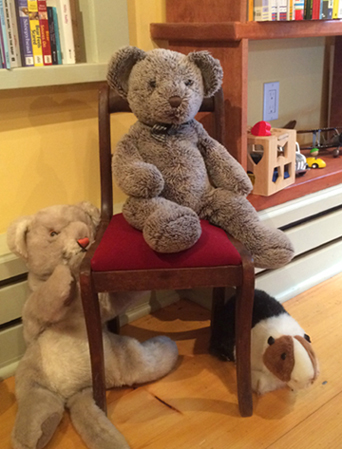 What do you love about children’s literature?
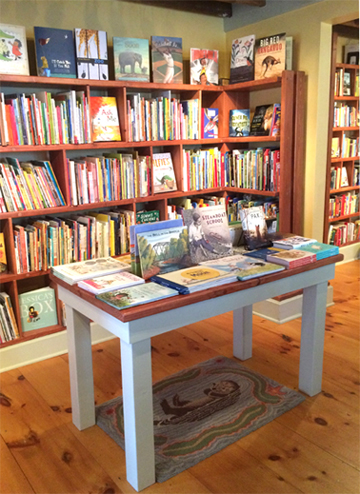 What’s your philosophy on bookselling?
 Can you name a few of your favorite books?