
Helmets! Shields! Dragons! And…kiss-catching nets? That’s right! The royal kiss has gone amiss, and these natty young knights must find it, posthaste!
We read The Kiss That Missed by David Melling (Barron’s Educational Series, 2002). When a busy King hurriedly blows a good night kiss to his son, the royal kiss misses its mark and flies out the window. A great hullabaloo is raised, and the King orders his Knight to find the errant kiss. Unfortunately, the kiss appears to have strayed into the wild wood, which is dark, smelly, and chock full of horrible creatures. Things are looking bad for the Knight when the kiss bounces past, causing all the horrible creatures to settle down to sleep. Except for a dragon, who hoists the Knight and his horse into the sky. Things are looking bad – again – when the royal kiss streaks right up the dragon’s nose. Ah! The dragon decides he doesn’t want to eat the Knight. He wants to kiss him goodnight, instead. They head back to the castle where the kiss is restored to the Prince, and everyone settles down for a good (and much deserved) night’s sleep.
You’ll need:
- A piece corrugated cardboard for the shield
- A selection of color masking tape
- A box cutter
- 2 brass fasteners
- 2 strips of heavy-duty poster board
- Hole punch
- 1 jumbo popcorn bucket
- Silver poster board or mirror board
- A snippet of a toilet paper tube (approximately 1″ tall)
- A bit of tin foil
- 1 full sheet of tissue paper (ours was 19.5″ x 29.5″)
- 1 butterfly net
- 1 royal kiss (more on that later!)
- Scissors, stapler for construction
- Hot glue
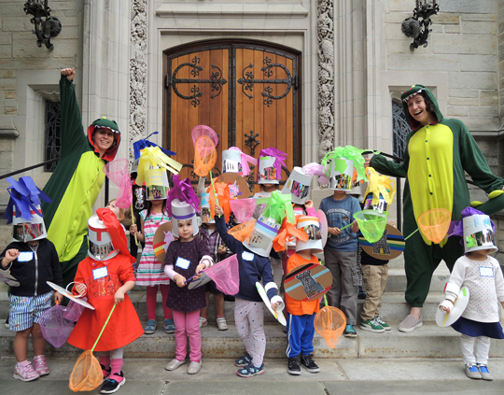
The project consisted of a shield, helmet, and a kiss-catching net. Look, I beg of you, at this adorable knight:
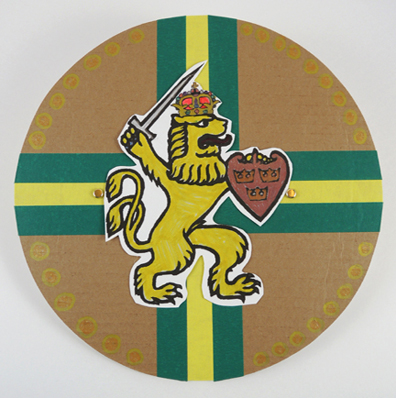
 You will find the instructions for the shield in this post. For this particular story time, we used a 12″ cake circle)s, color masking tape, and metallic and glitter markers. And here’s the template for 6 large emblems for the fronts of the shields.
 Next came the helmets! Gentle lords and ladies, I found the most amazing DIY knight helmet at the blog Meaningful Mama. Jodi Durr, genius crafter, made one out of a jumbo popcorn bucket!
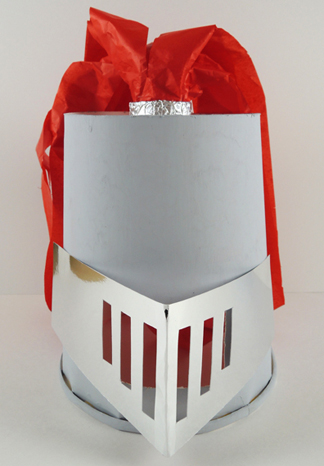 The instructions for Jodi’s helmet are here. We did, however, make some modifications. We used gray primer paint instead of metallic spray paint. We used silver mirror board for the visor. Jodi has 8 slits on her visor template, we only have 6. Also, instead of using brass tacks to make the visor move up and down, we held it in place with glue dots.
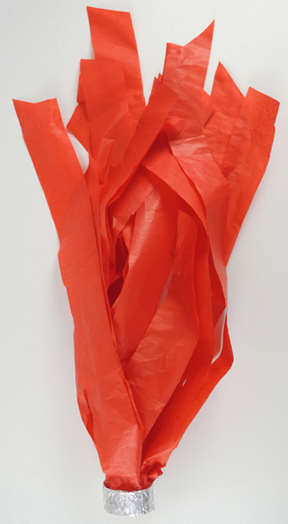
Finally, instead of a feather plume, we folded, then fringed, a 19.5″ x 29.5″ sheet of tissue paper. Then we rolled it up and hot glued it inside a tin foil-covered bit of toilet paper tube. Then we hot glued the plume to the top of the helmet.
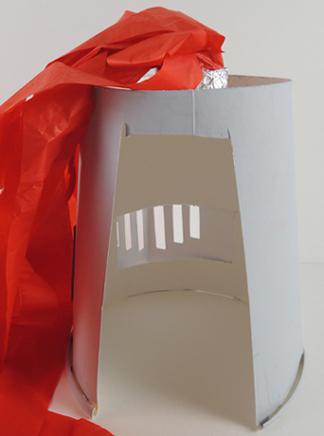
 Our jumbo popcorn buckets were 8.5″ tall and the mouths were 7.5″ in diameter. Even so, many didn’t slide easily over the kids’ heads. No problem! To make more room, cut a strip out of the back of the bucket until it fits. Here, for example what the back of my helmet looked like:
 I’d like to send a big shout out to the Princeton Garden Theater for donating 25 jumbo popcorn buckets to our knightly cause! Last year, we collaborated on a How To Train Your Dragon event (check it out here!) and I do believe we’re going to have some more movie fun in the not-too-distant future.
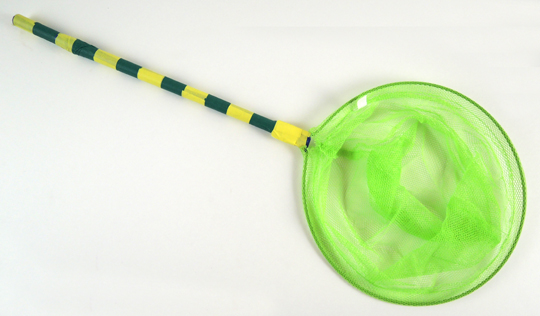
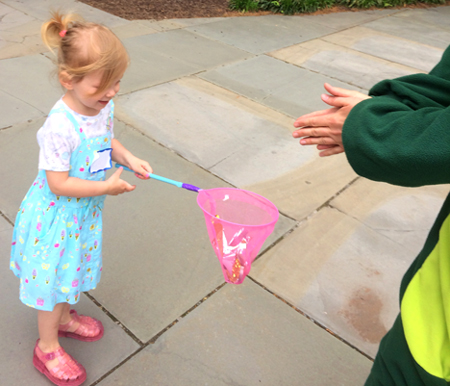
Your last piece of knightly equipment is a kiss-catching net. I used butterfly nets I found in the $1 section of Target (you might recall seeing them in this post). I’ve also seen them at the Dollar Store. A little color masking tape around the handle helped me coordinate the net with my shield.
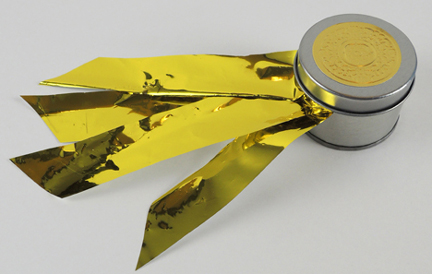
 All you need now are some kisses to catch! Given visor visibility and catching abilities, we wanted ours to be fairly large and substantial. We stuck gold embossed foil seals on the lids of 2″ favor tins, and dropped 6-8 flat glass marbles inside. Then we pinched four, 1.5″ x 7.5″ strips of gold mylar table cloth under the lid. Behold! A royal kiss, ready to be caught!
 Now for the best part. Marissa is the proud owner of not one, but two dinosaur onesies. Ever since she sported one at this story time photo shoot, I’ve been looking for a reason to suit up. Dressed as “dragons,” Marissa and I lead the kids outside and had them form two lines. When we said “Go!” a kid from each line would chase me or Marissa.
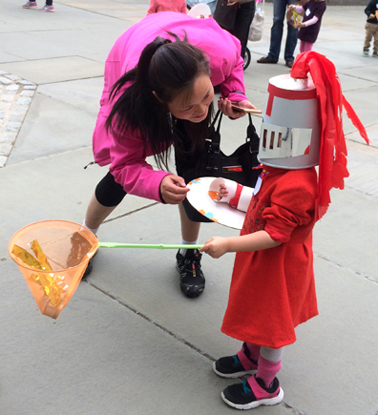
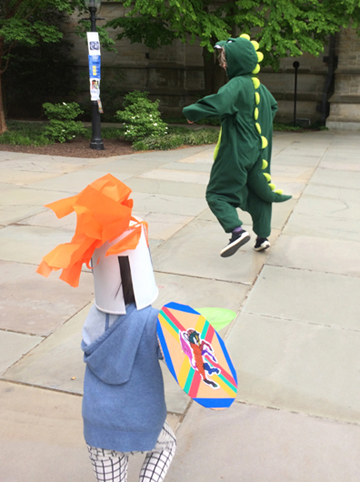 When they caught us, we tossed a kiss in their net!
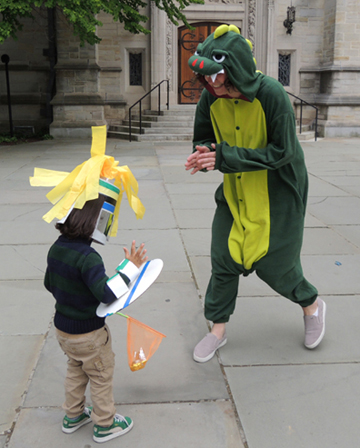
Important! Keep the chase as orderly as possible. The last thing you need are 20 excited 3-5 year-olds with reduced vision running in a herd with with long sticks. As I mentioned, we had the kids form 2 lines. But we also had a parent volunteer stand at the front of the line to insure the kids wouldn’t all take off at once. Some kids elected to run without helmets (or shields), which was perfectly fine.
 It allowed me to see those beautiful smiles when the kiss was caught!
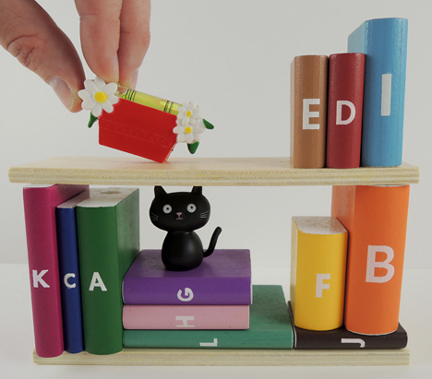
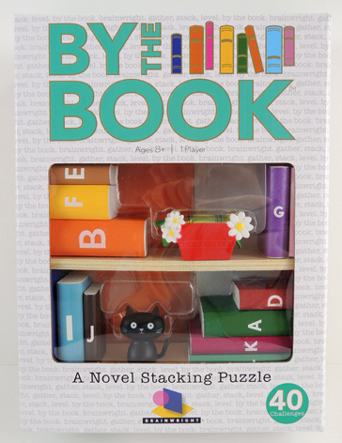 To play, select a challenge card (which are graded as beginner, intermediate, advanced, or expert). The face of the card tells you which books you can use, if they need to be placed horizontally or vertically, or if they can’t touch at all. Sometimes, the card will require the cat to be included on the shelf as well. The back side of the card has the solution. Here are a couple examples of card faces and solutions:
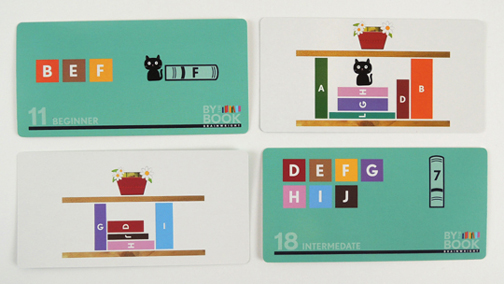 Once you’ve gathered all the relevant pieces, lay the bottom shelf on a level surface, then try configuring the books to the card’s specifications. Put the top shelf in place when you think you’re done, then place the balance level on top to see if your solution measures up. And remember – a minimum of 2 books much be touching the top shelf at any time.
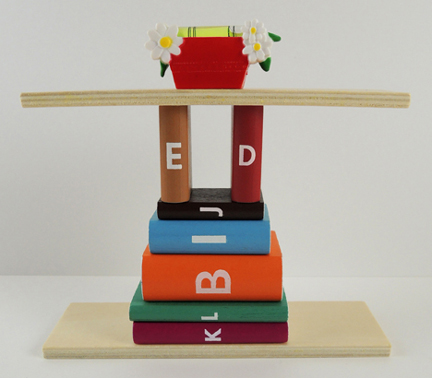

 Q: What books inspired you to do the creative things you do today?
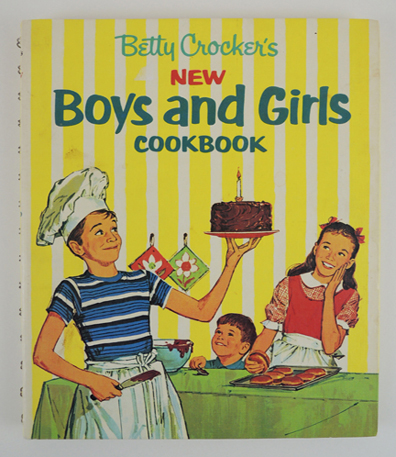 I would look at this book for hours. I would slowly flip the pages, eagerly anticipating the arrival of my favorite section. Can you guess which one it was? Yup. “Cookies, Cakes, and Other Desserts.” Here is the cake of my childhood dreams:
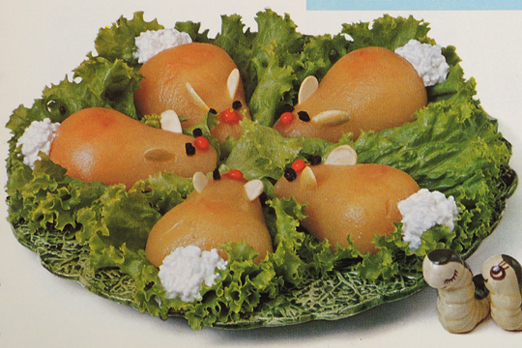
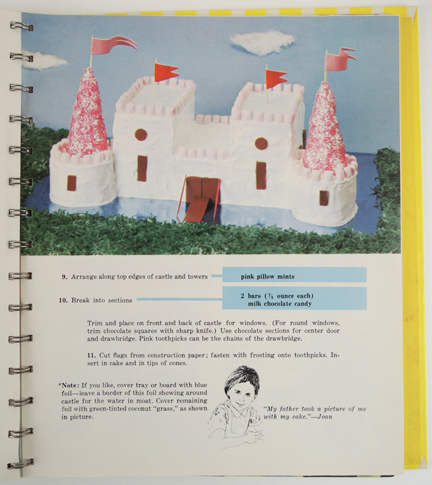 Oh where do I start? I was wholly enthusiastic about cake (and those pink pillow mints – wow, do they even make those anymore?). But even more, I loved that someone had taken food and sculpted it into something imaginative and fantastical. Then fearlessly added non-edible items (such as the toothpick drawbridge chains) to complete the picture. Also, they didn’t just photograph the cake on a table. They set the scene with grass, a shiny moat, and a blue sky with cotton ball clouds. And how about this beautiful creation…
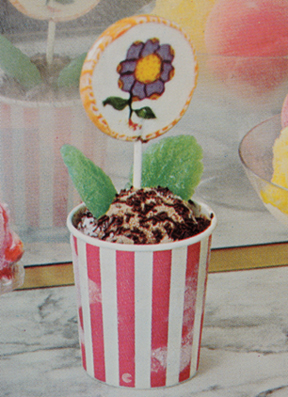 It’s an “Ice Cream Flower Pot.” A waxed paper cup, ice cream and crushed cookie “dirt,” candy leaves, and a frigging lollipop flower! You can put lollipops and ice cream together and make it look like a flower pot? My mind was officially blown.
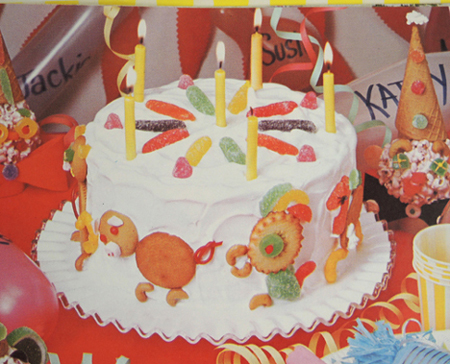 Those wild and crazy Betty Crocker bakers even used holiday-specific candy…on cakes that were totally unrelated to that particular holiday! Like candy canes on a 4th of July “Drum Cake”:
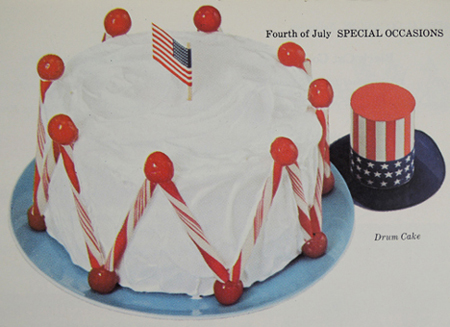 This taught me that you could look at an object, even a familiar one like a candy cane, and see it used for a different purpose or in a different context. That, my friends, is a pretty abstract lesson to be learned from a cake. I still want to eat those cherries too.
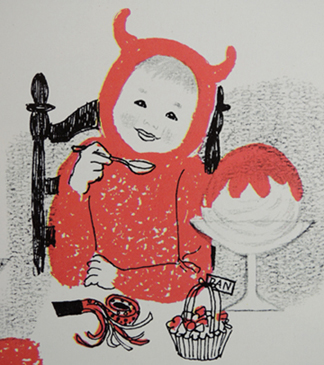 When it came time to dress my firstborn for Halloween 2009, what costume did I choose?
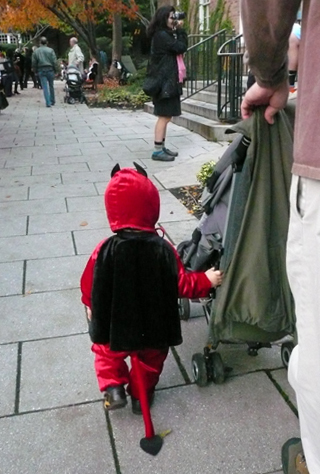 Coincidence? I don’t think so.