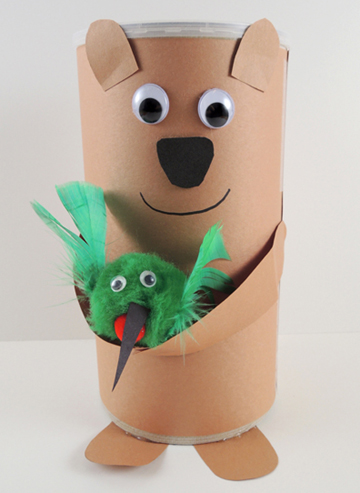
Help your oatmeal container bear reunite with his friend hummingbird in this gentle (and super silent) game of hide and seek!
We read Hector and Hummingbird by Nicholas John Frith (Arthur Levine Books, 2015). Hector is a bear who lives in Peru, and Hummingbird is his best friend. The problem is, Hummingbird likes to talk, and talk, and talk, and talk and doesn’t realize Bear is becoming increasingly annoyed with his chattiness. Finally, Hector blows his top and yells at Hummingbird that he wants to be left alone. But silence and solitude aren’t all they’re cracked up to be, and Hector soon wishes for his friend to return. Zip! Hummingbird returns in a flash (he’s been hiding close by on every page) and all is well. These days, the two friends still talk, but they also spend time enjoying a little companionable silence…sometimes.
You’ll need:
- 1 large oatmeal container
- Brown and black construction paper
- 1 pair of large wiggle eyes
- 1 pair of small wiggle eyes
- 1 jumbo pom-pom
- 1 medium pom-pom
- A selection of small feathers
- Scissors, tape, and glue for construction
- Markers for decorating
- Hot glue
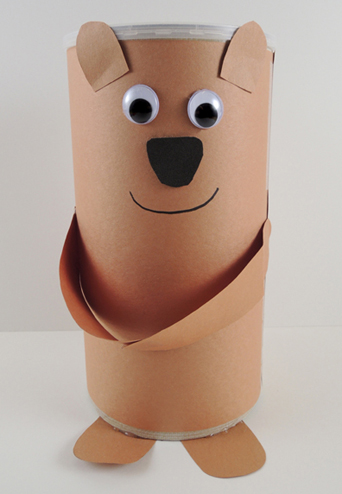
The bear is very simple to construct. Wrap an oatmeal container with brown paper, then use the extra bits to make the feet, tail, and ears. Attach a pair of wiggle eyes and a self-adhesive foam nose (or just use markers to draw these on). Draw a smile on with a marker. Last come the construction paper arms, which are extra long and attach at the hands. This is so the bear can carry its hummingbird friend.
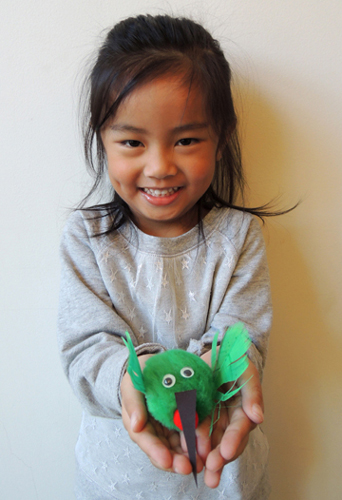
 The hummingbirds were created by Katie. Aren’t they cute? She made a green version modeled after the ruby-throated hummingbird, and a purple version modeled after the violet sabrewing hummingbird.
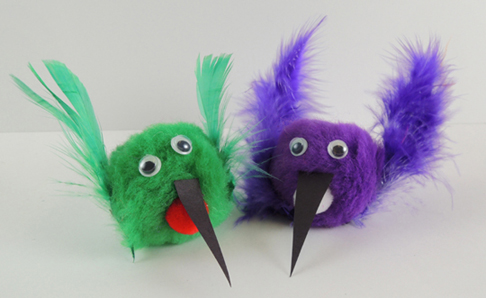 To make a hummingbird, glue a thin black construction paper beak onto a large (1.5″ diameter) pom-pom. Glue a smaller (.75″) pom-pom underneath the beak. Add a pair of small wiggle eyes and 2 feathery wings and you’re set!
We loved how the book’s creator hid the hummingbird on various pages, so Katie made 2 hummingbirds for each story time kid and placed them in different locations in the gallery.
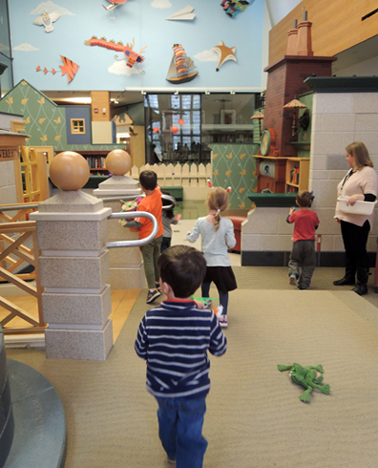
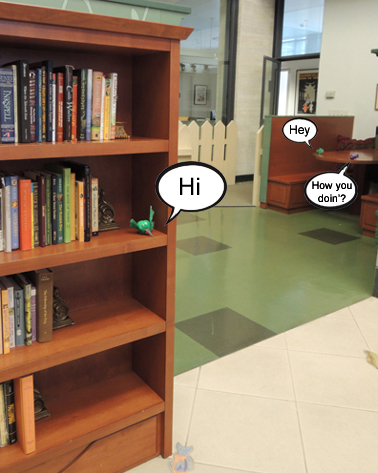 Then, slowly, and oh-so-quietly, kids and their bears went in search of their hummingbirds.
 Looking for more feathered friends? Check out this reading canary, this chick magnet, this photo-ready penguin, and this avian obstacle course. Need something simpler? Give this craft stick bird a try, or this wrist parakeet. We have featured one celebrity bird on the blog…you’ll find him here, along with his famous literary connections.
 In the world of crafting, just about anything can be adjusted, changed, or redone according to your budget, staffing, and audience. In fact, adaptation is one of the things I love about developing craft projects for kids. Today, I’m going to show you how I took a simple project and made it even simpler and less expensive for a large-scale event. I’ll throw in a couple hints about running large-scale event tables to boot.
 The project was already easy to assemble, but since we needed to produce 200 pairs of wings, the art supplies were a problem. We made 4 cost-saving changes:
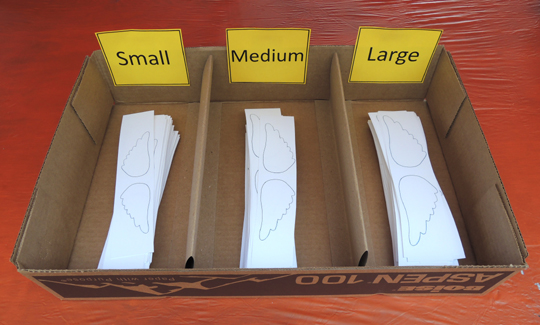 Notice how we just did a rough cut of the wings (meaning we left each pair on a single strip of paper instead of cutting them out individually)? This is event pointer #1: Prep Up to a Point. Rather than cutting out 200 pairs of wings before the event, we let 200 event participants cut the wings themselves. This definitely saved us prep time, and spared us some wicked hand cramps. Another event pointer? Present the Project.
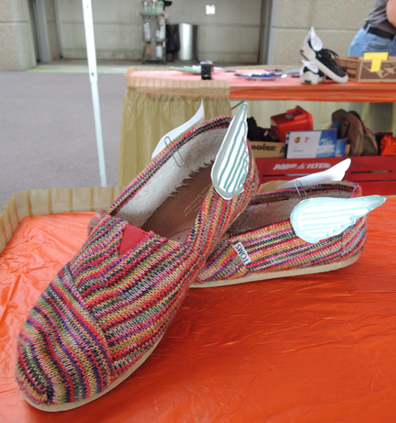 Always have an example of the finished project on the table, so matter how simple it is. That way, you can show kids (and their grown-ups) exactly what they’re aiming to create. If you’re lucky, they’ll be able to get started the project just by looking at the finished version (which will also save you having to explain it 200 times). Next event pointer: Set Up a Self-Cleaning Table.
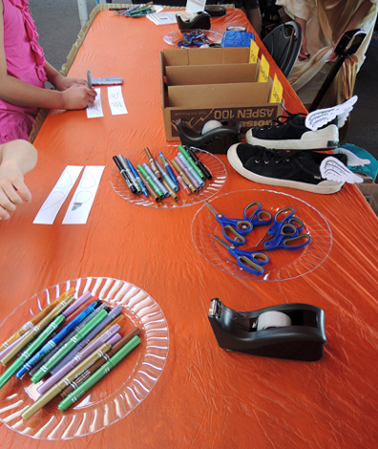 Event tables get crowded quickly, and supplies fly everywhere. However, I find that when supplies are on paper or plastic plates, the plates actually encourage people to return the supplies to their proper places. I don’t know what is it – the plates are wide and flat? They’re super obvious? Impossible to toss something at and miss? Whatever the reason, with plates I spend 75% less time cleaning up the table. And that’s huge when you’re staffing a table for 4 or 5 hours. Pointer #4: Table Skirts are a Good Thing.
 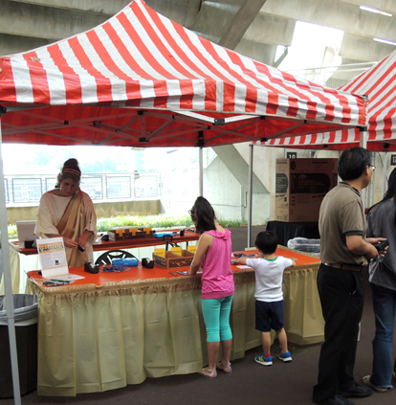 Table skirts are an inexpensive way to make your event table look more finished. They also hide all the unattractive supply boxes you need to stash under your table, as well as your purse or backpack. OK. My final event pointer. Costumes are Awesome.
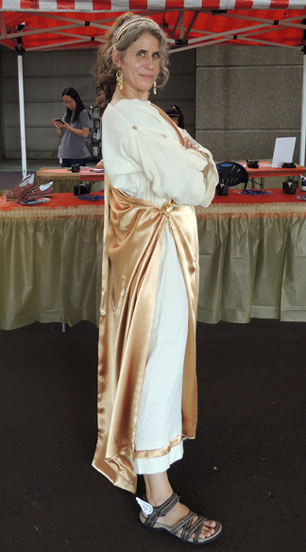
 And speaking of adaptation, people made a couple project adjustments of their own at the event! A lack of straps on the backs of one’s sandals? Quickly remedied with tape:
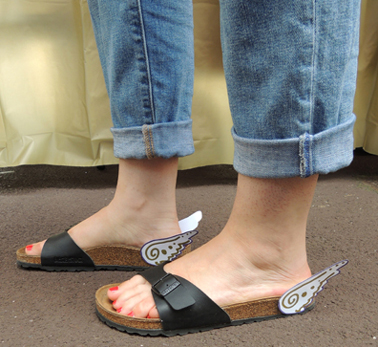 Not into the paper clip part of the project? Tape, once again to the rescue:
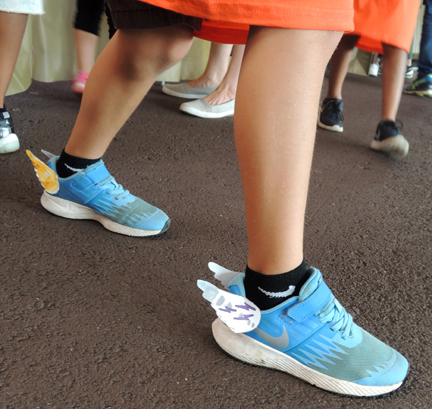
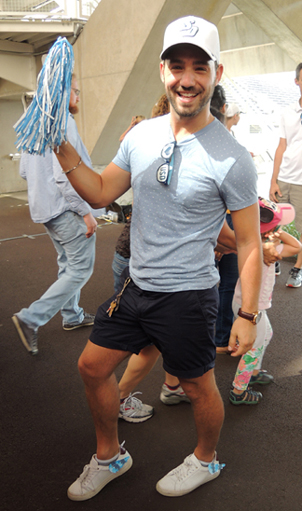
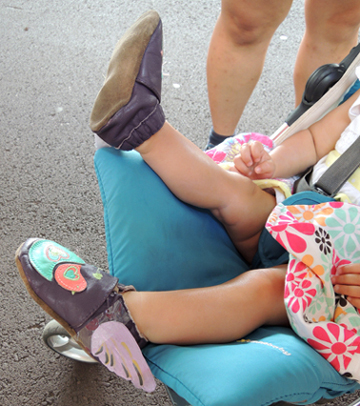 Some skipped the shoe part and simply taped the wings to the backs of their shirts!
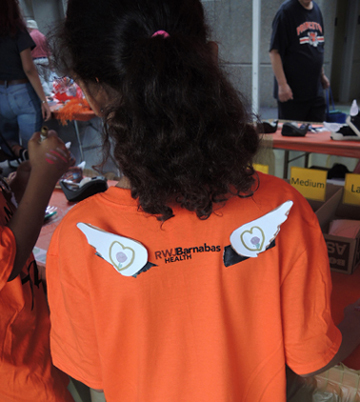 Do you see how the wings are attached to the back of the shirt with black masking tape? That’s another project modification we came up with. Kids without socks (or kids who might be bothered by the paper clips rubbing their feet) were offered masking tape to cover the section of paperclip inside their shoes. It worked great, and it gave the wings a little extra reinforcement too.
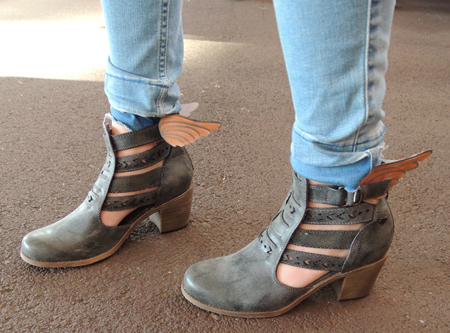 Looking for other event table projects that have worked for us? Check out these
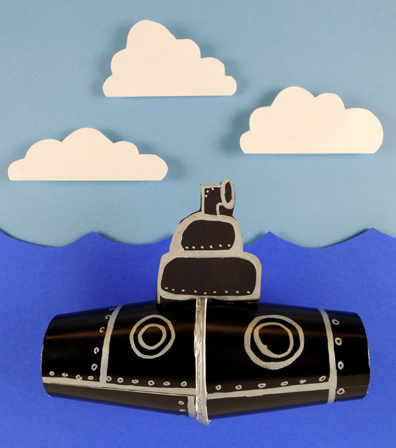
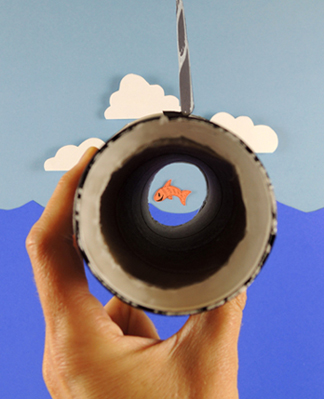 We recommend Rub-a-Dub Sub, written by Linda Ashman, and illustrated by Jeff Mack (Harcourt, 2003). Zooming around in an orange submarine, a little boy encounters numerous ocean creatures – a seal, a manta ray, a horseshoe crab, and an eel to name a few! But an encounter with an enormous shark forces him to quickly retrace his steps to the surface, where he finds himself safe and sound – in his very own bathtub.
 Next, turn the cups end-to-end and connect them together with hot glue. If you can’t do hot glue, simply connect the cups with tape. We used black masking tape for the photo below, but regular tape works just as well.
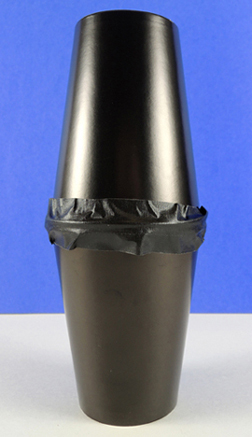 For the paper towel tube version of the project, cut the holes in the bottoms of the cups. Then place a piece of paper towel tube inside the bottom cup (our tube piece was 6.75″ long but you might have to adjust yours a little). Place the second cup over top of the first…
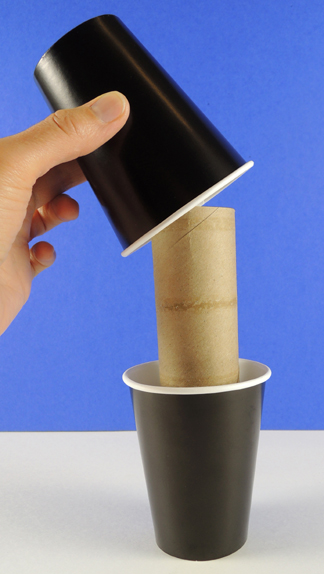 Then hot glue (or tape) the two cups together. So…is the extra effort for the paper towel version worth it? You decide! Here’s a side-by-side comparison of the 2 projects. One could argue that the paper towel tube version looks more like a spyglass, but the cups-only version is cute too.
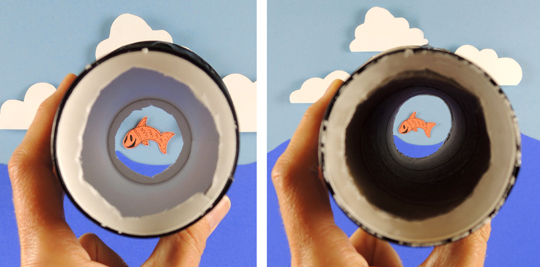 Next, cut a periscope shape out of construction paper, tab the bottom, and attach the periscope to the top of the sub. Finally, use markers to give your sub portholes, plates, rivets, and bolts. Any markers will do, but we really liked how silver metallic marker looked on the black paper cups.
 Miss Marissa designed this awesome project, and she made a fantastic I-Spy game to go with it! To play, print up the characters in this template (click