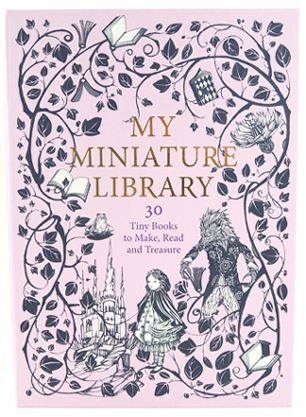
Book lovers dream of that big, beautiful library with the cozy chairs and the rolling ladder. But books can tend to take up quite a bit of space. Today, we have a solution for you! It’s the My Miniature Library kit by Laurence King Publishing, illustrated by Daniela Jaglenka Terrazzini (ages 6+, retails for $20). Katie took the miniature kit for a tiny test drive…
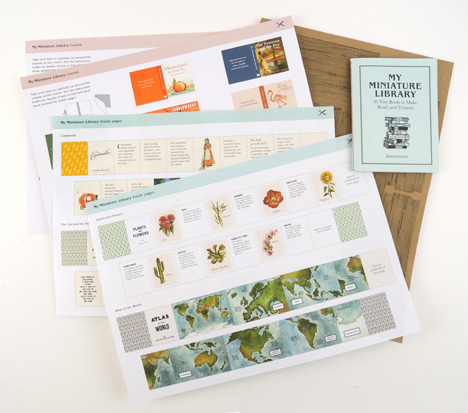
 The packaging for My Miniature Library is a delightful cardboard box in the shape of a book. When you open the box, you are greeted with a small instruction booklet, 18 sheets of books covers and pages, and a cardboard punch-out bookshelf.
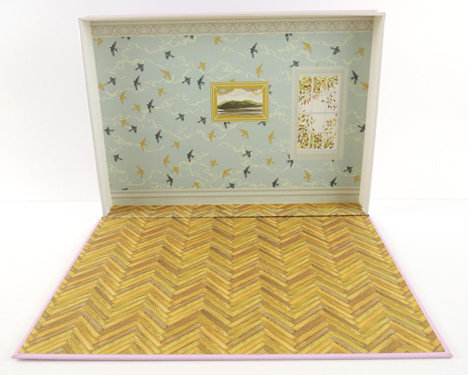
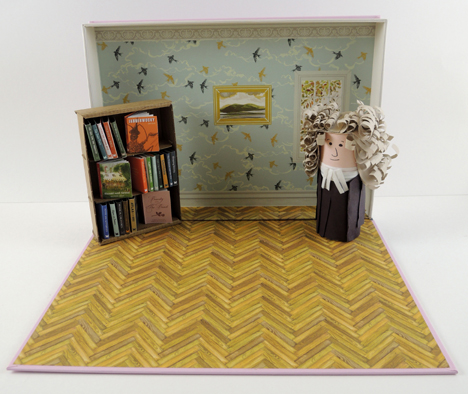
 The 9″ x 12″ box containing the kit (and this is really cool) is also the set of the library. Prop it up on its side, and it becomes your library, complete with chevron hardwood floors, birds in flight wallpaper, and a window framed with fall leaves. When you are done playing with your miniature library, you simply pack everything inside the box, close the lid, and slide the kit on a shelf until next time!
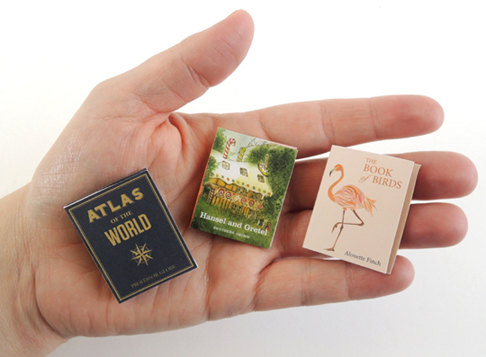
 The kit contains the makings for 30 tiny books: 20 pre-written (both fiction and non-fiction), 8 books with title prompts you can author yourself, and 2 completely blank books for whatever topic you desire. Here’s a set of the pre-printed book sheets (which were primarily fairy tales):
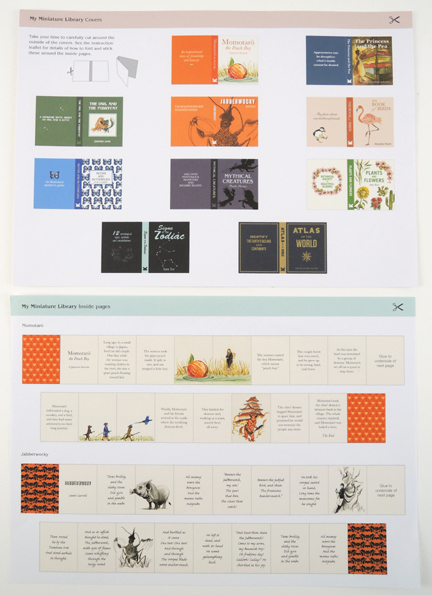 And here’s a set of the design-your-own sheets:
 Generally, the instructions are very clear, concise, and easy to follow. Especially the cardboard bookshelf. The books are where I started to run into some trouble. To create a miniature book, you first cut out the 2 strips that become the book pages, and the cover of the book. Then you carefully accordion-fold the book pages together, and glue them inside the front and back of the book’s cover.
 You have to carefully cut the 2 page strips in order to not lose any of the text or images. You also have to cut out the cover. For 30 books, that’s 90 pieces of paper to cut. That’s a lot of cutting.
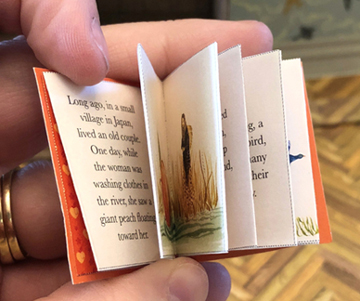
Also, folding the 2 page strips is a bit tedious. These books are small (1″ x 1.5″), so it takes nimble fingers to make sure the tiny pages are folded just right. The covers have a tiny spines that require more nimble finger work.
It took me around 6.5 minutes to make a book from start to finish. Multiply that by 30 and you are looking at well over 3 hours to make all 30 books. Also, the packaging doesn’t mention needing glue to attach the pages to the cover. That piece of information is buried deep within the instructions.
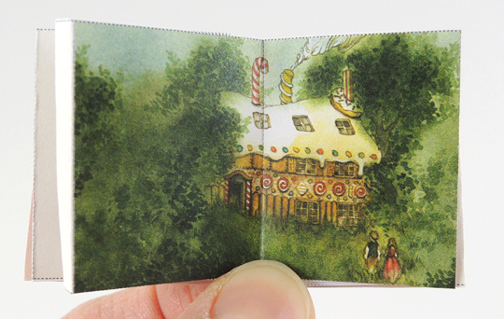
However, when finished, the library is positively adorable. The stories are cleverly edited, so nothing is lost in the retelling. I love the option for children to write and draw their own books. The quality of printing is top notch, and the book illustrations by Daniela Jaglenka Terrazzini are just incredible. Here’s an illustration from Hansel and Gretel:
 And here is the finished library, bookshelf and all. We placed my toilet paper tube portrait of Johnathan Swift (who you first met here) in the library so you can get an idea of the size ratio.
 However, I disagree with the recommended age of 6+. I think children 10+ are better suited for the complicated cutting and folding to put these books together. With an estimated 3 hours to craft all 30 books (and that’s after all the cutting is done), I can imagine many children would give up well before all of the books are finished. Children under 10 might also have trouble writing small enough for the design-your-own books portion of the kit. Still, there’s no denying the awesomeness of your very own library with readable books and gorgeous hardwood floors!
Recommended, with caution. Be prepared with good scissors, strong cutting and folding fingers, a glue stick, and lots and LOTS of patience.
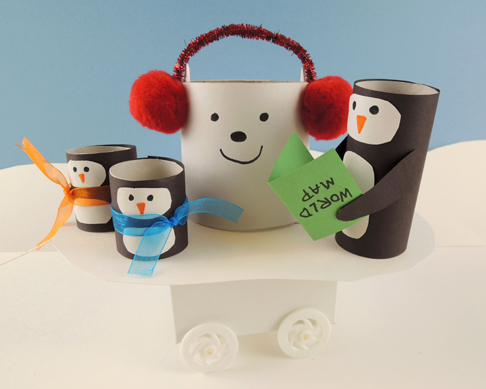 Heading to the North Pole? South Pole? Or perhaps you’re on an unintentional grand tour of the globe? Hop on this convenient ice floe with some slightly puzzled penguins and polar bear and prepare to see the world!
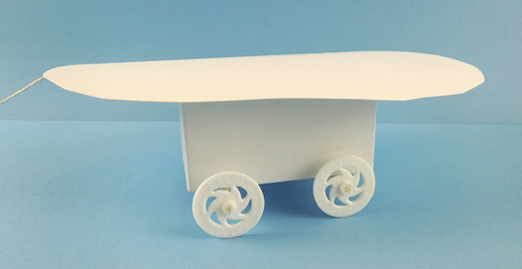
 Now for the polar bear and the penguins! For the bear, we wrapped a 3.5″ tall packing tape core with white construction paper. The earmuffs are a
 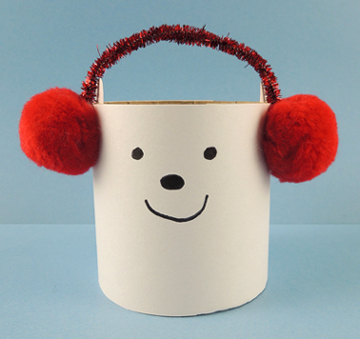 To make the penguins, wrap 2 toilet paper tubes with construction paper. Cut one of the tubes in half to create the 2 small penguins. Attach wings, faces, and tummies. We also added ribbon scarves and a world map to our penguins trio (and if you want to be true to the book’s illustrations, attach the map upside down).
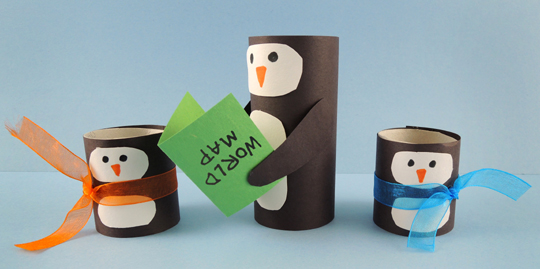 Place the polar bear and penguins on top of the ice floe and travel the world! Some kids opted to tape their passengers to the ice floe to keep them from falling off…
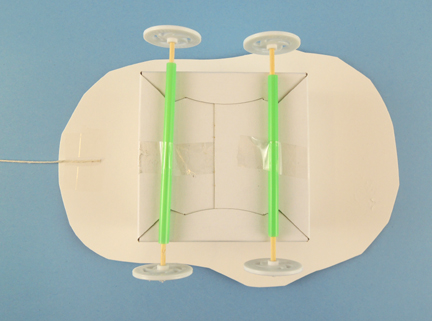
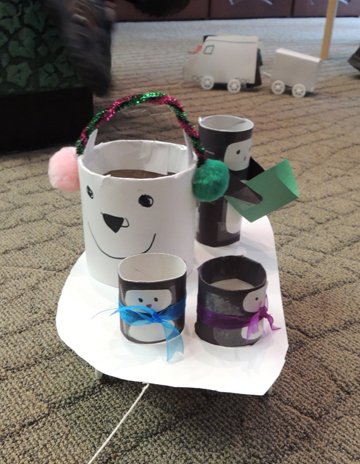 I snapped this adorable traveling quartet en route to our gallery, but did you also notice the vehicle in the background? One little boy decided to create a “snow train” using project materials. The penguins are riding inside the engine. Fantastic!
 It’s a big world out there. A world with lots of things in it. And those things need HUGS. The question is…are you up to the task? Are you a Hug Machine?
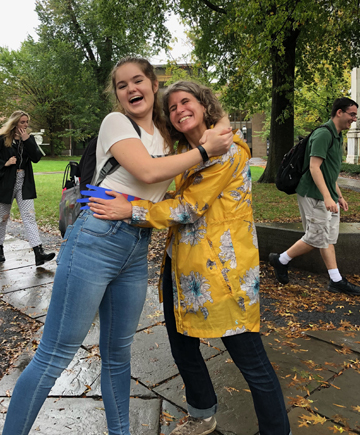
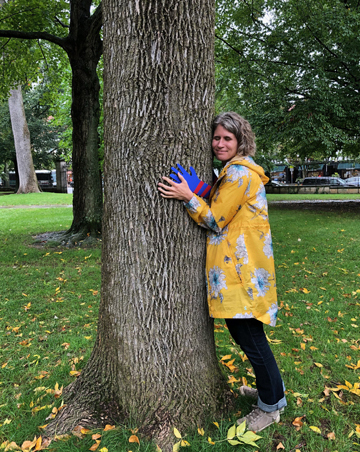
 OK, you’re ready to start hugging – and by hugging we mean go forth and find things to wrap your poster board hug around! You can just use the paper hug, or get right in there and use your arms too. Always dedicated to seeing a project through, Katie and I hit the streets on a rainy afternoon to share the love with Princeton.
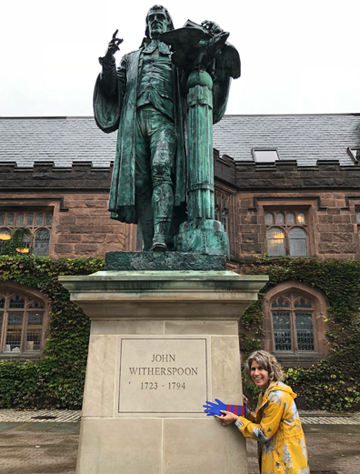
 A mailbox clearly in need of a hug.
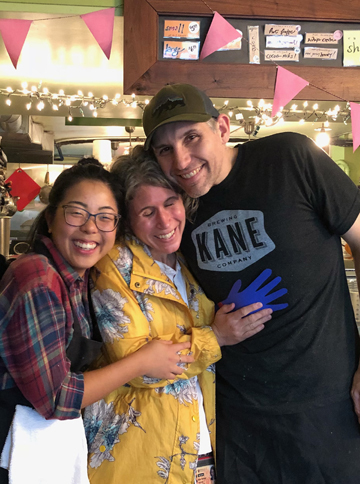
 Hugging a roaster and barista pal at our awesome local coffee shop, Small World.
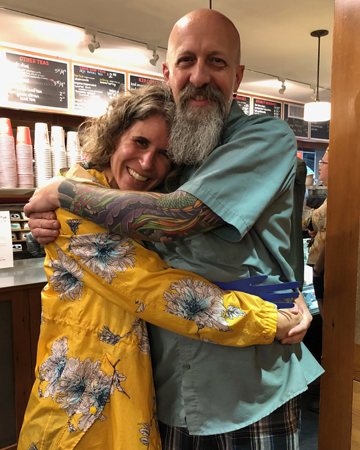 A hug for
 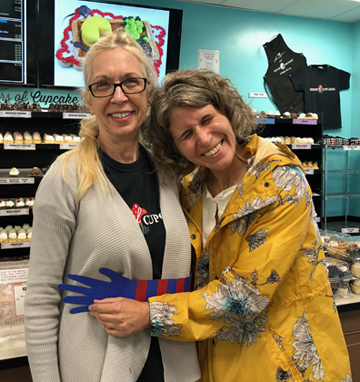 Hugging a rainbow narwhal at JaZams, our stupendous local toy store.
 No park bench escapes me…
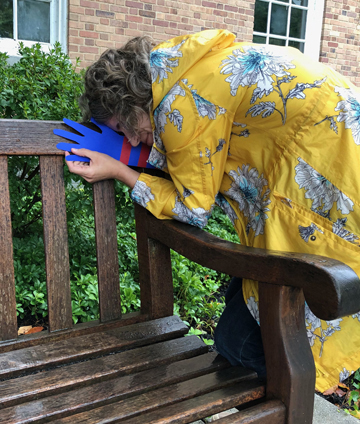 Nor jungle-like foliage…
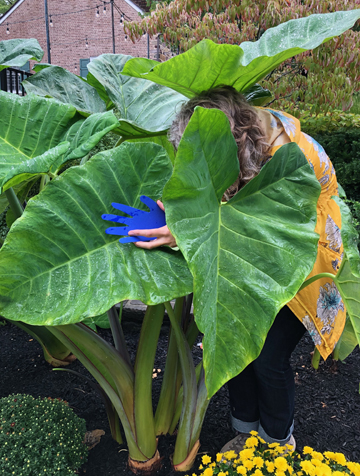
 An attempted hug of one of Princeton’s famous black squirrels…yeah, no go.
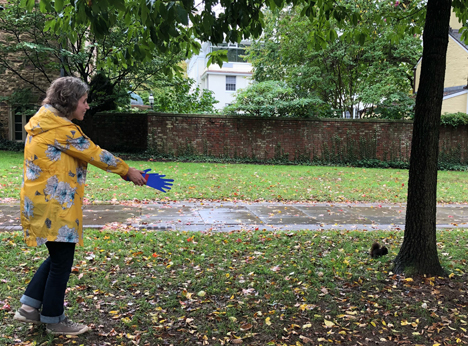 Finally, a hug from a random person who totally rocked the love. Awwwww!