When my son was younger wooooo did we read a lot of transportation and construction books. To this day, I still excitedly point out backhoe loaders, simply by reflex. I think we wore out not one but THREE copies of Richard Scarry’s Cars and Trucks and Things That Go, and my son was the inspiring mind behind this event. Today’s post is also my son’s invention…a simple zip line tram car!
You’ll need:
- 1 large tissue box
- 1 paper towel tube
- String or yarn
- 2 chairs (plus books to weight them down)
- Scissors and tape for construction
- Construction paper, markers for decorating
- Hole punch
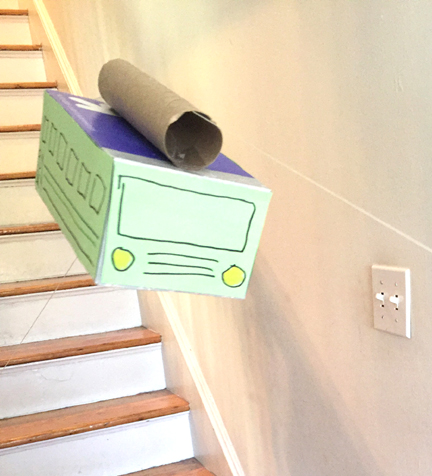
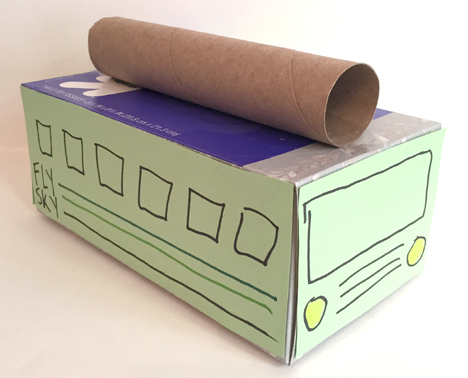
First, the tram car! Flip a large tissue box upside down, and decorate the side with construction paper and markers. Cut a paper towel tube down to 7.5″ then attach firmly to the roof of the tram car (I used hot glue AND tape).
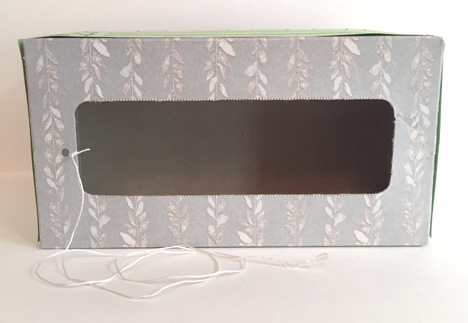
 Next, turn the box on it’s side and punch a hole in the back. Knot a 15-24″ string through the hole. This is the string that your kid will use to pull the tram car up and down the zip line. Otherwise, it’s going to be YOU doing it. Probably the very moment you are trying to get lunch on the table while answering work texts during a Zoom meeting while also searching for your daughter’s lost LEGO figurine.
 Next comes the zip line! I used kite string, but we tested yarn and it works as well. We rigged our zip line on stairs, but a tree in the yard or a tall chair & shorter chair works too. Two very important things: WEIGH BOTH CHAIRS DOWN WITH BOOKS. There will be quite a bit of kid traffic on and around the zip line. Weighing both chairs reduces the chance of nudging or tipping.
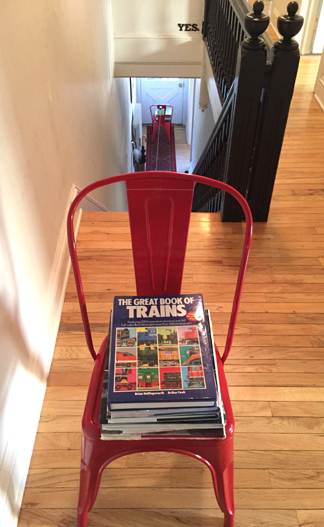 Next very important thing: if you are doing this on a stair case, SET BOTH CHAIRS BACK FROM THE STAIRS. Especially if you have two or more kids. You don’t want anyone falling down, or tripping up, the stairs. Below is the minimum I would set the chair from the top of stairs. More so for younger kids and.or multiple kids.
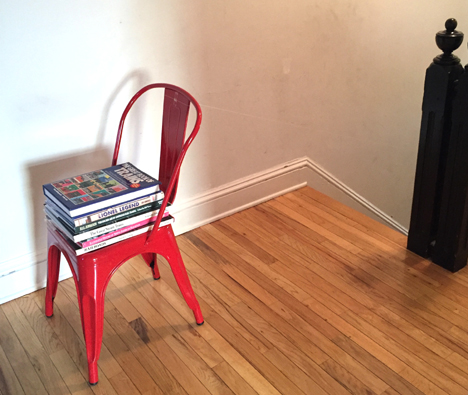
Once the chairs are set up and weighted down, thread the zip line string through the paper towel tube on your tram car, then tie the string to the backs of both chairs. Make sure there is plenty of tension in the string so your tram car really zips!
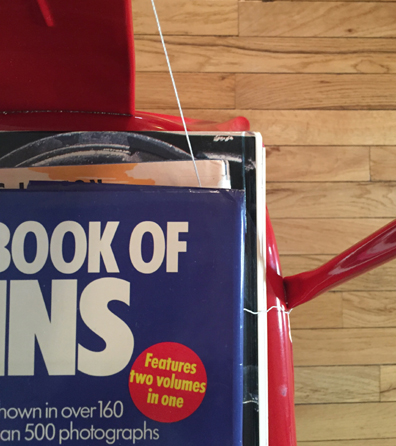
One more helpful hint…if you need to “park” your tram car for a moment, simply tuck the pull string into one of the books weighing down the chair, as demonstrated in the photo below:

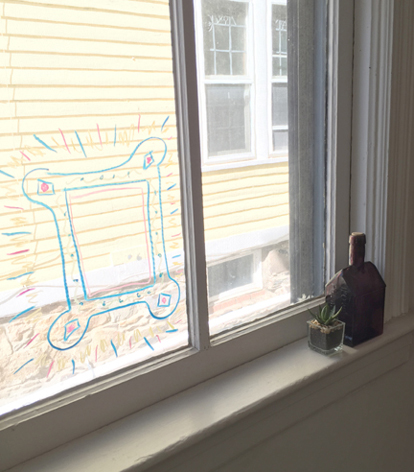
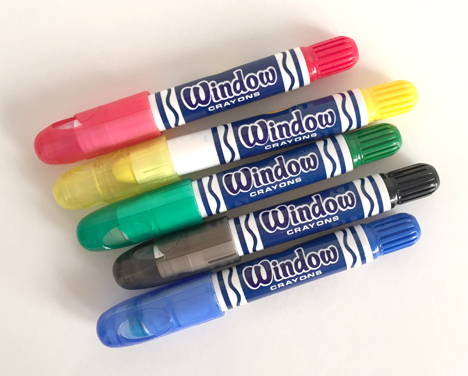 However, I also tested regular markers (Target’s washable brand for under $4) and they work on the glass too (and most importantly, cleaned right OFF with a standard glass cleaner, no problemo).