Get kids C-L-E-A-N with this simple alphabet activity for your bathtub. Rubber ducky not included, but you shoud T-O-T-A-L-L-Y get one!
You’ll need:
- Cellophane
- Scissors
- Bathtub or tub of water
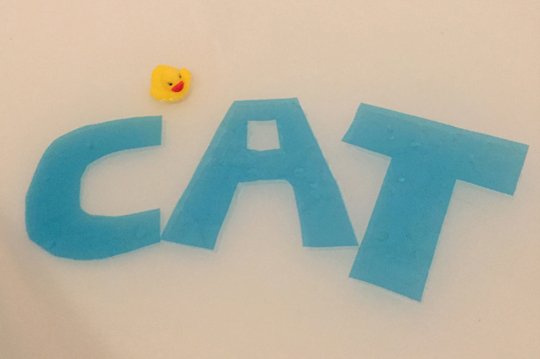
The concept of this project is simple. Cut a bunch of alpahbet letters out of cellophane, then float them in the tub during your next bathtime. Gently moving the different letters around, you can spell CAT, RAT, BAT, MAT or whatever combination you would like to try!
And if you try SUPERCALIFRAGILISTICEXPIALIDOCIOUS, definitly send me a pic.
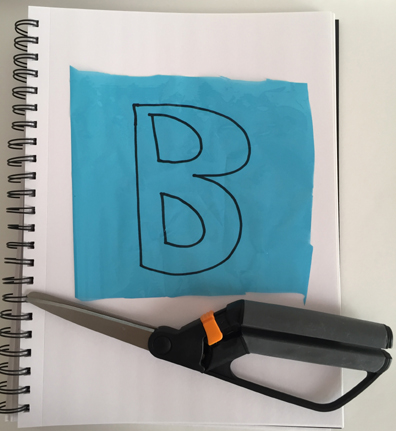
Cellophane is notoriously crinkly, so two hints: 1) Draw the letter template on a sheet of paper, lay the cellophane piece on top, then cut both; 2) If your desk scissors are tearing the cellophabe, use fabric scissors (seen below).
As you can see from the image that started this post, the cellophane floats easily on the water, sinking a bit as the bath progresses and the waters shift. However! I learned that not all cellophanes act like this!
I ordered some rainbow cello sheets from Amazon, wanting to use a fun assortment of colors for the letters. Well, I put them in tub and they just curled and melted like some sort of Wicked Witch of the West. And when I grabbed them, they stained the water AND my fingers pink! Noooooooooooo!

Luckily, I had another roll of blue cellophane in the house, purchased from Michael’s Craft store. Nervous, I laid the cellophane letters on the water…it worked! Floating, no curling, no staining! So if you want a pretty sure bet for this project, head to Michael’s to pick up some cellophane rolls. And test a sample of your cello before putting them in the tub with your child. This activity can also be done in a convinient dishtub or kiddie pool.
Happy splashing and spelling!
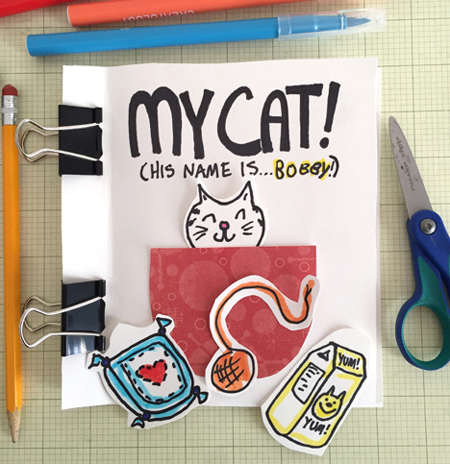
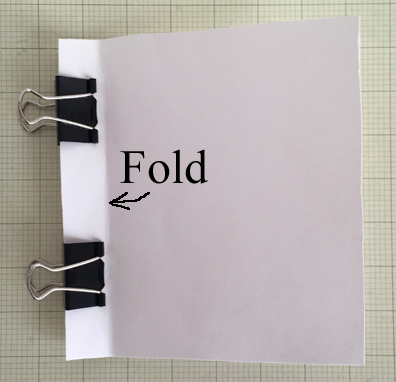
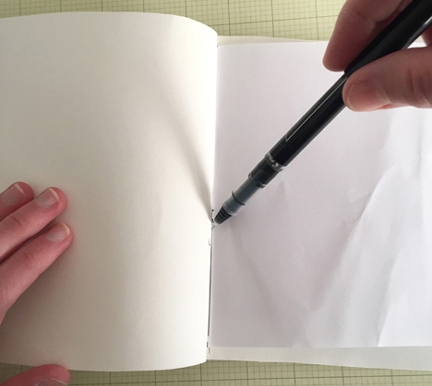 Then disasseble the book, and give your artist the flat marked pages to decorate!
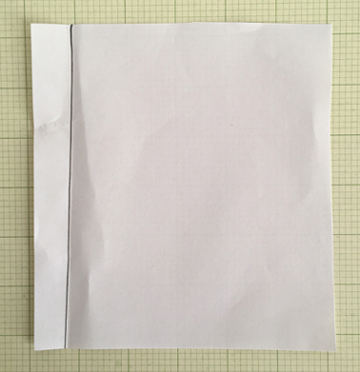
 I used a heavier patterned cardstock for the pockets, but plain poster board, construction paper, or regular printer paper works too! However, when it comes to the objects in the pockets, definitely use poster board. It’s sturdier, can hold up to lots of handling, and easier to push in and out of the pockets. For fun, try doubling the pockets per page!
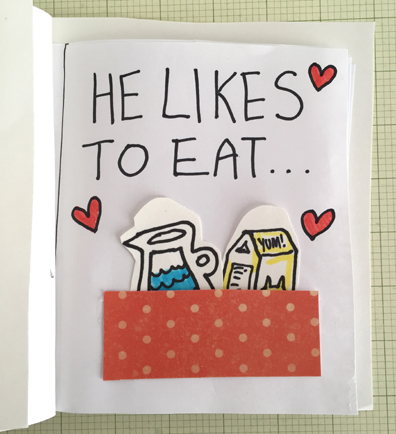
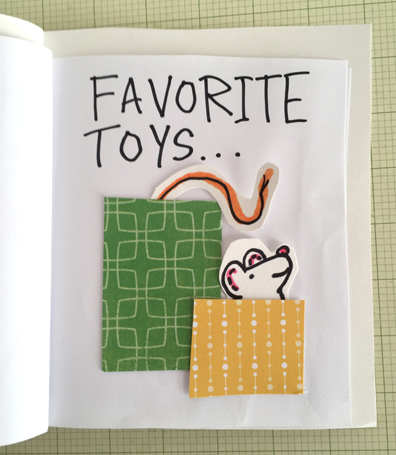 When the pages are complete, reassemble the book and enjoy! I recommend whipping up a batch of blank books at one time, just in case your first book expands into an epic series.
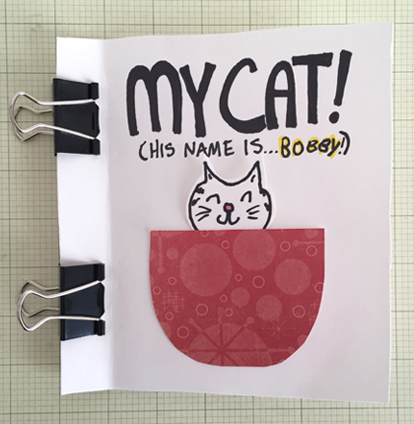
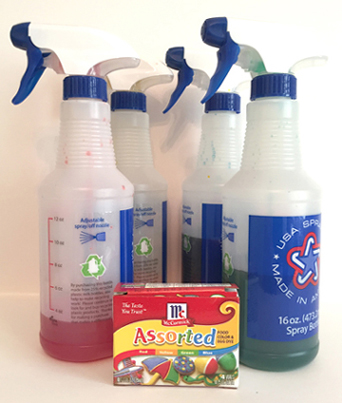
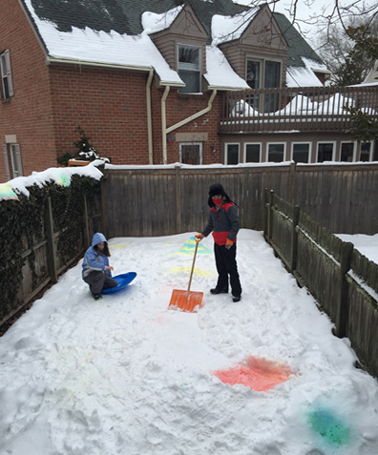
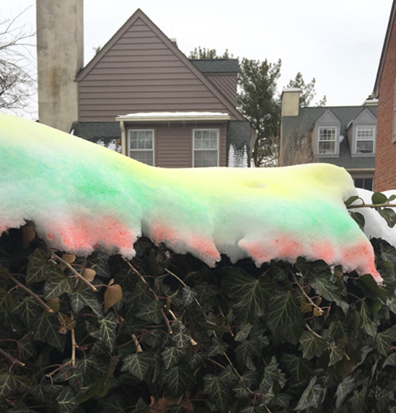
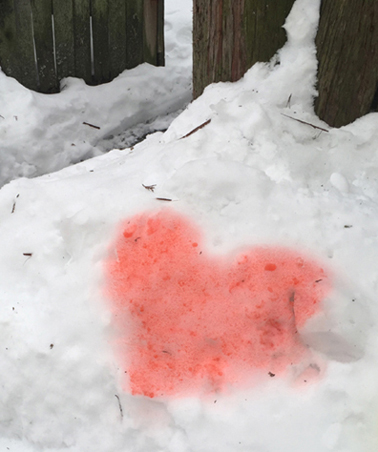
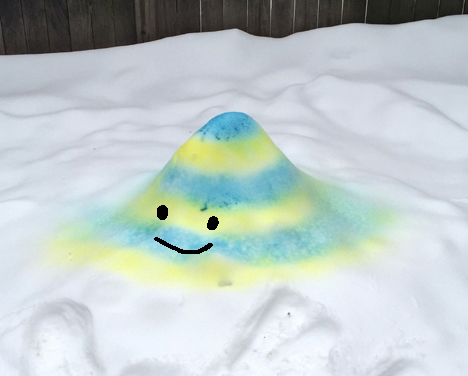 We’ve had PLENTY of snow this winter, and the last storm to blow through resulted in an unexpectedly zany backyard colorscape! The blue and yellow snow mound you see above is a nod to the striped tower on the cover of Dr. Seuss’ book, Oh, The Places You’ll Go! (I couldn’t resist adding a smiley face too). And today is Dr. Seuss’ birthday, so it’s timely as well!