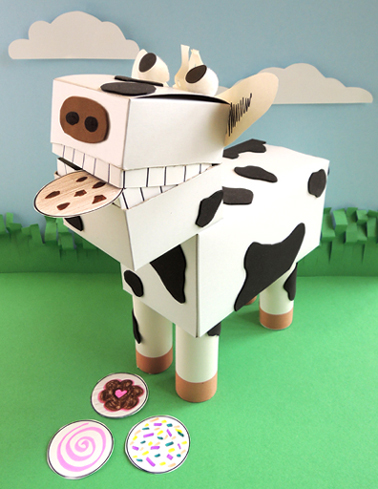
 Do cows and cookies go together? You bet. Especially in this matching and sequencing game we created, complete with a grinning, cookie-eating cow!
We read The Cow Loves Cookies, written by Karma Wilson, and illustrated by Marcellus Hall (Simon & Schuster, 2010). All the animals on the farm enjoy their daily fare. Horses eat hay, the chickens enjoy chicken feed, and the hogs dig enthusiastically into slop. But the cow gets (and LOVES) cookies! Why? Everyday, the farmer and the cow share a picnic, and finish the meal with cookies (which he provides) and milk (which she provides). The clever rhymes make this a super fun read-aloud. By the end, the kids were all joining me in the refrain, “But the cow LOVES cookies!”
You’ll need:
- 1 small box (mine was 4″ x 4″ x 4″)
- A box cutter
- 2 strips of white card stock (mine were 1.25″ x 10.5″)
- 1 large box (mine was 4 ½” X 4 ½” x 9”)
- 4 toilet paper tubes
- White, brown, black, and pink construction paper
- 2 medium pom-poms (approximately 0.75″ in diameter)
- 2 black dot stickers
- 1 cookie game template, printed on 2 sheets of 8.5″ x 11″ white card stock
- Scissors, tape, and glue for construction
- Markers for decorating
- Hot glue
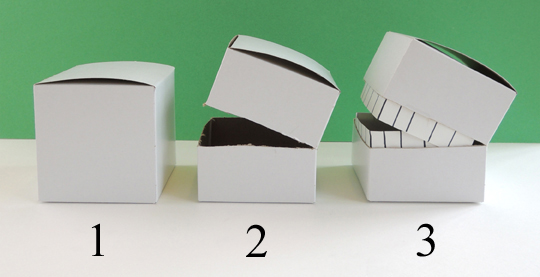
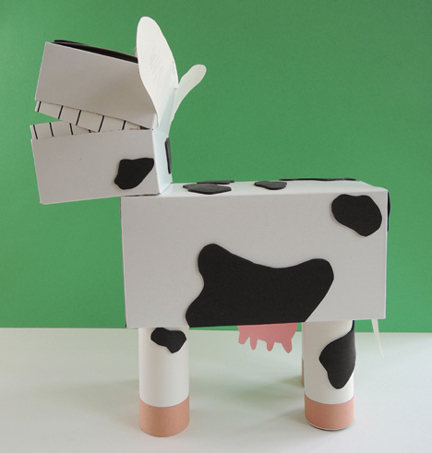
First, the cow’s head. Use a box cutter to slice 3 sides of a small box. The uncut 4th side of the box is the hinge of your cow’s mouth. Use a black marker to draw “tooth lines” on 2 strips of white card stock, then attach the strips to the upper and lower parts of the mouth.
 Stick a brown oval nose on the front of the box (we used self-adhesive foam, but construction paper works too). Hot glue a pair of pom-pom eyes to the top of the box, and use black dot stickers (or circles of black construction paper) to create pupils. Use white construction paper to add ears and a fringed forelock.
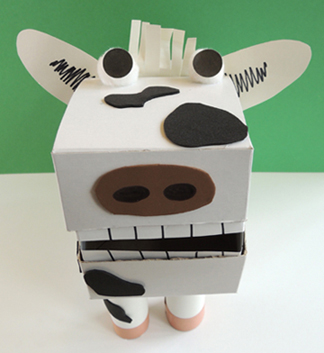 Wrap 4 toilet paper tubes with white construction paper, then hot glue them to the bottom of a large box. Hot glue the cow’s head to the edge of the box as well. Add an udder, a tail, and 4 brown construction paper hooves.
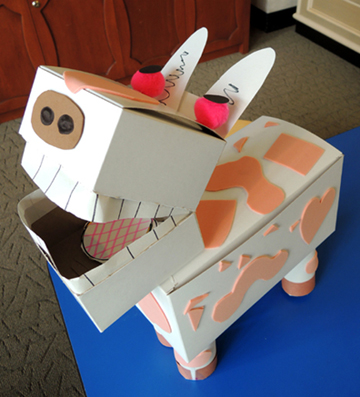
 The final step is to cover your cow with spots. We used sheets of self-adhesive foam that the kids cut into customized spots, but construction paper is also an option. I definitely recommend offering a rainbow of spot colors – the results are fantastic. Check out this pink and white cow with the heart spot on her flank!
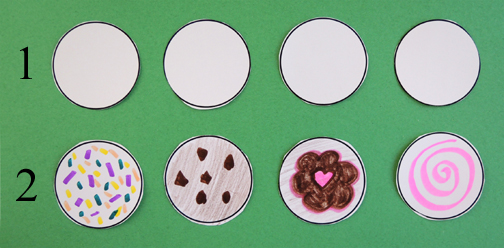
 The cow is finished, now for the cookie matching and sequencing game! Here’s how it works. Cut 4 white circles from the template, then use markers to decorate each circle like a cookie. All the cookies needs to be different.
 Cut the rest of the template into 5 strips, making sure that each strip contains 4 cookie circles. Decorate the strips with different cookie sequences. All the strips should be different (and it’s totally OK if you don’t decorate all 5 strips).
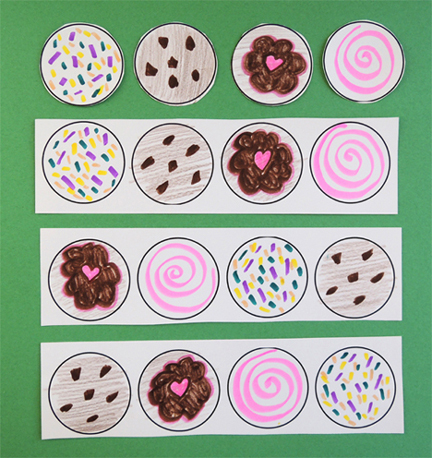 To play the game, randomly select a cookie strip. Match your cookie circles to the sequence on the strip, and then feed the cookies to the cow in that order. When done, remove the cookies from your cow’s mouth, select a different strip, and play again! You can play the game at your own pace, or have a countdown from 10 to make it more challenging. Another option – place the cow on the other side of the room, so you have to run back and forth from the cookies to the cow!
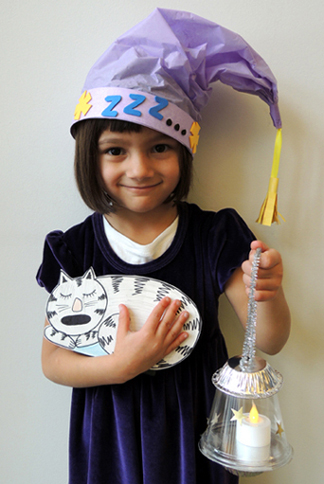 Get ready for bed with a cozy nightcap and flickering lantern. You might, however, want to bring some earplugs…someone out there is snoring to beat the band, and it’s going to take some searching to find out who (hint: think furry and very, very cute)!
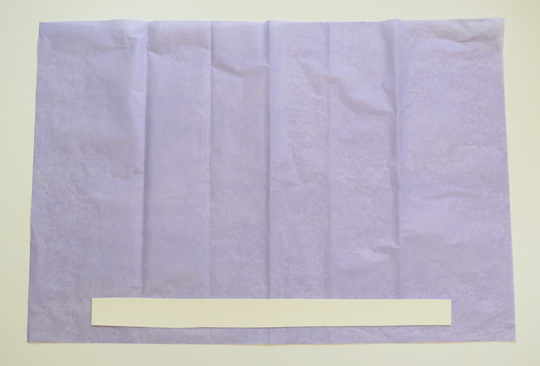 Fold the bottom edge of the tissue paper halfway up the poster board strip. Secure in place with multiple pieces of tape.
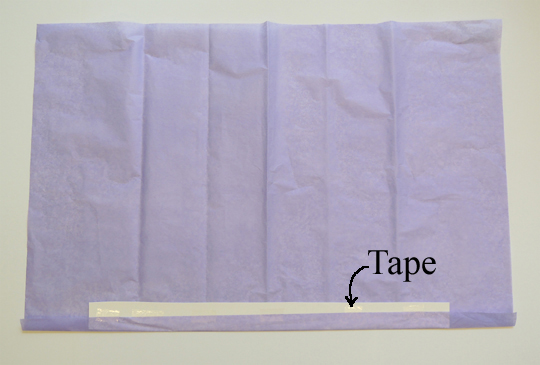 Now roll the poster board strip upward, once. This is the “hatband” for your nightcap.
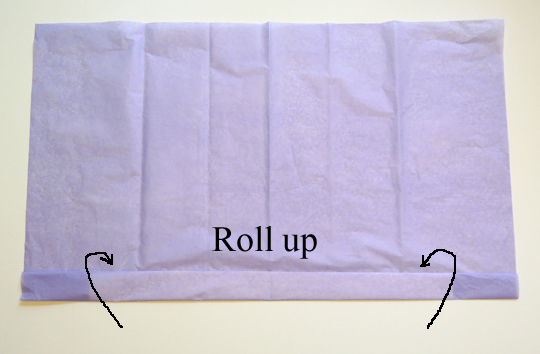 Trim the excess panels of tissue paper off. The excess panels are the sections that are not attached to the hatband (the cuts are demonstrated below with dotted lines).
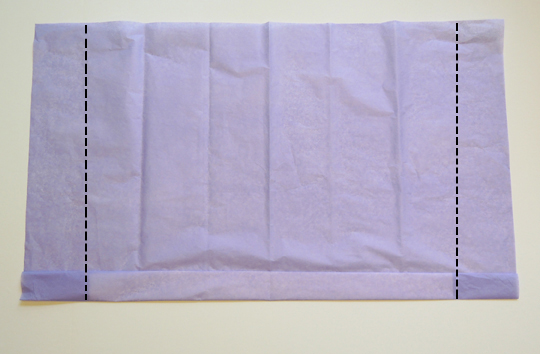 Circle the hatband around your head, and secure the ends together with staples.
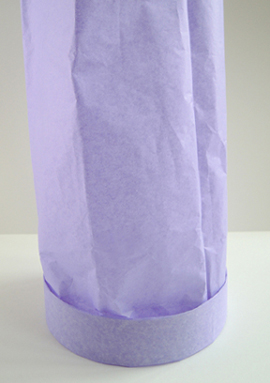 Decide how tall you’d like your nightcap to be, then bunch the tissue paper together at the top. Secure with color masking tape (I used purple tape). Regular tape works as well!
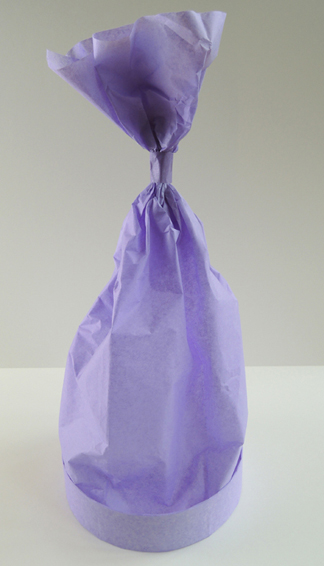 Trim the excess tissue paper off the top of the hat.
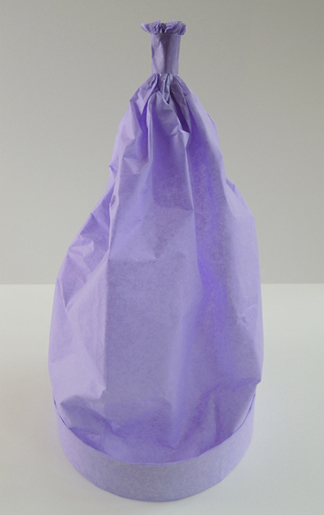 Set the hat aside for just a moment…it’s time for the tassel! Fringe a 2.75″ x 8″ rectangle of yellow construction paper, then tape a 4.75″ piece of ribbon to one end. Roll the paper around the ribbon, and secure the paper roll with tape. Tape the tassel to the top of the hat (I used purple masking tape once again – regular works too). The final step is to decorate the hatband with self-adhesive foam shapes!
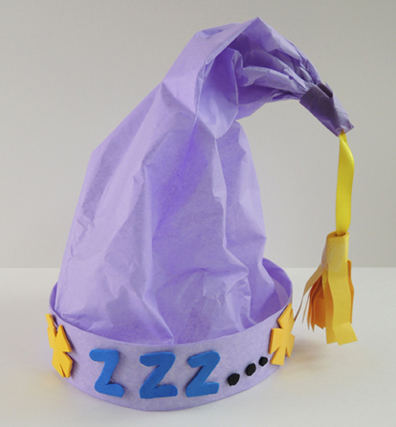 The hat is done, now for the lantern! My lantern consists of a plastic cup, 2 mini tin foil pie pans, a circle of mirror board, a sparkle stem, and an LED votive. However, if you don’t have these supplies (or if you’d like to construct a simpler lantern) I recommend
 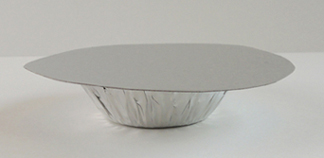 To make the lantern’s handle, punch both ends of a sparkle stem through a second mini pie pan. Twist the loose ends together. Tape the pie pan handle to the bottom of the plastic cup like so:
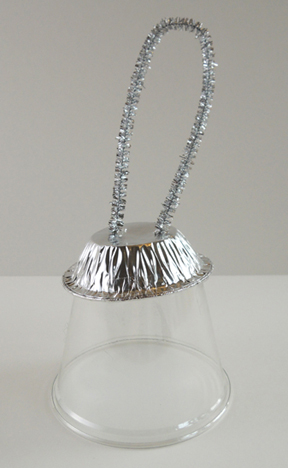 Place an LED votive in the center of the lantern’s base, then put the plastic cup handle on top of the base. Since you want to be able to open the lantern to get to the LED votive, use tape to create a “hinge” on one side of the cup, and masking tape to make a “latch” on the other side (you can see my latch below, in purple). Finish by adding some (optional) foil star stickers to the plastic cup.
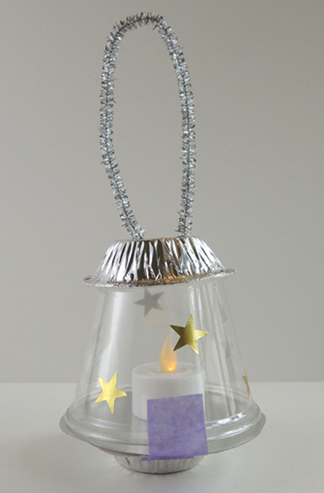 When your nightcap and lantern are finished, it’s time to play the “Find the Snore” game, starring THIS fantastic snoring kitten!
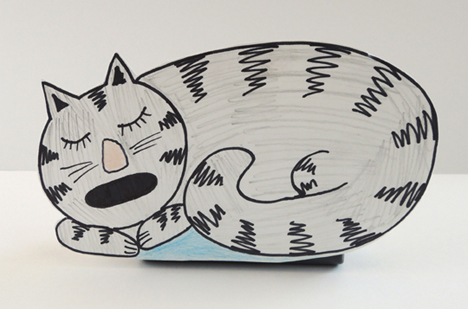 I drew the kitten on a small poster board facade, then taped it to a hand-held tape recorder. I bought it back in 2003 when I needed something inexpensive to record and transcribe my dissertation interviews. A quick Google search led me to a snoring sound track, which I recorded right out of my computer’s desktop speakers.
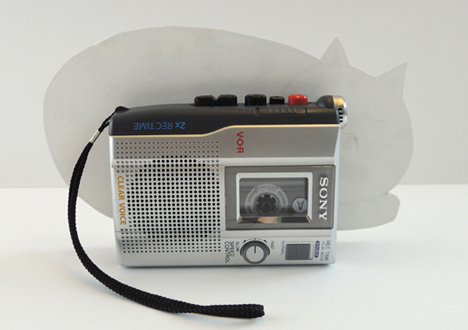 When it came time to play “Find the Snore,” we darkened the gallery, and asked the kids to cover their eyes while I hid the kitten and pressed “play” on the recorder. Wearing their nightcaps and carrying their lanterns, the kids had to follow the snore to find the kitten!
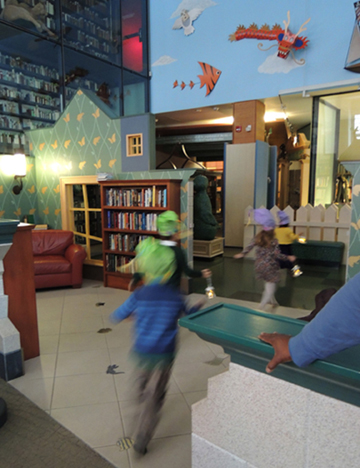 The first few times, I kept the kitten fairly low to the ground, or just above eye level.
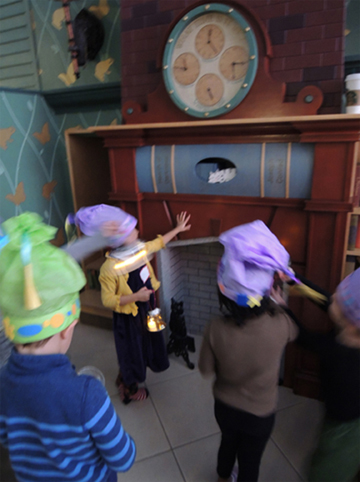
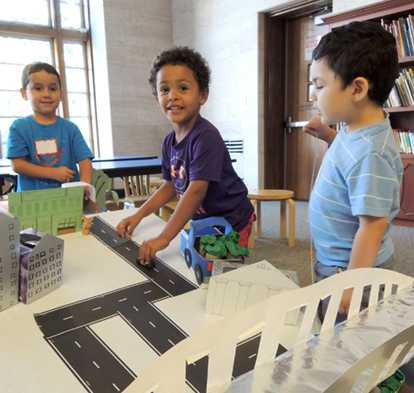
 Hit the road in a totally stylin’ pull string truck. Your mission? To deliver produce to the city market. But first, you have to navigate a 12 foot obstacle course packed with trees, animals, buildings, water, and bridges!
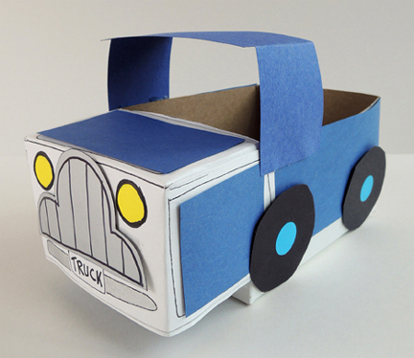 First, the pickup truck! I used a craft box with a lid, but I’ll also demonstrate how to use a small tissue box. If you’re using a craft box, begin by cutting the lid and tabs off the box. If you’re using a small tissue box, turn the box on its side and cut the side off.
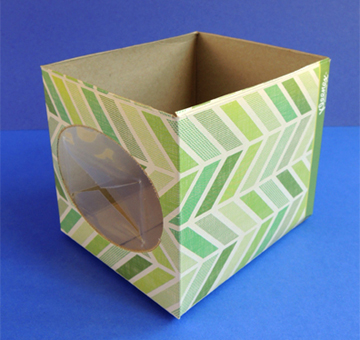 Set the box aside for a moment. Cut the front of the truck from the template. There are 5 folds you’ll need to make on the template. Each fold is marked with a dotted line. First, fold the 2 tabs on either side of the hood.
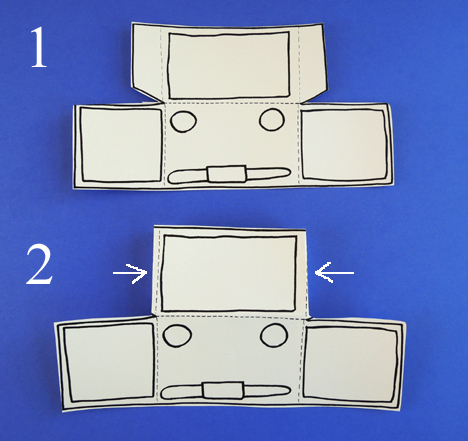 Next, fold the 2 panels on either side of the truck’s headlights.
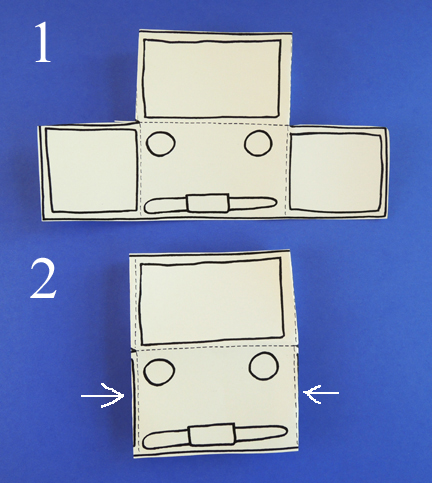 Finally, fold the hood down to meet the side panels, and secure it with tape.
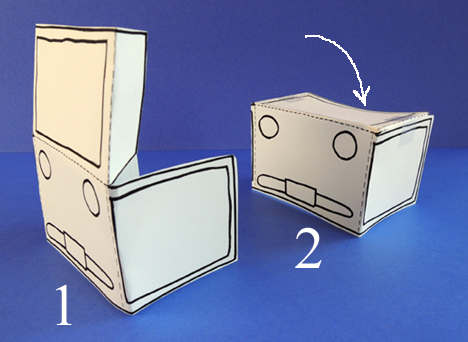 Tape the front of the truck to the front of the box like so:
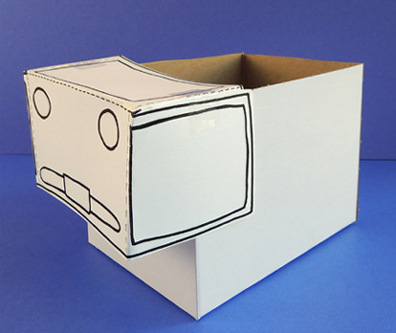 Here’s the tissue box version. As you can see, this results in a slightly shorter (but still very serviceable) truck.
 Next, cut the roof piece from the template. Fold along the dotted lines and tape the roof to the top of the box.
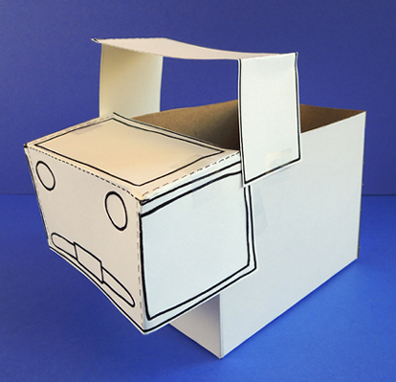 Draw some lines on the grill template, then tape it to the front of the truck. Finish by taping black construction paper wheels to the sides. Make sure the wheels don’t extend past the bottom of the truck!
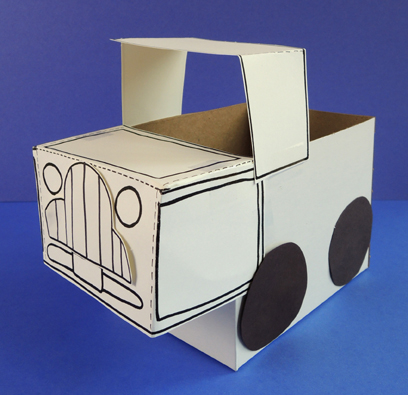 That’s the basic construction, but there are a couple variations on it. You might, for example, want to wrap the box with construction paper first. Also, we traced roof and grill templates onto different paper. Our roof was blue construction paper, and our grill was silver poster board. We also added some
 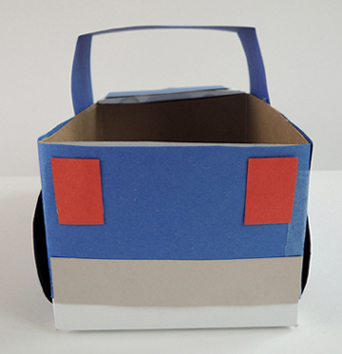 Of course, you can also skip these variations and just use the template pieces and markers! If you decide to go that route, have the kids decorate the template pieces with markers before they tape them to their boxes.
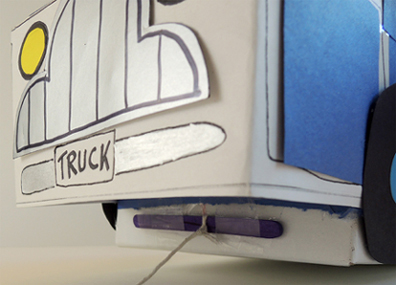 To make your “produce,” stuff the tops of 2-4 toilet paper tubes with green tissue paper. Place the tubes in the back of the truck. We didn’t secure the tubes down with tape. We wanted them to wiggle and wobble while the trucks navigated the obstacle course.
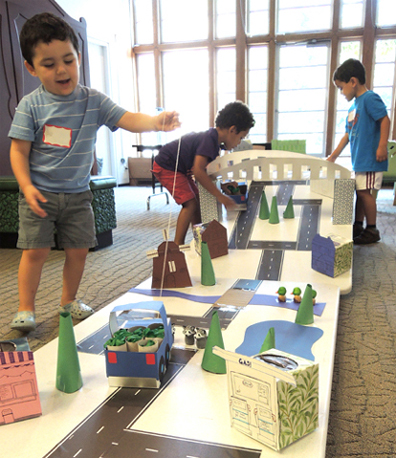
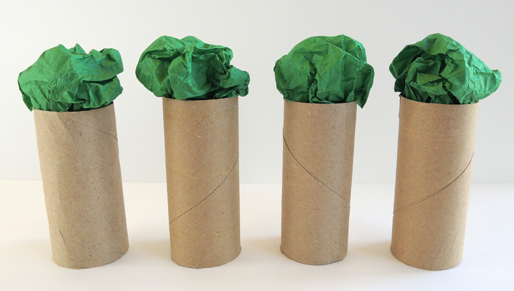 And what an obstacle course it was! We used two, 6′ plastic tabletops to create it. These tables have shown up on the blog before – once for
 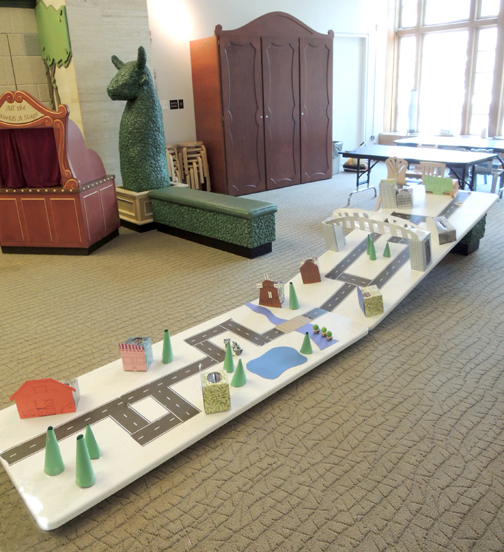 One of the tables was (securely) propped up on a cushioned stool to add a challenging hill to the course. You can also see how we made the buildings…facades taped to tissue boxes, which were then secured to the tabletop with packing tape.
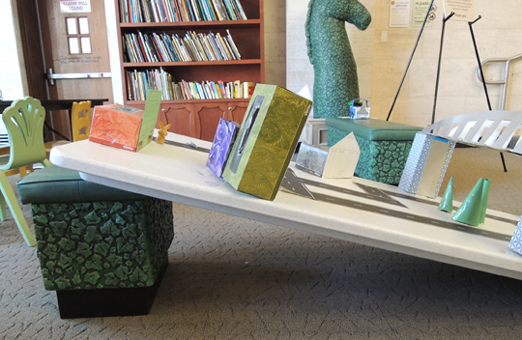 The building facades were Marissa’s handy work! Out in the country was a big red barn…
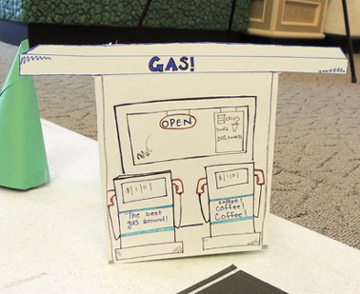
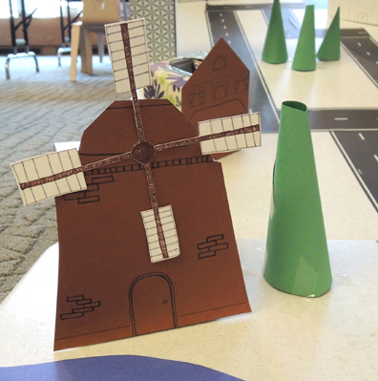
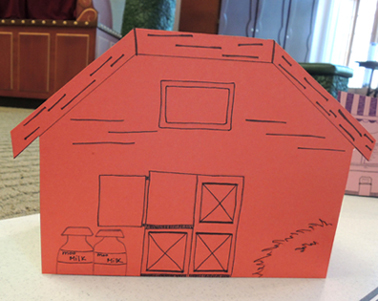 As well as an ice cream stand, a gas station, and a windmill…
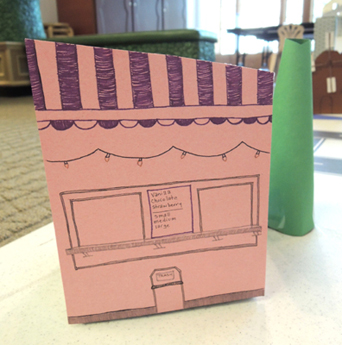
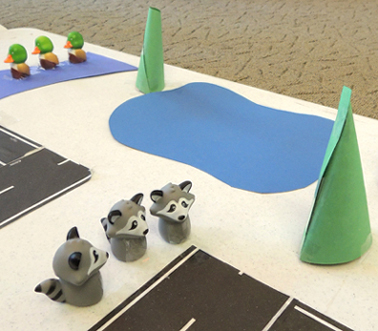
 There were ducks by a river bridge, and a trio of raccoons near a pond…and how do you like those towering conifer trees?
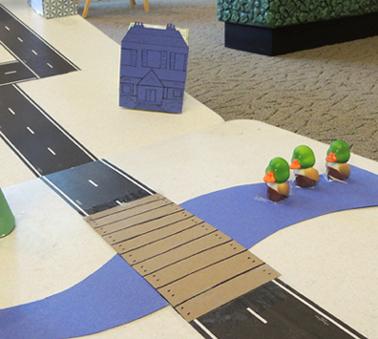
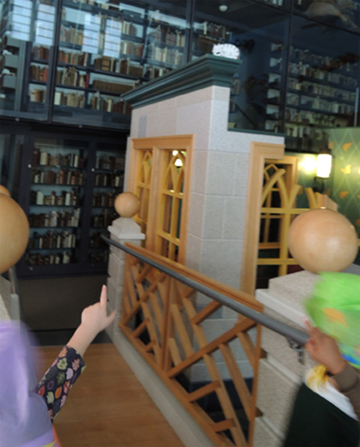
 The entrance to the city was marked with a big bridge. I made it out of a strip of cardboard, tin foil, tissue boxes, and silver poster board.
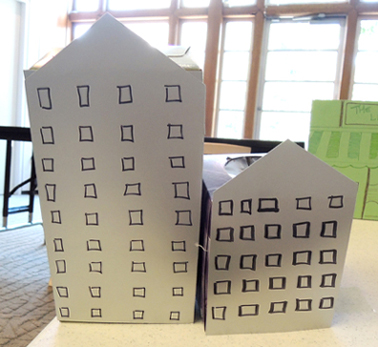
 Once in the city, there’s a bank and a couple of skyscrapers…
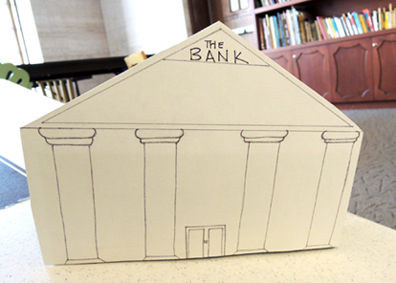
 And finally, at the veeeery top of the course, was “The Leafy Lettuce.” This is where you delivered produce to your eager customers.
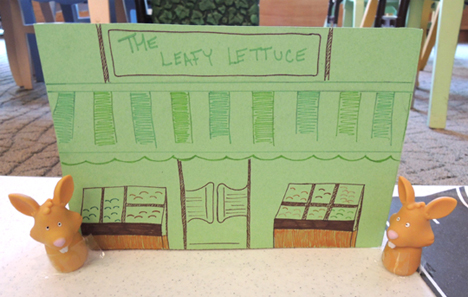 While constructing the course, we taped the buildings down first, and then added the road. We considered using long strips of black paper, contact paper, or masking tape outlines (similar to what
 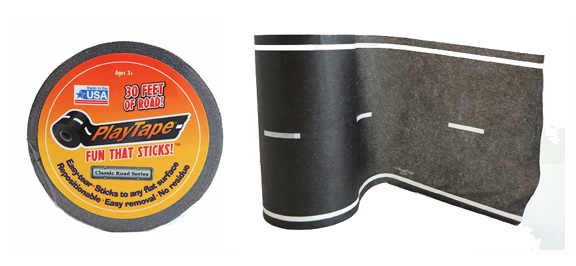 PlayTape is basically masking tape with road printed on it! The 30′ rolls came in 2 widths (2″ or 4″). I went with the 4″ size, which was $13 a roll (the 2″ size is $9). I found the tape on Amazon as well (in different colors, with special curved pieces, as train tracks, and there’s even a “Mud Madness” version!). The tape was awesome. My only complaint is that at times, the ends curled up off the plastic tabletop. The tape did much better on the rugs and hardwood floors of my home. It peeled easily off all surfaces, and left no residue behind.
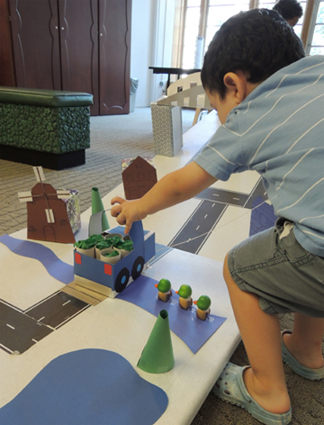 Make sure you tape everything firmly in place (even the animals) because there will be plenty of hilarious crashes. Oh yes, there will.
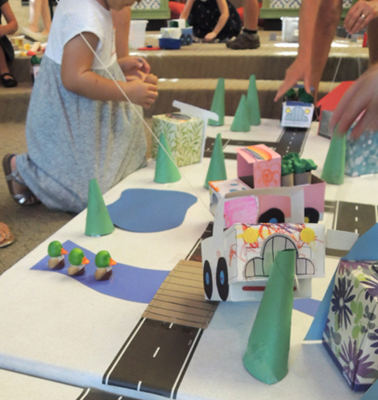 Here’s one of my favorite trucks on course. Look at that fantastic rainbow roof!
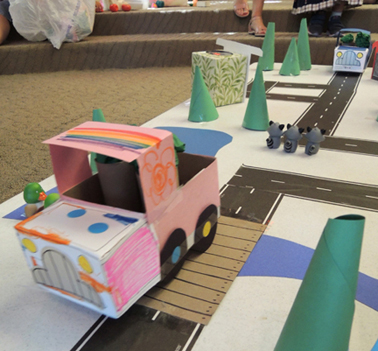 Eventually, all the trucks found their way to The Leafy Lettuce. We left the course open for a good 20 minutes after story time. It was very busy. A few Hot Wheels cars even showed up to take a drive…