It’s your dog’s day! Dress your canine in a stylish outfit and enter our story time dog show. From pink tutus to super hero capes – everyone wins a trophy!
We read Zorro Gets an Outfit by Carter Goodrich (Simon & Schuster, 2012). Zorro and Mister Bud are ready for a walk. But before departing the house, Zorro’s owner dresses him into a super hero cape with a hood. Zorro is totally embarrassed, and for good reason. Every single dog (and cat!) they encounter on the walk has a good laugh at Zorro’s outfit. Mister Bud tries to cheer him up, but nothing works. Things change, however, when a new dog arrives at the park. Dart is fast, fun…and he’s wearing an outfit too! So Zorro’s outfit is no longer a problem. In fact, he’s proud of it!
You’ll need:
- 1 large box (mine was 4.5” X 4.5” x 9” – a large tissue box works too)
- Construction paper in assorted colors
- 1 pair of wiggle eyes
- 1 medium pom-pom
- 1 gold paper cup
- 1 black paper cup
- 2 small strips of gold poster board (approximately 1″ x 4.5″)
- Scissors, tape, and glue for construction
- Hot glue
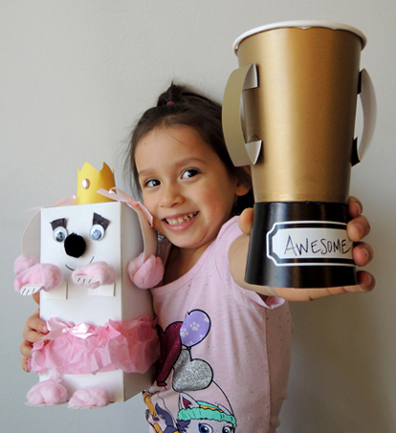
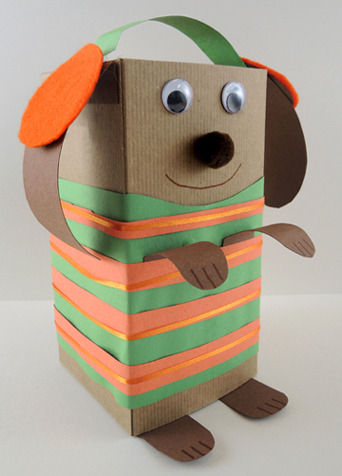
The dog is basically a box with construction paper ears, paws, and tail. Hot glue a pom-pom nose and wiggle eyes and you’re set! Use more construction paper to create the dog’s outfit. We offered a choice of a white or brown box and then let the kids take care of the rest. It’s always a good idea to provide examples, so Katie made this dashing dog with a sweater and ear muffs.
 I made a princess poodle, in a tutu, with construction paper eyelashes. Her name is Kami.
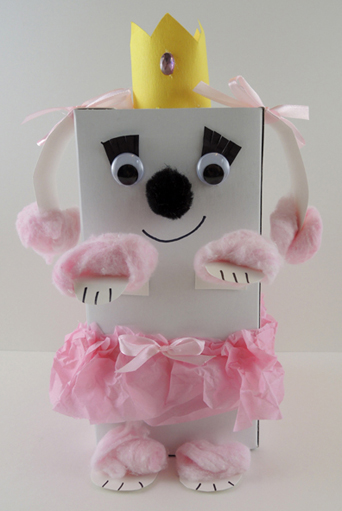 In addition to construction paper for the outfits, we couldn’t resist adding tissue paper, ribbon, felt, cotton balls, and the Bling Bin to the mix.
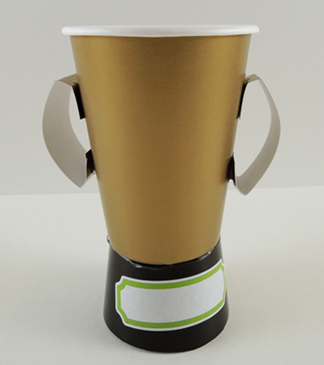
To make a trophy, cut a black paper cup down to 1.5″. Flip it over, then hot glue a gold paper cup to the top of it. Add a pair of gold metallic poster board handles with tape or hot glue. We prepped a bunch of trophies in advance, and attached blank labels to the front.
 We also came up with some potential award categories in advance. Such as:
Most Photogenic
Best Stripes
Best Use of (Color)
Most Original
Best Spots
Most Magical
Nicest Smile
Best Ears
Most Creative
While kids were decorating, Katie and Melinda circled around, making notes on what the kids were doing and what award their dogs might win. They also created some new award categories, depending on what they saw. Then they put on their official judge hats…
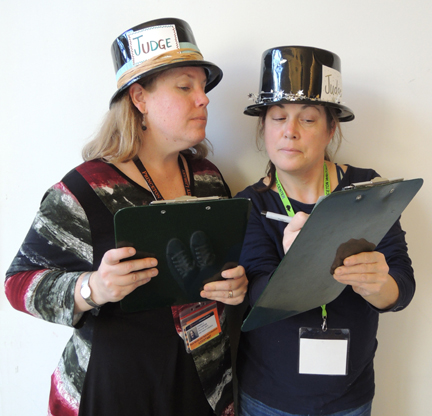 And everyone headed to the library’s lobby! Acting as the announcer, I asked the kids to circle, change direction, halt, and twirl for the judges. While they were doing this, Katie and Melinda were furiously writing award categories on the trophies. I recommend writing a few general ones (Most Creative, Most Original, Best Smile) on the trophies in advance, because the kids get tired of circling around the show grounds pretty quickly!
Finally, it was time for the awards. One by one, I called the kids up to receive their prizes to the applause of the story time crowd. Then it was back to the program area, where Katie hot glued their choice of a large gemstone to their trophies.
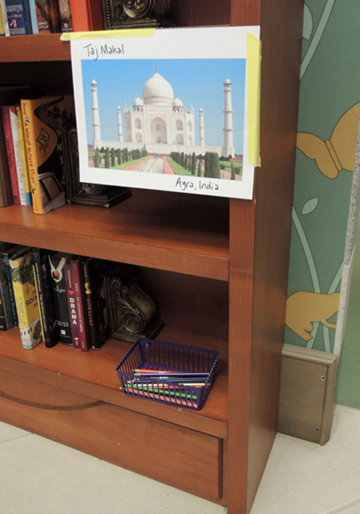
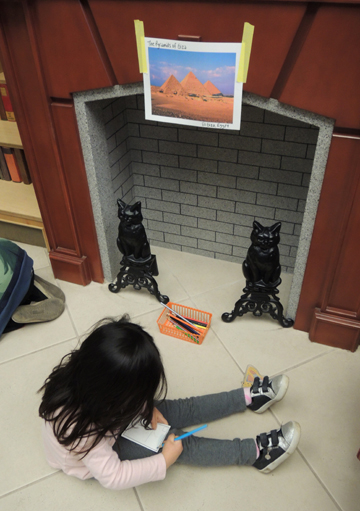
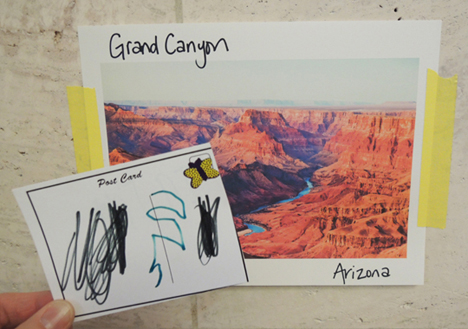
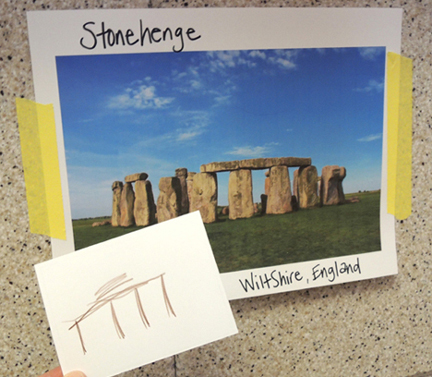
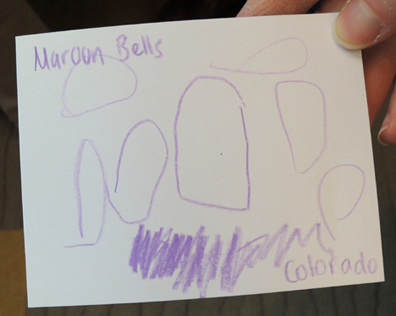
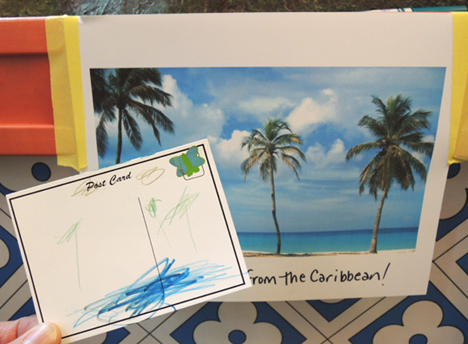
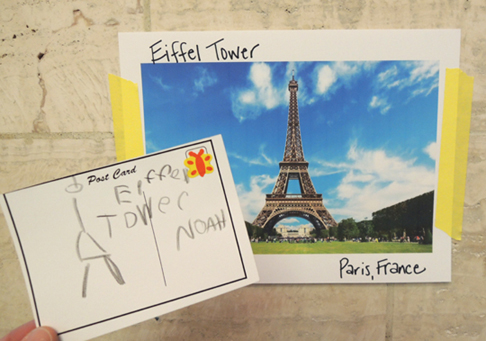 It’s the ultimate global adventure that ends with custom postcards in your very own mailbox! We made classic blue mailboxes, then visited locations around the globe to create postcards to send home. And don’t forget the stamp!
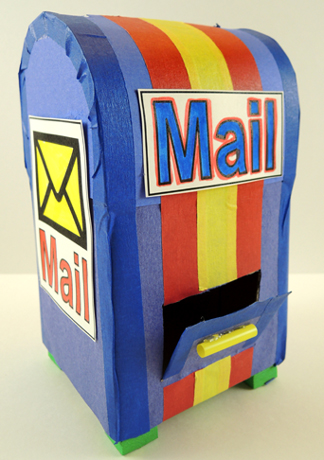 To make a mailbox, cut the top off a small tissue box. Use a box cutter to cut a little door at the bottom of the box. The postcards are 3″ wide, so make sure your door is 3″ or wider.
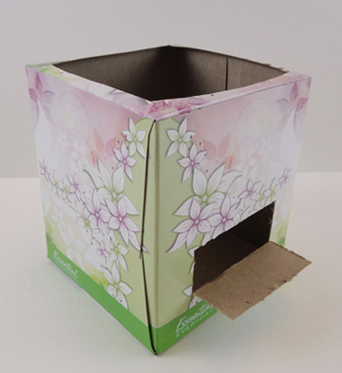 Wrap the box with blue construction paper, then use the box cutter (or scissors) to re-establish the little door.
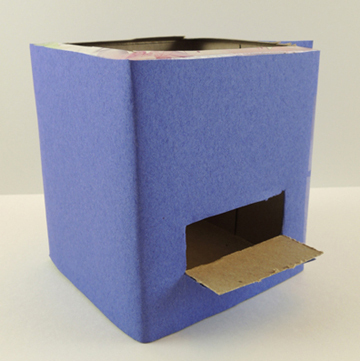 The rounded sides of the mailbox are 2 pieces of blue poster board (ours were approximately 4.25″ wide, and 3.25″ tall). Secure them in place with tape.
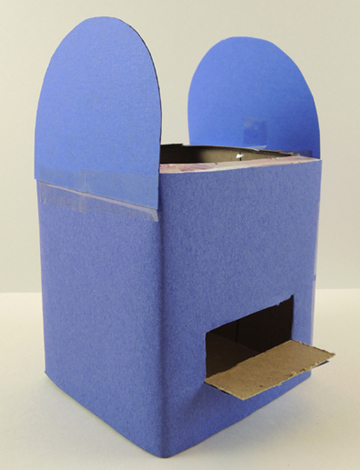 To make the top of the mailbox, cut a 3.5″ mail slot in the center of a 4.5″ x 9″ rectangle of blue poster board. Gently curl the poster board over the rounded sides of the mailbox, then tape in place. The curling and taping is definitely the toughest part of the project. Keep in mind that it doesn’t need to be perfect!
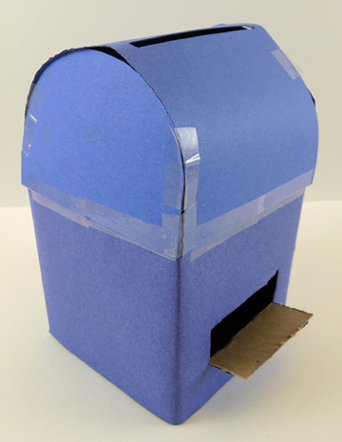 Next, use colored masking tape to reinforce the edges of the mailbox, and to decorate it. Color and cut the mailbox signs from the template and tape (or hot glue) in place.
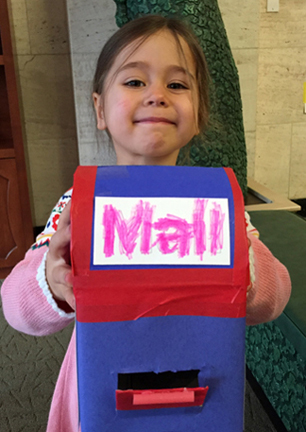

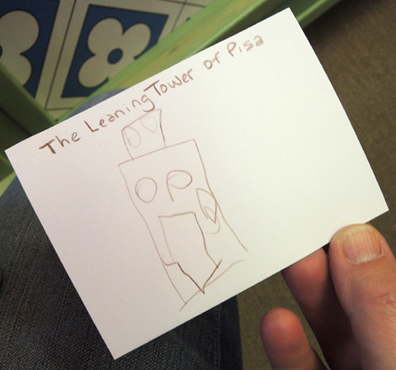
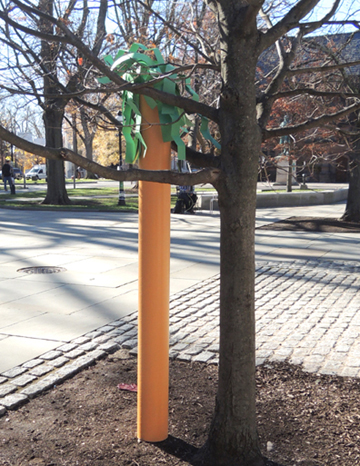
 We even got postcards from places we didn’t include! Here’s a postcard from the Amazon, even though it wasn’t one of our photo locations. I think that’s a person on top of a giant tree with a ladder? Cool.
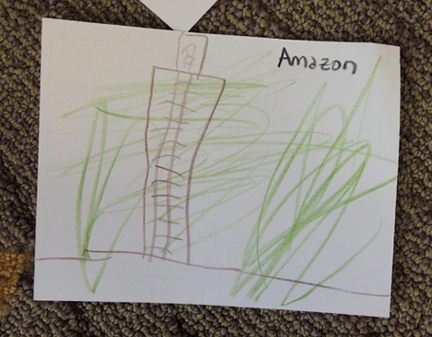 To make the postcard activity official, Miss Melinda donned a stamp-selling visor and circulated the gallery, “selling” stamps that were actually cute little stickers.
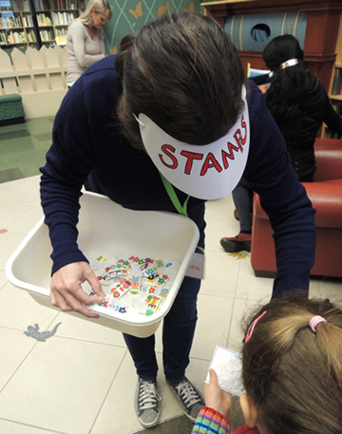
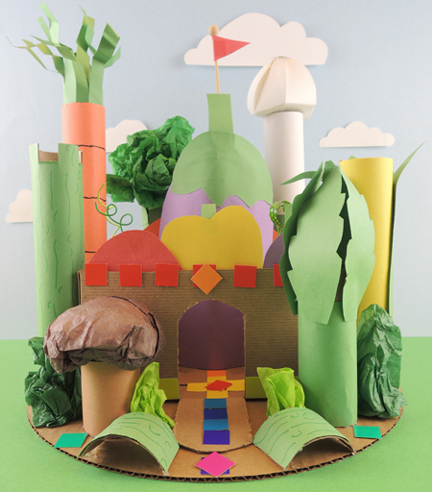 Craft a castle packed with phytochemicals! Behold towers of corn, asparagus, and carrot. Admire the eggplant and pepper wall fortifications. Stride through the cucumber slice gates. Vegetables have never looked so noble!
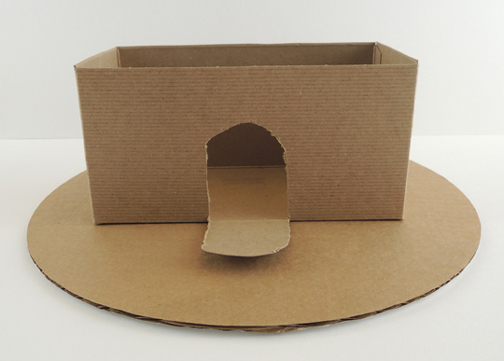 And now for the giant vegetables! Here they are, in no particular order.
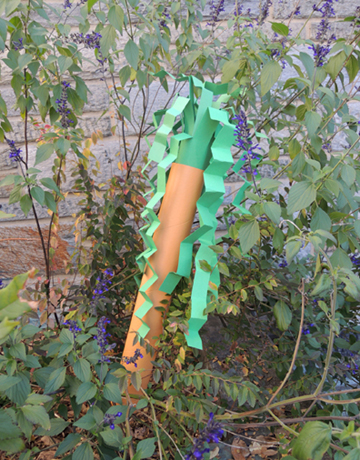
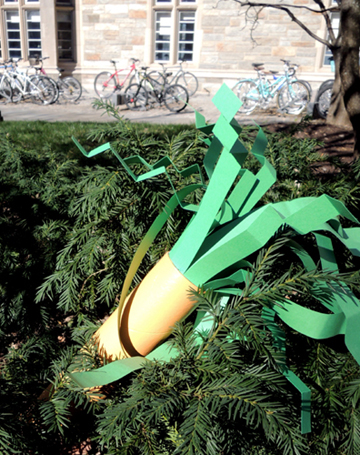
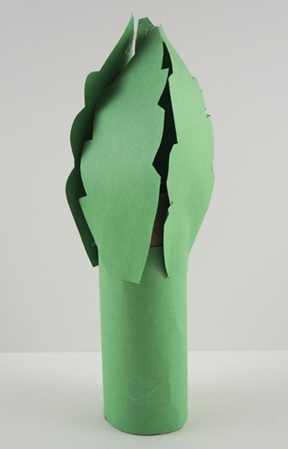 We used a toilet paper tube, but if you want a taller stalk, cut a paper towel tube to the desired height. Wrap the tube with green construction paper. Cut 4 serrated leaves out of green construction paper, and tape (or hot glue) them close to the top of the tube. Pinch the tips of the leaves together, then secure them with tape or hot glue.
 Cut a paper towel tube to the desired height, then wrap it with orange construction paper. Add a little green construction paper fringe to the top. Drawing black lines around the carrot are optional!
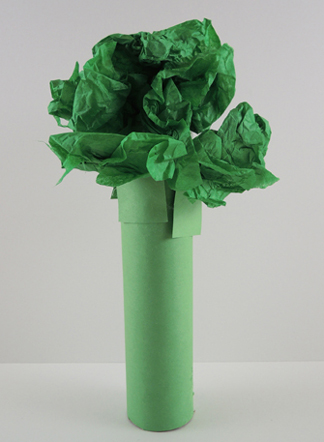 Cut a paper towel tube to the desired height, then wrap it with green construction paper. Crumble up a piece of green tissue paper and hot glue it to the top of the tube. To make the broccoli’s “floretes,” crumble up 4 smaller pieces of tissue paper, then hot glue them to the tops of four, 1.5″ x 2.25″ pieces of green construction paper. Tape or hot glue the floretes close to the top of the tube.
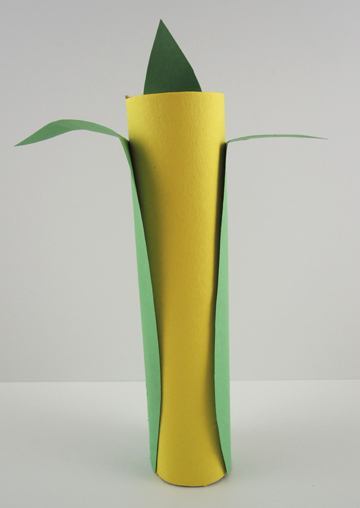 Cut a paper towel tube to the desired height, then wrap it with yellow paper. To make the corn’s “husk,” wrap a piece of green construction paper 3/4 of the way around the tube. Cut three points in the top of the green paper. Attach the husk with glue or tape, leaving the front of the corn exposed.
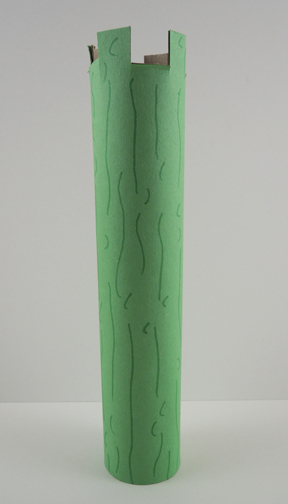 Cut a paper towel tube to the desired height, then wrap it with green construction paper. We cut castle parapets in the top as well. Use a green marker to draw cucumber lines and bumps.
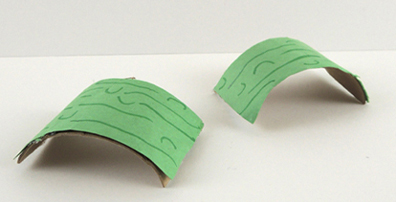 Cut a 1.5″ ring off the top of a toilet paper tube. Cut the ring in half and cover the tops of both sections with green construction paper. Use markers to draw cucumber lines and bumps.
 Cut a toilet paper tube to the desired height, then wrap it with brown paper. To make the mushroom’s cap, crumble brown tissue paper and wrap another piece of tissue paper over the crumbles. Squish the tissue paper to make a cap shape, then hot glue the cap to the top of the tube.
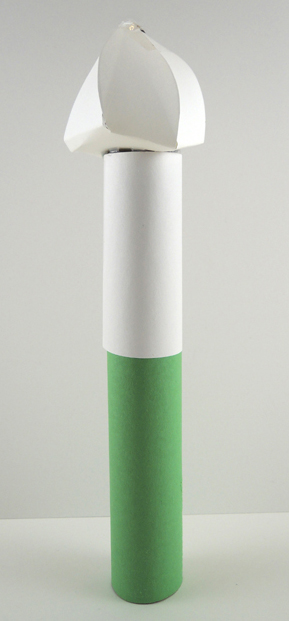 Cut a paper towel tube to the desired height, then wrap it with green construction paper. Next, wrap the top half of the tube with white paper. To make the bulb of the onion, cut the onion dome from the template. As you can see, it resembles a flower with multiple points. Fold each point inward toward the center of the template, then open it back up again.
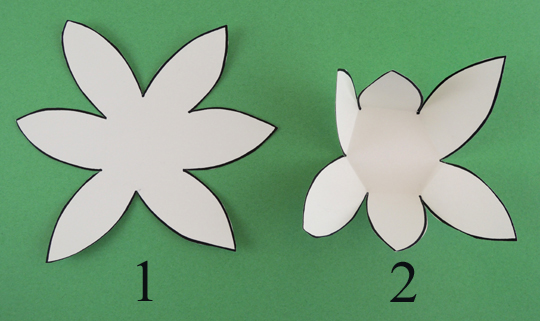 Gather two of the points over the center of the template and tape the tips together. Repeat with the remaining sets of points until you have 3 sets altogether.
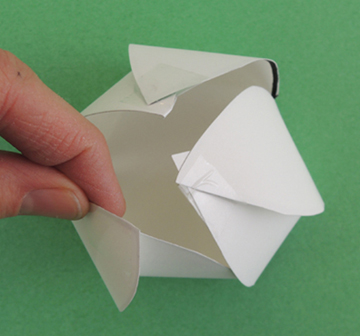 Gently push the 3 sets together over the center of the template, and tape together.
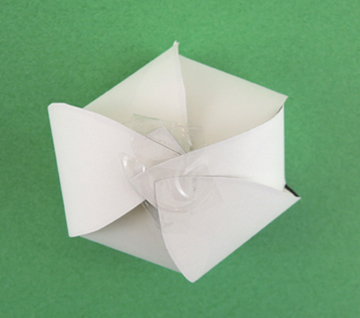

 Carrot, frolicking amidst flowers…