 Bring on the color, fun, decorations, and wheels…the jingle trucks are here! Author Hinna Shahid visited our library’s story time, and brought her two fantastic books to share: My First Jingle Truck, and Riding on a Tuk Tuk (Vah Masti Books, 2022). Both of these wonderful books take the reader on a journey through the landscapes and culture of South Asia. Hinna brought six signed copies to give away, which was amazing!
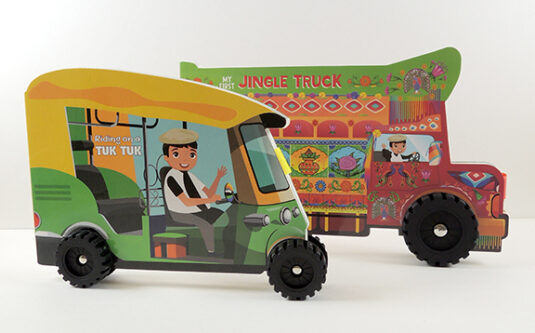 Jingle trucks are famous in South Asia for their elaborate patterns, details, calligraphy, and paintings. Each truck is unique to the driver, and represents pride in their work as well as their dedication to beauty. The truck’s dangling chains earn them their famous name. A tuk tuk is a smaller three-wheel truck, used for zipping around the roads quickly.
We decided to bring Hinna’s book to life by decorating step-inside jingle trucks! Our trucks were white office file boxes. We cut the bottoms out, then used that extra cardboard to fashion the cab of the truck. A pair of ribbons tied to the handles of the box acted as suspenders to hold the truck in place. Then we brought TONS of decorating supplies out of our art cabinets.
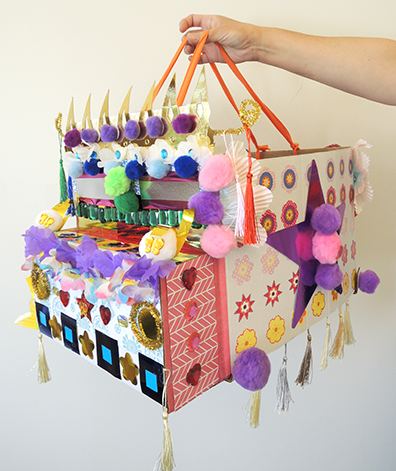 The biggest hit were bookmark tassels left over from this event. I also learned that many jingle trucks have “Horn Please” signs on the back. So I created those as well!
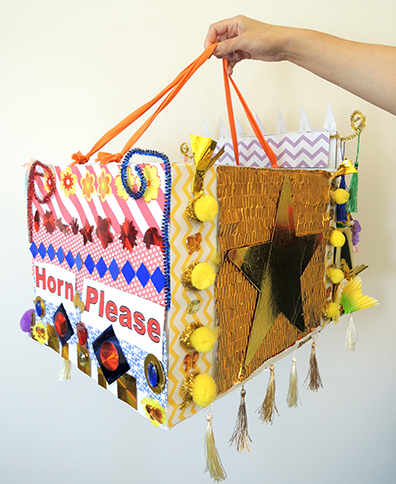
The office filing boxes we used were a bit of a splurge (a package of 20 costs $50 on Amazon. However, copy paper boxes work as well if you have room to store them. The boxes fit drivers of every size:
Large…
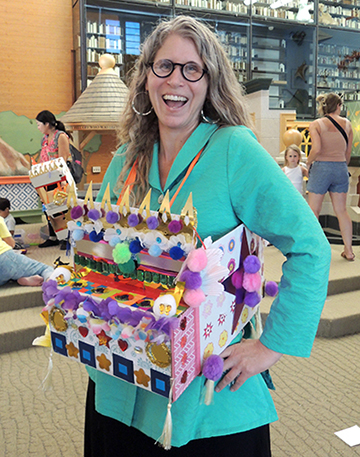 Medium…
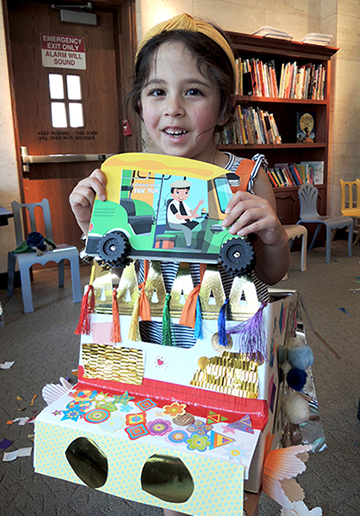 And small!
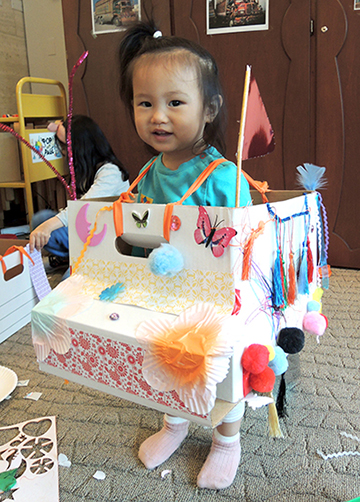 When the trucks were complete, Hinna handed out jingle bell bracelets to each driver (again, purchased on Amazon, a box of 48 were $33). To keep your budget low, you can buy packs of individual jingle bells (typically a pack of 50 runs about $6) and hand out just a few per driver.
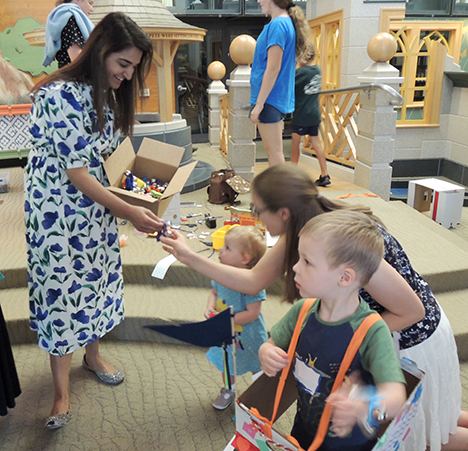 After rush hour ended, I caught up with Hinna to chat about her awesome books!
Please tell us a little about yourself!
I am a Physician Scientist working in the healthcare industry and a mother to a 3-year-old toddler residing in New Jersey.
Both of your books My First Jingle Truck and Riding on a Tuk Tuk were released in 2022. How did these books come about?
My upbringing involved extensive travel around the world, with one of my favorite destinations being my grandparents’ home in Pakistan during the summer. During those trips, I was fascinated by the multitude of three-wheel vehicles known as Auto Rickshaws and the vibrant, hand-painted Trucks that adorned the roads. Among my cherished childhood memories is the joy of riding with my grandmother on a Tuk Tuk to explore the local bazaar. The experience of zipping through the narrow streets, feeling the wind in my hair, and being enchanted by the delightful aroma of spices is something I still hold dear.
As I witnessed my own son growing up in the United States, I wanted to share my childhood reminiscences with him by reading books together. However, during the COVID pandemic, while searching online, I was unable to find a book that captured those memories. This inspired me to embark on a journey as a children’s book author, which began about two years ago. As a determined mother on a mission, I set out to share my treasured recollections of South Asia with the world.
Your books are on wheels! That’s fantastic! How did you decide to add those?
In my quest to introduce my son to the rich tapestry of South Asian culture in an enjoyable manner, serendipity struck during a family trip to London. There, I came across books equipped with wheels, and a creative idea took shape in my mind. Inspired by this discovery, I resolved to incorporate wheels into the books, transforming them into captivating and interactive pieces for young readers.
Are there any illustrations or locations in the books that are significant to you?
Within the pages of the two books, numerous stops and locations hold significance as they are drawn from a blend of my cherished childhood memories and recent journeys to India and Pakistan. Among these, Agra, India, holds a special place in my heart, for it is there that the awe-inspiring beauty of the Taj Mahal was brought to life.
What are you working on now?
I am currently immersed in several exciting projects for my next books. At the moment, I am exploring captivating new themes and storylines that will engage young readers and spark their imaginations. I’m also delving into more diverse cultures and settings, aiming to introduce children to different parts of the world through the magic of storytelling. Stay tuned for more updates and exciting developments from me as a children’s book author. There are wonderful adventures and heartwarming tales waiting to be unveiled. Your continued support and interest mean a lot, and I can’t wait to share these new stories with you soon!
Many thanks to Hinna Shahid for coming to our library and donating books to our library visitors! See you on the road!

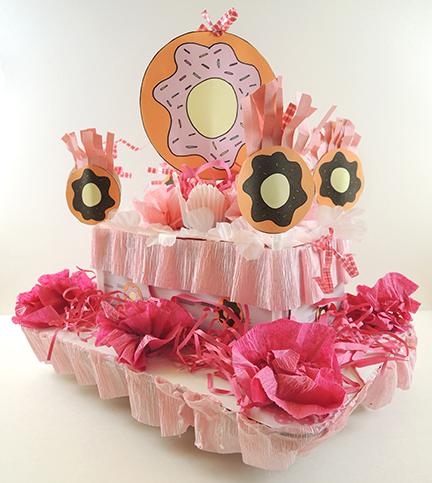 What do you think…is this too much pink? Display alllllll your fabulous frills with a delicious donut float, then join a march around the library. Today, we’re celebrating frosting, filling, glaze, and sprinkles. And yes, we have parade footage!
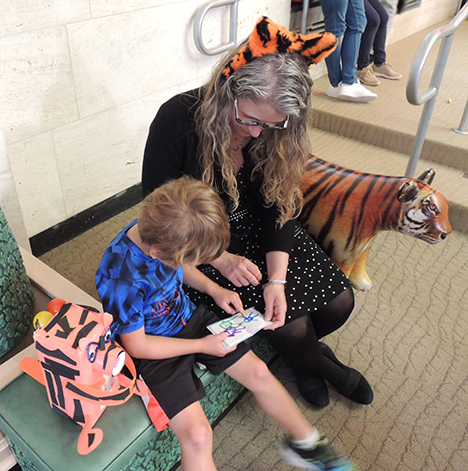
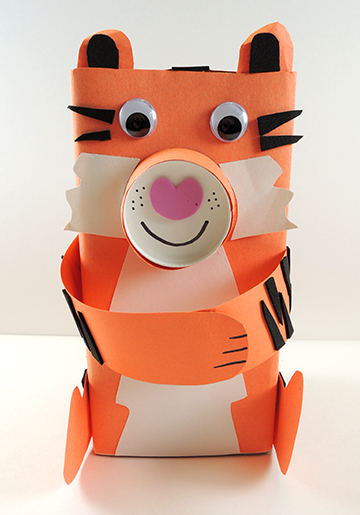
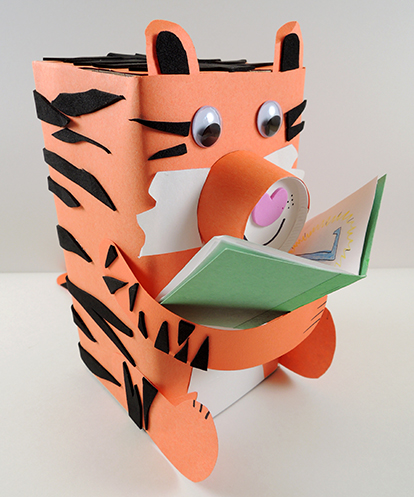 It’s story time, and this sweet tiger is eager to read! Best of all, the book is all about your favorite things. It’s art and autobiography, mixed into one!
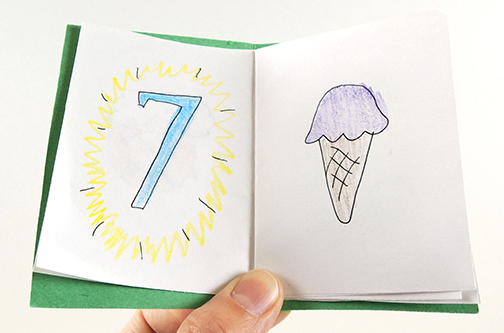
 Our book was about 4″ tall. We folded and stapled together some sheets, then filled the pages with drawings of our favorite things…favorite bird, holiday, weather, number, dessert, color, drink, fruit, animal, etc.