You can’t fly with one wing. But if you join up with another one-winged friend, well…the sky’s the limit! This project also double as a cute motor skills hook and balance game.
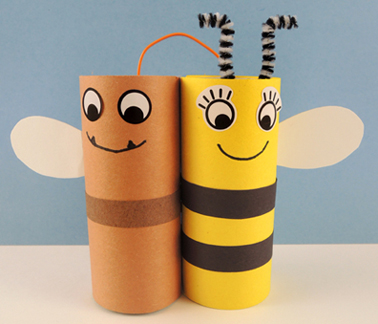
We read Horsefly and Honeybee by Randy Cecil (Henry Holt, 2012). Horsefly and Honeybee get in a fight over a flower, and each loses a wing. The helplessly earth-bound Honeybee is soon captured by Bullfrog. To make matters worse, her old enemy Horsefly is captured too. The two glower at each other on a lily pad until they hear Bullfrog returning for dinner. Clutching each other, they flap their combined wings and discover that together, they can soar far out of Bullfrog’s reach! The two friends also discover that there is plenty of room for both of them on a flower. Seriously, this book wins most adorable.
You’ll need:
- Two toilet paper tubes
- Construction paper
- 1 piece of twisteez wire or pipe cleaner (approximately 3″)
- 1 paper towel tube
- 1 small box (ours was 2” x 4” x 4″)
- 1 wooden dowel
- 1 piece of yarn (ours was approximately 22″)
- 1 small paper clip
- Scissors and tape for construction
- Markers for decorating
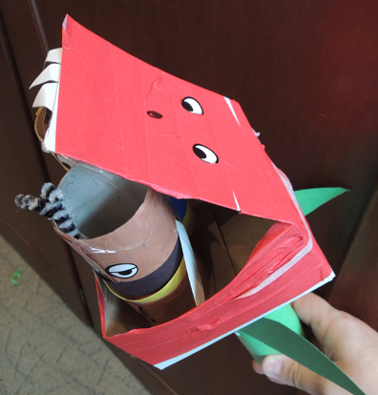
To make the dynamic duo of Horsefly and Honeybee, wrap 2 toilet paper tubes with construction paper. We added dark brown and black bands on their bodies, eye stickers, and a paper of pipe cleaner antenna for Honeybee. And of course, each gets one wing. Hot glue (or tape) them together, then tape a twisteez wire or pipe cleaner to the back. This is how you’ll lift them during the fishing game.
 The other two game pieces are a lily pad and a flower. The lily pad is made out of construction paper, and the flower is a cupcake liner I found in the discount Easter section of Target. The flower is a small box hot glued to the top of a 6″ piece of paper towel tube. We added some green paper crinkle to the inside as well.
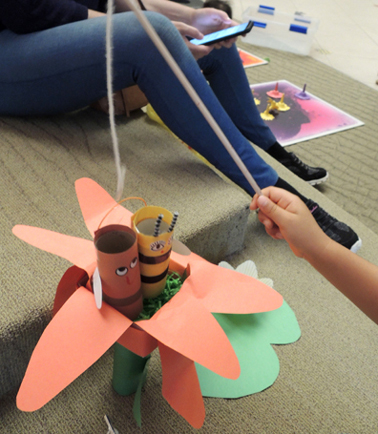
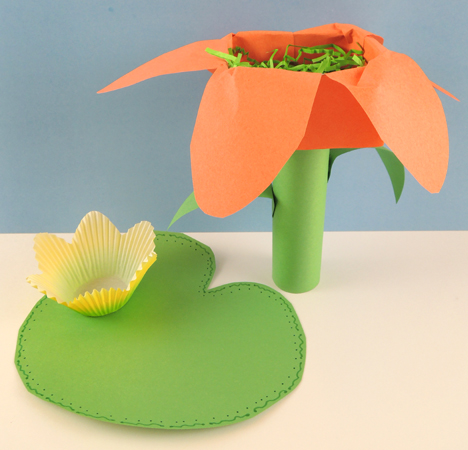 The final step is to rig up a fishing pole. We used a wooden dowel, yarn, and an unfolded paperclip fishing hook. To play the game, place Horsefly and Honeybee on the lily pad. Then hook them with the fishing pole and fly them to the safety of the flower.
 Some story times, kids will grab the project’s supplies and create something entirely impromptu. So may I present…a Venus Fly Trap?
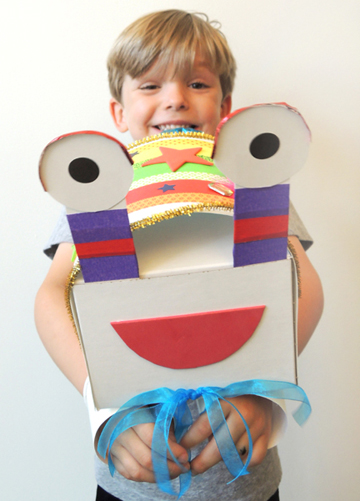
 Assembling this hand puppet is incredibly easy. The eye stalks are made with white poster board (we used
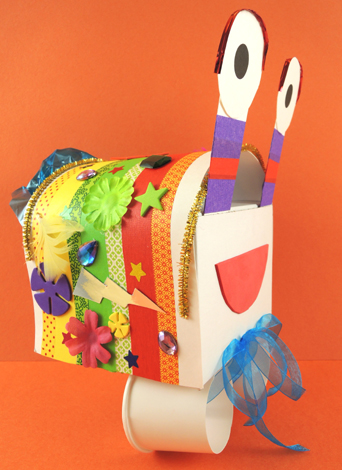
 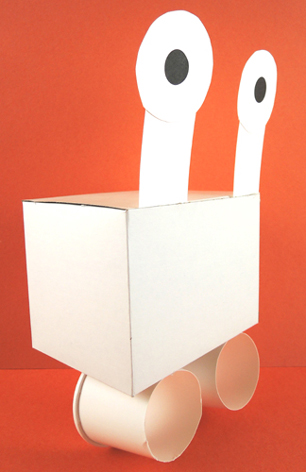 The shell is a 6.75″ x 17″ piece of white poster board arched over the box and secured to the sides of the box with tape or hot glue. The shell sticks out behind the box about 1.5″ to hide the puppeteers arms a little.
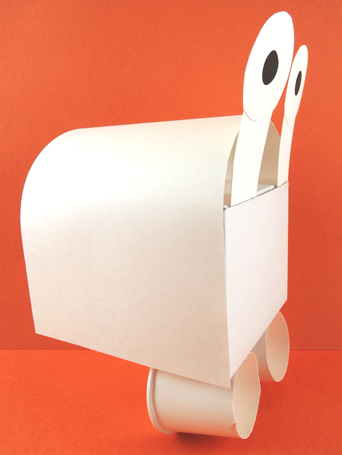 We recommend decorating the shell before you attach it to the box of course. We brought out
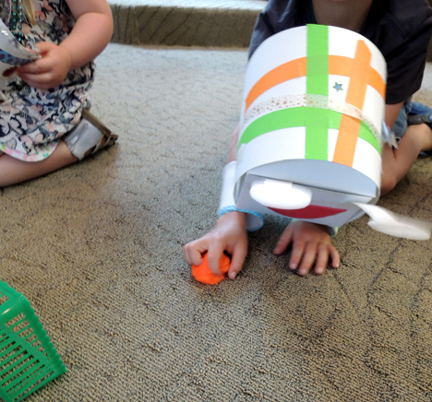
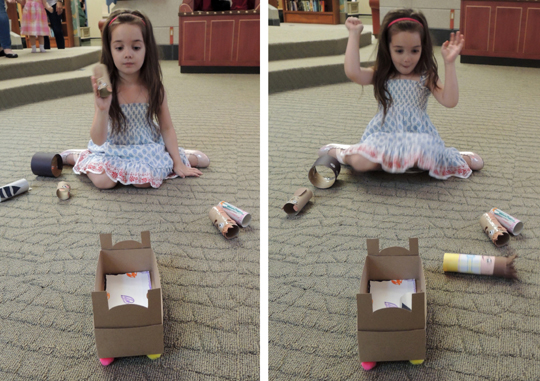
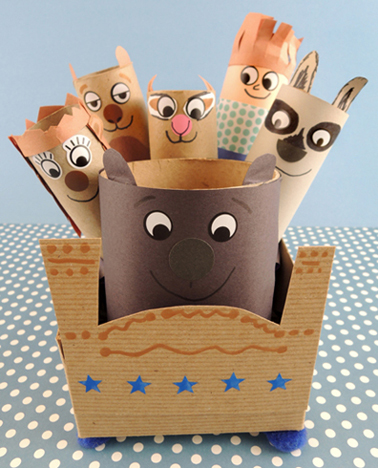 Tired and ready to jump into bed? You might have some competition. Can you toss the bear, chipmunk, groundhog, raccoon, porcupine, AND yourself safely into the bed?
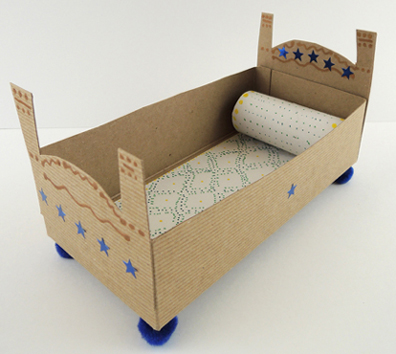 The bed’s occupants are toilet paper tubes (the chipmunk is a 2″ snippet of tube). The bear, however, is a packing tape core. We used construction paper and markers to decorate them, as well as
 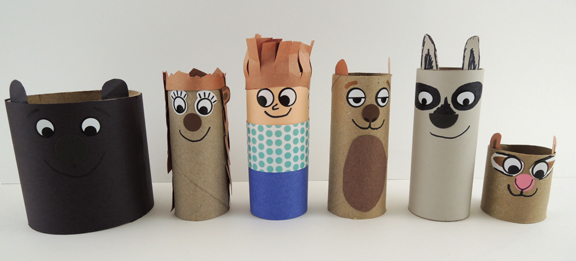 To play the game, simply set the bed up, move back a few paces, and let the tubes fly! The big bear is especially fun to toss, as he/she is prone to sending the other tubes bouncing out of the bed and into the air!