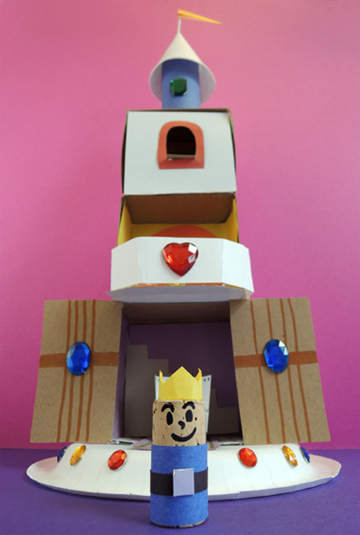
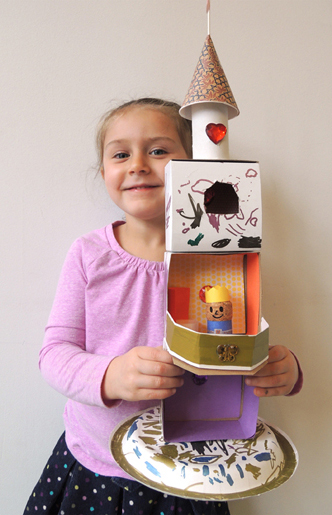
 It might be a small, small world, but you can always dream big! Create a lavish, three-story castle with throne room, balcony, and bedroom with a view. And don’t forget His (or Her) Royal Tinyness, expertly fashioned from a wine cork.
We read The Tiny King by Taro Miura (Candlewick Press, 2010). Once there was a Tiny King who lived in a huge castle. He had everything he could want (a big army, enormous feasts, a huge bathtub, a gargantuan horse). But the Tiny King was sad and lonely. Happily, he falls in love with a big princess and marries her. They have ten children who fill their lives with joy, love, and laughter. That huge castle? As it turns out, it was exactly the right size!
You’ll need:
- 1 sturdy paper plate
- 3 boxes (mine were 2″ x 4″ x 4″)
- 1 strip of corrugated cardboard (mine was 2.75″ x 9.75″)
- A box cutter
- 1 toilet paper tube
- 1 cone water cup
- A wooden coffee stirrer, or small straw
- A selection of construction paper
- A selection of patterned paper
- A selection of small gemstones or large gemstones
- 1 tape core
- 1 wooden spool
- 1 paper baking cup
- 1 wine or champagne cork
- Scissors, tape, and glue for construction
- Metallic markers for decorating
- Hot glue
The beauty of this project is that you don’t need much beyond a paper plate, a few boxes, some construction paper, and a wine cork. And the boxes can be just about any size. Just decorate, stack, glue, and you’re done! If, however, you’d like to replicate some of the elements we incorporated, read on…
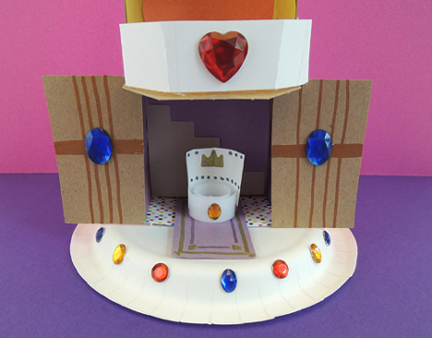
 The base of our castle is a flipped over paper plate. Remove the lid and tabs from the first box, and hot glue it to the paper plate. Add a pair of castle doors if you’d like. Our doors were made out of tagboard – they were simply hot glued in place and didn’t open and shut. To complete the “throne room,” add a rug (construction paper) and a throne (a tape core with poster board taped to the back).
 The second floor of the castle has a balcony. Cut the tabs off your box, but leave the lid intact. Fold the box’s lid outward to create the floor of your balcony, then cut the floor to your preferred shape (we went semi-octagonal).
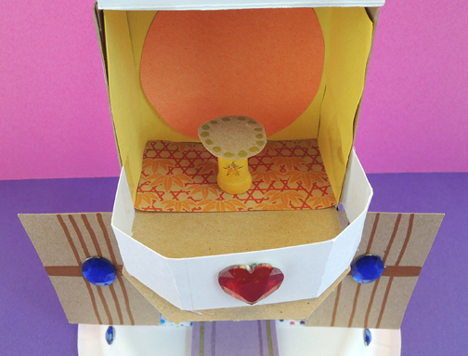
Hot glue the second box on top of the first box. Then shape a piece of paper (or poster board) around the perimeter of the balcony to make a railing. Tape the railing in place. Furnish the second floor with a little table (a circle of tagboard (or poster board) and a wooden spool).
 The third floor of the castle is the bedroom. It has a window, and the wall in which the window rests opens and shuts. First, cut the tabs off your box, but leave the lid intact. Next, use a box cutter to cut a window in the box’s lid (we cut all the windows in advance). Hot glue the third box to the second box. Here’s our window:
 Since the castle is tall and narrow, we decided it would be best to have the window wall open downward (as opposed to one side or the other – too tippy!). Below you can see how the wall folds down, revealing the interior of the bedroom and a paper baking cup bed.
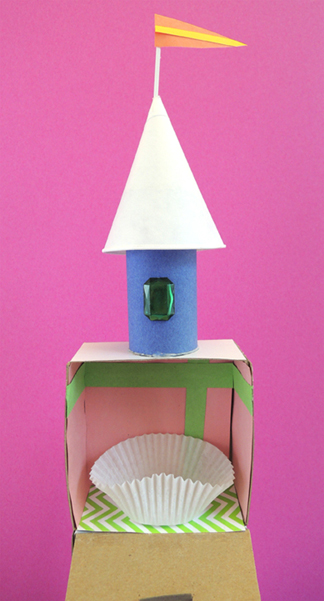
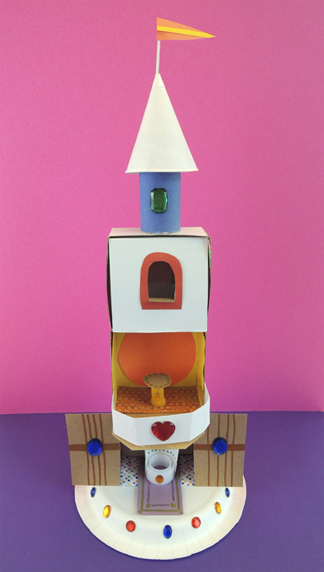
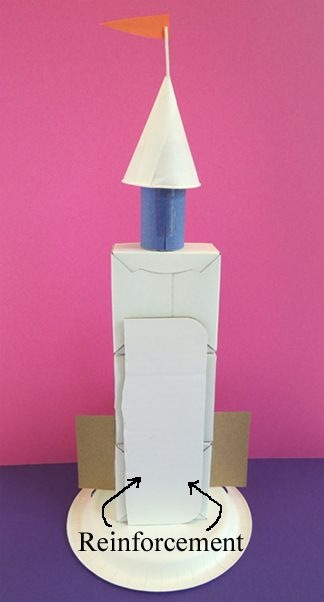
The final step is to make the castle’s tower. This is a cone water cup hot glued to a toilet paper tube. The toilet paper tube is then hot glued to the top of the third box. And don’t forget the flag! Once all your castle pieces are stacked and glued, it’s very important to add reinforcement to the back of the boxes. We hot glued a 2.75″ x 9.75″ piece of corrugated cardboard to the back of our castle:
 You can decorate the castle rooms before you glue the boxes together, or you can decorate as you build. We offered construction paper, patterned paper, and plastic gemstones to our castle architects.
 We also provided metallic markers, which produced some spectacular results. I love the gold-rimmed paper plate base in the photo above. And look at this alligator in the “moat!”
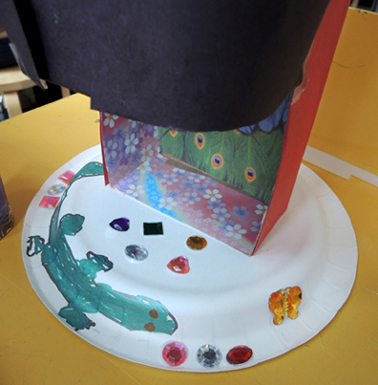
And this! Gold flourishes on the tabletop and the white wall, echoing the Moroccan-influenced wall paper. Gorgeous. The pink shutters rock too.
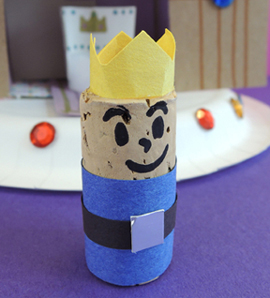
 The last thing your castle needs is a king or queen! Used permanent marker to draw a face on a wine or champagne cork, then hot glue a little paper crown to the top. Wrap the remainder of the cork in paper. Done!
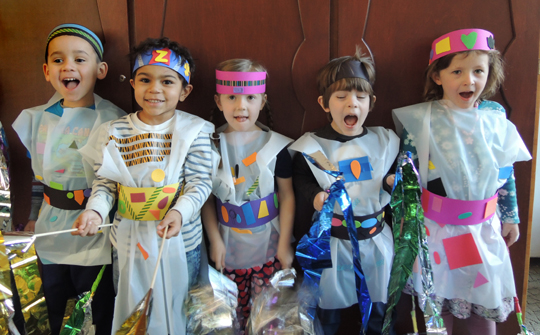 They say ninjas should be silent, composed, and invisible…we are not those ninjas. Make a truly eye-catching headband, belt and tunic. And forgo the nunchucks in favor of some fantastic dancing ribbons!
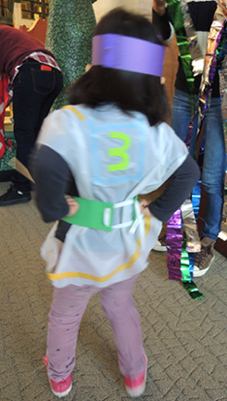 To make the tunic, cut a slit in the center of a big rectangle of plastic table cloth (I definitely don’t recommend going any bigger than a 39.5″ x 47″ rectangle). Stick your head through the slit and let the tablecloth drape like a poncho. Next, tie the poster board belt around your waist. Instant tunic! Trim the bottom and shoulders of the tunic as needed, then decorate it with patterned tape and self-adhesive foam shapes.
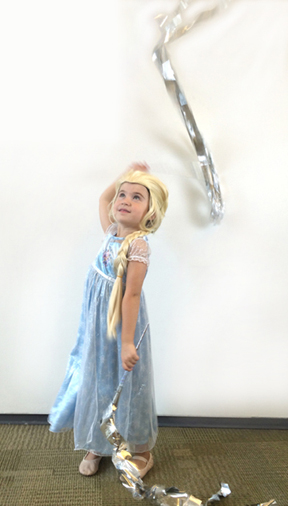
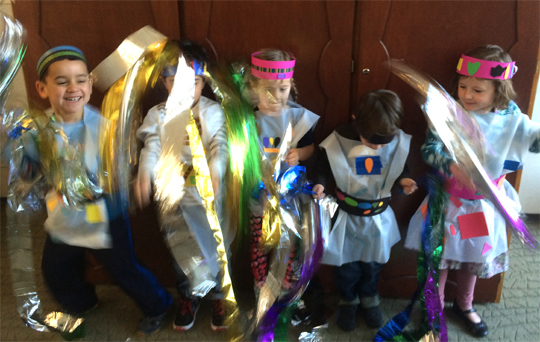 Without a doubt, this is a high-energy-get-your-wiggles-out-lots-of-fun story time project. So make sure you have plenty of space. For there will be bouncing, kicking, twirling and leaping!
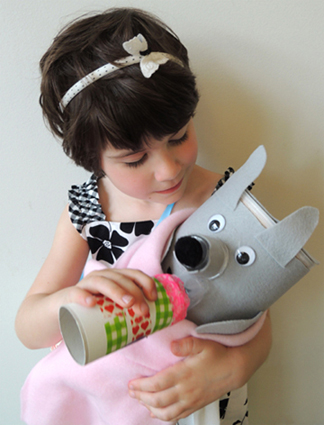
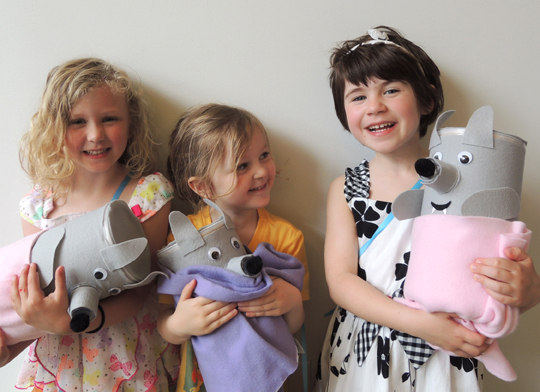 There’s a new arrival in the family, but this baby has fur, fangs, a propensity to howl at the moon, and a very wolfish grin! You’ll be fully prepared for parenthood, however, with a bottle, diapers, blanket, bunny snuggle toy, and customized diaper bag.
 One of the things that delighted the kids was that the baby wolves wore real diapers. I grabbed some Target brand newborn diapers (36 diapers cost $5.99).
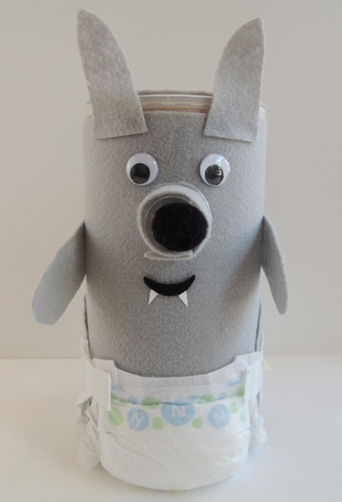 Your wolf is done, now for some accessories! Here’s the diaper bag we made. It was stuffed with an extra diaper, a baby bottle, a bunny snuggle toy, and a fleece baby blanket.
 To make the diaper bag, staple the sides of a manila folder together, then add some patterned tape to cover the staples. To make the strap, punch holes in the sides of the folder and knot a ribbon through each hole. Decorate the diaper bag with markers.
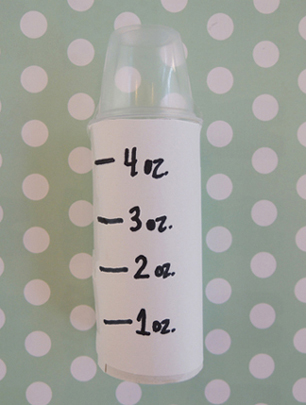 The bunny snuggle toy is on the
 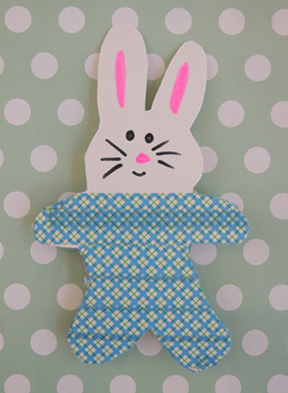 Once the kids were finished with the diaper bag and all its contents, they selected a fleece blanket for their baby (we offered pink, blue, and purple). Then everyone lined up and a “doctor” (played by a game 7 year-old) went to the “nursery” and delivered a baby wolf to each kid (“Congratulations! It’s a wolf!”). It was hilarious to watch kids get diapering pointers from their parents. Some kids settled down to give their wolves a quiet bottle feeding, others whipped their wolf’s diapers off and ran around howling. Different parenting styles at work. It’s all good.