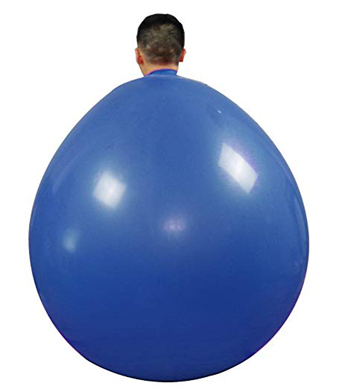
 We always promised that we would share the good, the bad, and the ugly on this blog. Well, today we present a complete and total fail. We tested a 6ft, 72″ latex climb in balloon. Yes, a giant balloon you climb inside.
Why?
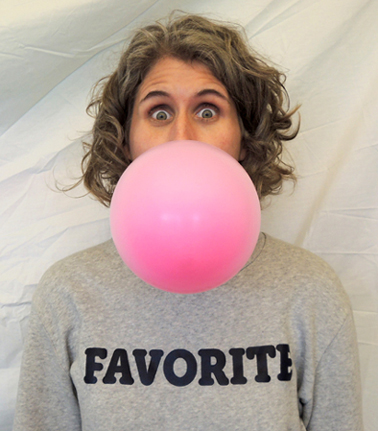
Well, we were doing research for a Willy Wonka escape room Katie designed (you can see her awesome Sherlock Holmes one here). We spotted the balloon on Amazon and immediately thought of the gum-chewing Violet Beauregarde and her unfortunate turn as a blueberry in Charlie and the Chocolate Factory. Here’s the shot from the seller’s listing:
From Amazon
We imagined a Violet-like character in the escape room, giving hints and so forth. However, we were more than a little skeptical the balloon would work. But after watching several hilarious YouTube videos of people trying and succeeding, we decided to test one to see if it would work for us.
It didn’t.
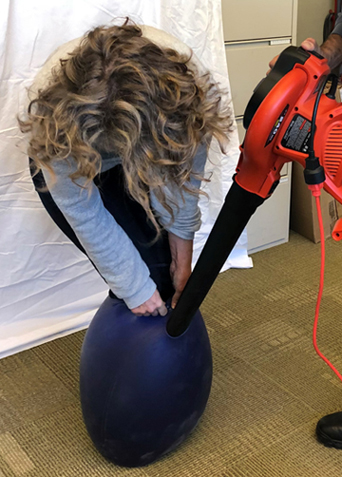
For starters, even though this was listed as a “Climb In Balloon,” the instructions that arrive with the product DON’T tell you how to climb inside it. They instruct you to fill the balloon with helium and float it. Thankfully, YouTube had all the answers. In order to inflate it and wear it, we needed to use a leaf blower. Good thing Katie has a super duper electric one!
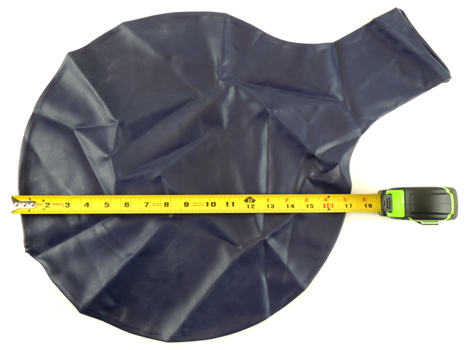
The balloon arrives in a plastic bag with the aforementioned instructions. It looks just like a little balloon, but supersized. I snapped a photo of it with a tape measure, just to give you an idea of the diameter.
 The technique for getting inside the balloon is to inflate it a little, stretch the neck open, and then quickly slide a foot in. Inflate again, and slide the other foot it.
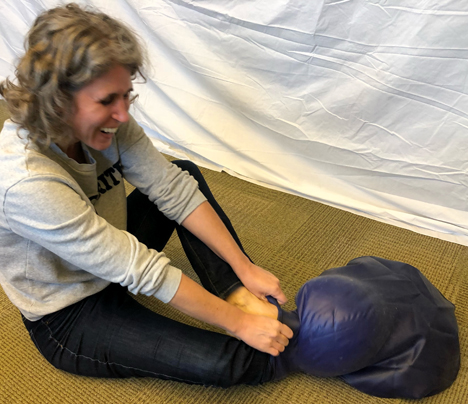 Then you stand up, inflate, and start shimmying the balloon up your body. But in order to create the space for your legs and torso, the balloon has to stay semi-inflated at all time. Which means someone is running a leaf blower next to your head as you try to ease your way into your balloon suit.
 We made it a little past my knees before the balloon ripped. NOOOOO! Maybe it was the roughness of my clothing? Something smooth like running tights, yoga pants, or even wearing shorts might have made the difference.
Or perhaps it was they way the neck of the balloon kept curling downward, stressing the sides of the balloon until it finally ripped? If we’d had a couple of balloons to test, my guess is that we would have eventually succeeded (but at $25 a balloon, this was simply not feasible). Whatever the reason for the fail, I was really, really, really sad. I wanted it to work folks. I really wanted to be inside a giant balloon with just my head sticking out.
Well, you can’t win them all.
The amount of work to get inside this balloon, the high potential for failure, and the price per balloon means we’ll have to figure out something else for the Willy Wonka escape room. And whatever it is, it’ll be Katie’s turn to climb inside it. Heh heh.
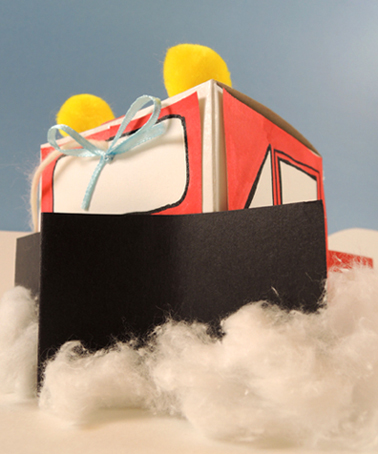
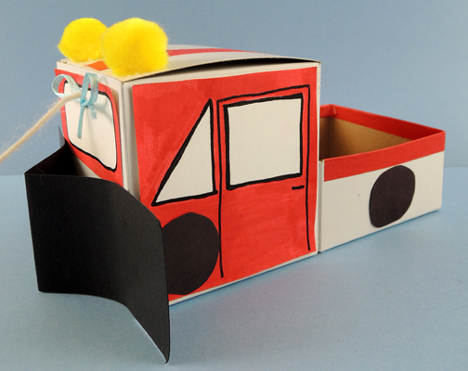
 Color and cut the side doors and windshields from the template, then tape them to the box. I would, however, like to bring your attention to this very clever variation on the template. The kid bent the doors outwards, and drew a snowplow driver inside!
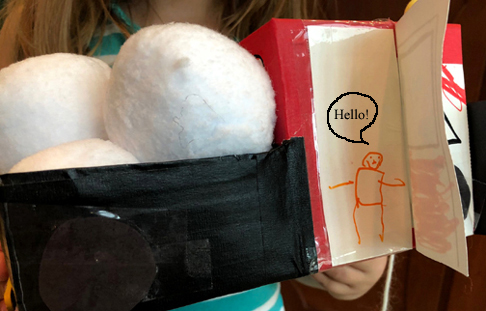 We provided
 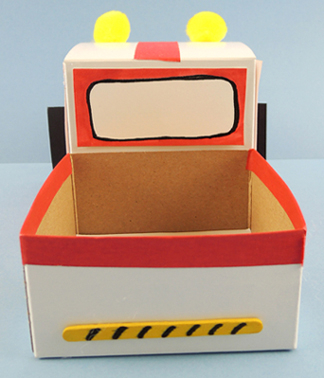 The wheels and blade of the snowplow are black poster board. Add 2 yellow pom-pom “flasher lights,” a yarn pull string, and you’re done! We decided to add an extra challenge to our story time project in the form of these fabric snowballs. I scored a dozen packages of these on deep, deep discount this summer.
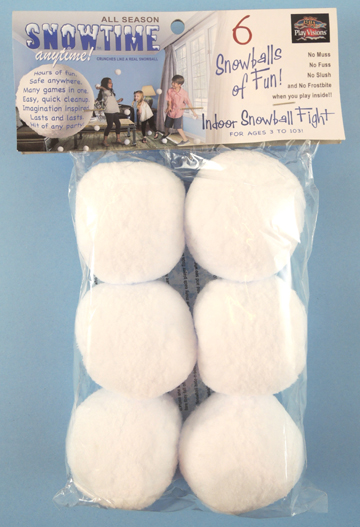 Kids were challenged to navigate our gallery, rolling the snowballs in front of the plow without losing them. Then they got to take some snowballs home!
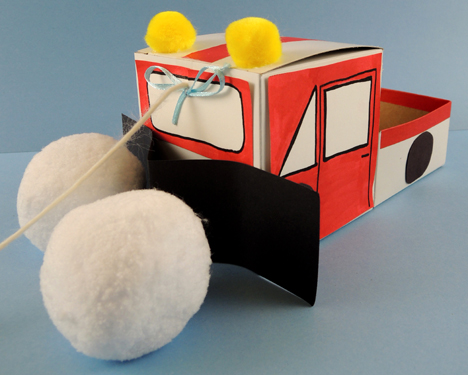 Did you notice the little blue bow on the snowplow’s windshield? In the story, Gus ties his blue scarf on Walt to celebrate the little plow being “Number One!” We definitely wanted to capture that sweetness here as well.
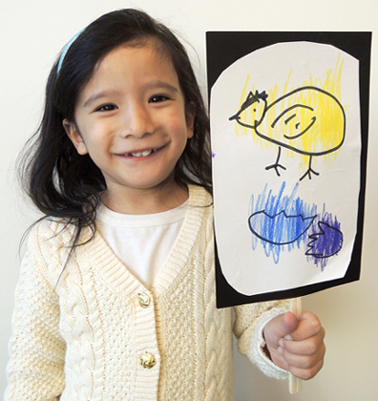 Flip the puppet back and forth to reveal a simple, dynamic story! This project was part of our library’s World Kamishibai Day
 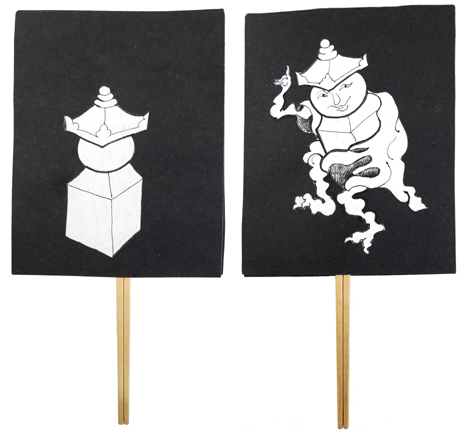 It’s way cooler to see the puppet in action though…
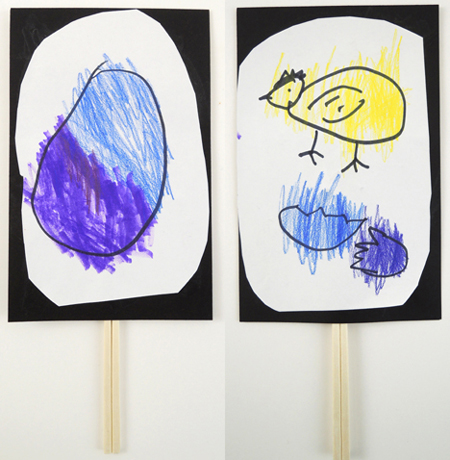
 A very sweet butterfly…
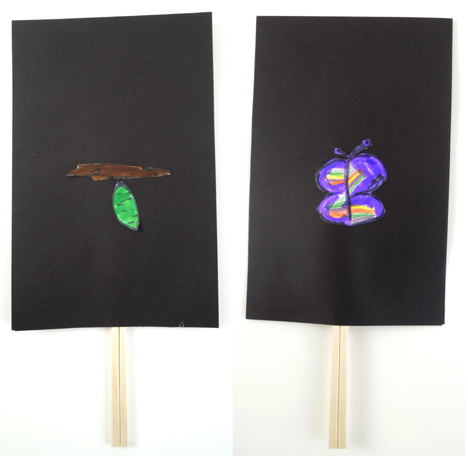 A single fish that goes “Pop!” and turns into a school of fish…
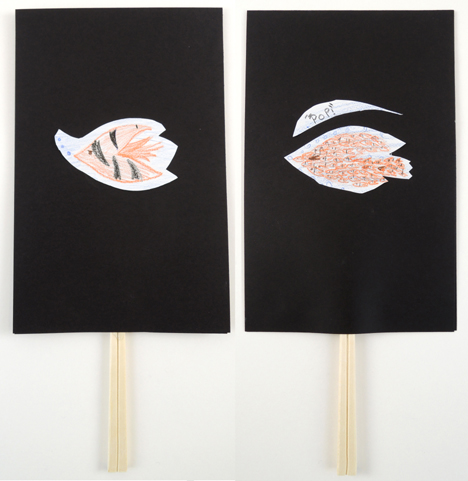 An exploding firework…
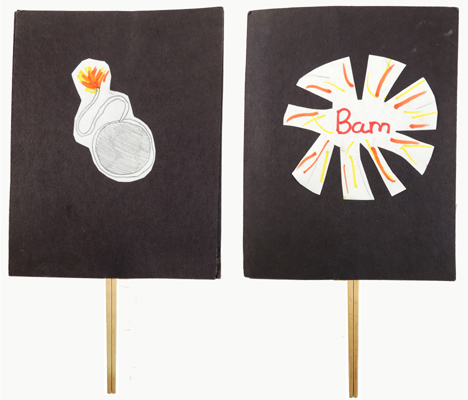 And a girl that duplicates into 5 girls!
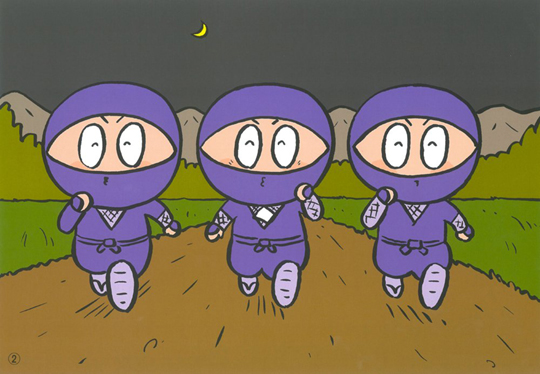
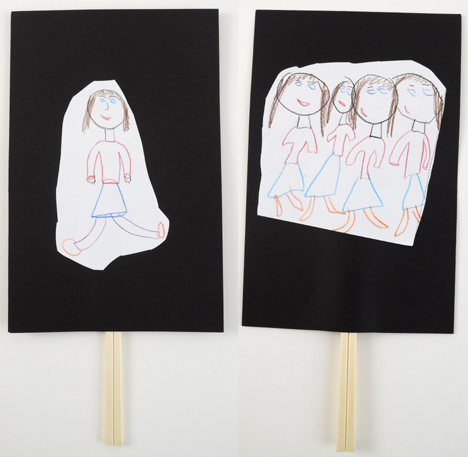 If that last one seems a little confusing, it was inspired by a kamishibai performance of Manmaru manma tantakatan (written by Fumiko Araki, and illustrated by Takuya Kusumi). It’s about a ninja boy who duplicates himself to foil a wicked serpent.