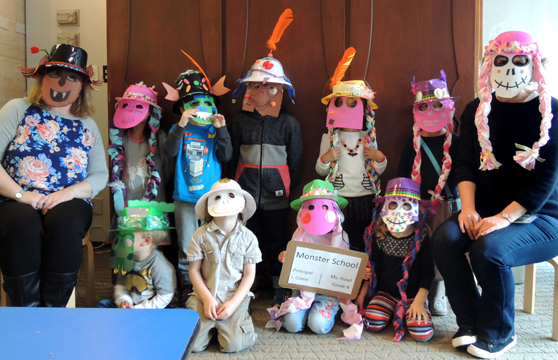
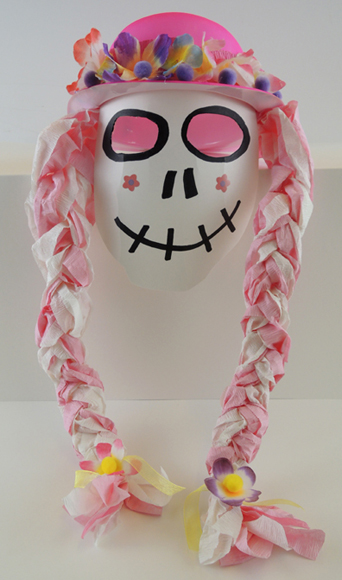
Even monsters need to learn their ABCs! These easy monster mask / hat combination costumes made it easy for terrifying young scholars to brainstorm ideas for their very own spooky alphabet books.
We read My Creature Teacher, written by Laura Leuck, and illustrated by Scott Nash (South China Printing Company, 2004). It’s your typical day at school…monster school that is! Hang up your spider sack, raise your paw in class, spell spooky words, and take the fire-breathing class pet out for a little fresh air. Teachers, no matter where they are, or how big their fangs are, all deserve our respect and gratitude.
You’ll need:
- 1 plastic hat
- Poster board
- Mask decorating supplies (more on this below)
- Scissors and tape for construction
- Markers for decorating
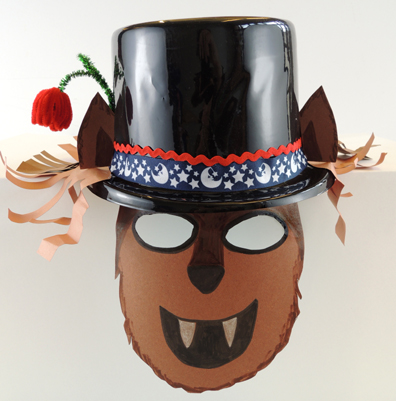
The thing I like best about these masks is that they’re attached to a hat. This makes it easier to avoid the dreaded “mask sag.” And let’s face it, hats are awesome, especially on werewolves!
 We offered 3 different types of hats, all purchased from Oriental Trading Company:
- Top hat ($7 a dozen, item #13743494)
- Fedora ($10 a dozen, item #31/243)
- Derby ($7.50 a dozen, item #25/562)
Cut a mask from poster board, then curl it a little and tape it to the inside front of a plastic hat. In the below image, you can see where we attached the Creature from the Black Lagoon mask to the plastic fedora:
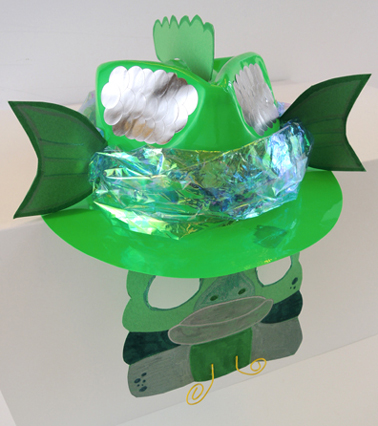 However! It’s best to decorate the mask before you attach it to the hat. Just make sure you leave some empty space at the top of the mask so it rests flat on the inside of the hat.
For decorating supplies, we offered curling ribbon, paper crinkle, crepe paper streamers, tissue paper, pipe cleaners, sparkle stems, craft ties, mesh tubing, iridescent cello, patterned paper, foam beads, pom-poms, dot stickers, goose quills, cone water cups, fabric flowers, and self-adhesive foam. And the Bling Bin of course.
The crepe paper streamers were INCREDIBLY popular for making braids down the sides of the masks. The more streamers, the thicker the braids. We secured the braid to the hat with tape, but we secured the bottom with staples.
 Once the transformation to monster students was complete, we gathered in the “classroom” to learn the monster alphabet. Basically, I created a template with space for illustrations (see mine below). I had the class recited the monster alphabet with me (even though it was hard not to giggle).
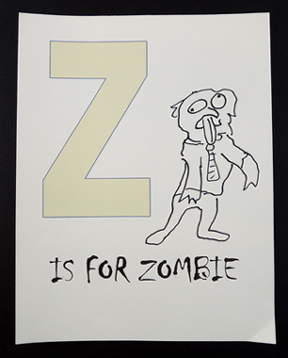
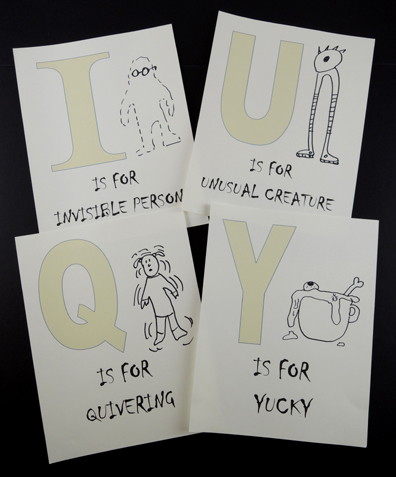 We also printed and stapled together a set of alphabet letters for kids to take home a illustrate themselves. And yes, Z is for ZOMBIE!
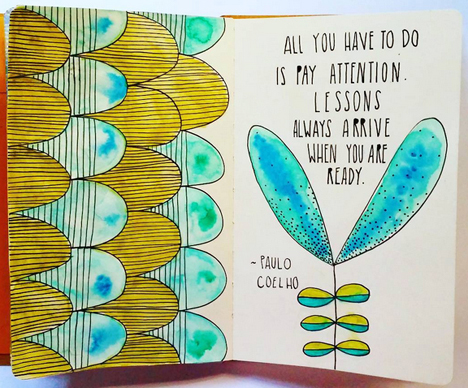
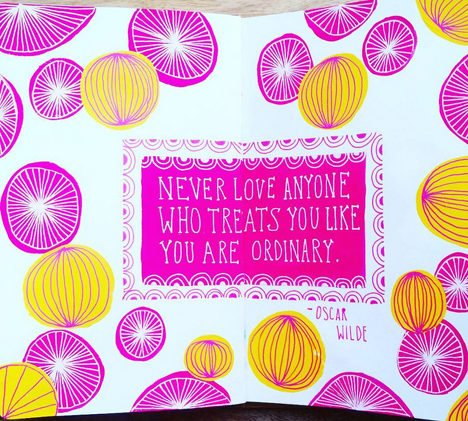
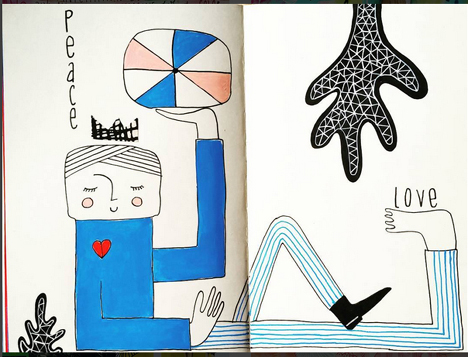
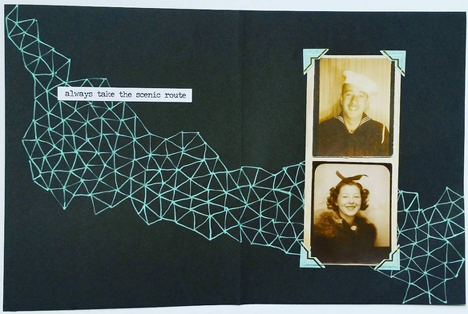
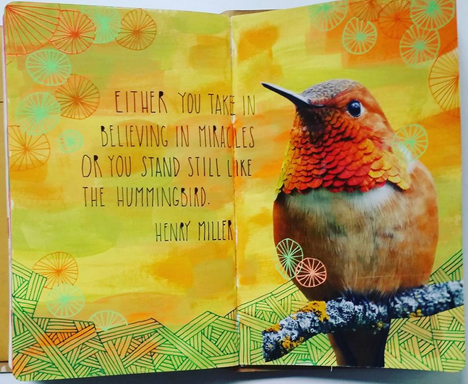
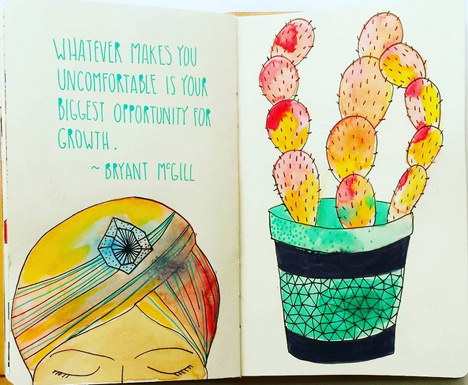
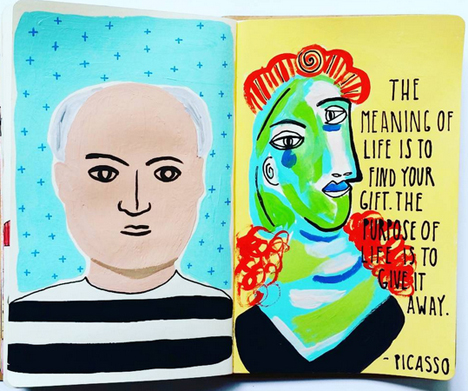
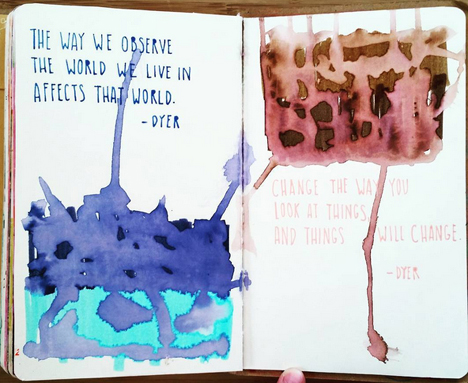
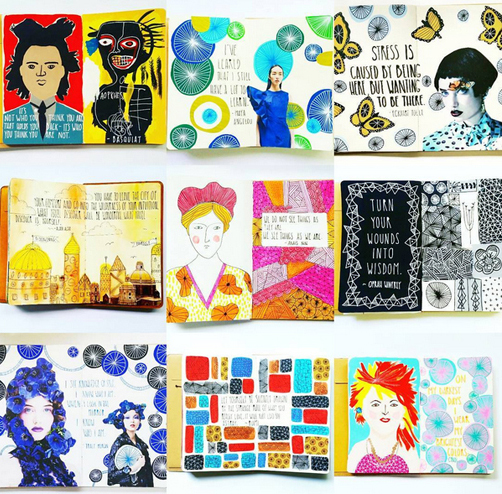 Words of wisdom, explosions of color, gorgeous layers, and playful images. You will find all of these in the work of art journalist
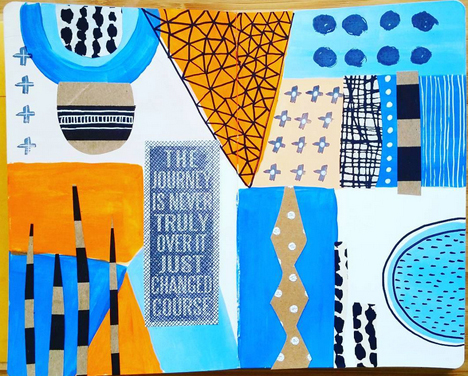
 When did you first learn about art journaling?
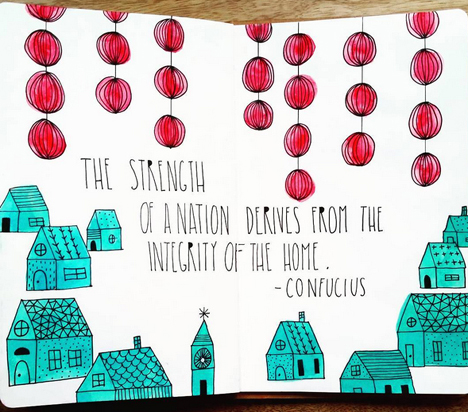
 How long have you been doing it?
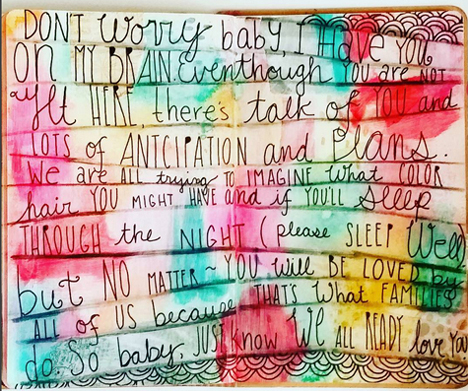
 Do you lean more towards the art…or the journaling?
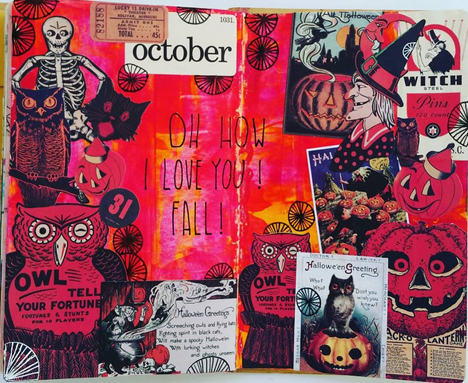
 What are some of your favorite go-to supplies?
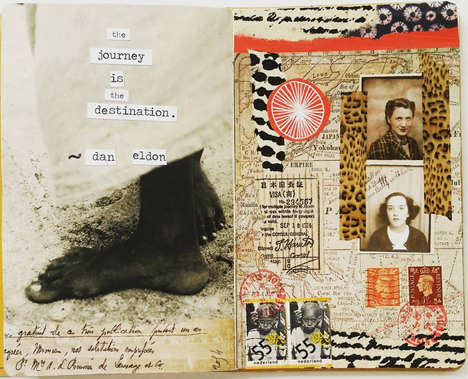
 Are there any parameters to art journaling? Or is it whatever you can imagine – text, images, sketches, color washes…?
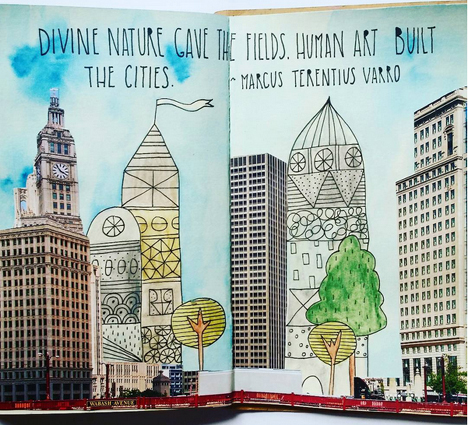
 Is it difficult coming up with a concept every day?
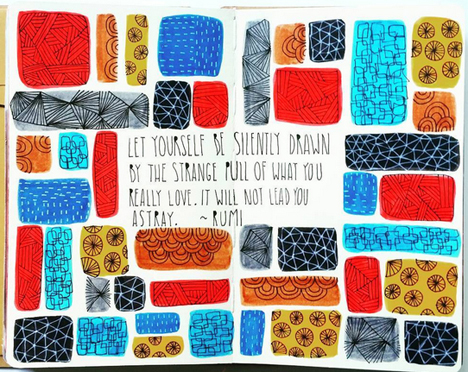
 How has your journaling changed since you first started posting it on Instagram?
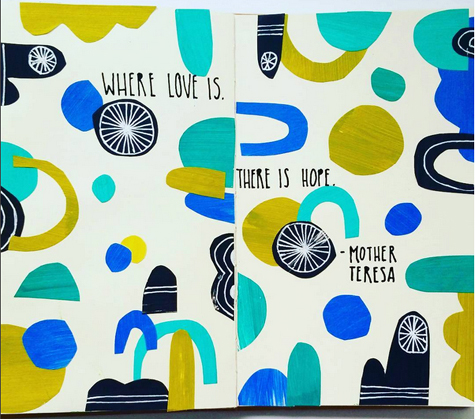
 What are your top 3 favorite entries and why?
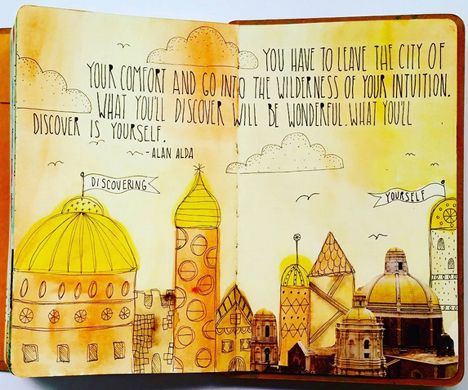
 You finished your 100 day project, what are you up to next?
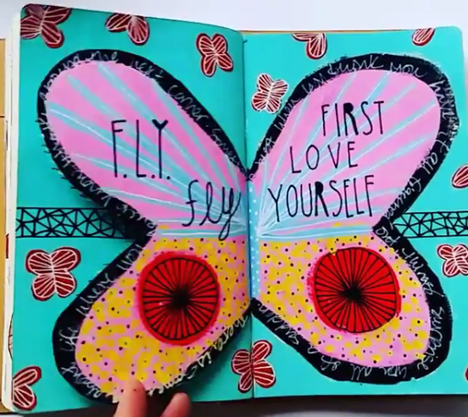
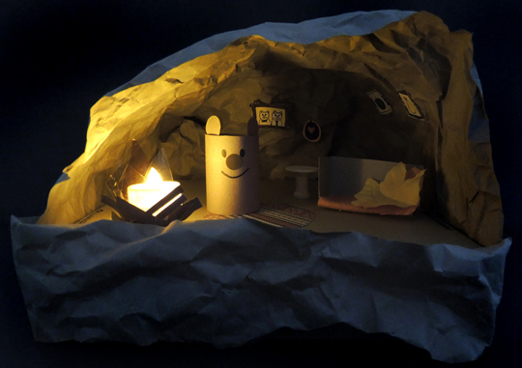
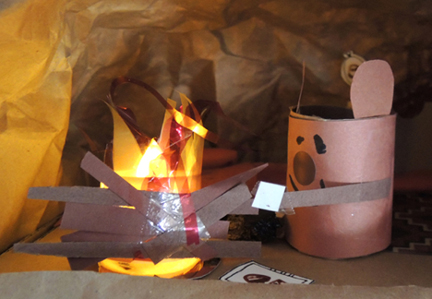
 First, crinkle up brown packing or wrapping paper. Then arch it over the top of the base and secure to the sides and back of with tape. We taped a strip of crinkled paper to the front of the base as well.
 Now, for the inside! We made a half a toilet paper tube bear (with a
 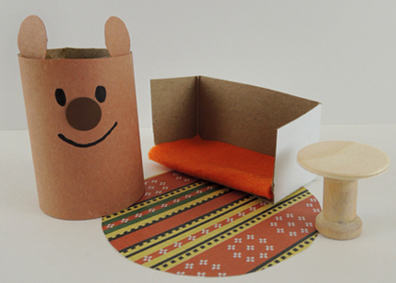 Ready for some artwork? Cut the frames from the template, draw some pictures, and attach your artwork to the walls of the cave with
 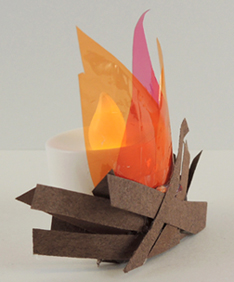 To make things extra fun, we turned off the lights during the fire construction portion of the program. It was so cute to see these little illuminated caves on all the tables. But here’s the cave that completely captured my heart…this bear is roasting a marshmallow!