
 One, two, three, jump! Are you ready to meet our most popular toddler activity of all time? Ladies and gentleman, may I present…the Crevasse Challenge.
The Crevasse Challenge was one of many activities offered at a large-scale Journey to the Centre of the Earth event we hosted in 2013. The YMCA was one of our event participants, and we wanted their activity to involve both geology and exercise. Rock climbing, of course, was the most obvious choice. But we already had a huge inflatable climbing wall in another area of the event.
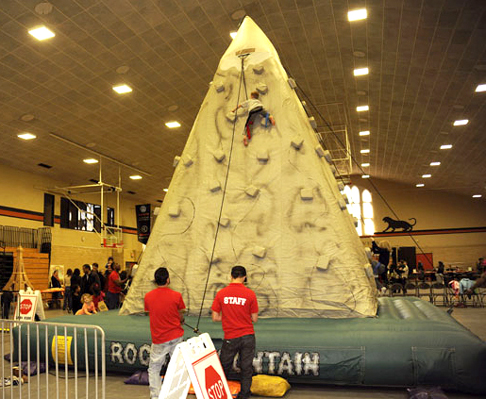 We needed something else. Something less vertical. Additionally, the climbing wall had age and height restrictions, so we wanted an activity everyone could try. So it needed to be adventurous, on the ground, with no age restrictions, and still rock related.
What about the challenge of jumping over a big, dark, mysterious crevasse? Perfect!
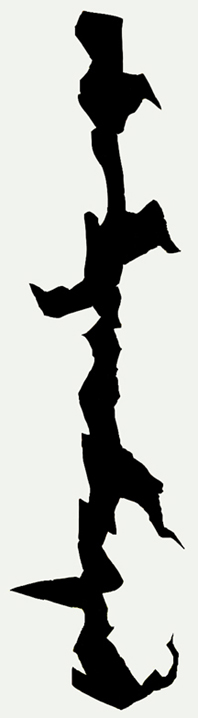
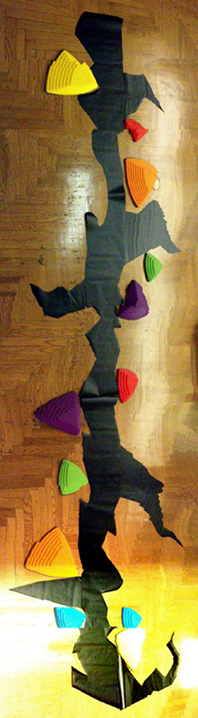
The crevasse needed to be constructed out of something that wouldn’t rip, bubble, slide, or otherwise become a trip hazard. The solution? Black contact paper. I bought a big 18″ x 75′ roll on Amazon (it was $27 and I had lots left over). We used the contact paper to make a jagged, 18′ long crevasse. Then, we used additional pieces to make smaller cracks branching off the main crack. Here’s the shape of our crevasse:
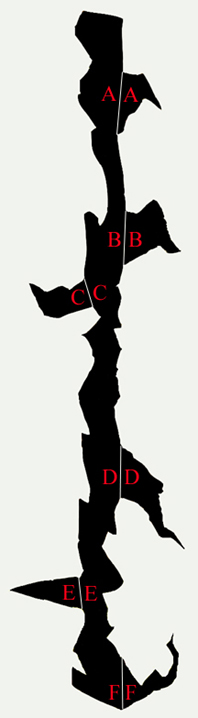
 It’s important to mark where the different pieces of the crevasse fit together. That way, on the day of the event, you simply match the pieces, peel the backing off the contact paper, and stick everything in place. We used the matching lettering system below to pair the side cracks with the main crack (the letters were written on the backs of the pieces in permanent marker):
 The crevasse is done. Are you ready to rock? I bought these “riverstones” from Discount School Supply. Not only are they colorful and sturdy, they have anti-slip bottoms. At $70 a set, they are a bit of a splurge (especially since we bought 2 sets). But I considered it an investment in quality and safety. After the event, we donated both sets to our local YMCA for further fun.
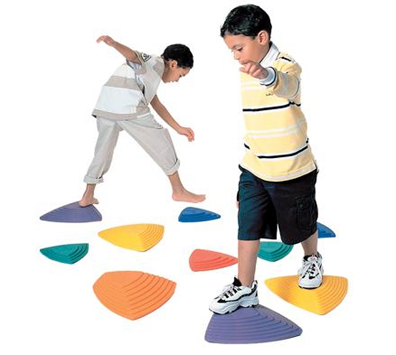
Image from Discount School Supply
If the rocks aren’t within your budget, I found some circular “poly-vinyl spot markers” in the Discount School Supply online catalog. They’re made of thick, no-rip vinyl, and I’m assuming they won’t slide around on the floor (but definitely test them first). A set of 6 circles cost $15. An even cheaper option? Use masking tape to outline rock shapes on the floor. I don’t recommend cardboard or paper rocks because they’re potential slip hazards.
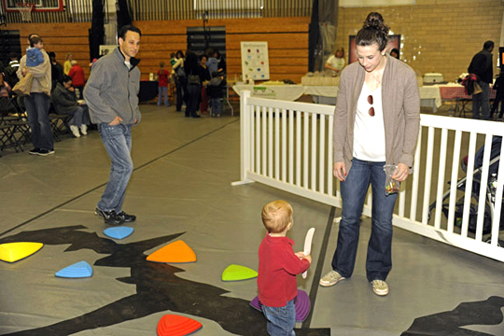
After some trial and error, we strategically placed the rocks around the crevasse. Then we took a picture of the rock placement (Katie shot the photo below with the panoramic feature on her phone). The photo allowed us to set up the Crevasse Challenge quickly and easily the morning of the event. In fact, by lettering the backs of the matching crevasse pieces and providing a photo of the rock placement, event volunteers set the whole thing up, without any oversight from us.
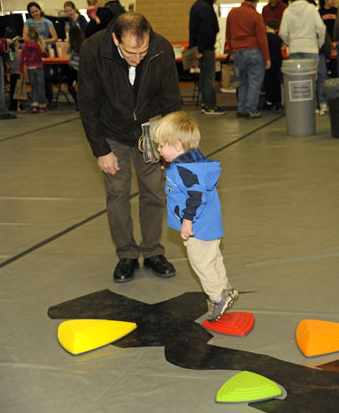
 The rules for the Crevasse Challenge were simple. Start on the first yellow rock and navigate the length of the crevasse until you land on the second yellow rock. If you fell off a rock, you had to start all over again (unless you were very young, and then you just climbed back up on the rock and tried again). If older kids wanted to increase the challenge, they had to complete the course only using the large rocks.
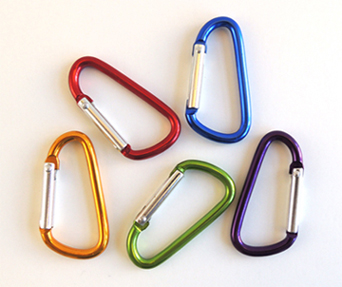
The prize for a successful run was a 1.75″ metal carabiner from Oriental Trading Company. Specifically, they are the “colorful key chain carabiner clips.” A pack of 50 costs $12. The prize is purely optional though (honestly, most of the toddlers at the event were blissfully unaware that there was a prize).
 On event day, the Crevasse Challenge was hopping for five hours straight. Kids went nuts for it! The crevasse! The rocks! The jumping! The carabiners! The only challenge was keeping the course clear of kid collisions. But the YMCA folks were total pros, and we had no accidents.
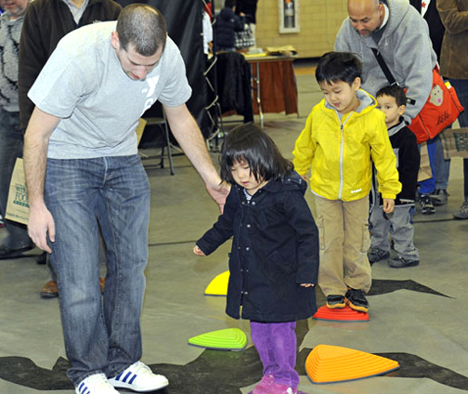 Big kids tried it, little kids tried it, grown-ups tried it, but the toddlers were they main players. They couldn’t get enough of it! My daughter, who was 2 at the time, spent 45 minutes hopping, jumping, running, and trying different rocks. And just look at this cute little guy!
If you’d like to try a variation on the Crevasse Challenge, buy blue contact paper. Voila! Instant river rock hopping adventures. Another fantastic use of contact paper? How about this giant floor maze?
 Vikings and Dragon Riders! Don your horned helmets, grab your shields, and get ready for the ultimate How To Train Your Dragon theater experience, complete with real reptiles!
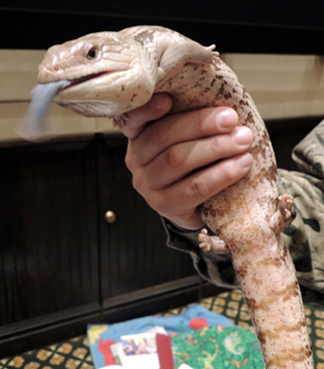 After watching How to Train Your Dragon with my kids, I was delighted to learn that the movie was based on the book series by
 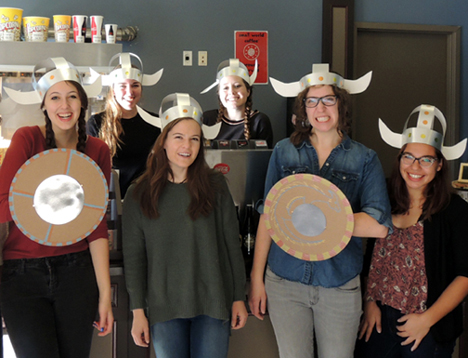 You’ll need:
 It never hurts to thrown in a little history, so we included informational table signs at all the hands-on activity tables. Here’s the
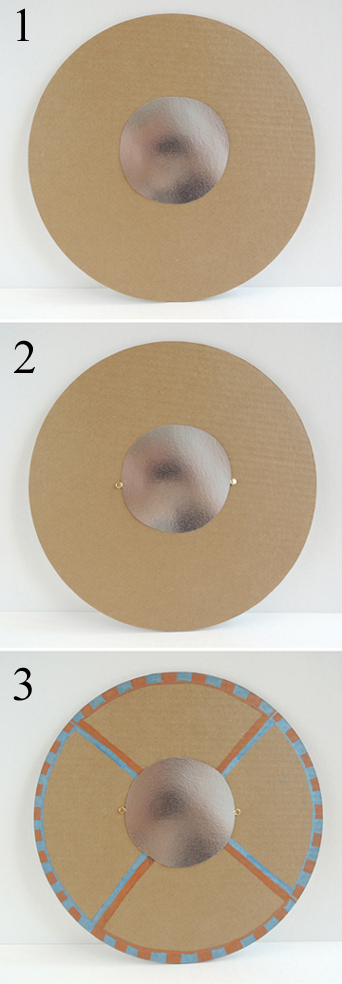 Next, loop 2 strips of poster board loosely around your forearm. Stapled them closed. Punch a hole in each loop, then thread the prongs of the brass fasteners through each hole. The back of your shield will now look like this:
 If you’re worried about scratched forearms, put tape over the prongs of the fasteners. Here’s the
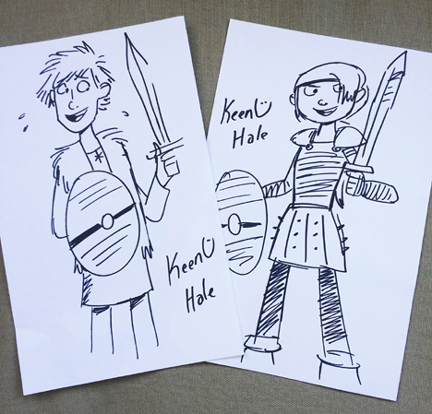
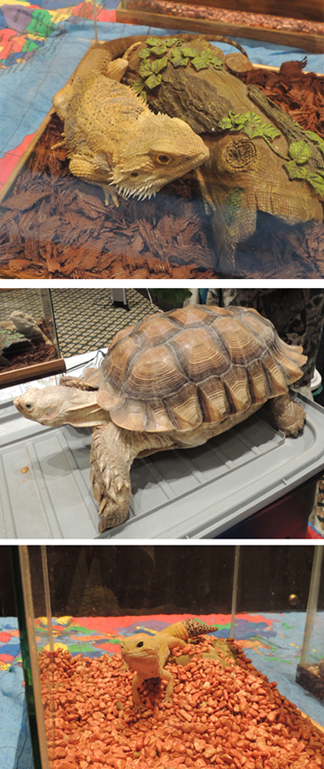
  Not far from the helmet and shield tables was the very talented
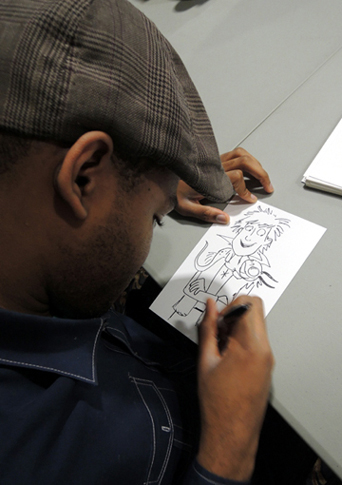
 The final activity table was a replica of a Viking game. It was WAY popular. Marissa found it in Hands On America Volume 1: Art Activities About Viking, Woodland Indians, and Early Colonists by Yvonne Y. Merrill (Kits Publishing, 2001). It’s a snap to put together.
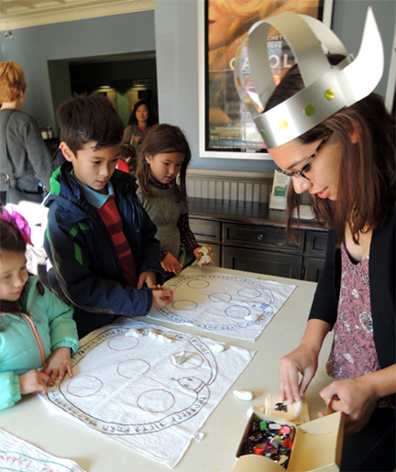
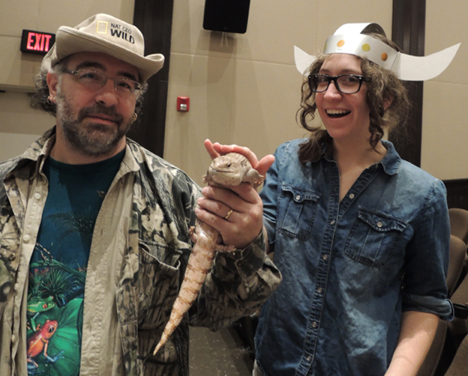
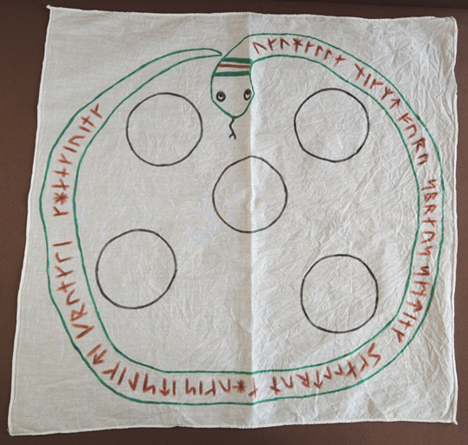 The game pieces are little birds (about 2″ long), made with air dry clay.
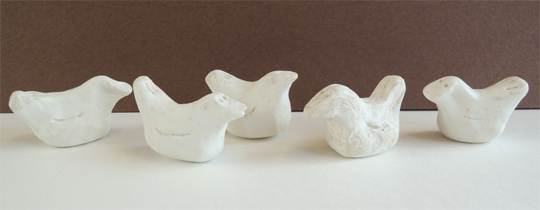 To play the game, toss the clay birds onto the game board.
 The other prize was a chance to win a cardboard Toothless standee (purchased on Amazon for $30). Kids automatically got a chance to win when they first entered the theater, but at the Viking game table, 1 point equaled 1 extra chance to win. So 3 points equaled 3 more chances to win. The kids really liked that!
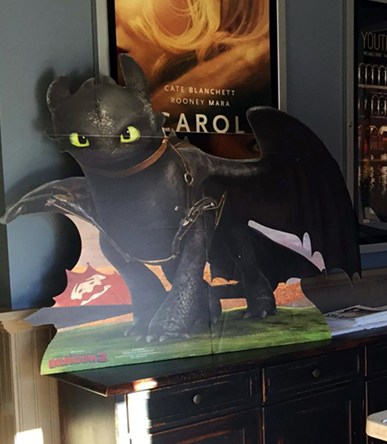
 Finally, it was time for the film. Having only seen it on my laptop, I can say I was completely blown away watching it on the big screen. The flying! The fire! The CLOUDS!
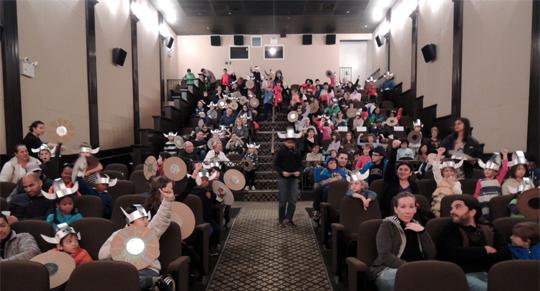

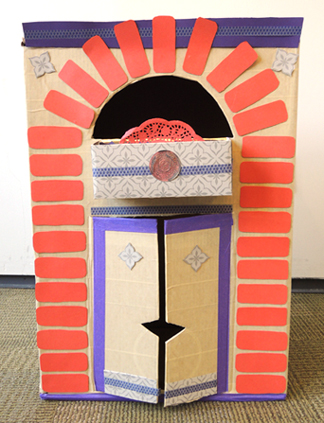
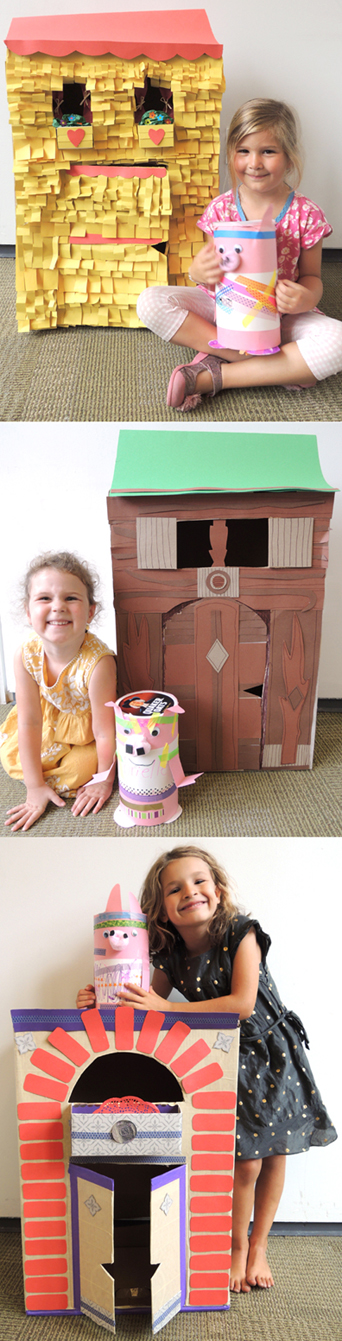 Let’s see. There’s a pig in a house of straw, a pig in a house of sticks, a pig in a house of bricks, and a pig on a sailboat. Wait…what?!? A fourth little pig? On a sailboat?
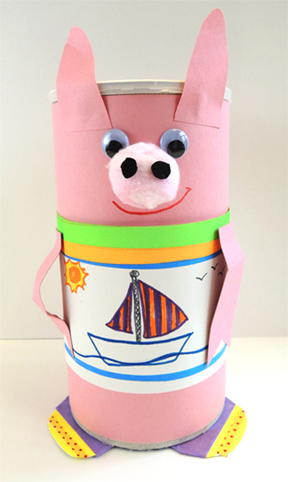
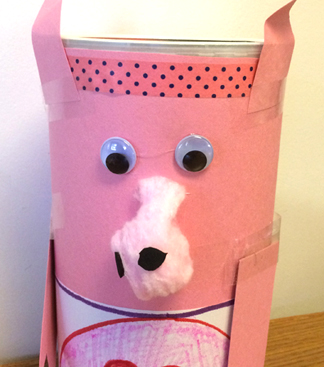 As time passes, the cotton ball sloooowly unfurls, leaving your pig with a droopy nose. Definitely use a pom-pom.
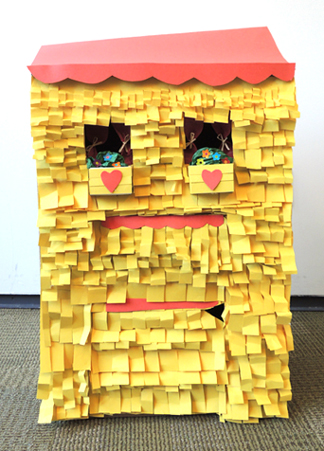
 I drew a Big Bad Wolf on a piece of poster board, and taped him to a piece of
 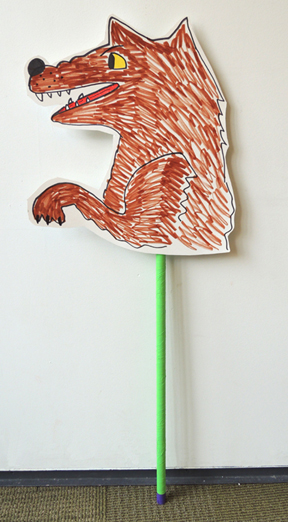 Finally, the sailboat. It doesn’t have to be elaborate. Seriously. A shoe box pulled on a string will work great. I just happen to have this awesome sailboat my Dad made for me.
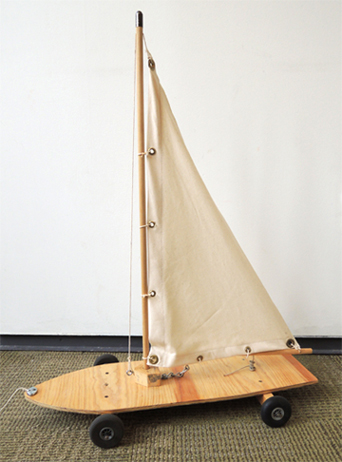 Originally, it was used at a Treasure Island event. One of the student groups at the event (Students United for a Responsible Global Environment, to be precise) wanted to demonstrate wind power. So I asked my Dad (hi Dad!) if he could build a sailboat that would roll down a table, propelled by a fan. It worked great!
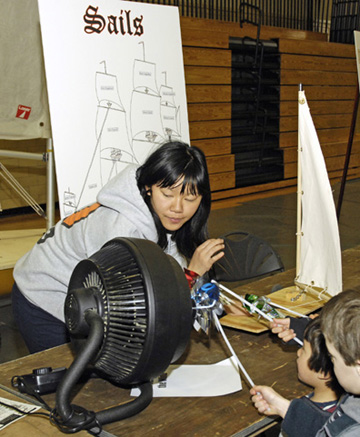 On windy days, we bring the sailboat out of the attic and take it outside. In a brisk breeze, you really have to run to keep up with it!
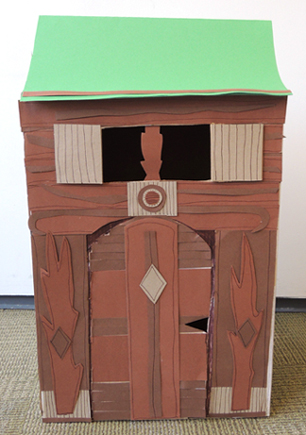
 But back to pigs. Here’s how we played the Ziggy Piggy game. I lined up the three houses and asked the kids to sit down in front of them. Then one kid covered his/her eyes while I hid a sailboat ride ticket inside one of the houses. When I shouted “Go!” and the kid had 10 seconds to find the ticket before the Big Bad Wolf rose from behind the houses. Sometimes I had to slow the count, but in the end, everyone won.
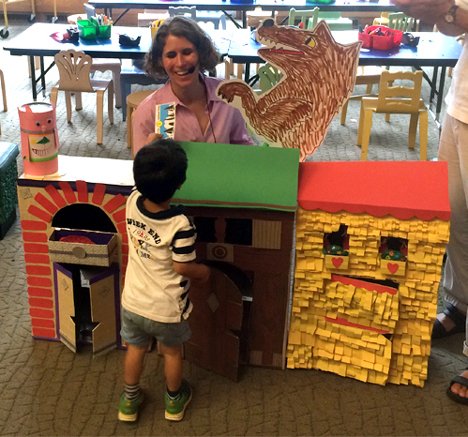 Marissa and I then ushered the kids and their pigs out to the library’s main lobby, where we sat in two groups. Marissa was “Dock 1.” This is where all the pigs gathered. Some distance away, I was “Dock 2,” where all the kids gathered. Between the two docks was the sailboat, rigged up on a loooong string. One by one, Marissa would call out a kid’s name and place his/her pig on the sailboat. The kid would come and stand next to me. Once I confirmed that their pig had a ticket, I would reel in the string, causing the sailboat to whizz over to the kid!
 When story time was over, we drew names to see who was going to take the 3 houses home. The winners are the little girls posing at the start of this post. They were super thrilled!