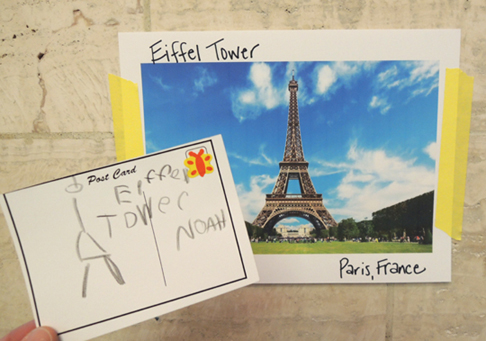
 It’s the ultimate global adventure that ends with custom postcards in your very own mailbox! We made classic blue mailboxes, then visited locations around the globe to create postcards to send home. And don’t forget the stamp!
We read Will Goes the the Post Office by Olof and Lena Landstrom, translated by Elisabeth Dyddegaard (R&S Books, 1994). Will is excited when the post office notifies him of a package that’s arrived from his Uncle Ben. At the post office, he discovers that the package is GIGANTIC! What could it be? With a little help from Karen, Peter, John and Susan, Will and the gang carry the package home and eagerly unwrap it. At first, it seems like the box is just full of paper…but then they discover a fantastic globe packed inside! And the globe lights up! The five children (and Mama) pile in the closet to see Will’s new globe lamp shine.
You’ll need:
- 1 small tissue box
- 1 box cutter
- Blue construction paper
- Blue poster board
- 1 mailbox signs template, printed on 8.5″ x 11″ white card stock
- A selection of
- 4 foam beads
- 1 small piece of drinking straw (ours was 1.5″ long)
- A blank postcards template, printed on 8.5″ x 11″ white card stock
- Print-outs of different locations around the globe
- Small stickers
- Scissors and tape for construction
- Markers for decorating
- Hot glue
This project was created by Katie, and I have to say, the kids absolutely LOVED it. I mean, who wouldn’t love this cute little mailbox? The round top! The feet! The door at the bottom!
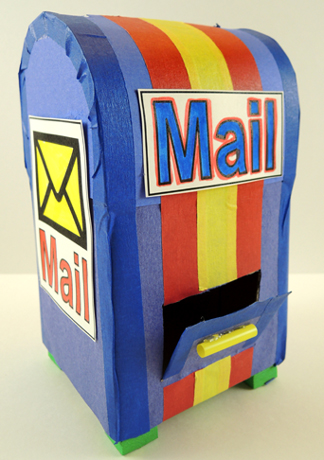 To make a mailbox, cut the top off a small tissue box. Use a box cutter to cut a little door at the bottom of the box. The postcards are 3″ wide, so make sure your door is 3″ or wider.
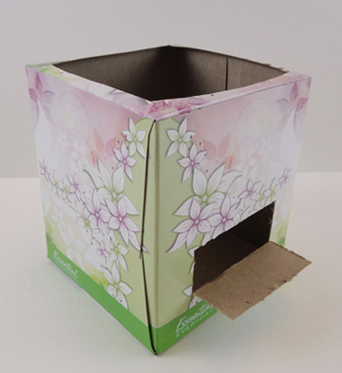 Wrap the box with blue construction paper, then use the box cutter (or scissors) to re-establish the little door.
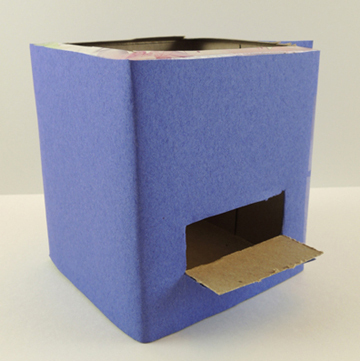 The rounded sides of the mailbox are 2 pieces of blue poster board (ours were approximately 4.25″ wide, and 3.25″ tall). Secure them in place with tape.
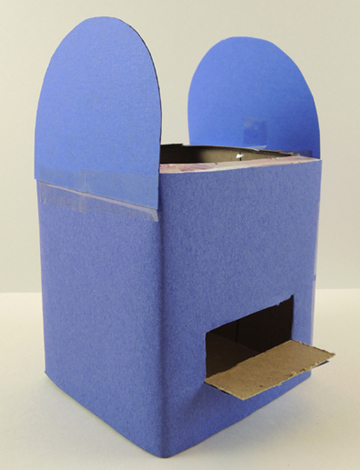 To make the top of the mailbox, cut a 3.5″ mail slot in the center of a 4.5″ x 9″ rectangle of blue poster board. Gently curl the poster board over the rounded sides of the mailbox, then tape in place. The curling and taping is definitely the toughest part of the project. Keep in mind that it doesn’t need to be perfect!
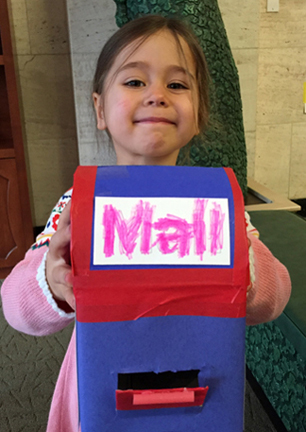
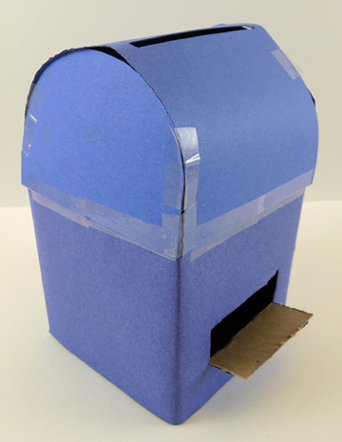 Next, use colored masking tape to reinforce the edges of the mailbox, and to decorate it. Color and cut the mailbox signs from the template and tape (or hot glue) in place.
 Finish by hot gluing 4 foam bead “feet” to the bottom of the box, and a small piece of drinking straw to the front of the little door. Your mailbox is done – grab it and get ready to travel!
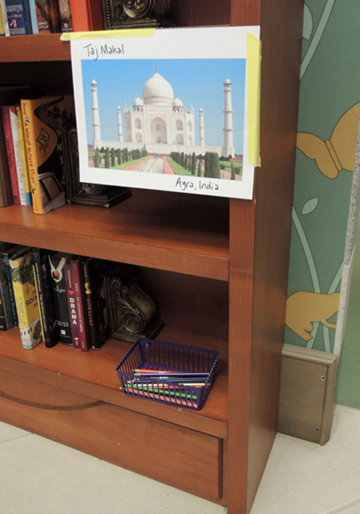
Katie printed up photos of different places (thank you, Google image search!), and taped them up around the gallery. Katie wrote the names of the locations or landmarks, as well as the country, on the photos as well. Underneath each photo was a basket of color pencils.
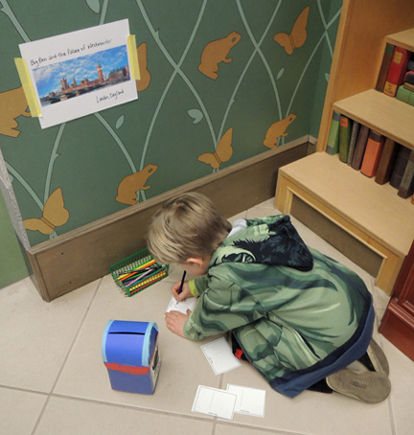
We invited kids to grab 6-8 blank postcards and visit different locations, sketching what they saw in the photos on their postcards. Here’s someone visiting London, England:
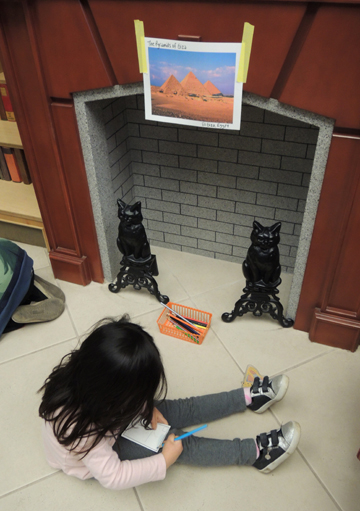
And another traveler enjoying the Pyramids of Giza in Egypt:
Ready to see some postcards from around the world?
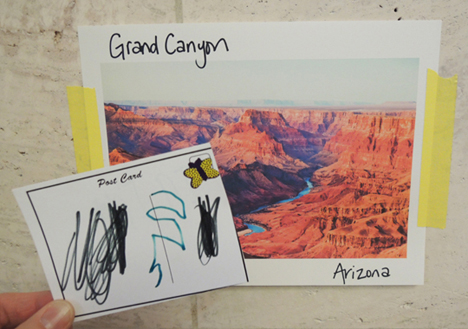
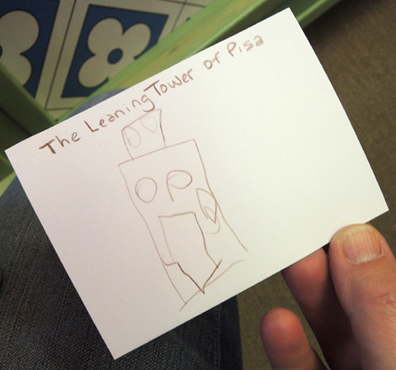
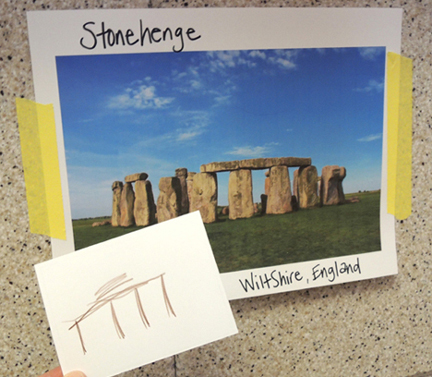
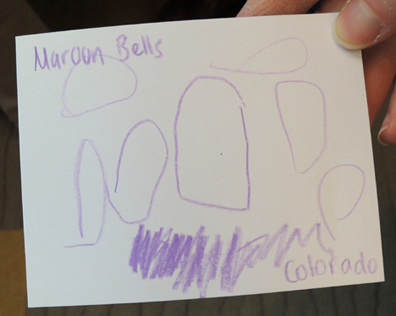
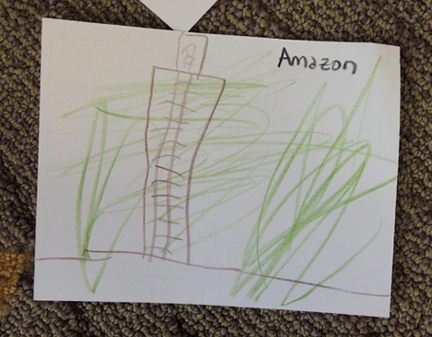
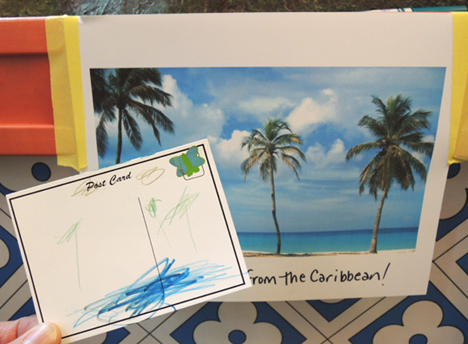 We even got postcards from places we didn’t include! Here’s a postcard from the Amazon, even though it wasn’t one of our photo locations. I think that’s a person on top of a giant tree with a ladder? Cool.
 To make the postcard activity official, Miss Melinda donned a stamp-selling visor and circulated the gallery, “selling” stamps that were actually cute little stickers.
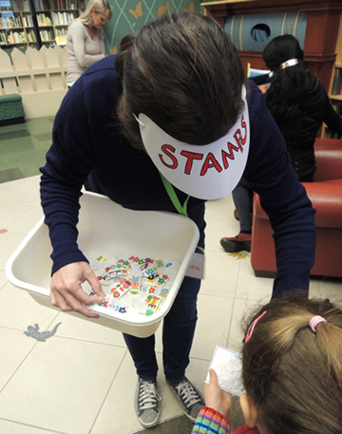
Melinda joined us this fall – she’s a Cotsen volunteer who works at the Princeton Writing Program. I went easy on her the first couple weeks, but slowly, inevitably, Melinda will be drawn into the vortex of ridiculous story time tasks. Today, a visor-wearing stamp seller. Tomorrow, a giant paper cookie!
