
Call me Cryshmael. Some weeks ago – never mind how long precisely – having money in our purse, Katie and I found something particular of interest to us at the store, and we thought we would test it and see the narwhaly part of the world. Yes, whenever we find ourselves growing grim about the mouth; whenever it is a damp, drizzly October in our souls, we account it high time to test Klutz’s “Grow Your Own Crystal Narwhal” kit as soon as we can.* Take it away, Katie!
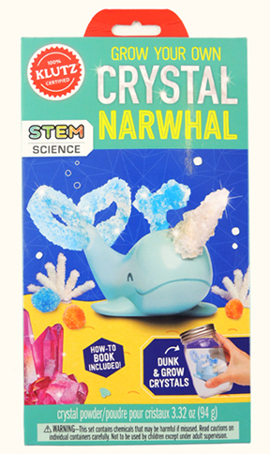
Klutz designed the “Grow Your Own Crystal Narwhal” kit for children ages 8 and up and it retails for $12.99. If narwhals aren’t your favorite, Klutz also has kits to grow a crystal fox, unicorn or dragon. But it’s science! It’s crystals! It’s a narwhal! And who doesn’t love adorable narwhals?
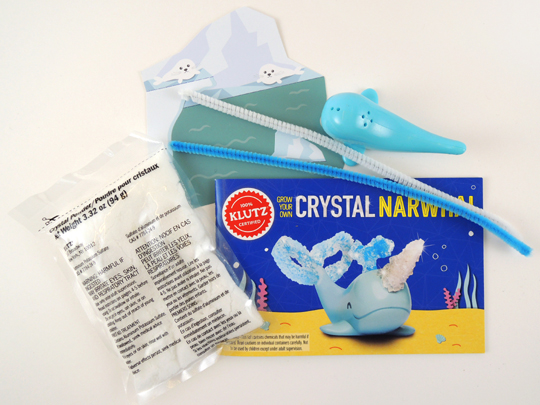
 The kit provides the basic pieces to get started. Namely an instructional booklet, 2 pipe cleaners, crystal powder, a plastic narwhal figurine, and a little paper backdrop to pose the finished product on.
 However, you will have to fill in some gaps with items you may or may not have already at home: 2 heatproof glass jars with lids (I used old jelly jars, but Bell jars would totally work), measuring cups and spoons, a plastic plate, and a pot holder or trivet. Most importantly, you need to use distilled water to make the crystal growing solutions. I bought a gallon of distilled water at the grocery store for 99 cents.
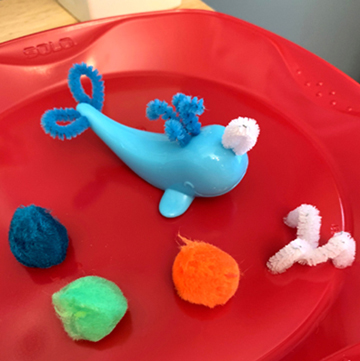
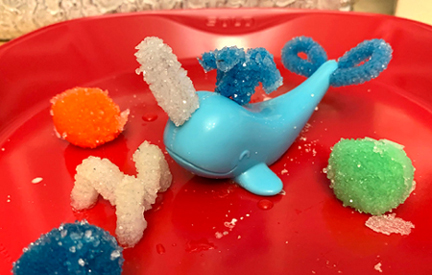
You start by making a crystal “seeding solution” and saturate the pipe cleaners you’ve attached to your narwhal in the solution. I also saturated 3 pom-poms to create “icebergs” and tried to turn the remaining white pipe cleaner into “coral.” Let the narwhal (and optional icebergs and coral) dry overnight.
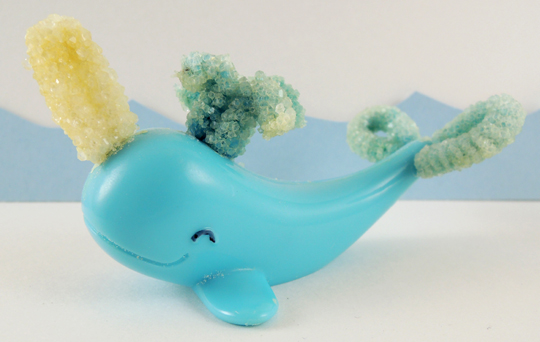
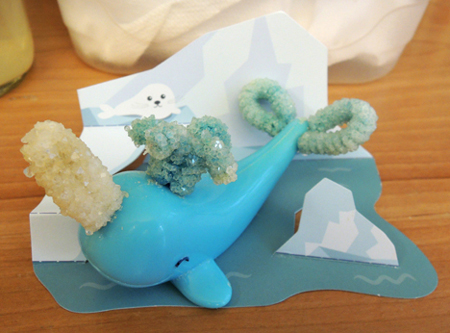
 Next, you make a crystal “growing solution” and let the narwhal soak in the solution for 4-8 hours. If you made the solution correctly, crystals will grow on the pipe cleaners. Let the narwhal dry overnight, then do a second round of soaking in the growing solution. If your experiment worked, you finish with a beautiful narwhal with a crystal tusk, water spout and tail!
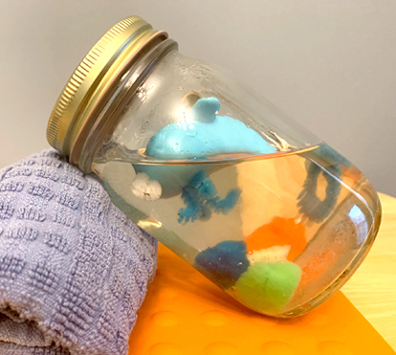
 One suggestion…I had to get a bit creative with my glass jar because there wasn’t enough growing solution liquid to fully cover my narwhal. I simply rolled up a dish towel and rested my jar at an angle so the pipe cleaners were submerged.
 Another suggestion is using something other than your fingers to remove the narwhal from the liquid after it is done soaking. I used a wood skewer, but you can also use a plastic spoon or tongs. In fact, every time I handled the narwhal or any of the experiment materials, I thoroughly washed my hands to remove residual crystal powder (which is aluminum potassium sulfate, or alum).
Place the crystal narwhal on the provided paper backdrop, and you are done!
 It took me 4 days to finish the project. But I allowed extra soaking time for the pom-pom “icebergs” to grow bigger crystals, so technically you can wrap up the experiment in 3 days. There is a great deal of adult supervision to complete this kit. I fully agree with the suggested age range of 8 and older with adult assistance. There is no way a child should work with stove tops, microwaves, boiling water, and chemicals without an adult present.
Here are my rankings…
KIT: 4 out of 5
Being asked to supply so many additional items in order to get the experiment to properly work is a bit of a bummer.
INSTRUCTION MANUAL: 5 out of 5
Klutz does a great job with the manual. It thoroughly explains how to do the experiment, the science behind crystals, fun facts about narwhals, important safety information, and provides a detailed troubleshooting guide if your crystals aren’t properly growing.
EXPERIMENT: 3.5 out of 5
There are a lot of tedious steps that could possibly frustrate the younger experimenters. You also have to commit several days from start to finish.
AWESOMENESS: 5 out of 5
You grow crystals! So cool!
KATIE SAYS:
This crystal narwhal kit shines! Recommended!
*All due respect to Moby Dick by Herman Melville. We couldn’t resist!
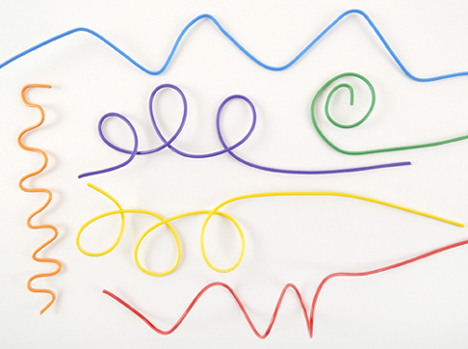
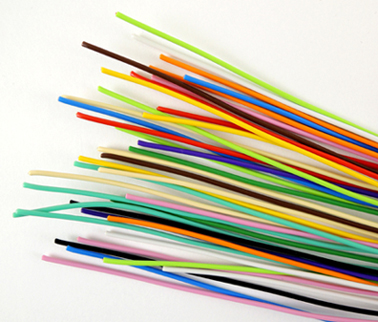 I also like Twisteez because, unlike craft stems and
  And it’s not just for kiddie art projects! In researching this post, I learned that Twisteez was invented by 2 artists – Harold and Kiki Rabinowitz – 55 years ago. Together, with their 6 children, it has bloomed into a family-owned business. They have an
 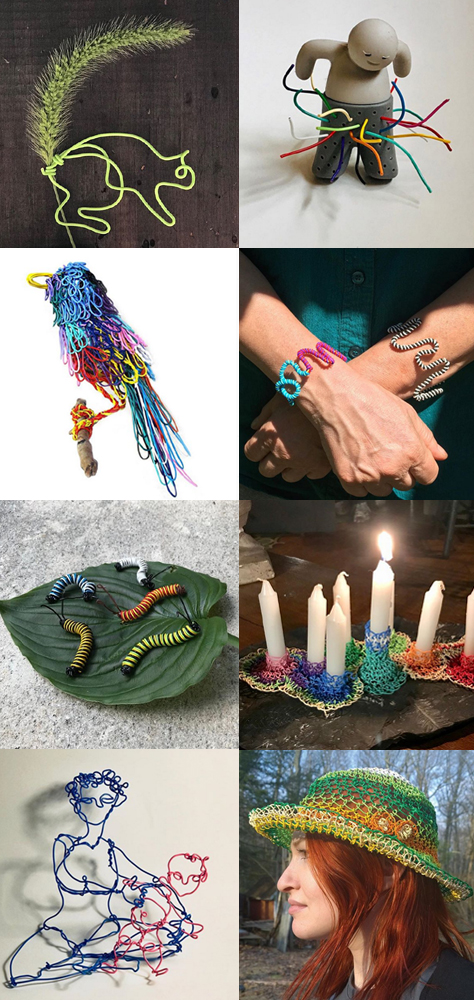 Twisteez wire is, however, a bit more expensive then the aforementioned pipe cleaners and sparkle stems. It comes in 30″ long strands, bundled together in packs of 50 ($10-$13) and 200 ($35-$42). You can also get 60″ long bundles of 50 for around $23-$30.
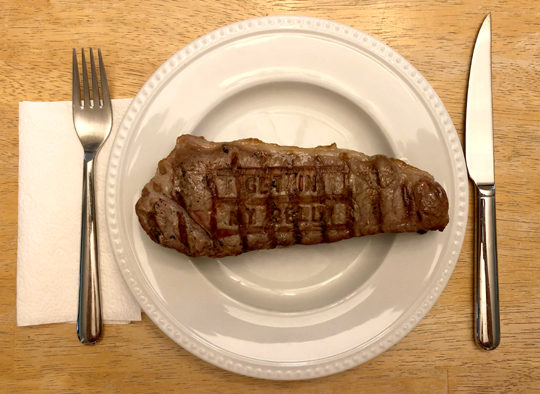 It’s grilling season, but we couldn’t JUST serve up a steak. We had to make it personal.
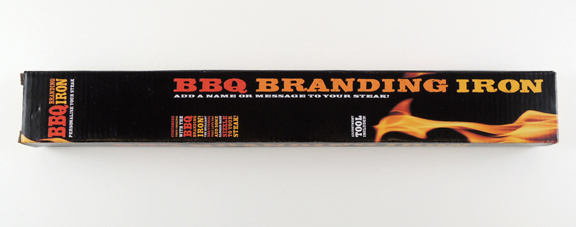 The box includes a handle with a letter block, individual letters, blanks to insert between the letters, a small wrench, and 2 metal loops to prevent the letters from sliding out of the block.
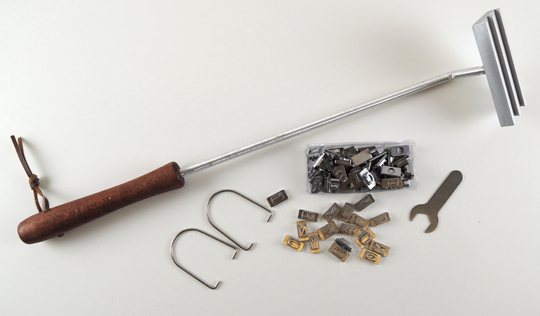 Our office grill champion took on the task of testing the bbq brander. Take it away Katie!
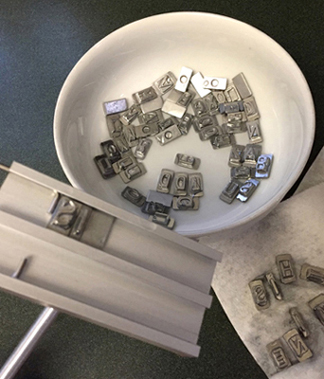 Once I felt confident I had everything backwards and spelled correctly, I headed out to start cooking. Beef steak was first.
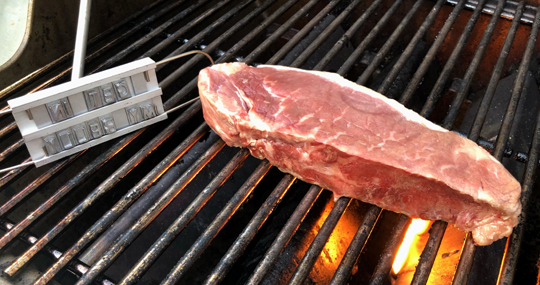 As my grill was heating up, I put the branding iron inside and made sure to leave the wood handle sticking out. I grilled one side of my steak, flipped it over, and tried the iron. Despite having left the wood handle outside of the grill, it was still hot. VERY hot. Not wanting to continue burning the palm of my hand, I dropped the branding iron and scurried to my kitchen to get an oven mitt.
 The next food test was for our vegetarian and vegan friends: TOFU! (Side note: I am not a tofu connoisseur and had no idea it comes in different sizes and varying consistencies. Who knew? I do now!). I went extra firm, to get as close to the consistency of steak as I could.
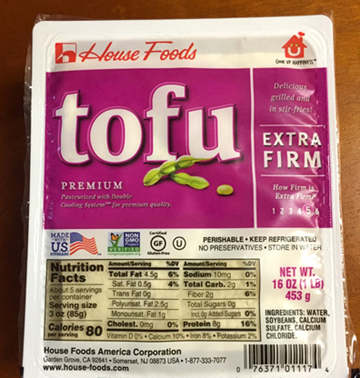 In order to change the letters, I ran the branding iron under cold water and simply slid the used letters out of the track. Not feeling terribly creative, I changed the message to read “NOT MEAT.”
 My thoughts on the BBQ Branding Iron? Steaks – beef, pork, lamb – and certainly chicken breast are the choice meat to use in order to get the message sufficiently branded. I suspect that hamburger might also work, but since I didn’t test the iron on a burger, I’m not sure. Tofu is definitely a no-go.