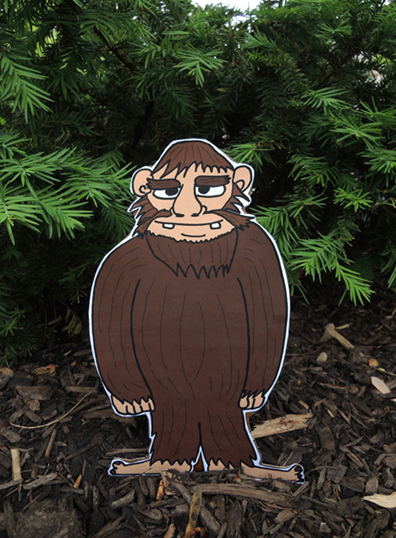
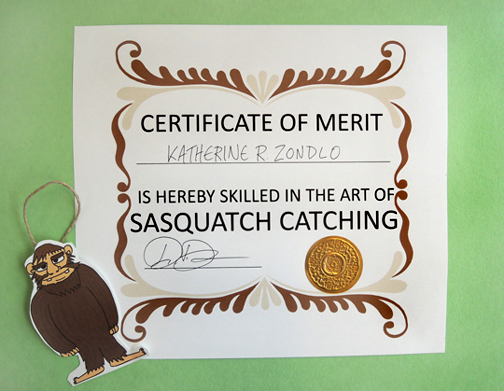
 A sasquatch is on the loose, and it will take 2 resourceful kids to find him! Our story time teams ventured into our gallery to find a hidden sasquatch. One team member had no idea where he was hiding. The other team member knew exactly where he was hiding, but could only give directions by saying “Hot” or “Cold.” The prize was a personalized “Certificate of Merit for Sasquatch Catching,” and a sasquatch ornament to take home! This activity was part of To Be Continued, our story time for kids ages 6-8.
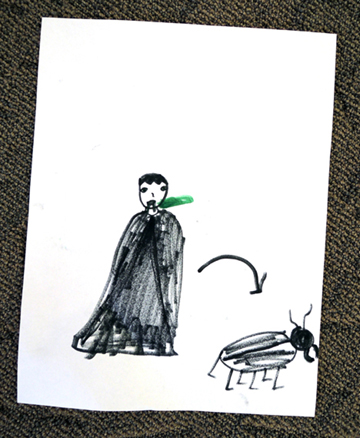
 We read The Imaginary Veterinary Book 1: The Sasquatch Escape, written by Suzanne Selfors, and illustrated by Dan Santat (Little, Brown, 2013). Ben Silverstein, age 10, has been exiled for the summer. While his parents work through some troubles, Ben is sent to stay with his Grandpa Abe in the town of Buttonville, middle of nowhere, USA. Once bustling, Buttonville is quickly sliding into disrepair after the enormous button factory shut down. But things are not what they seem. A giant bird swooping through the night sky looks a lot like a dragon. The “bat” Grandpa’s cat dragged in? It breathes fire! Eventually, Ben and his new friend, Pearl Petal, learn that the old button factory has been converted into a top secret hospital for Imaginary Creatures. And Ben accidentally lets the sasquatch out. Can Ben and Pearl catch the sasquatch before the whole town discovers the secret?
You’ll need:
- 1 big sasquatch template, printed on 8.5″ x 11″ white card stock
- A 8″ x 12″ piece of tagboard or poster board
- 1 sasquatch ornament template, printed on 8.5″ x 11″ white card stock
- An 8″ piece of twine
- 1 Certificate of Merit template, printed on 8.5″ x 11″ white card stock
- 1 small embossed foil seal (optional)
- Scissors, glue, and tape for construction
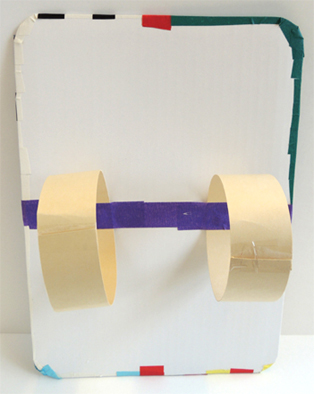
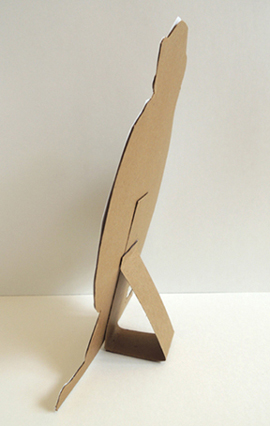
First, print the big sasquatch. You can simply cut it out, or you can reinforce it with some tagboard or poster board. Since my sasquatch was going to get a real workout, I reinforced it with tagboard and added a triangular base.
 Here’s a shot of the base from the side. I secured it with hot glue, but tape works too!
 To play the game, divide the kids into teams of 2 (rather than let them team up with their buddies, I had them put their names in a box and randomly drew to create the teams). The first team member hid his/her eyes while I hid the sasquatch in the gallery. The second team member watched me hide it, so he/she knew exactly where it was. When I said “Go!” the teams started to search for the sasquatch. The first team member proceeded through the gallery, relying on the second team member to direct him/her towards the sasquatch using the words “Hot” (i.e. getting close to it) and “Cold” (i.e. moving away from it). Teams ran twice so each kid got a chance to find the sasquatch AND be the one to give directions.
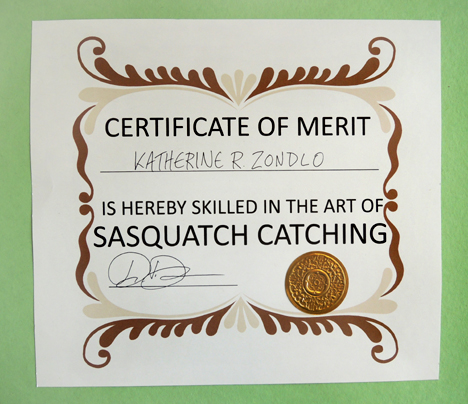
When we were finished, everyone received a “Certificate of Merit” for catching the sasquatch – which is exactly what Ben and Pearl earn in the books! The frame clipart I used didn’t extend to a full-size page, so I trimmed the certificate down to 8.5″ x 9.5″. I also fancied up my certificates with an embossed gold foil seal.
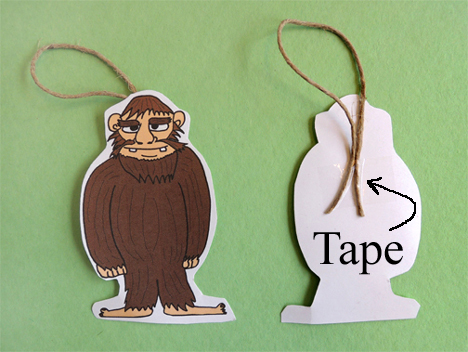
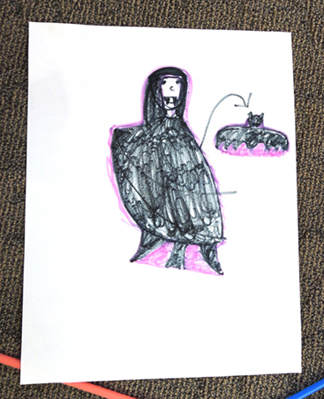
 Kids also received a mini sasquatch ornament. Basically, it’s a smaller version of the big guy with a piece of twine taped to the back:
 You could, of course, give each kid a “full-size” sasquatch. Totally up to you!
I tend not to incorporate food into many of my programs because of food allergies, but another fantastic prize would be a bar of chocolate. In the book, a chocolate bar is an essential tool in the “Sasquatch Catching Kit” (along with a tranquilizer dart, blowpipe, net, fog bomb, and a sasquatch calling whistle). Just don’t ask the sasquatch any questions. It’ll make him angry.
A final word about The Sasquatch Escape. Not only did my story time kids love this book, my son and I are currently blasting through the series. They are funny, fantastical, unusual, and terrific to read-aloud. As one boy in the program said about halfway through the book, “This is the BEST book I’ve ever heard!” Absolutely worth checking out!

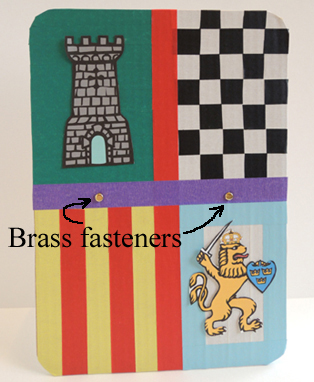 Slide the holes of the arm straps onto the brass fastener’s prongs, then open the prongs to secure the straps in place.
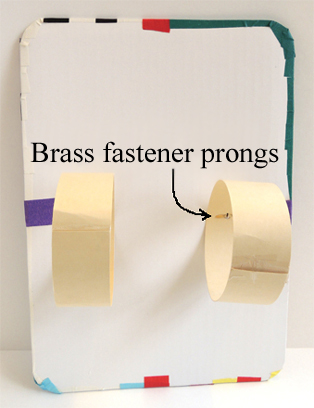 Finally, use masking tape to cover the prongs and secure the arm loops.