 A cupid on a ladder, some strewn hearts, a sweet little keepsake box, some “love” letters…you don’t have to wait until Valentine’s Day to make someone feel special. I love you is all year round!
We read Love, Ruby Valentine written by Laurie B. Friedman and illustrated by Lynne Avril Cravath (Carolrhoda Books, 2006). Ruby Valentine and her pet bird, Lovebird, absolutely LOVE Valentine’s Day. As the holiday draws near, Ruby goes into a frenzy – baking, wrapping gifts, making cards, curling ribbon, and choosing the perfect outfit. Unfortunately, she’s so exhausted by her preparations that when she stops to rest she accidentally sleeps through Valentine’s! When she awakes, she’s horrified and saddened to realize she missed it. Fortunately, Lovebird convinces her to carry on. Ruby makes her deliveries a day late and…no one seems to mind! Ruby learns that you don’t have to wait until Valentine’s to tell someone you love them. Go ahead and tell them all year round!
Kids were a little surprised when I told them that it was Valentine’s in July, but once they heard the story and understood its message, they eagerly joined in the fun.
You’ll need:
- 1 box (mine was 4 ½” X 4 ½” x 9”)
- A love letters template, printed on 8.5″ x 11″ sheet of white card stock
- Red, pink, purple, and yellow construction paper
- A selection of patterned paper
- Paper doilies
- A selection of patterned tape
- Paper baking cups
- Heart stickers
- A selection of curling ribbon
- A selection of fabric ribbon
- A selection of craft tie
- A selection of pipe cleaners
- A selection of sparkle stems
- A selection of small feathers
- The Bling Bin
- A ladder (ours was 8′ high)
- Scissors, tape, glue stick for construction
- Markers for decorating
- Hot glue
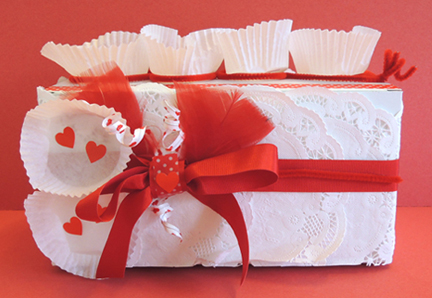
We started by decorating the boxes. This was a free-form art supply “buffet” that kids could pick and choose from. In designing my box, I went for a classic red and white number.
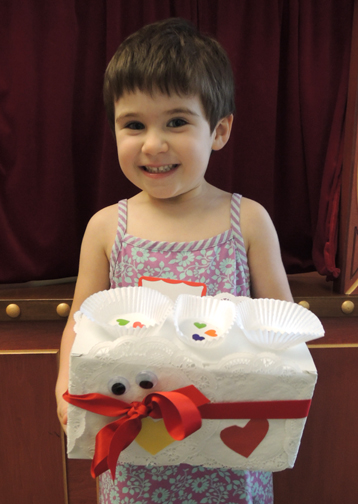
 In addition to the art supplies in the list above, I told kids that if there was something else they wanted, to please come and ask. Only one kid took me up on this offer. A little girl who, for some reason, wanted wiggle eyes on her box. To say “Eye love you” perhaps?
 As the final touches were put on the boxes, I handed out the love letter templates, instructing everyone to decorate them, cut them out, and put them in their boxes to take home. Later, they could use them to infuse their homes with some L-O-V-E.
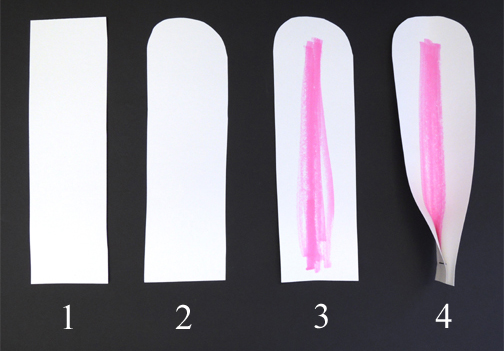
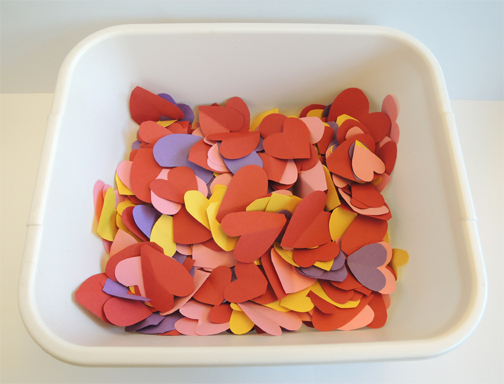
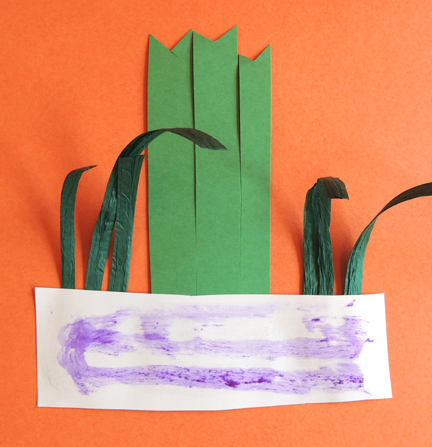
And now for the main event – the strewing of the hearts. I prepared for it by cutting a slew of construction paper hearts (about 2″ high) from red, pink, purple, and yellow construction paper.
 IMPORTANT! After you finish cutting a heart, make sure you soft fold it down the middle. Unlike a hard fold, where you push the paper down so the sides meet (and run your finger along the fold to create a sharp crease), a soft fold consists of gently folding the paper, but not letting the sides touch.
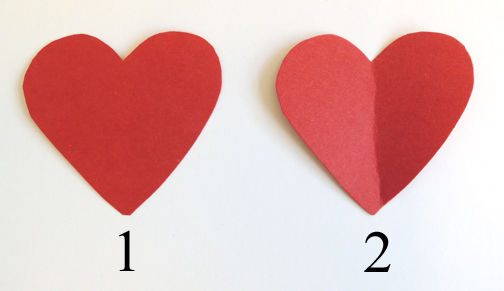 This step might seem superfluous, but after some testing I determined that a soft folded heart will flutter and fall better than a non-folded (or hard folded) heart, making it easier for kids to see and catch.
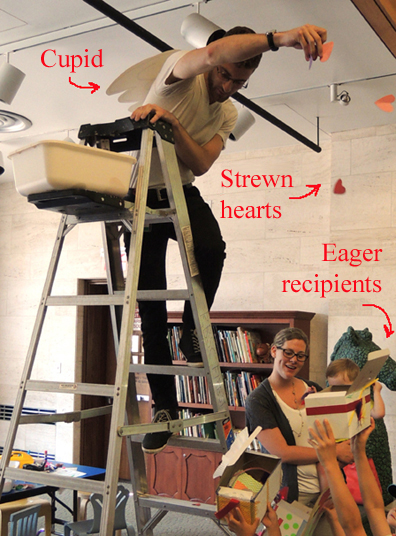
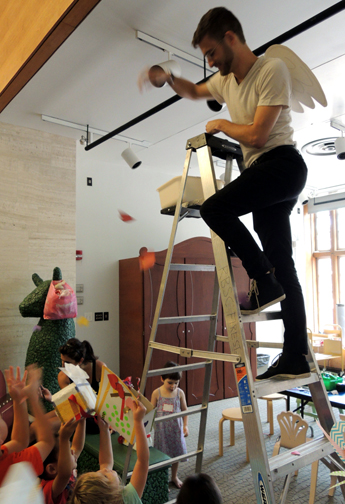
We gave Mr. Ian a pair of cupid wings and sent him up a ladder, where he cheerfully strewed hearts to kids, who caught them in their boxes and hands.
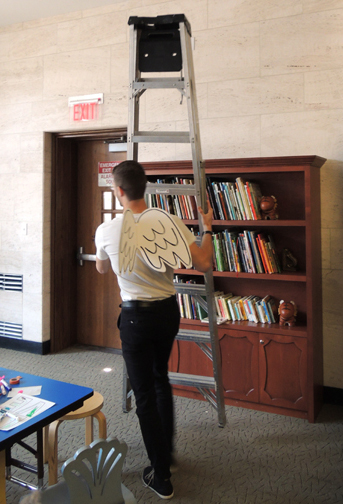
 Then, in a serenade of violins, cupid departed, taking his 8′ aluminum ladder with him…
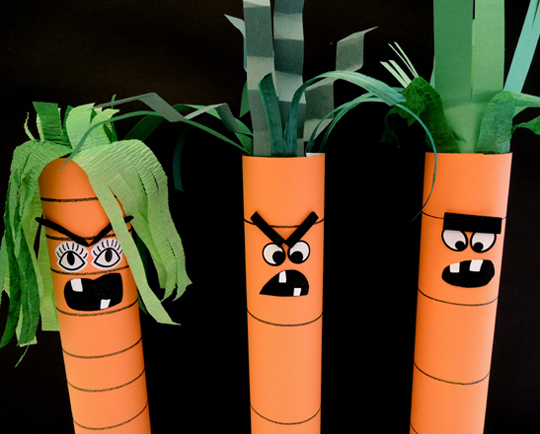
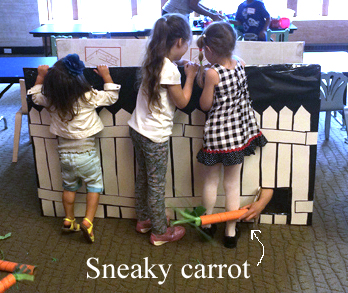
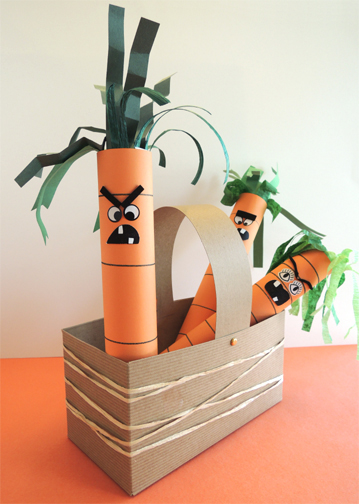

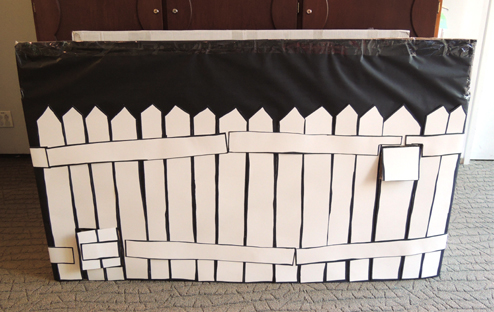
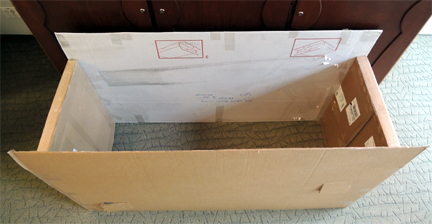
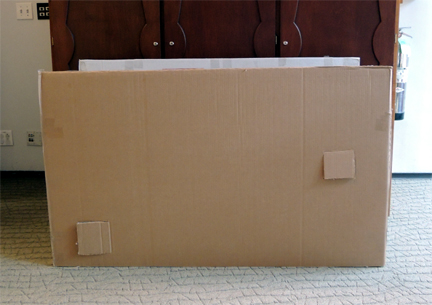
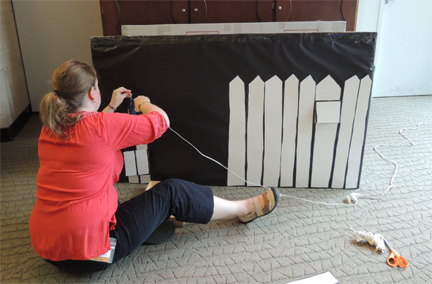
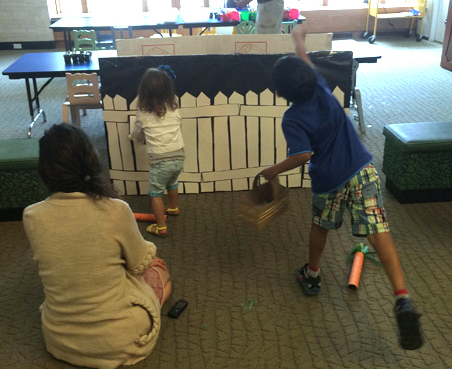
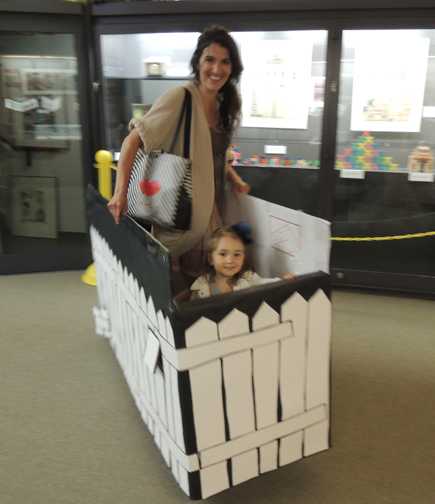
 Off to Crackenhopper Field! The field doesn’t have to be fancy. In fact, in can just be an empty box, bin, or paper grocery bag. But since we had a couple large, flat boxes on hand (and because I’m never one to “rein it in”) we built a fenced field with two little doors for carrots to sneak in and out of.