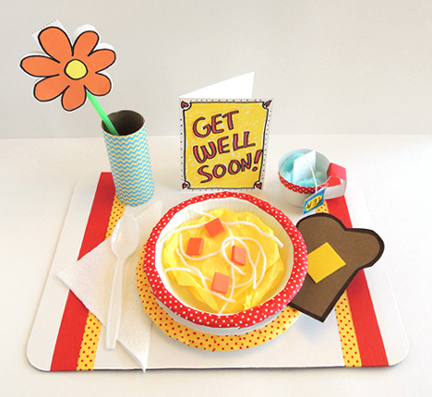
 No one likes to get sick…unless you have our special strain of story time chicken pox! These pox are guaranteed to bring a smile to your face. But, just in case you’re still feeling under the weather, we have a cozy bed tray and get well card for you!
 We read Goldie Locks Has Chicken Pox, written by Erin Dealey, and illustrated by Hanako Wakiyama (Antheneum Books, 2002). Poor Goldie. She’s absolutely covered in chicken pox, and her little brother has decided to be a total pest while she convalesces. He demands to connect her dots with crayons, whines that she’s eating all the ice cream, and teases her relentlessly about her “polka-dots.” Finally, Mother steps in to break things up. But justice has already been served. There’s a new case of chicken pox in the house, and guess who has it?
You’ll need:
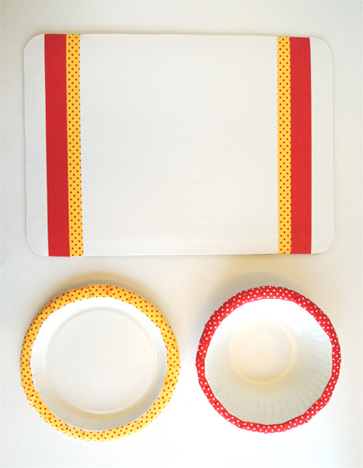
- 1 corrugated cardboard base (I used a 9.5″ x 13.5″ cake pad)
- 1 small paper plate (mine was 7″ in diameter)
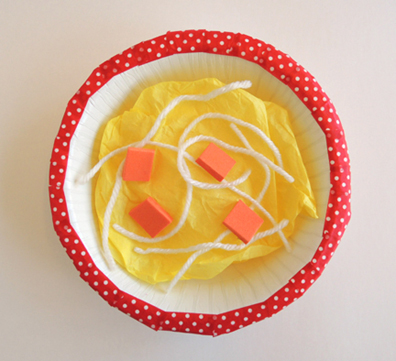
- 1 paper bowl
- A selection of color masking tape
- A selection of patterned tape
- 1 paper napkin
- 1 plastic spoon
- 2 rectangles of yellow tissue paper (approximately 5″ x 6.25″ each)
- 6 pieces of white yarn (approximately 5″ each)
- 4 tiny squares of orange craft foam (approximately 0.5″)
- A rectangle of tagboard (approximately 4.25″ x 4.5″)
- A small square of yellow self-adhesive foam (approximately 1.25″)
- 1 toilet paper tube
- A selection of patterned paper
- 1 flower template, printed on 8.5″ x 11″ white card stock
- 1 green drinking straw
- 2 small rectangles of stiffened felt (approximately 1.25″ x 1.75″)
- A piece of string (approximately 4″ long)
- A small rectangle pf white card stock for tea bag label (approximately 1″ x 2.5″)
- 1 paper cup
- 1 small strip of white poster board for teacup handle (approximately 0.75″ x 4″)
- 1 blue cotton ball (or a small piece of blue tissue paper)
- A large piece of white card stock, folded like a greeting card (approximately 5″ x 7.5″)
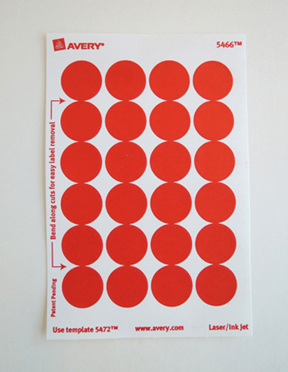
- 1 sheet of red dot stickers for the “Everyone Has Chicken Pox” game
- Scissors and tape for construction
- Markers for decorating
- Hot glue
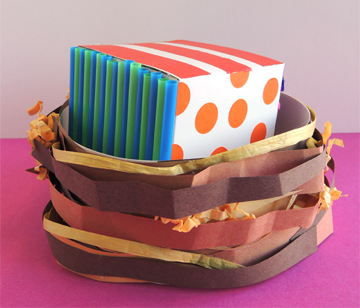
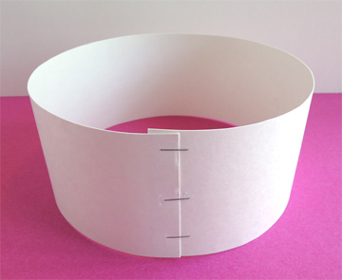
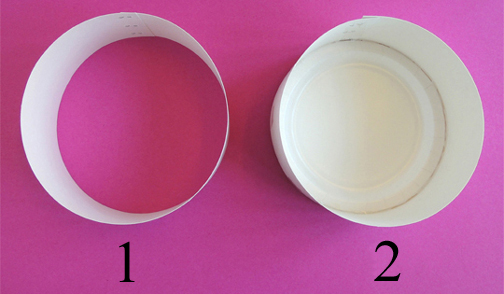
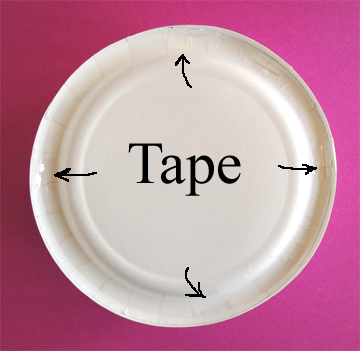
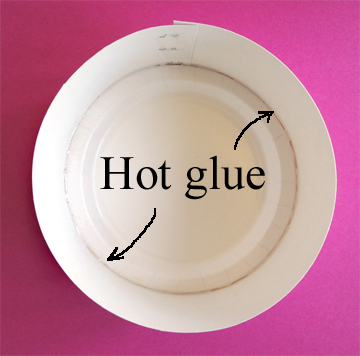
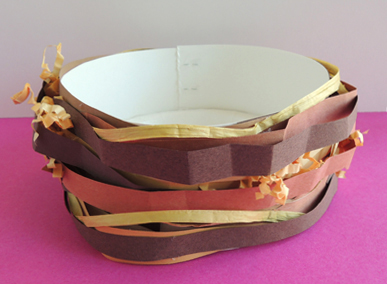
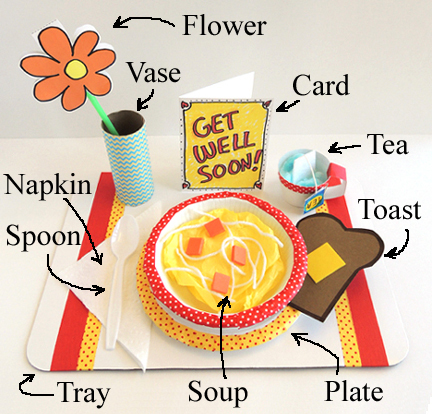 The bed tray has many pieces, but the assembly is a snap! The only thing we prepped in advance was the tea bag. Otherwise, the kids put together all the the pieces themselves. Begin by decorating the borders of the corrugated cardboard base, plate, and bowl.
 To make “soup,” gently crumble two yellow tissue paper rectangles and place them in the bowl. Add 6 white yarn “noodles” and 4 orange craft foam squares of “chicken” (or “tofu”).
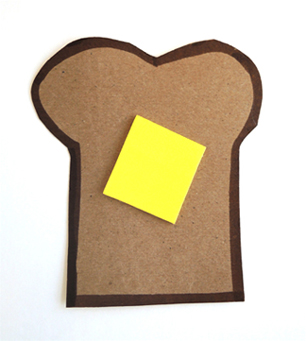
 Put your soup bowl on top of the plate, and tuck a napkin and plastic spoon next to it. To make buttered toast, cut a rectangle of tagboard (or brown poster board) into a toast shape, then use a brown marker to color the border of the toast. Add a pat of self-adhesive foam butter (or simply draw the butter on with a yellow marker).
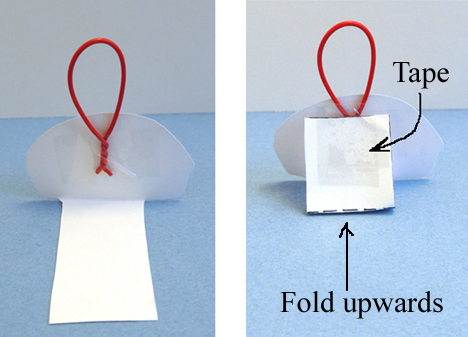
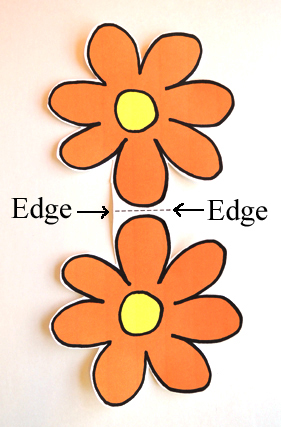
 To make a flower vase, wrap a toilet paper tube with patterned paper (or use white paper you’ve decorated with markers). Next, color and cut the flower from the template. Note: the flower on the template is double-sided. As you see in the image below, you cut both flowers out as one piece, making sure to cut up to the edges of the dotted line:
 Tape a green drinking straw to the bottom half of the flower…
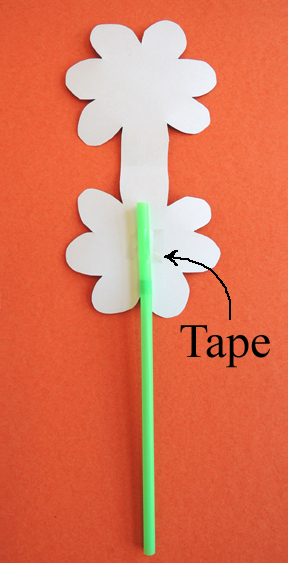 Then fold the template along the dotted line, bringing the top half of the flower down to match the bottom half. Secure with tape, and stick the flower in the vase!
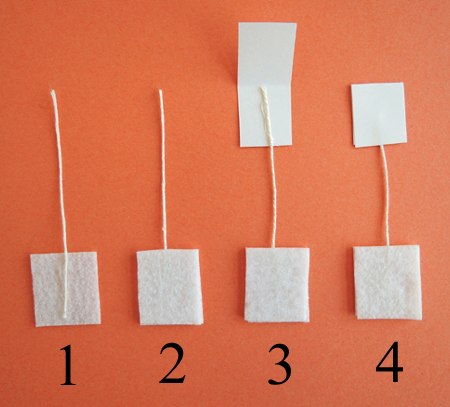
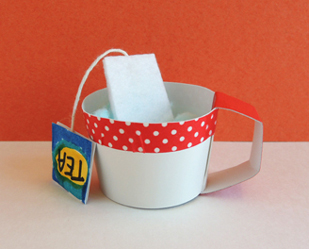
Time for tea! We’ll begin with the tea bag. First, hot glue a 4″ piece of string to a square of stiffened felt. Hot glue a second square of felt on top of the first. To make the “label” for your tea bag, fold a small rectangle of card stock in half, then hot glue the free end of the string to the bottom half of the card stock. Fold the card stock over the string, and hot glue in place. Decorate the tea label with markers!
 To make a teacup, cut a paper cup down until it is about 1″ tall. Decorate the rim with color masking tape and/or patterned tape. Tab the ends of a small strip of white poster board to create the handle, then attach the handle to the inside and bottom of the cup with tape (or hot glue). Drop a blue cotton ball (or a crumpled piece of blue tissue paper) into the cup, then set the tea bag inside.
 Finally, use markers to draw a get well card on white card stock. When the card is done, assemble the items on your tray. Some kids wanted me to hot glue everything to their trays, others wanted most of their items loose. You’ll definitely want to hot glue the flower vase to the tray. Otherwise, the top-heavy flower will keep tipping the vase over.
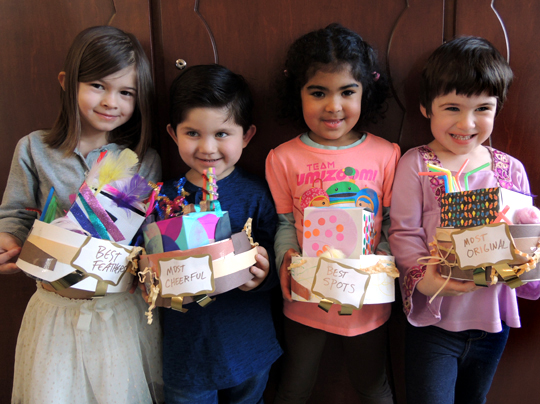
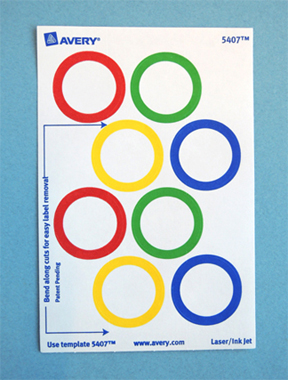
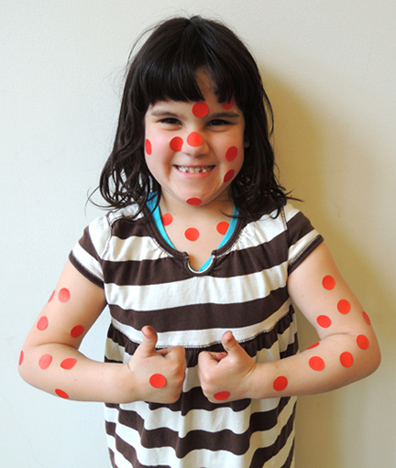
Ready to get sick? Setting our bed trays aside, we gathered in the story time area to play the “Everyone Has Chicken Pox” game. Basically, every child was given a half a sheet of Avery red dot stickers (meaning each kids received 12 dot stickers total):
 When I said “Go!” the kids had to run around, sticking a “pox” on different people in the room (including adults!). When everyone was good and sick, we returned to our bed trays to get “better.”