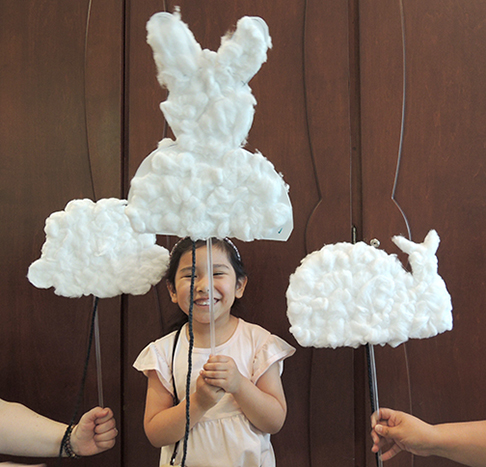
It’s a fluffy day in the neighborhood as you take a stroll with your pet cloud. It’s a simple project, but oh so sweet…just like the story!
We read Lizzy and the Cloud by the Fan Brothers (Simon & Schuster, 2022).
On Saturday, during a walk in the park, Lizzy chooses an ordinary cloud from the cloud seller (as opposed to a fancier animal-shaped cloud). She names him Milo and takes him home. Turns out, there are a lot of things you need to do to care for a pet cloud, like watering them, taking them on walks, and eventually realizing when your cloud is big enough to leave home and float free.
You’ll need:
- One 17″ clear plastic blind rod
- White poster board
- Cotton balls
- Packing tape
- A piece of string or yarn
- Scissors and glue for construction
- Hot glue
When we saw the cover of the book, we just knew we had to replicate the adorableness. I had the brilliant idea of using clear plastic blind rods (i.e. the little rods your turn to adjust Venetian blinds). You can get a pack of 8 for around $12 on Amazon (ours came with an 11% off coupon too! Woot!). A cheaper option is a section of 1/2″ PVC pipe.
 To make a cloud, fold a 12″ x 28″ piece of poster board in half, then trace your cloud’s shape on the paper. Cut out the shape, and you have two matching cloud pieces. Cover the outer sides of each cloud piece with cotton balls. When you’re done, use the packing tape to attach the rod to the inside of one cloud piece, then hot glue the other piece on top. Add a piece of string or yarn for your cloud’s leash, just like the book!
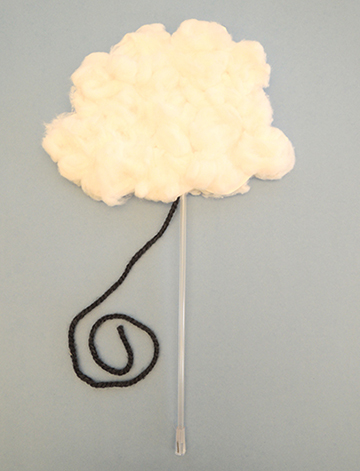
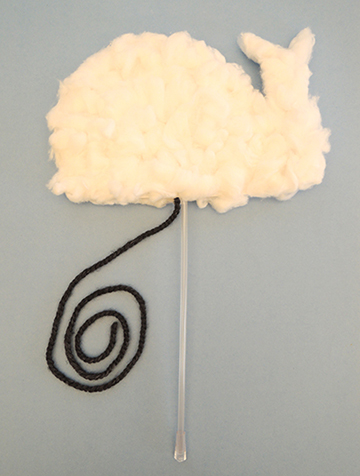
Lizzy chose an “old-fashioned” cloud for her pet, but we also made a model of an animal-shaped cloud, as seen below with this very handsome whale. Katie named him “Fisher.”
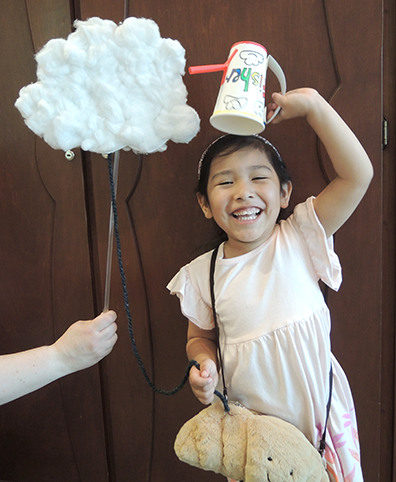
We captured a few story time clouds as they floated by with their proud owners…
You can stop the project there, or you can also create a watering can to nourish your pet cloud. It’s basically a paper cup, poster board handle, and a bubble tea straw (if you would like more detailed instructions, you’ll find them in this post).
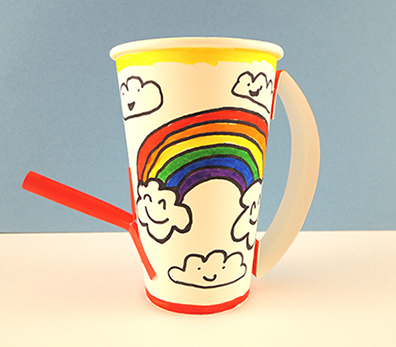
Then give your cloud a refreshing drink!
Book cover image courtesy of the Fan Brother’s website
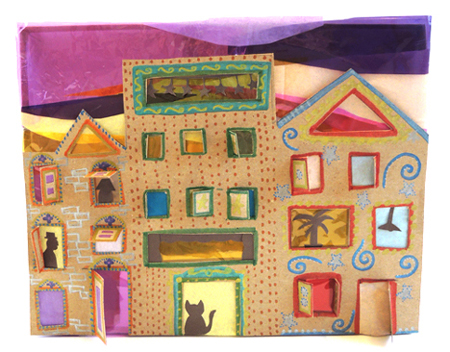
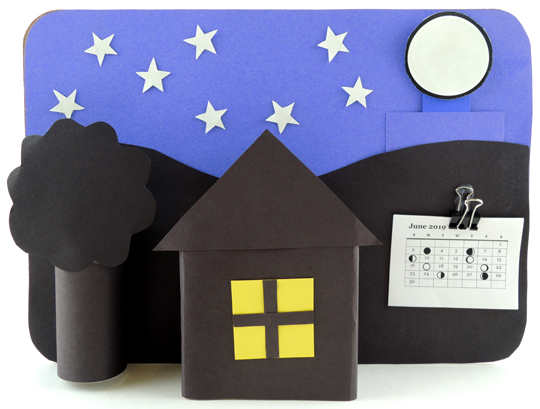 Learn about the phases of the moon (and track them yourself!) using this awesome, 3D, double-sided, lunar calendar! Katie and I dubbed this “the story time project of the year.” Because STEAM power!
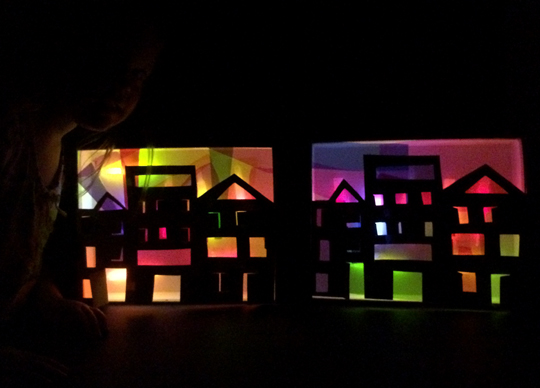
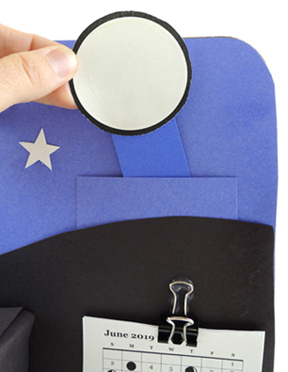 Next, use black construction paper, a toilet paper tube, and a small box to create mountains, a tree, and a house (we recommend adding a little yellow window to the house as well). The hot glue the tree and the house to the backdrop. Important! In order to get the calendar to stand up, the house needs to be attached in the center of the backdrop:
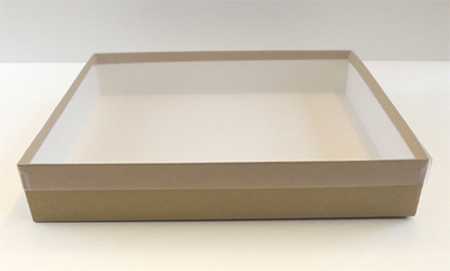
 To the right of the house is a small lunar phase calendar. Tape or hot glue a binder clip to the backdrop, then clip the calendar in place. I custom designed our calendar for June-December 2019, but seeing as time inexorably marches on, you can find a current calendar with a Google search. Add some white card stock
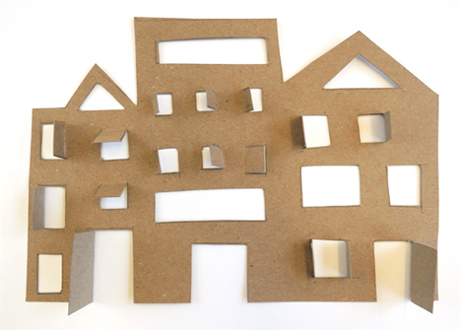
 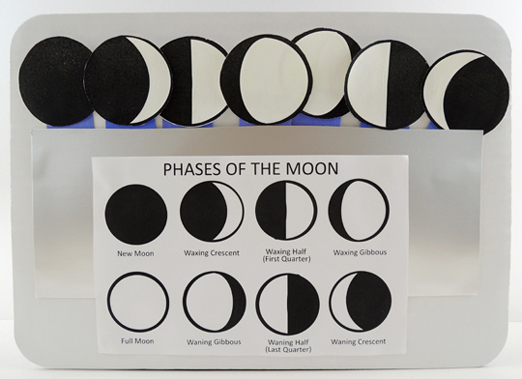 Above is the other side of the calendar. First, use construction paper or poster board to create a pocket (our pocket was 4.75″ x 12″ silver poster board), then tape or glue the
 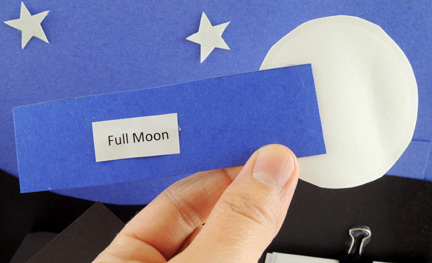 This was a great part of the story time project. Watching the kids methodically checking and matching the labels, to the chart, to the sticks was really sweet. And very science!
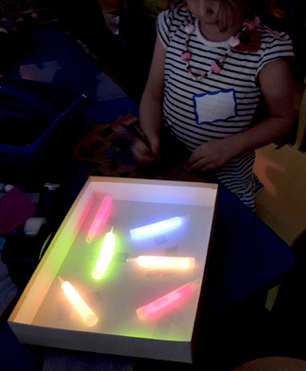
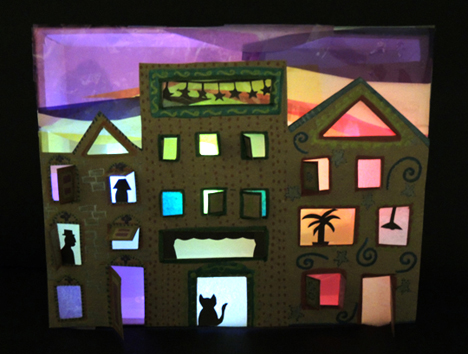
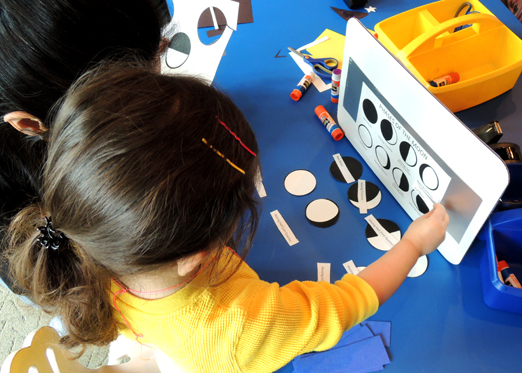 To use your new lunar calendar, match the date on the calendar to the appropriate phase of the moon. Identify the correct moon stick, then slide it into your night sky pocket. Keep checking the calendar to track the moon’s phases. Oh, and we also used glow-in-the-dark paint to fill in our stars and moon sticks. So this calendar glows at night!