
 School has started, fall is around the corner, and the leaves are starting to change. So it’s the perfect time to post a simple sound and color story time featuring fall leaves!
We recommend reading Ska-tat! by Kimberly Knutson (Macmillan, 1993). Leaves are falling off the trees with a “Sh-kah sh-kah” sound, and there is so much to do! Scoop them up with a “Krish-krash! Ka-rak!” or jump into piles with a “Sha-shoo! Ska-tat!” This highly poetic book beautifully creates sound words for various fall leaf activities. It’s a fantastic and fun read aloud.
You’ll need:
- Green, orange, yellow, and red cellophane
- Scissors
First, a word about cellophane. While rolls of green, yellow, and red cellophane can be founds in most dollar stores (and this is a good, cheap option for tight budgets), the color orange can be a little elusive. Also, when you use rolls of cellophane, the shapes you cut out tend to curl back into their original roll positions. It’s rather annoying. So I was very happy when I discovered cello sheets:
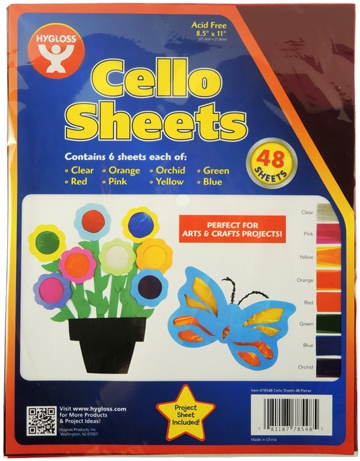 I bought these 8.5″ x 11″ cello sheets at Discount School Supply ($7 for a pack of 48). The sheets are flat, so no problem cutting out shapes and having them curl up on you. The trade off, of course, is volume. In the above pack of 48 sheets, there are only 6 of each color. However! I did spot a 104 pack on Amazon with 13 of each color for $9. If you ultimately decide go with rolls of cellophane instead of sheets, try flattening the shapes under a stack of books overnight to see if that helps uncurl them.
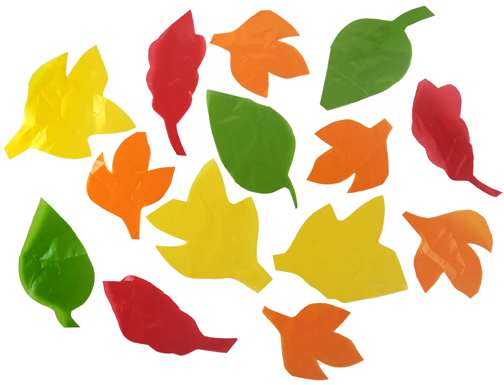
 For the story time project, cut various leaf shapes out of cellophane. Then have the kids crumble and crunch them, crinkle them madly, stomp on them, toss them in air, slide with them under their shoes, put them over their eyes to see the world in red, yellow, orange, and green…in short, PLAY. When you’re done, tape the leaves to a window to brighten things up!
 Decorate it with markers, and don’t forget to write the name of your band inside the circle of the bass drum! When you’re done coloring, flip the drum set template over:
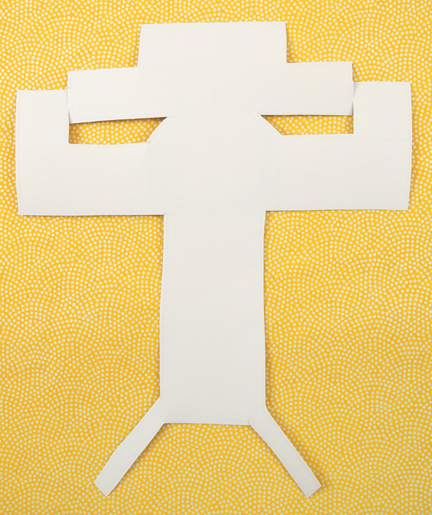 Roll the lower drums inwards, and tape them to the back of the set.
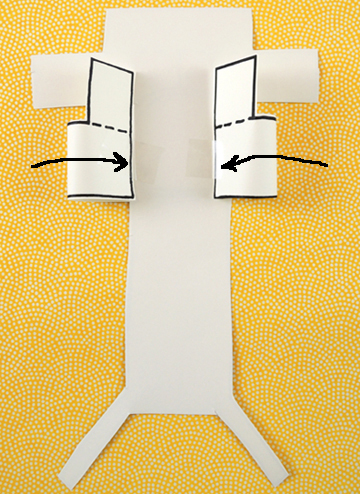 Next, fold the tabs downward along the dotted lines. These are your drum heads. Use scissors to shape them to the tops of your drums, then secure them with tape.
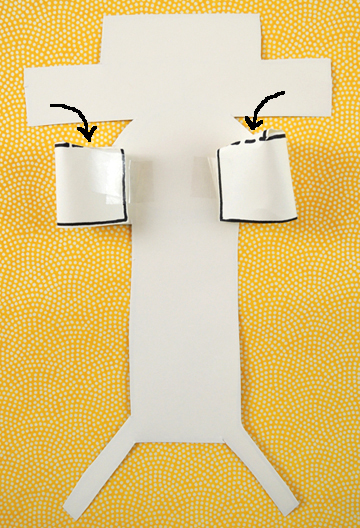 Repeat the same process with the upper drums.
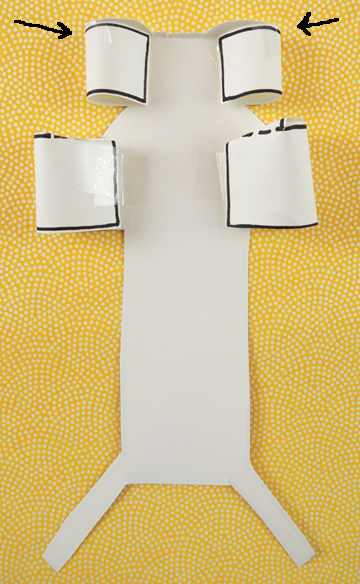 Now fold the long base of the drum set upwards, tucking the cymbal stands between the lower and upper drums.
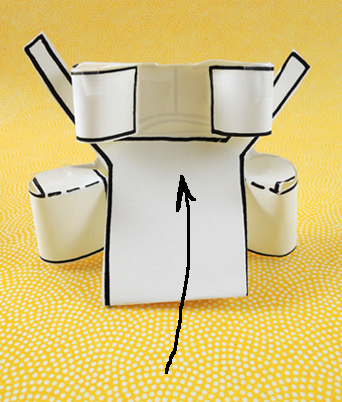 Turn the set around, and stick small
 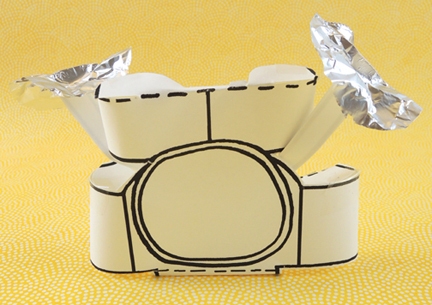 Use scrap paper from your template to fashion a pair of drum sticks and finger loops. Tape the sticks to the finger loops, and slide them over your fingers.
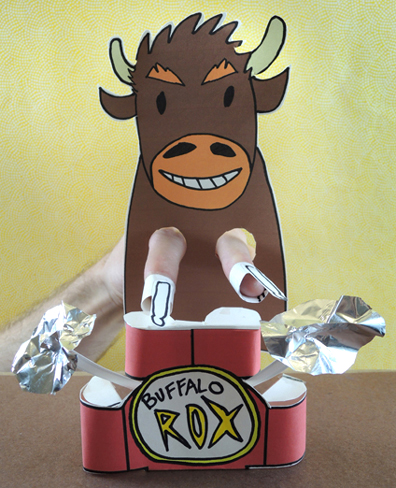
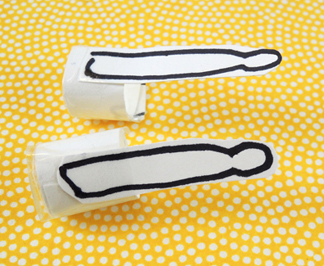 Finally, your buffalo drummer! Cut and color the buffalo finger puppet from the template (or use the full color version
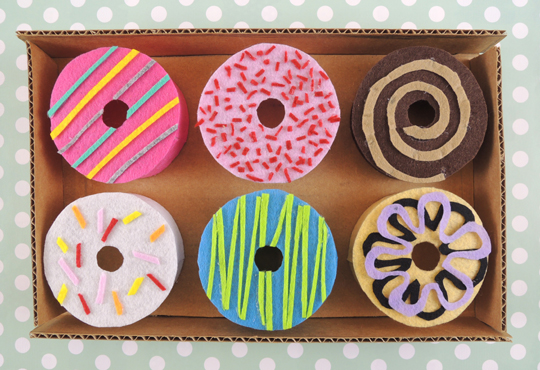
 Wrap the outside of the tape core with felt and secure the felt in place with hot glue. The top of the donut is a circle of
 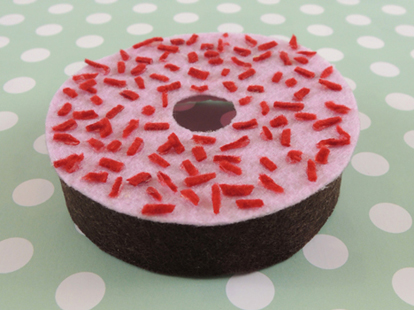 If felt isn’t your thing, construction paper works for this project too – and you can use tape instead of hot glue. Here’s my construction paper donut with
 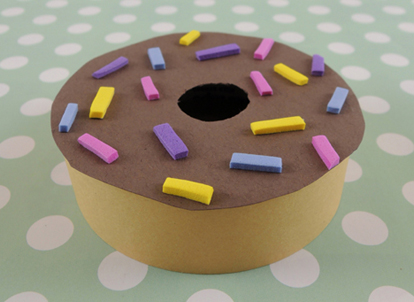 Marissa crafted a custom cardboard box for her set of donuts and, best of all, made a cardboard panda hand to smack away greedy donut eaters. You can see the whole thing in action on her