The open highway beckons, so top off the tank, jump in the truck, crank the tunes, and let the cows do the driving. Wait a minute…COWS?
We read Sakes Alive! A Cattle Drive, written by Karma Wilson, and illustrated by Karla Firehammer (Little, Brown, 2005). When two inquisitive cows lift the truck keys from Farmer’s pocket, they quickly learn (as does the rest of the town) that cows can’t drive. But they can inspire a bit of a parade!
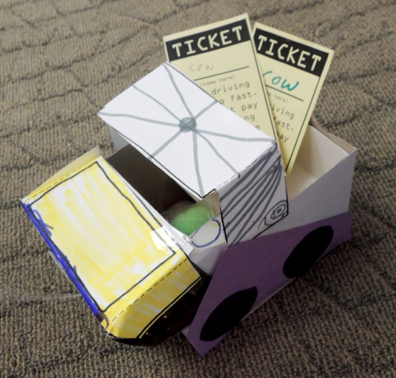
We crafted a pull string truck and put two toilet paper tube cows in the front seat. Then the story time kids drove across scenic New Jersey, complete with billboards, pit stops, and of course…tolls.
You’ll need:
- 1 small tissue box
- 1 pickup truck template printed on 8.5″ x 11″ card stock
- 4 circles of black construction paper (approximately 2.5″ in diameter)
- A piece of string (approximately 24″ long)
- 1 mini craft stick
- 3 toilet paper tubes
- 1 rectangle of poster board (approximately 4.5″ x 5″)
- 1 open highway (more on this below!)
- Hot glue
 The truck for this project is a duplicate from our “Ultimate Road Trip” post (you’ll find the instructions here) with one exception: we added a front seat for our cows to sit in.
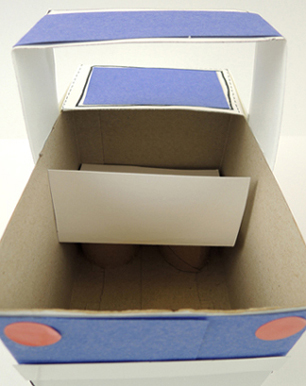
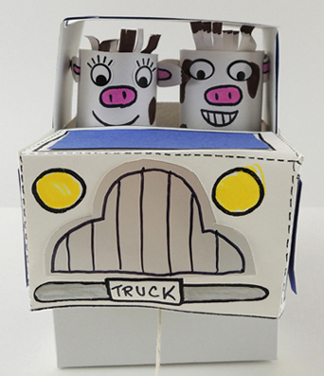 To make the seat, cut a toilet paper tube in half. Fold a rectangle of poster board in two, then hot glue the toilet paper tube “legs” to the bottom of the poster board seat. Secure the completed seat to the inside of your truck with hot glue. Here’s a shot of the front seat from the back of the truck:
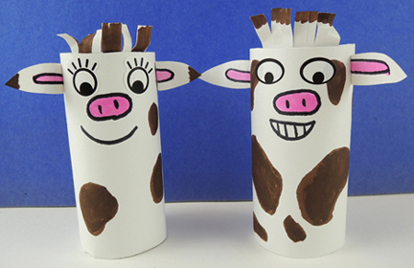
 The cows are simply toilet paper tubes, wrapped in white construction paper, with construction paper ears and hair tufts. Decorate with markers. We used eye stickers, but you can draw the eyes on with markers too.
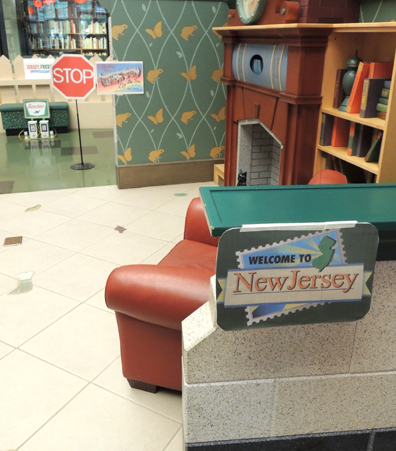
 Once the truck and cows are done, it’s time to hit the road! We crafted a New Jersey road adventure, which we will share below. A simplified version of this could be print outs of buildings, billboards, and road signs. Or heck, just draw some directional arrows on Post It notes! Our journey begins at the “Welcome to New Jersey” sign…
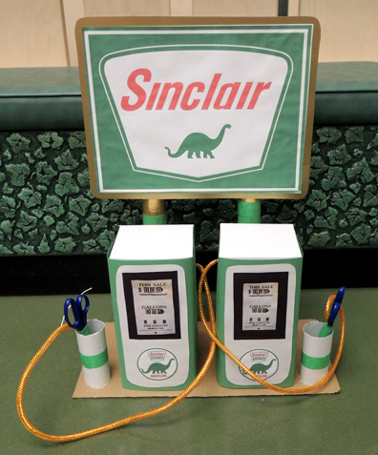
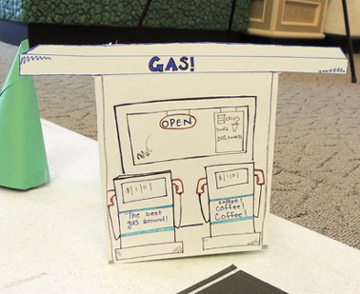
 See that cute little gas station in the background? Here’s a close up of it. Katie crafted the nozzles out of mesh tubing and kiddie scissors. The pointy end of the scissors are shoved into a bit of PVC pipe.
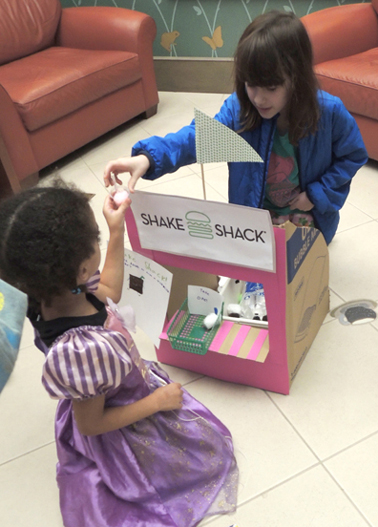
 You might also want to stop at Shake Shack for a little treat. These were cotton ball shakes in little sample cups served with a snippet of paper straw. The stand was run by a volunteer older kid.
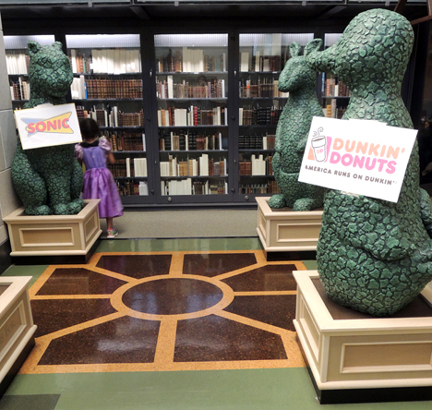
 Round the corner, more billboards…
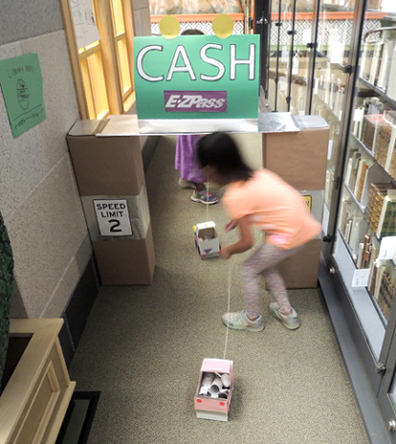
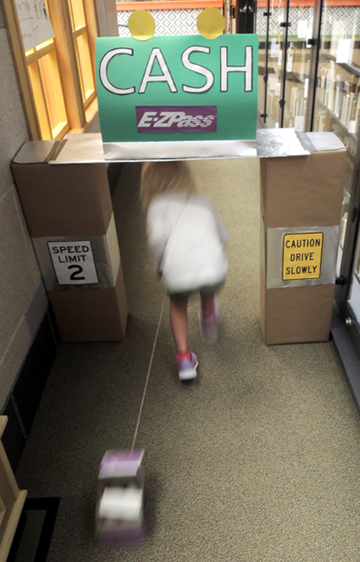
 And one more turn takes you to Katie’s amazingly crafted EZ Pass toll booth!
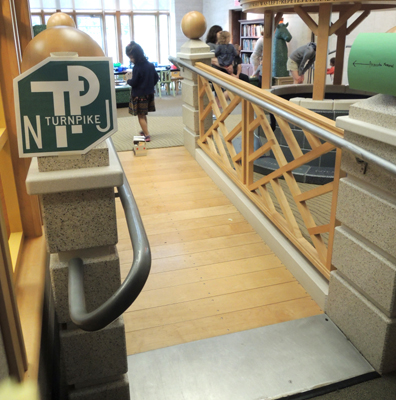
 Then it’s just a quick jump onto the NJ Turnpike to begin the loop anew!
 But keep an eye on your speedometer, because there was a cop on the premises to catch cows over the speed limit! This was another older kid volunteer. We had a police hat ready, some ready-to-fill speeding tickets, and a siren sound effect on my phone.
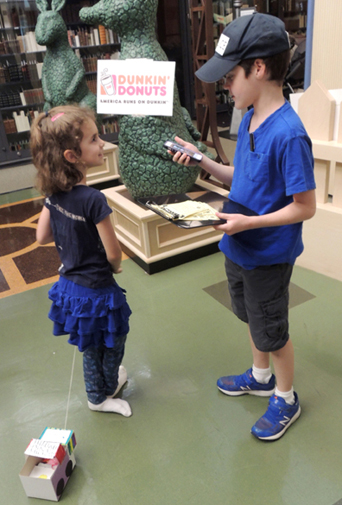 This kid played his part to the hilt, and his speeding tickets were hilarious! There was one speeding ticket for $9,000. And some double tickets. I must admit, I gave out a couple tickets too.
 By the way…Katie you still owe me $1000 for your story time speeding ticket. Just sayin’.
 Hit the road in a totally stylin’ pull string truck. Your mission? To deliver produce to the city market. But first, you have to navigate a 12 foot obstacle course packed with trees, animals, buildings, water, and bridges!
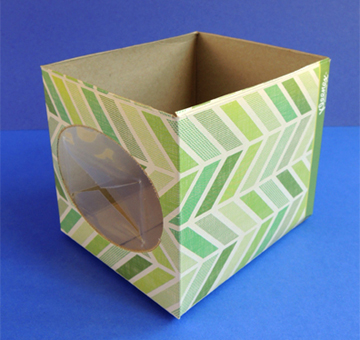 Set the box aside for a moment. Cut the front of the truck from the template. There are 5 folds you’ll need to make on the template. Each fold is marked with a dotted line. First, fold the 2 tabs on either side of the hood.
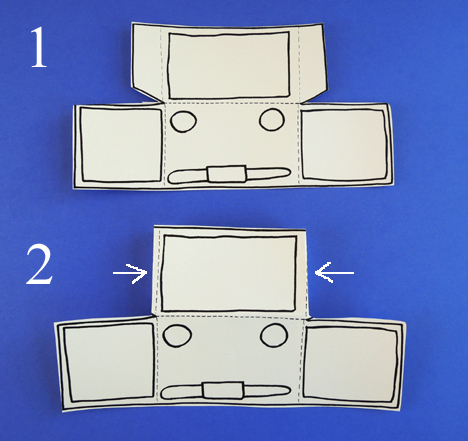 Next, fold the 2 panels on either side of the truck’s headlights.
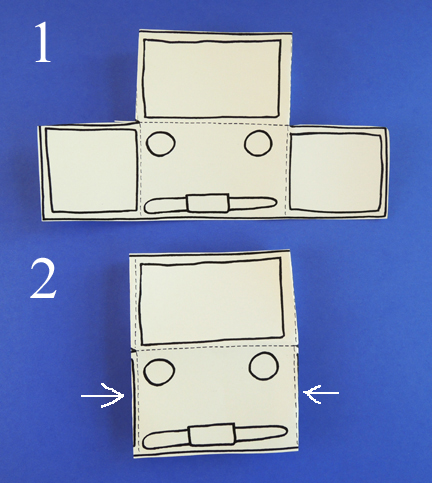 Finally, fold the hood down to meet the side panels, and secure it with tape.
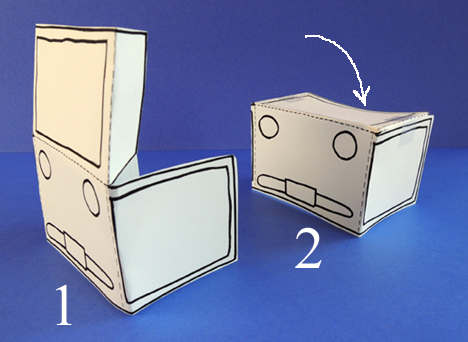 Tape the front of the truck to the front of the box like so:
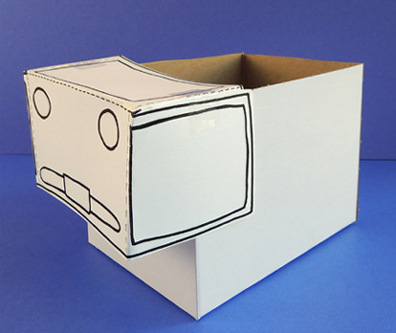 Here’s the tissue box version. As you can see, this results in a slightly shorter (but still very serviceable) truck.
 Next, cut the roof piece from the template. Fold along the dotted lines and tape the roof to the top of the box.
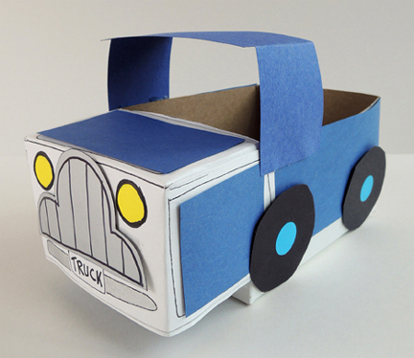
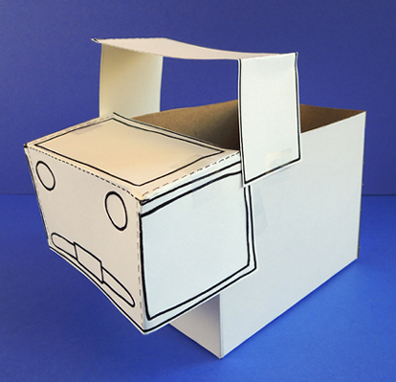 Draw some lines on the grill template, then tape it to the front of the truck. Finish by taping black construction paper wheels to the sides. Make sure the wheels don’t extend past the bottom of the truck!
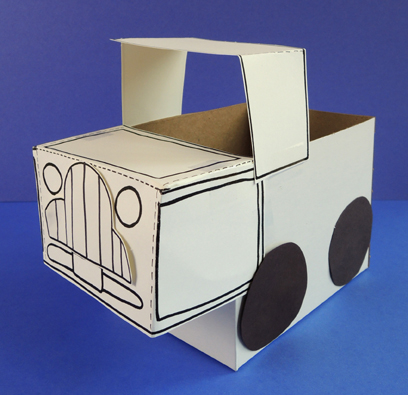 That’s the basic construction, but there are a couple variations on it. You might, for example, want to wrap the box with construction paper first. Also, we traced roof and grill templates onto different paper. Our roof was blue construction paper, and our grill was silver poster board. We also added some
 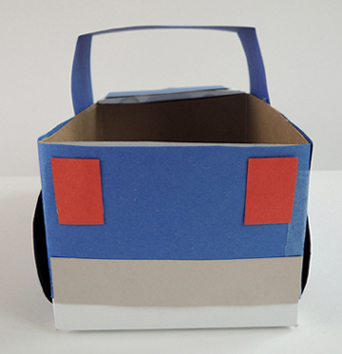 Of course, you can also skip these variations and just use the template pieces and markers! If you decide to go that route, have the kids decorate the template pieces with markers before they tape them to their boxes.
 To make your “produce,” stuff the tops of 2-4 toilet paper tubes with green tissue paper. Place the tubes in the back of the truck. We didn’t secure the tubes down with tape. We wanted them to wiggle and wobble while the trucks navigated the obstacle course.
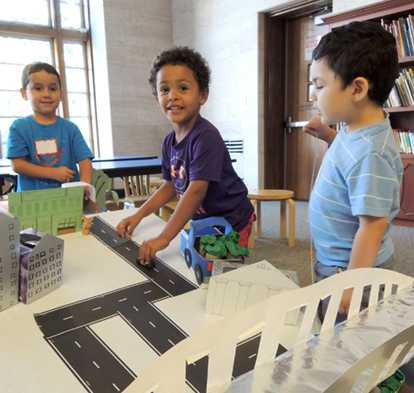
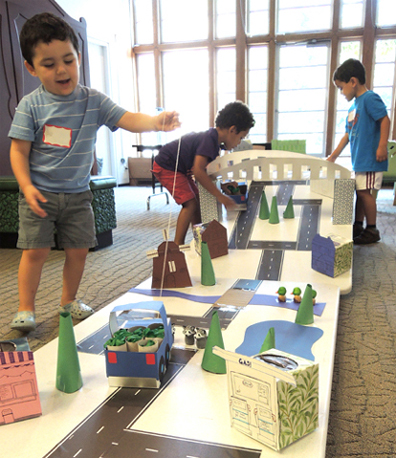
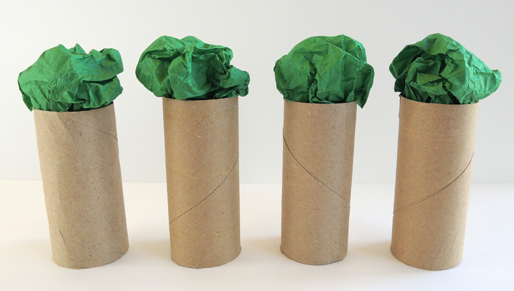 And what an obstacle course it was! We used two, 6′ plastic tabletops to create it. These tables have shown up on the blog before – once for
 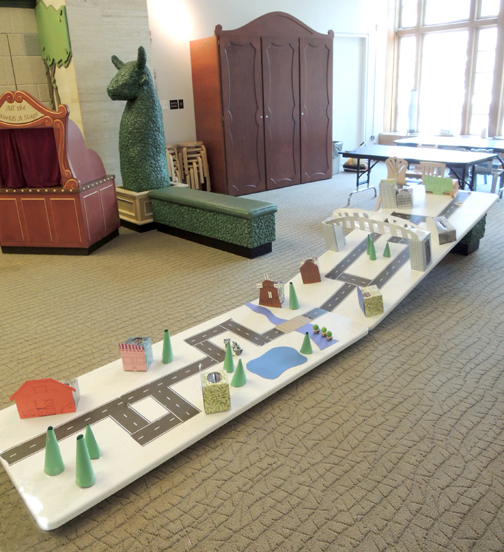 One of the tables was (securely) propped up on a cushioned stool to add a challenging hill to the course. You can also see how we made the buildings…facades taped to tissue boxes, which were then secured to the tabletop with packing tape.
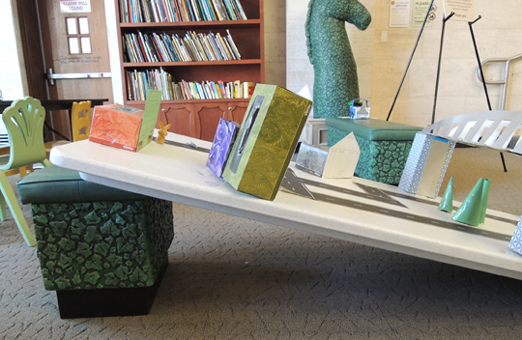 The building facades were Marissa’s handy work! Out in the country was a big red barn…
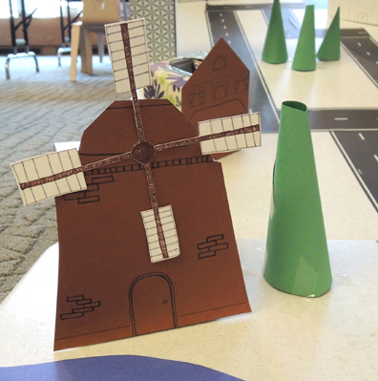
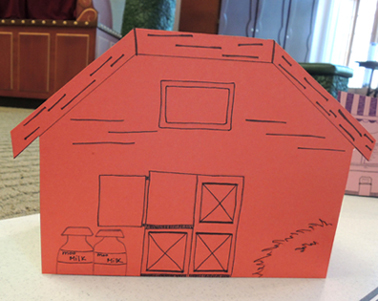 As well as an ice cream stand, a gas station, and a windmill…
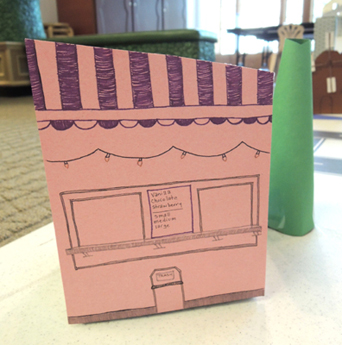
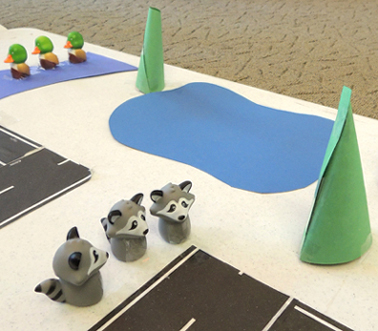
 There were ducks by a river bridge, and a trio of raccoons near a pond…and how do you like those towering conifer trees?
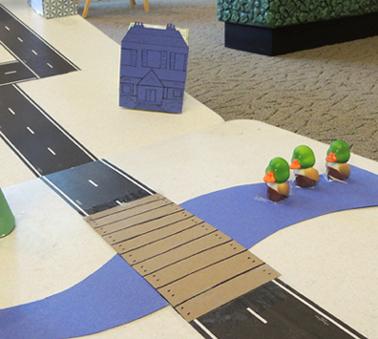
 The entrance to the city was marked with a big bridge. I made it out of a strip of cardboard, tin foil, tissue boxes, and silver poster board.
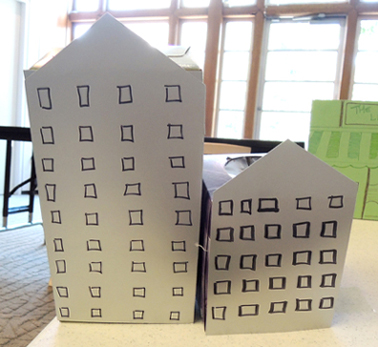
 Once in the city, there’s a bank and a couple of skyscrapers…
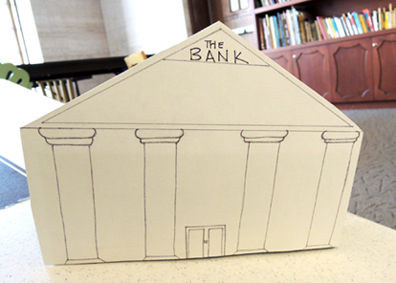
 And finally, at the veeeery top of the course, was “The Leafy Lettuce.” This is where you delivered produce to your eager customers.
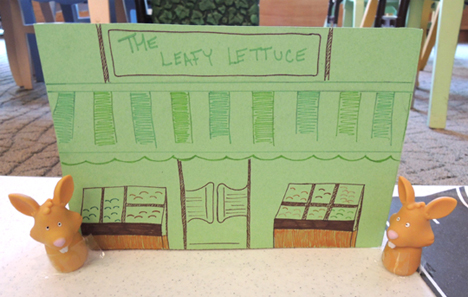 While constructing the course, we taped the buildings down first, and then added the road. We considered using long strips of black paper, contact paper, or masking tape outlines (similar to what
 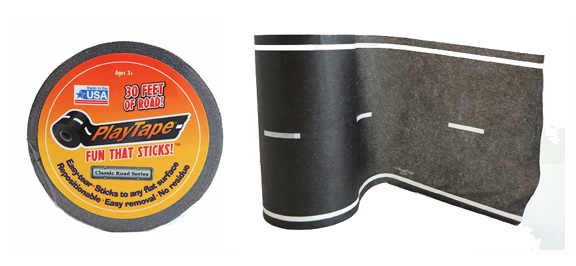 PlayTape is basically masking tape with road printed on it! The 30′ rolls came in 2 widths (2″ or 4″). I went with the 4″ size, which was $13 a roll (the 2″ size is $9). I found the tape on Amazon as well (in different colors, with special curved pieces, as train tracks, and there’s even a “Mud Madness” version!). The tape was awesome. My only complaint is that at times, the ends curled up off the plastic tabletop. The tape did much better on the rugs and hardwood floors of my home. It peeled easily off all surfaces, and left no residue behind.
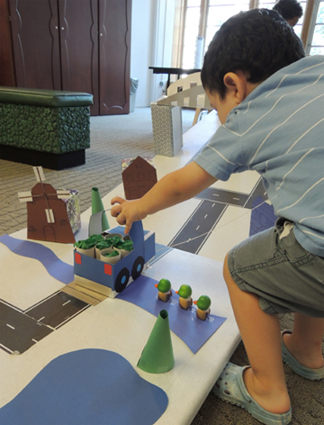 Make sure you tape everything firmly in place (even the animals) because there will be plenty of hilarious crashes. Oh yes, there will.
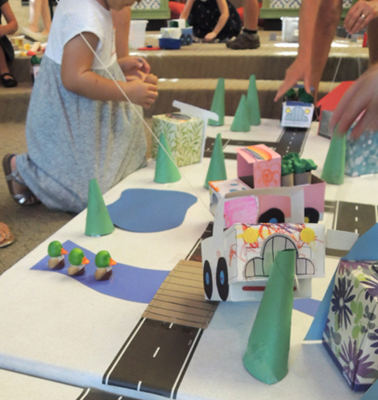 Here’s one of my favorite trucks on course. Look at that fantastic rainbow roof!
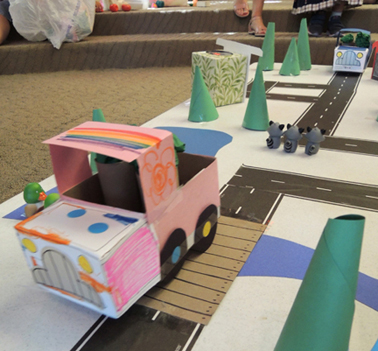 Eventually, all the trucks found their way to The Leafy Lettuce. We left the course open for a good 20 minutes after story time. It was very busy. A few Hot Wheels cars even showed up to take a drive…