 Navigate your way through a laser maze, steal a bear from a snoring sleeper, and snag some hidden diamonds. Stealthiness, sneakiness, and silence are strongly encouraged at To Be Continued, our story time for 6-8 year-olds!
We read Pilfer Academy by Lauren Magaziner (Dial Books, 2016). George isn’t a bad kid, but he just can’t seem to keep his hands off his siblings’ stuff. His older brothers’ stereo, for example. Those comic books he’s not supposed to touch. The $10 on the night table. His sister’s private diary. When George is once again caught red-handed, he bolts out of the house…and is kidnapped by a pair of inept ice-cream truck drivers. As it turns out, the truck is a fake, and the drivers are faculty at Pilfer Academy, an elite school for master thievery. George soon finds himself taking classes like Stealth 101, Practical Applications of Breaking and Entering, and Intro to Gadgetry. But when it comes time to steal for his midterm exam, George discover that he feels horrible about it. Now George and his talented friend Tabitha must find a way to escape Pilfer Academy. Would I be giving too much away if I tell you the escape involves guard chickens, a pit of spaghetti, a deadly laser room, and a runaway mansion?
Story Time Task #1: In the book, George and Tabitha navigate a laser obstacle course, something I’ve been dying to create ever since I spotted this fantastic piece of fun. To create the course, we zig-zagged green crepe paper streamers on our gallery bridge. The streamers were attached with masking tape.
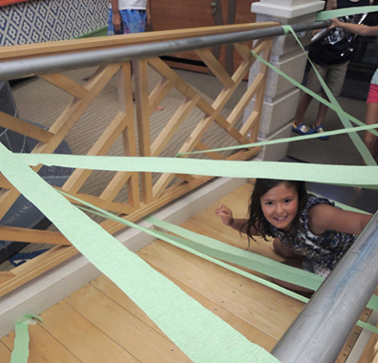
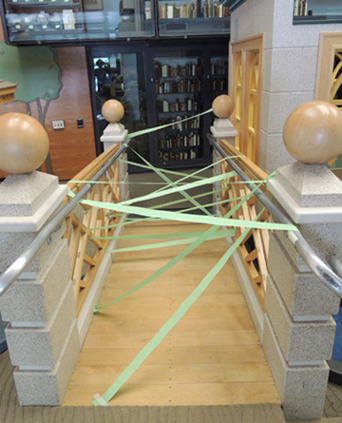 Starting at the bottom of the bridge, kids had to squeeze, crawl, and slide through the course without touching a single “laser beam.” I stood nearby, making “Zzzzzt!” laser noises at key moments.
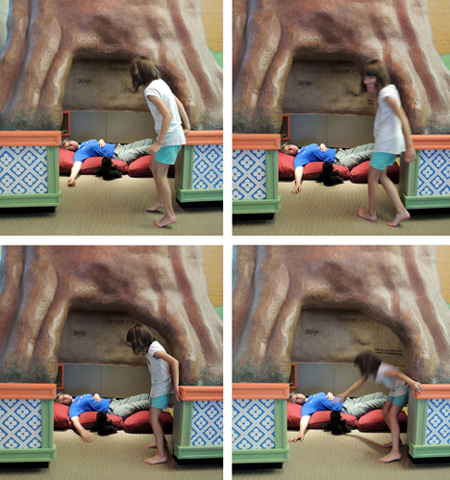
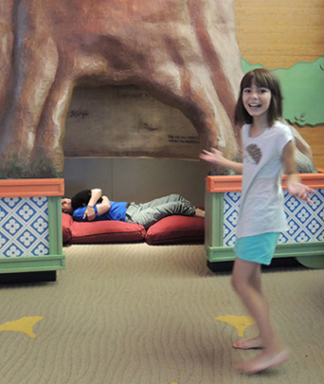
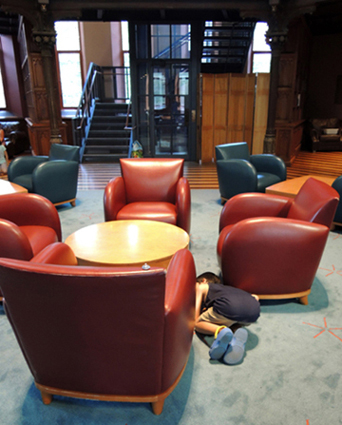
 Story Time Task #2: George’s midterm exam involves stealing a teddy bear from a sleeping toddler. I grabbed a bear puppet, flopped on some pillows, closed my eyes, and started snoring wildly.
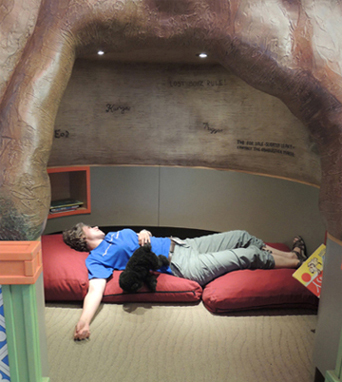 One by one, the kids had to sneak up and grab the bear without me noticing them (and they were quite astonishingly good at this). To increase the challenge, sometimes I would randomly thrash around in my sleep, throw the bear around, or grab it tightly to my chest.
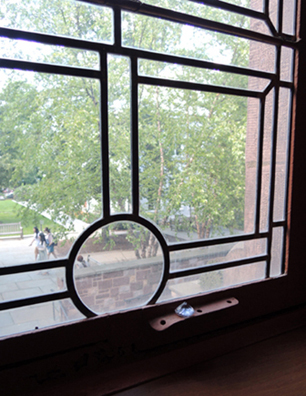
 Story Time Task #3: The diamond hunt. Pilfer Academy is a massive Gothic mansion with arches, spires, and stained-glass windows. I thought it would be fantastic to immerse kids in a similar environment, so we headed over to one of my favorite places, the Chancellor Green Rotunda.
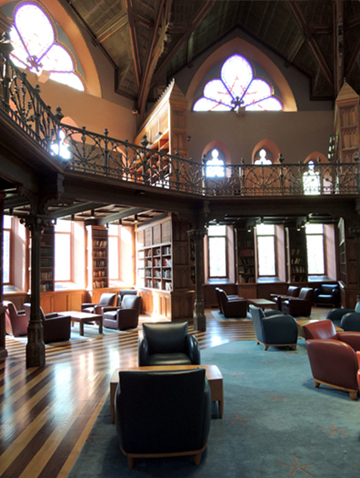 This beautiful room was once the original library for Princeton University. Now it’s a study space for the Andlinger Humanities Center. Here’s a shot of its elegant stained-glass dome.
 On this particular afternoon, however, the room was full of hidden diamonds!
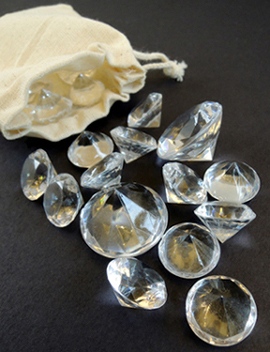 I found these acrylic diamonds in the wedding section of Michaels Craft store. A $5 pack contained over 75 diamonds of assorted sizes (from 0.75″ to 1″). I hid the larger diamonds in various locations in the room.
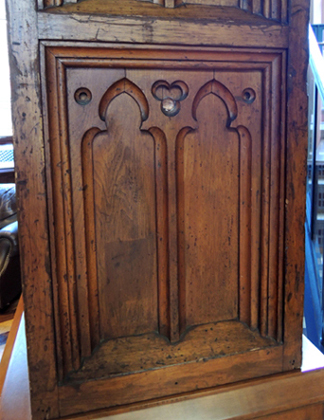
 Sometimes I got a little sneaky. Can you spot the diamond in the wood paneling below?
 One by one, kids went searching for diamonds in the room. Once you found two diamonds, it was another person’s turn to search. And you had to be completely silent while searching!
 At the end of the program, each kid got to take home a little drawstring bag with some diamonds in it. Score!
This book was a terrific read-aloud, and we had a total blast with the activities – but it gets even better. Last weekend, the Princeton Public Library held their annual Children’s Book Festival, and guess who I got to meet?
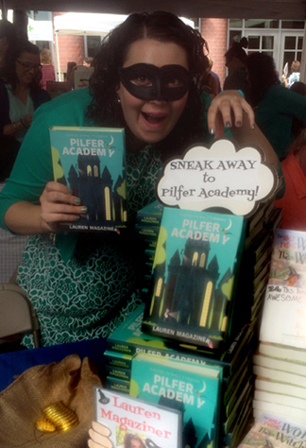 That’s right! Lauren Magaziner herself! Totally rocking a bandit mask, I must say. Thanks for the fantastic book Lauren. We absolutely loved it.
p.s. – Total props for using the word “collywobbles” in your book. The kids didn’t believe it was an actual word. We looked it up in the dictionary!
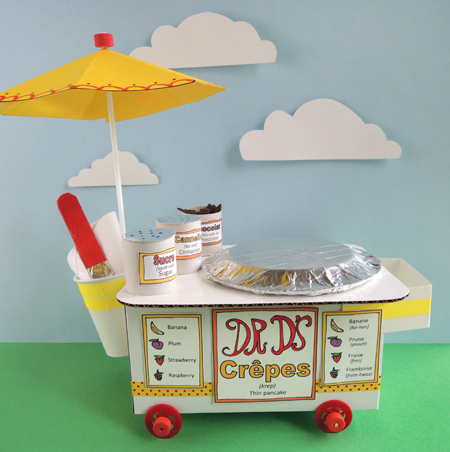 Make delicious crêpes to order with this fantastic crêpe cart! Pour the fabric batter onto the griddle, add a number of felt toppings, sprinkle on a bit of sucre from your counter top shaker, then use your spatula to fold the crêpe at just the right time. The cart’s signs are printed in both English and French (with helpful pronunciation guides), so your customers can order like Parisian pros! C’est Magnifique!
 Two important things about the cart’s counter top! 1) Make sure it’s wide enough to fit your small paper plate (our counter tops were 7.5″ x 9.75″); 2) It’s a little hard to tell in the above photo, but make sure the paper cup end of the counter top is flush against the side of the box. Otherwise, your umbrella won’t attach correctly. And speaking of paper cups, notice how ours is taped towards the back of the cart? That’s so you won’t keep bumping into the umbrella while reaching for your crêpe supplies.
 The umbrella comes next! Cut the umbrella octagon from the template (we printed ours on yellow card stock). Decorate it with markers, then use scissors to cut a slit from one of the points of the octagon to its center.
 Carefully mountain fold the octagon along its remaining points.
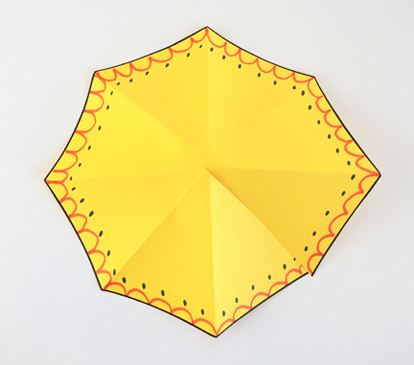 Cut a small slice in the top (this is where your umbrella pole will poke through). Next, slide one of the octagon’s triangle folds under another, then tape the octagon closed.
 This results in a seven-sided umbrella canopy with a hole in the top.
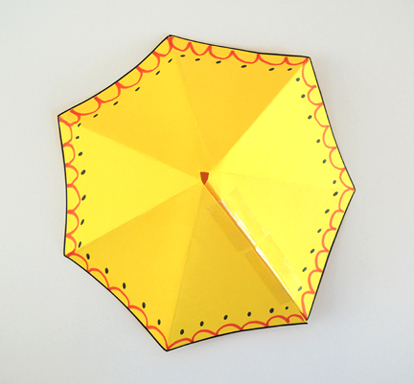 Now stick a foam bead on the end of a balloon stick.
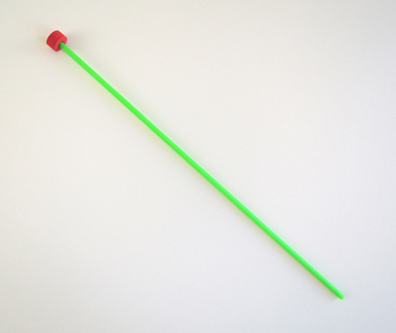 Slide the umbrella canopy up the stick to meet the foam bead.
 Slide a second foam bead up the stick to secure the umbrella’s canopy in place. In the below photo, you can see the umbrella canopy wedged between a red bead and an orange bead.
 Tape the umbrella to the stand. If the balloon stick extends past the bottom of the cart, use scissors to clip off the excess.
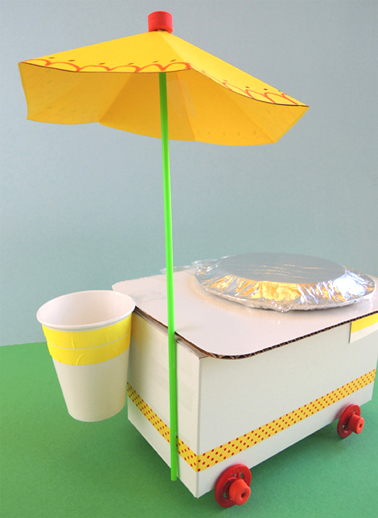 Now it’s time to stock your cart! Cut and decorate the signs from the crêpe cart template, and glue (or tape) them to the front of the cart. The crêpe batter and spatula go into the paper cup. Our “batter” was an old fabric tablecloth (thank you
 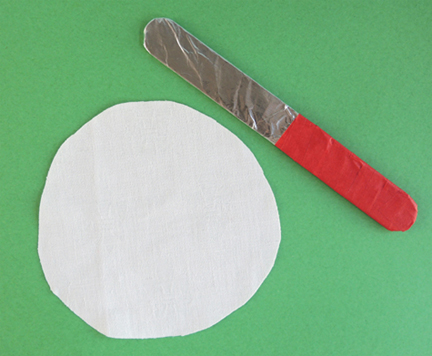 Sitting on top of the cart are your sugar, cinnamon, and chocolate canisters. Each canister was 1/2 of a toilet paper tube with a template label affixed to it. The sugar and cinnamon had little circles of silver mirror board hot glued to the tops (we used Sharpie to draw little holes in the tops too). The chocolate canister’s circle is hot glued to the bottom of the tube. Then it gets stuffed with bits of brown felt.
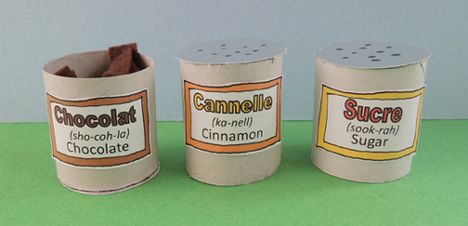 The little plastic cups on the back of the cart are also filled with bits of felt. Pink for strawberry, red for raspberry, yellow for banana, and purple for plum.
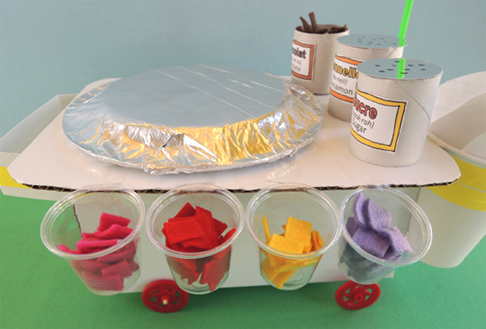 Voilà! Your cart is finished! So, how exactly do you make a crêpe? You put the circle of batter on the griddle, add some felt ingredients, fold the crêpe in half with the spatula, fold the crêpe in half again, then serve it to your customer.
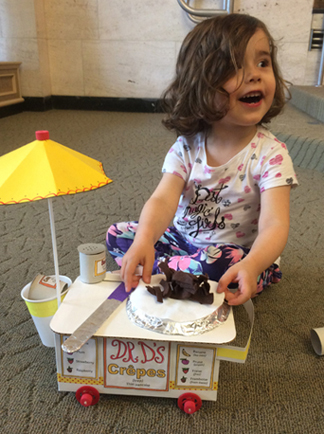 Or maybe it would just be easier to show you…in French no less
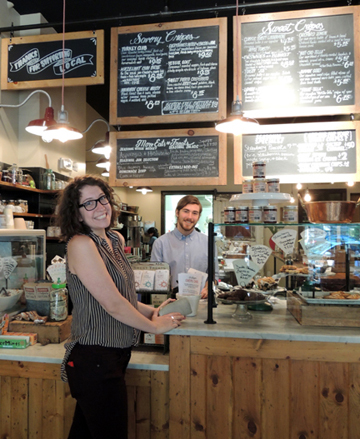 Here’s a griddle at work. You can just see the special spatula on the white cutting board…
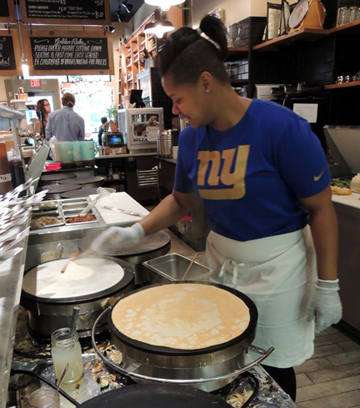 The crepe arrives at your table in a beautiful, warm wedge of deliciousness. I’m trying to work my way through the restaurant’s generous menu of sweet and savory crêpes, but I keep getting stalled on their hammin’ cheese melty with seasonal pickles and mustard aioli. Mmmmmm…
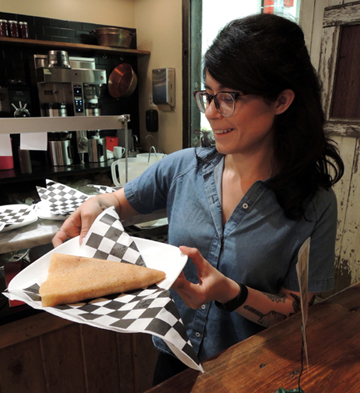 Jammin’ Crêpes LOVED the little crêpe cart! It received their official stamp of approval.
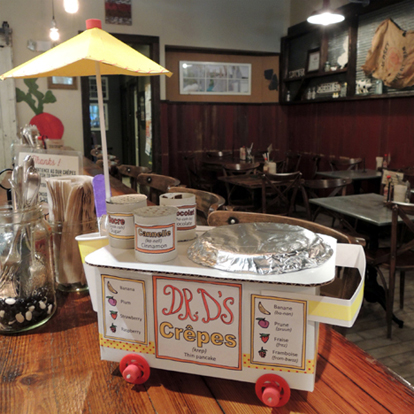 Did I – heh heh – mention Jammin’ Crêpes makes their own nutella spread with hazelnuts, almonds, and chocolate? I think…I need to do some more crêpe research. Right. NOW.
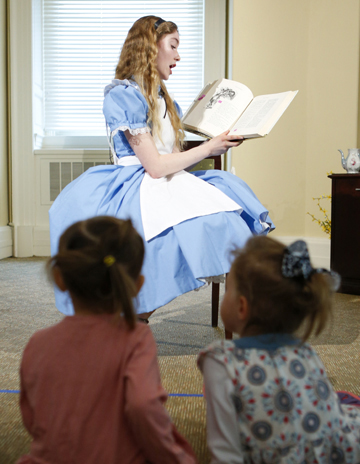
 Interestingly, there is a connection between the original Alice manuscript and the Library of Congress. In 1864, Charles Dodgson (better know as Lewis Carroll) presented Alice Liddell, his child friend, with Alice’s Adventures Underground, a fantastical story he wrote and illustrated just for her. Later, the manuscript would be re-worked, illustrated by John Tenniel, and published as Alice’s Adventures in Wonderland.
 After a reading by Joani (who also performed a song from the time period – you can listen to an earlier performance of it
 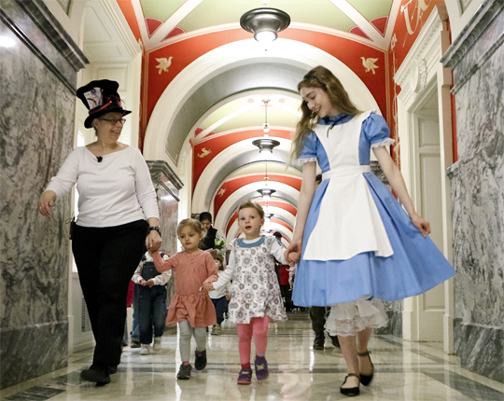 Many got into the spirit of things by wearing their own costumes!
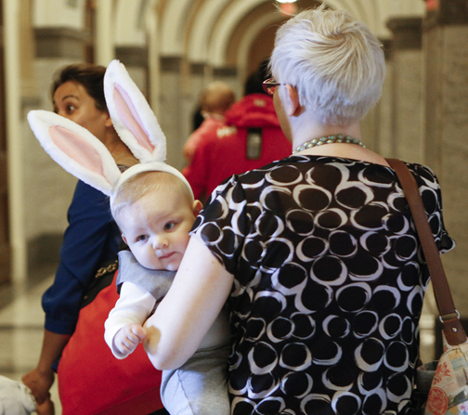 In addition to the Alice story time program, the Young Readers Center partnered with the DC-based nonprofit Everybody Wins! DC. Fifth grade students from the J.O. Wilson Elementary School heard members of the International Lewis Carroll Society read from the book. Then, they chatted about what it means to be a professional hobbyists and book collectors. Each child was presented with a copy of the book to take home too.
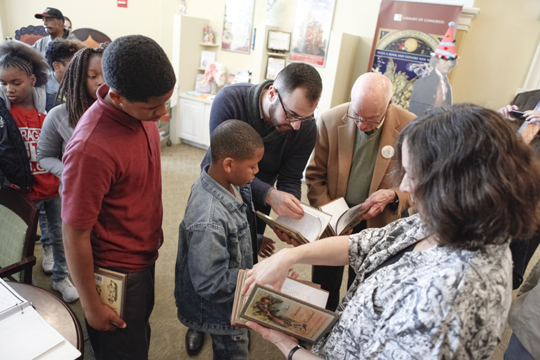 The following day, the Center for the Book presented scholar and historian Leonard Marcus as their “Books and Beyond” speaker. His talk, which was titled “Lewis Carroll in the Mirror of Surrealism,” discussed the famous author and his place in surrealism art.
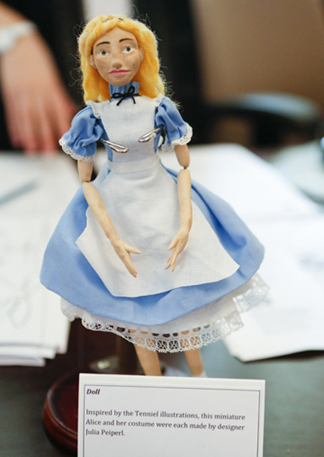
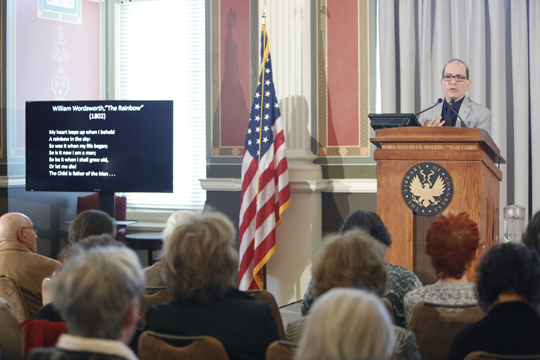 Before we leave these adventures in wonderland, a quick word about Joani’s fantastic dress. It was custom-made by Princeton University junior Julia Peiperl. Julia based her designs on Tenniel’s original illustrations, complete with the petticoats and pantaloons. She also made a smaller version of the dress, which was included in a Young Reader’s Center exhibit. Callooh! Callay!