Great gamboling giraffes! With just a few simple supplies – cardboard tubes, drinking straws, foam beads, and string – you’ve got yourself one fantastic dance partner!
We read Giraffes Can’t Dance by Giles Andreae, illustrated by Guy Parker-Rees (Orchard Books, 1999). It’s time for the annual Jungle Dance in Africa, and the all animals are strutting their stuff. Except Gerald the giraffe. His awkward long legs and neck make him the target of much derision. However, with the help of a friendly cricket, Gerald learns to tune into the music of nature. To his great surprise and joy, Gerald finds himself dancing to wind in the grass, swaying trees, and the full moon. His moves are admired by the Jungle Dance attendees. In fact, they want to learn to do it too!
You’ll need:
- 2 toilet paper tubes
- Yellow construction paper
- Hole punch
- 6 drinking straws (the longer, the better – ours were 10″)
- 4 foam beads
- String
- Scissors and tape for construction
- Markers for decorating
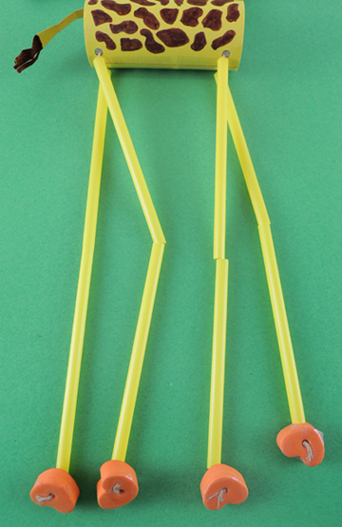
We found plenty of giraffe marionette projects on the internet, but they all had accordian-folded paper legs. While those are great for bobbing the puppet up and down, we wanted our giraffe’s legs to bend, twist, and swing to and fro. This meant the giraffe needed knees and weighted feet. Turns out drinking straws and foam beads were the perfect solution.
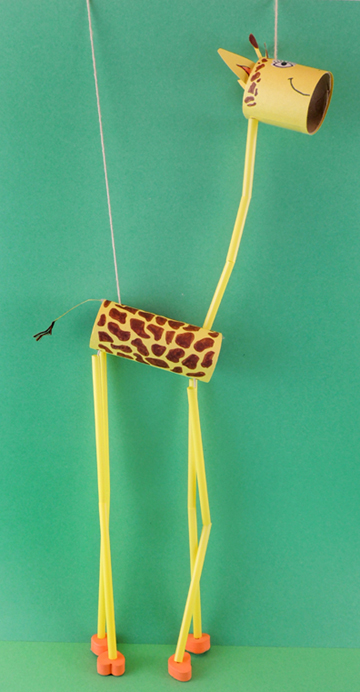 The giraffe has a toilet paper tube body, and a 2″ long toilet paper tube head. Both of the tubes are wrapped with yellow construction paper. We used extra yellow construction paper to create the ears, antlers, and tail. Then we used markers to add the giraffe’s spots, mouth, and nostrils. We used eye stickers, but marker eyes work too!
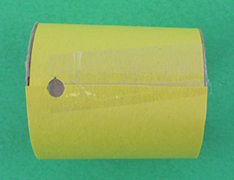
That’s the art part of the project. Now for the marionette part! Punch 2 holes in one end of the head tube. The first hole is on the top:
 The second hole is positioned underneath the first, on the opposite side of the tube.
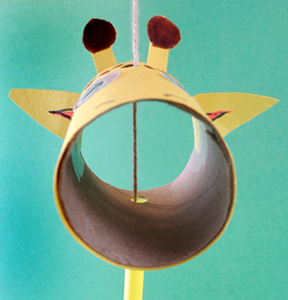
 If my description seems a little confusing, this next image should clear things up. Here’s the finished marionette head with the string running through the 2 holes you punched in the head tube.
 Next, punch a hole at each end of the top of the body tube:
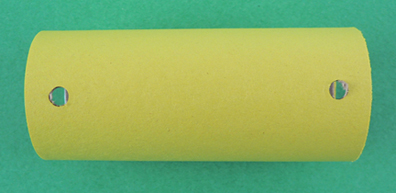 Then turn the tube over and punch 4 holes in the bottom. As you have probably guessed, these 4 holes are where the marionette’s legs attach in the next step.
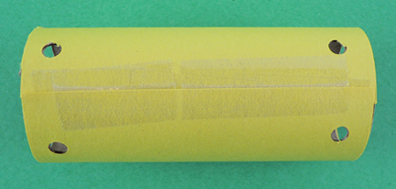 To make the giraffe’s legs, thread a piece of string through a foam bead. Secure the string to the bottom of the foam bead with tape. Cut a drinking straw in half, then slide the 2 pieces down the string towards the foam bead. Thread the loose end of the string into the leg hole you punched in the body tube. Secure the string inside the tube with tape. Repeat these steps with the 3 remaining legs.
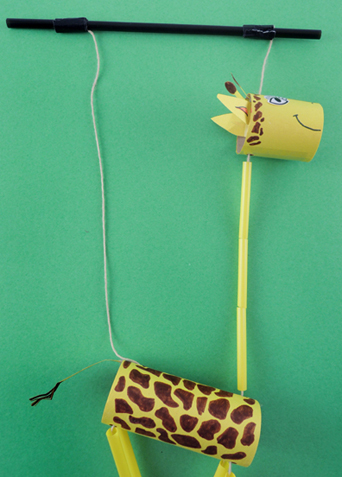
 The lower part of the your puppet is done, now for the upper part! The puppet is attached to its drinking straw control stick by two strings. The first string runs from the control stick to the giraffe’s rear end, where it is secured inside the tube with tape. The second string runs through the head, the neck, and then attaches to the body tube with tape. The neck is a drinking straw cut into 3 pieces. We used black masking tape to secure the string to the control stick too.
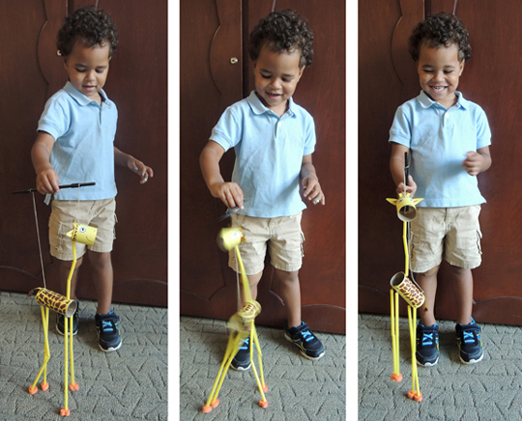
 Your marionette is done! We put on some tunes and invited kids to dance their giraffe friends. This resulted in some bouncy, twisty, bendy, jumpy dance moves, as well as a few bars of an original song we’re calling “Dancing, Dancing, Dance-a-lee-Dance!”
 You will find the instructions for the shield in
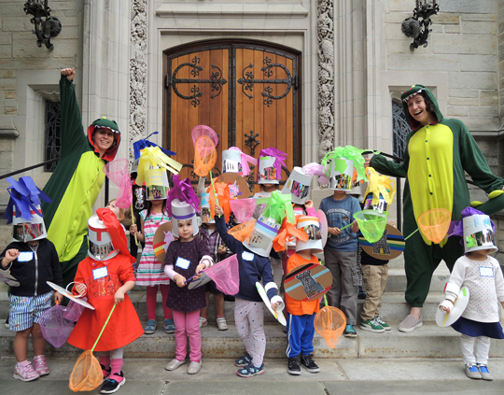
 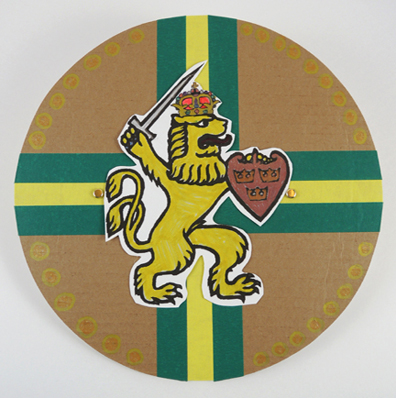 Next came the helmets! Gentle lords and ladies, I found the most amazing DIY knight helmet at the blog Meaningful Mama. Jodi Durr, genius crafter, made one out of a jumbo popcorn bucket!
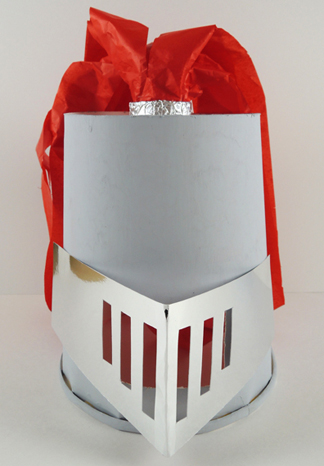 The instructions for Jodi’s helmet are
 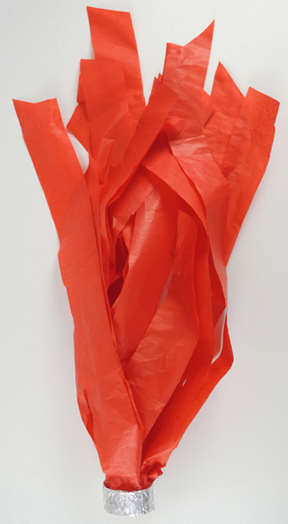 Our jumbo popcorn buckets were 8.5″ tall and the mouths were 7.5″ in diameter. Even so, many didn’t slide easily over the kids’ heads. No problem! To make more room, cut a strip out of the back of the bucket until it fits. Here, for example what the back of my helmet looked like:
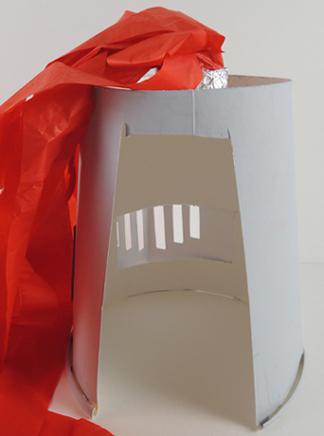 I’d like to send a big shout out to the
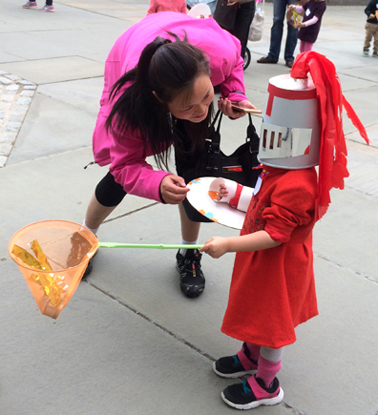
 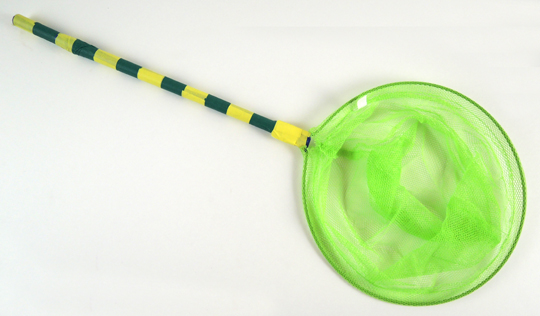 All you need now are some kisses to catch! Given visor visibility and catching abilities, we wanted ours to be fairly large and substantial. We stuck gold
 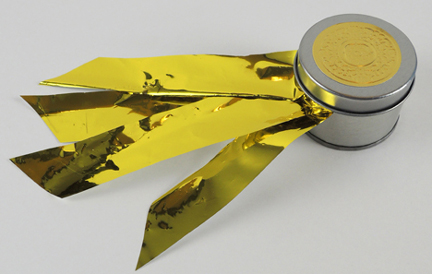 Now for the best part. Marissa is the proud owner of not one, but two dinosaur onesies. Ever since she sported one at
 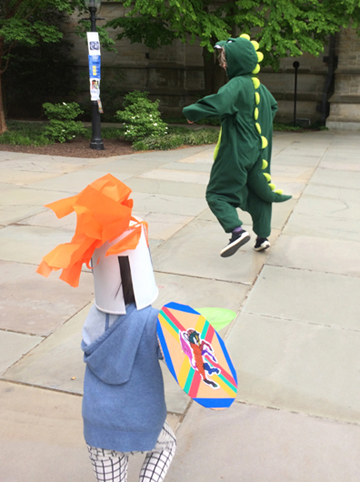 When they caught us, we tossed a kiss in their net!
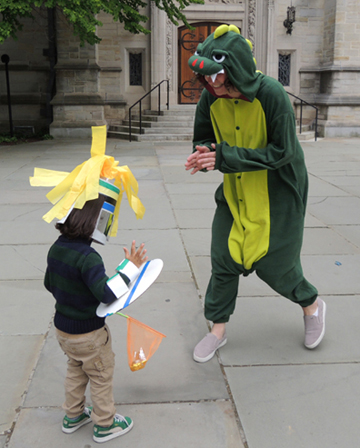
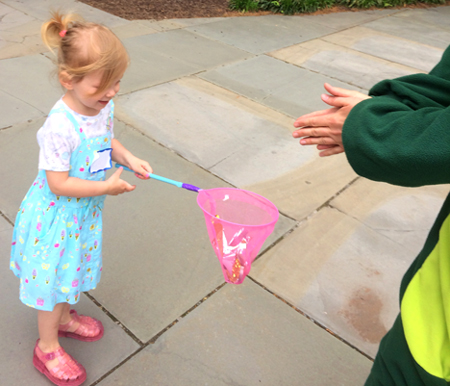 It allowed me to see those beautiful smiles when the kiss was caught!