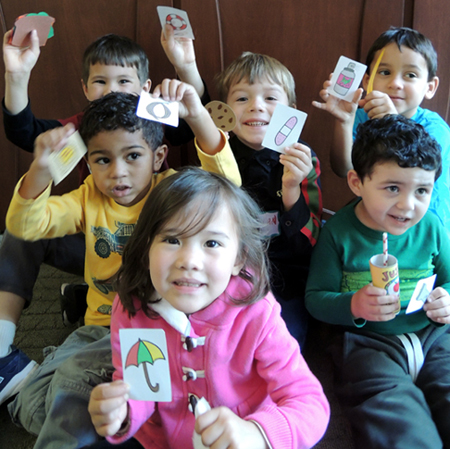
 From sandwiches to personal flotation devices, we’re prepared for whatever picnicking perils come our way. We made a delicious paper picnic lunch for two, and then tested our emergency preparedness with a problem-solving card game. Bust out the marshmallows and the umbrella. Nothing’s going to get in the way of THIS picnic!
We read Ready for Anything! by Keiko Kasza (G.P. Putnam’s Sons, 2009). Duck wants to go on a picnic, but Racoon is feeling a bit paranoid. What if they get attacked by killer bees? Or fall in a river? What if a terrible storm blows in, they take shelter in a cave, and find a dragon inside?!? Duck counters his friend’s dire predictions with happier ones. What if it’s butterflies instead of bees? What if the river is cool and refreshing? What if they roast marshmallows with the dragon in the cave? Finally, Raccoon agrees to go, but he fortifies himself with all sorts of emergency equipment. At the picnic site, Duck realizes that he forgot the picnic basket. Uh on! A true emergency! Luckily, Raccoon is ready for anything. He’s brought a delicious back-up lunch.
You’ll need:
- 1 box (mine was 4 ½” X 4 ½” x 9”) – a large tissue box works too
- 2 tagboard strips (approximately 2″ x 14″)
- 4 brass fasteners
- A selection of patterned tape
- A selection of color masking tape
- Construction paper (brown, green, orange, red, and yellow)
- 2 toilet paper tubes
- 1 juice label template, printed on 8.5″ x 11″ paper
- 1 drinking straw
- 2 square napkins
- 1 set of picnic emergency equipment cards, printed on 8.5″ x 11″ card stock
- 1 picnic emergency scenario sheet
- Hole punch, scissors, tape, glue for construction
- Markers for decorating
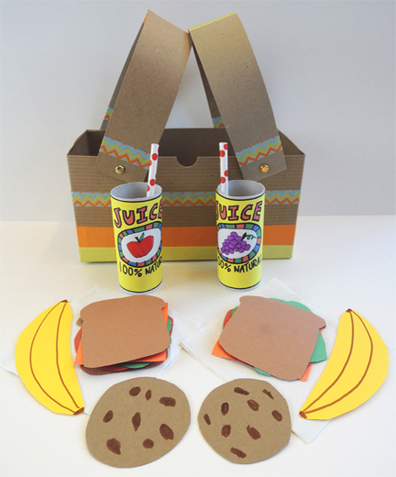 First, the picnic lunch! If your box has a lid, cut the lid and tabs off (if you’re using a tissue box, just cut the entire top off). Decorate the box with patterned tape and color masking tape (or just markers).
To create movable picnic basket handles, punch 2 matching sets of holes in both sides of the box. Next, punch a hole at both ends of your tagboard strips. Curve the strips over the box, line the holes up, and use brass fasteners to attach the handles.
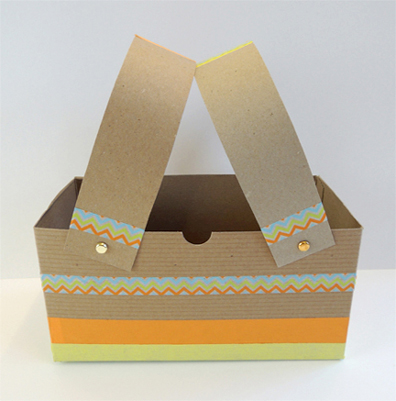 If you don’t want moveable handles, simply staple a tagboard strip to the center of the box.
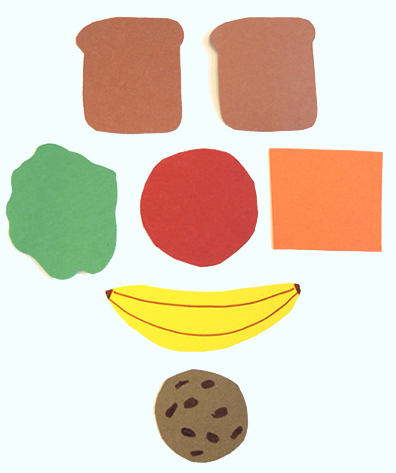
Now for the food! Use construction paper to make two sets of the following picnic items: 2 slices of bread, 1 piece of lettuce, 1 tomato slice, 1 piece of cheese, 1 banana, and 1 cookie circle. Use markers to decorate the banana and cookie. Here’s what our pieces looked like (carefully arranged in what I’ve dubbed the “happy picnic food face”).
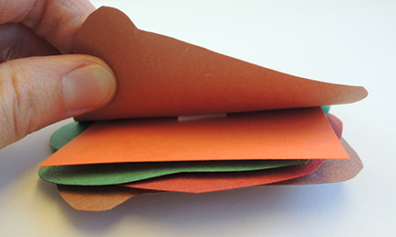
 You can simply glue the layers of the sandwich together. Or, if you want to add a bit of bulk to it, use little squares of double-sided foam mounting tape between the fillings. Here’s a shot of a square of tape connecting the bread and cheese:
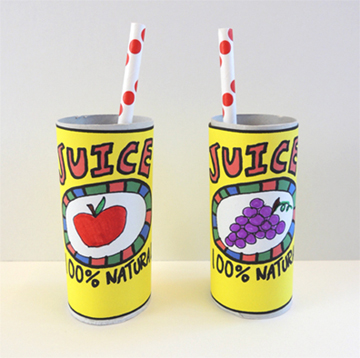
 To make beverages, color the juice label template, then wrap each label around a toilet paper tube. Cut a drinking straw in half, and tape each piece inside a tube.
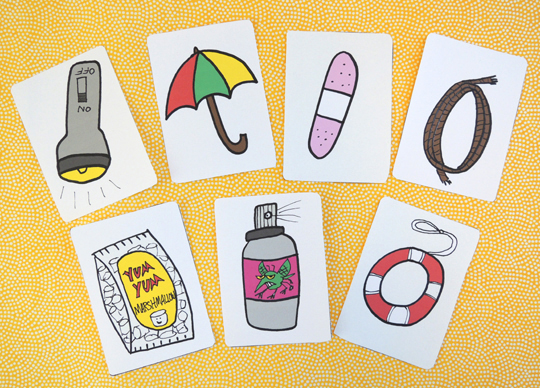
 Tuck your lunch in the basket (and don’t forget the napkins!). Your final step is to color the picnic emergency equipment cards from the template. You’ll notice there’s a blank card on the template. That’s just in case you’d like to add another piece of equipment. Like a big bar of chocolate. I’ve definitely had chocolate emergencies.
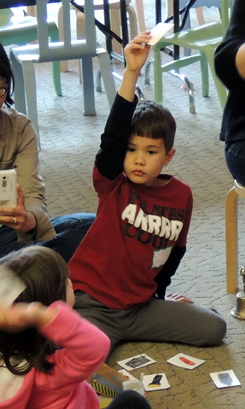
 After giving the kids a few minutes to play with their new picnic sets (and there was quite a lot of picnicking going on) I asked them to gather in the story time area. Then, loudly and with lots of drama, I read each scenario from the picnic emergency scenario sheet. The kids had to listen carefully and select the equipment card they thought would solve the problem best.
 I kept the scenarios very simple, but feel free to create more complicated ones. Or write some that require a double card solution!

