Teeter Tower

teeter tower

Balance the animals in a teetering, tottering tower…but will your stack stick the landing?

We read Chicken Cheeks, written by Michael Ian Black, and illustrated by Kevin Hawkes (Simon & Schuster, 2009). When a bear spots a honey-laden hive at the top of a very tall tree, he enlists a number of friends to attempt the reach it. The funny thing about this book, however, is that the narrative is driven by the…ah, alliterative body part each animal must balance on to stack upwards. Hence, “Chicken cheeks.” We’ll leave the rest to your imagination.

You’ll need:

  • An assortment of oatmeal containers, small boxes, and tubes
  • A selection of construction paper
  • A selection of eye stickers (optional)
  • Scissors and tape for construction
  • Markers for decorating

This project consists of a set of critters constructed out of tubes, boxes, and construction paper. We used eye stickers, but you can draw eyes on with markers as well. Any combination of animals will do, but here’s our story time stack:


MOOSE

The moose was the biggest and heaviest, and thus at the bottom of the stacking tower. This was a large oatmeal container wrapped in construction paper.
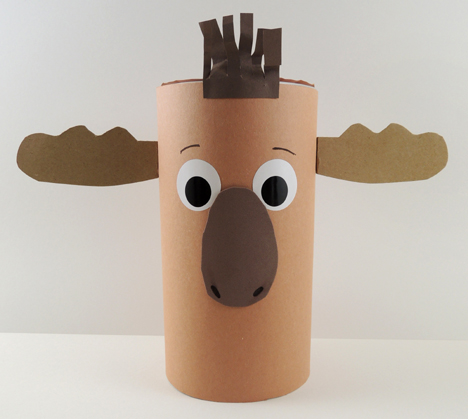
stack moose


DOG

This was a small box wrapped with paper. We went with a grey dog since there was already a lot of red and brown in the stack.
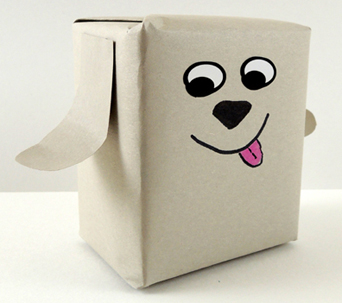
stack dog


TOUCAN

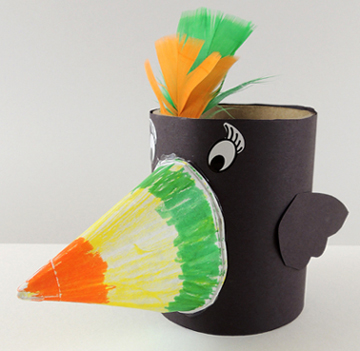
Our toucan was a round packing tape core, though a small box can easily be substituted. We used a cone water cup for the beak, but a cylinder of construction paper works as well. Feather crest optional!
stack toucan


POLAR BEAR

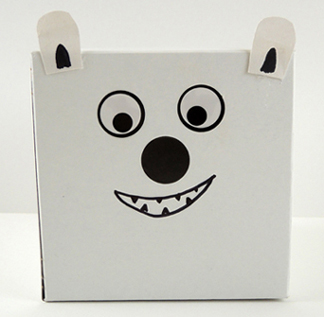
We decided to go easy with this one…the polar bear is a white craft box with a face. Done!
stack polar bear


TURKEY

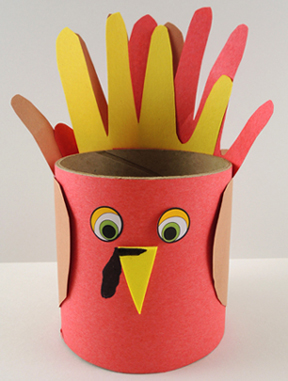
Everyone’s surprise favorite was the turkey! It has a tape core body, but the tail is kids’ hands repeatedly traced onto construction paper. In other words, the classic kiddie turkey drawing, rendered in 3-D!
stack turkey


GIRAFFE

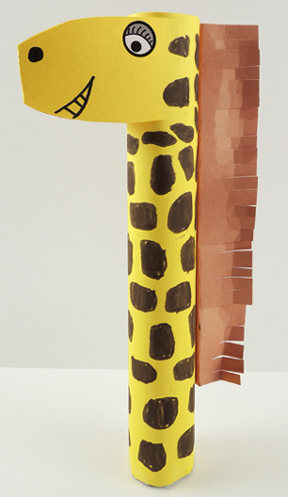
This is the same paper towel tube giraffe we created at our Don’t Rock the Boat story time. And if you want to add a tiger, turtle, parrot, ladybug, monkey, skunk, or elephant to your stack, you’ll find that post as well!
stack giraffe


BEE

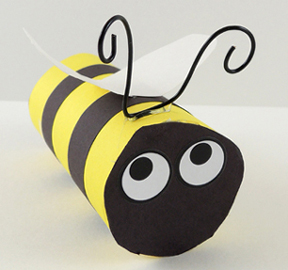
By the time we got to the bee we were almost out of time. So I handed these to the kids almost fully constructed. They just had to add the pre-cut construction paper stripes (or draw them on with marker), choose a twisteez wire antennae, and stick the eyes on.
stack bee


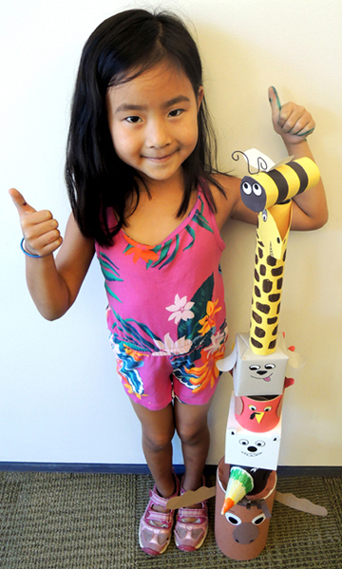
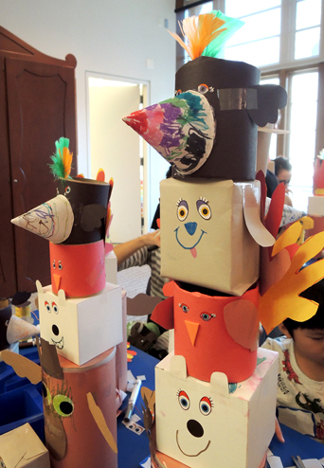
Yes, this project was a lot of critter-building, but it was well worth the work. Especially when the artistic towers started growing taller and taller. Just look at this awesomeness!
Pigs on Parade

pigs on paradeCue the marching music and rev up the float…it’s a pig parade! If, of course, the pigs cooperate. They might not, you know.

We read A Pig Parade is a Terrible Idea, written by Michael Ian Black, and illustrated by Kevin Hawkes (Simon & Schuster, 2010). A pig parade might sound like fun, but this book will convince you otherwise. Pigs refuse to wear majorette uniforms, don’t care about floats (unless it’s a root beer float), prefer sad country music ballads to marching music, and can’t manage giant parade balloons. So let’s face it. A pig parade is a terrible idea. But a panda bear parade…well…! This book is hilarious and fun read-aloud. Hawkes’ illustrations are colorful and funny, detailing exactly what happens when a pig parade goes awry.

For the project, we made mini parade floats, adorned them with 3 pigs, and started marching to the beat of a kazoo. And wouldn’t you know it, those pigs cooperated very nicely. No problem with this pig parade!

finished floatYou’ll need:

  • 2 bamboo skewers
  • 2 drinking straws
  • 4 wheels (or wooden spools)
  • 2 small, flat boxes (mine were 1″ x 2.75″ x 2.75″  tape roll boxes)
  • 1 corrugated cardboard base (mine was a 9.75″ x 13.75″ cake pad)
  • 1 small craft stick
  • A piece of string or yarn (mine was 27″ long)
  • 1 large tissue box
  • Parade float decorating supplies (more on those later!)
  • 3 toilet paper tubes
  • Pink construction paper
  • 1 kazoo (optional)
  • Scissors, tape, and glue for construction
  • Markers for decorating
  • Hot glue

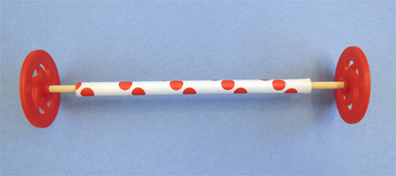
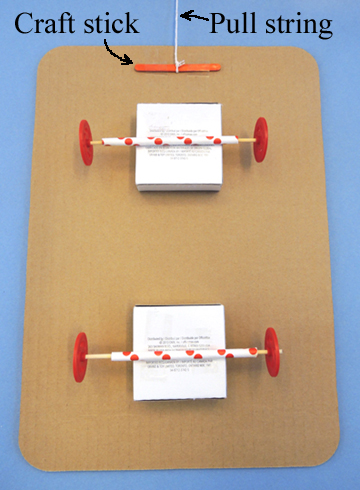
We’ll begin with the parade float’s wheels! We used plastic wheels from Kelvin Educational. But wooden spools also work. Cut 2 bamboo skewers to approximately 6″ (they might need an inch or two longer if you use wooden spools). Next, cut 2 drinking straws a few inches shorter than the skewers (my straws were 4″). Thread the skewers into the drinking straws, and slide wheels on the ends of the skewers.

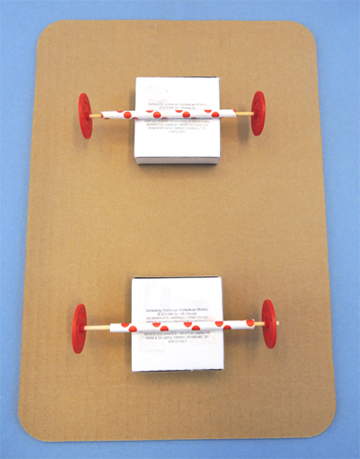
wheel assemblyAs you can see in the above image, the skewer is the axle, and the straw is what allows the axle to turn freely (you might need to wrap the ends of the skewers with masking tape to keep the wheels/spools from sliding off). Tape each drinking straw to a small, flat box. I found that leftover tape roll boxes were the perfect size. Hot glue the tape boxes to the bottom of a corrugated cardboard base.

attached wheelsKnot a piece of string around a small craft stick, and tape the stick to one end of the base. This is the pull string for your float.

attached pull stringFlip the base over, you’re ready to decorate! To get the juices flowing, we suggested a number of parade float “themes,” such as:

When Pigs Fly
Who’s Afraid of the Big Bad Wolf?
I Loves You, Porky
Pigs in Space
The 3 Little Pigs
Green Eggs and Ham
Little Piggies Go To Market
Piggie Tales
Some Pig
Bad Piggies (from Angry Birds)
Mad Swine-tists
It’s Hammer Time!

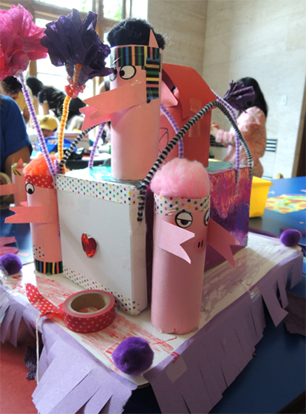
It was easier for kids to decorate the tissue box and base separately. But before we embarked on decorating, I had them trace the outline of the tissue box onto the base. Then I asked them to keep the area inside the outline free of art supplies. Otherwise, they might not be able to hot glue the box to the base at the end of the project.

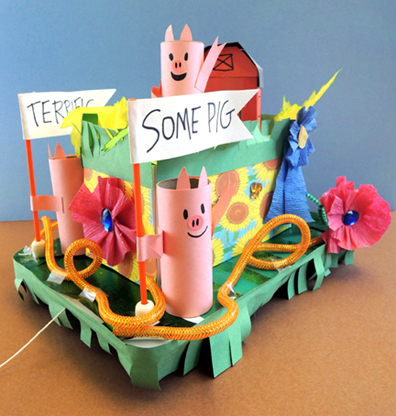
Decorating supplies included construction paper, crepe paper streamers, large gemstones, pipe cleaners, sparkle stems, pom-poms, embossed foil paper, patterned tape, mesh tubing, and craft ties. Flags were created by pushing a short piece of balloon stick into a wooden bead, and then hot gluing the bead to the base. I also had a few small boxes available in case someone wanted to add yet another level to their float. And don’t forget a fringe of construction paper around the bottom!

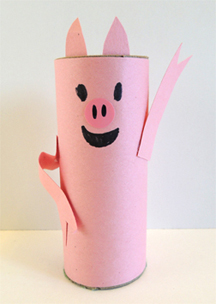
finished floatNow for your piggy passengers! Wrap 3 toilet paper tubes with pink construction paper, and use some scraps to make ears and arms. I offered eye stickers, and pink dot sticker noses, but if you don’t have any handy, just use markers.

pigYou can also use the decorating supplies to fancy up your pigs. Such as these “Rock n’ Roll” pigs. Love how the artist stuck jumbo pom-poms in the top to create hair!

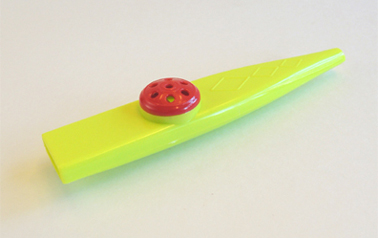
rock and roll pigsWhen the floats were finished, I handed everyone a kazoo and we marched around the gallery. 18 kazoos at once was…pretty interesting. I bought the kazoos from the party supply section at Target. Buy extra, because some didn’t work!

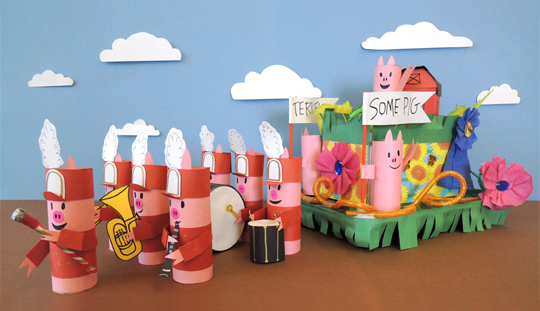
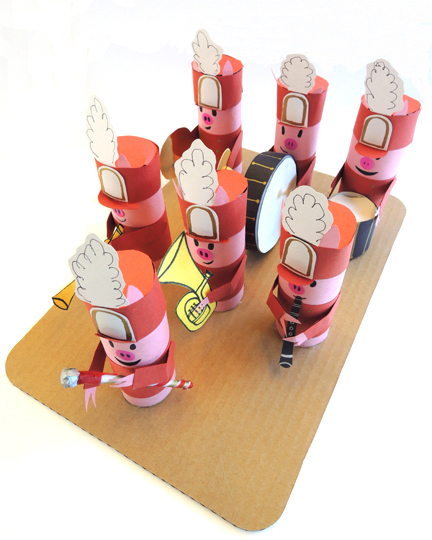
kazooAnd speaking of music and marching, major props to Marissa for crafting the pig band that started off the post. You can really appreciate the detail in this shot:

pig marching bandSeriously amazing stuff Marissa!