 It’s a diorama, a keepsake box, a mini exhibit, AND a lesson in ecology! Open the lid of this winter landscape and you’ll find the creatures that hibernate, burrow underground, and tunnel underneath the snow, complete with an information card!
 We read Over and Under the Snow, written by Kate Messner, and illustrated by Christopher Silas Neal (Chronicle Books, 2011). A father and child ski over the deep snow in the woods. Even though it’s a world of white, signs of life are everywhere – squirrel, owl, deer, snowshoe hare, and fox. But under the snow is yet another world. Shrews and voles run in tunnels. Bullfrogs burrow in the mud, bears hibernate, and a queen bee sleeps, waiting for the first signs of spring. The book ends with the child in a cozy bed, dreaming of nature. An absolutely beautiful book, with gorgeous, bold illustrations set against snowy white.
You’ll need:
- 1 box with a lid
- Brown construction paper
- 1 woodland template, printed on 8.5″ x 11″ white card stock
- An oval of blue construction paper (approximately 2.5″ x 4.5″)
- An oval of silver mirror board (approximately 2.5″ x 4.5″)
- A rectangle of brown wrapping paper (approximately 7.5″ x 10.5″)
- A smaller rectangle of brown wrapping paper (approximately 3.75″ x 4.5″)
- White cotton balls
- 4 small clear plastic small gemstones (optional)
- Scissors, tape, and glue for construction
- Metallic markers for decorating
- Hot glue
First, find a box with a lid. I used white cardboard pencil boxes with hinged lids from Discount School Supply (a dozen cost $17 so a bit of a splurge). To give the outside of the box a little pop of color, we put a strip of patterned tape around the perimeter, but this is optional (or, just use markers to decorate!).
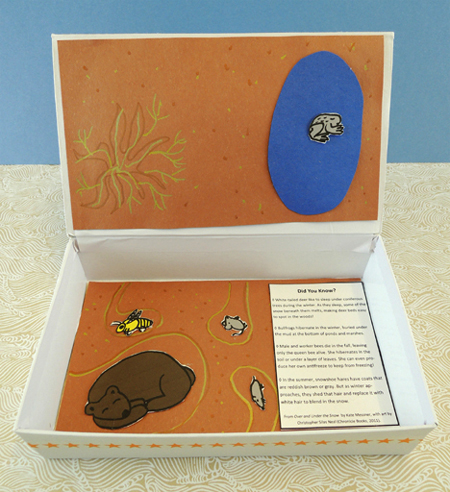
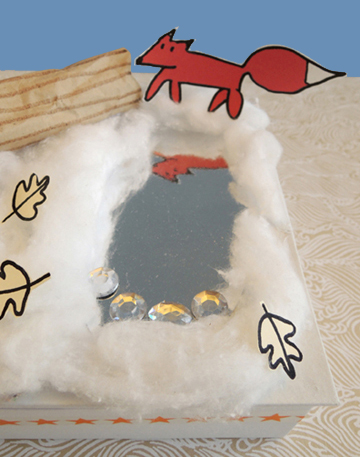
Line the inside of the box (including the underside of the lid) with brown construction paper. Glue an oval of blue construction paper on the right side of the box lid. Cut and color the bear, bee, vole, shrew, and bullfrog from the template, and glue them inside the box. Use markers to draw burrows, dirt specks, and tree roots (we used metallic markers, and they looked great on the brown paper!). Glue the information card to the inside of the box as well.
Close the lid of the box, and glue an oval of silver mirror board to the right of the box, directly above the blue construction paper oval. If you don’t have mirror board, use tin foil.
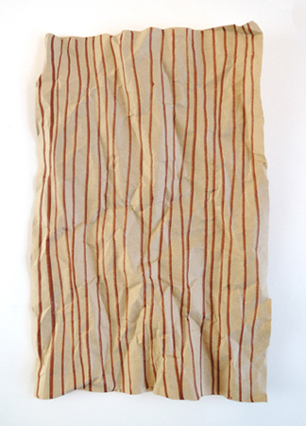
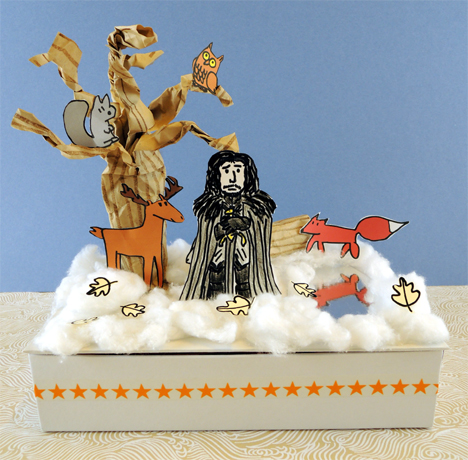
Now for the tree! Use a brown marker to draw vertical lines on a tall, 7.5″ x 10.5″ rectangle of brown wrapping paper. Then squish, crinkle, and wrinkle the paper. The more wrinkly it gets, the better!
 Roll the paper into a tube and secure it with tape. Cut 4 tabs in the bottom of the tube (each tab should be about 1.5″ long). Fold the tabs outwards. Later, you’ll use these tabs to attach the tree to the box lid:
 Cut 5-6 tabs in the opposite end of the tube (these tabs are much longer, about 5″). Fold them out gently, then twist them to create the branches of your tree.
 Hot glue (or tape) the tree to the lid of the box. If you’d like to add a log to your landscape, use a brown marker to draw horizontal lines on a 3.75″ x 4.5″ rectangle of brown wrapping paper. Crinkle the paper, then roll the paper into a tube and secure it with tape. The final length of the log should be 3.75″. Set the finished log aside for a moment.
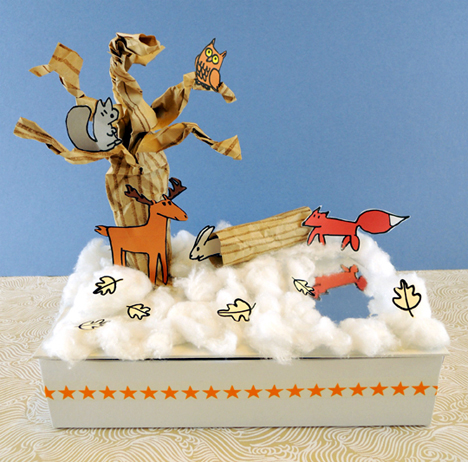
Glue white cotton ball “snow” to the lid of the box. Then cut and color the squirrel, owl, deer, snowshoe hare, fox, and tree leaves from the template. Glue these items, plus the log, to your winter landscape.
For some extra sparkle, I hot glued 4 small clear plastic gemstones to the edge of the lake. But this, of course, is optional.
 Your winter landscape is complete! Well, maybe not quite complete…
 Bet you a 33 pound chocolate dragon egg he’s coming back in season six.
 The roar of the audience, the flashing lights, the first strains of your big number thrumming through the arena…grab the mic…it’s time for some kitty karaoke. We made rockin’ oatmeal container cats and then hit the stage to sing our hearts out. But, given the feline nature of this rock star, you could only sing in “meow.”
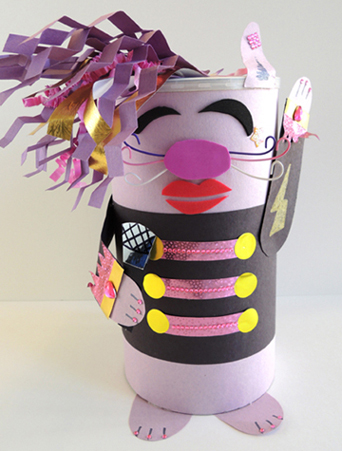 Wrap a large oatmeal container with construction paper, then add an additional strip of black construction paper around the middle for a “jacket.” To make whiskers, tape 3 Twisteez wires to front of the oatmeal container:
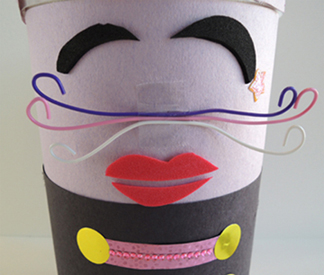 Then peel and stick an oval of self-adhesive foam over the tape.
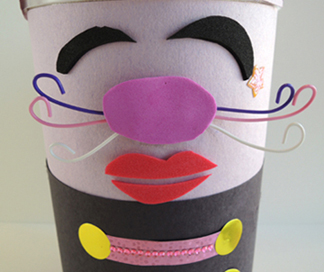 In the above photo, you’ll also notice how I used self-adhesive foam shapes to make eyes and a pair of lips (but you can also just use markers).
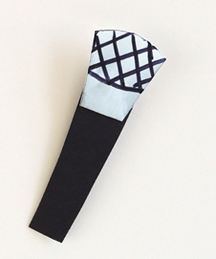 Now for the concert! We made our stage out of an old archive box. As you can see in the image below, we hot glued the lid to the base (and reinforced the connection with packing tape). The stage lights are toilet paper tubes wrapped in black construction paper with black masking tape wrapped around one end. The stage lights are attached with hot glue, then reinforced with a bit of packing tape.
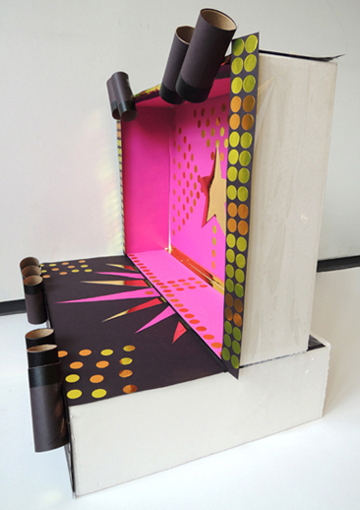 We used black and fuchsia poster board, mirror board, and a ton of metallic dot stickers to create a sparking wonderland of rock-stardom. Oh. Yeah.
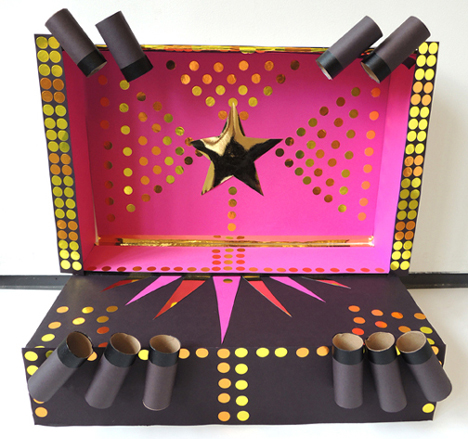 For the final touch, we wrapped two LED floor lights with purple and blue cellophane, and pointed them at the stage. You certainly don’t have to go this elaborate. A shoe box wrapped with tin foil, a sparkly scarf on the floor, a section of carpet with a light shining on it. Really, it all works!
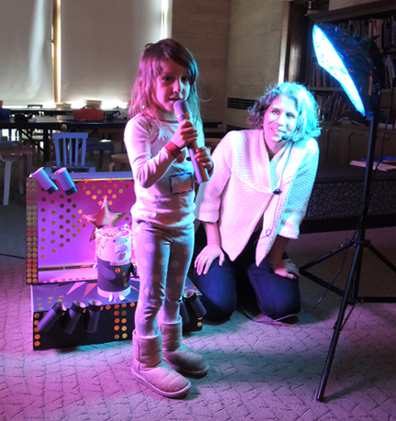 Facing inwards to the stage…
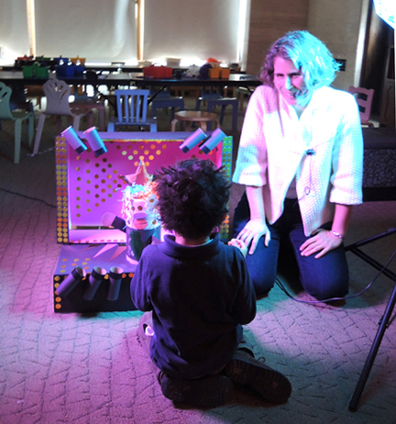 Facing inwards to the stage with backup singer…
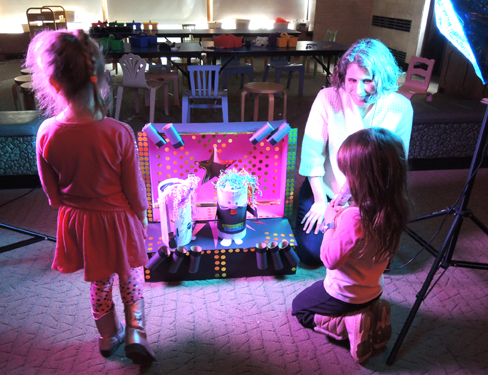 The power duet…
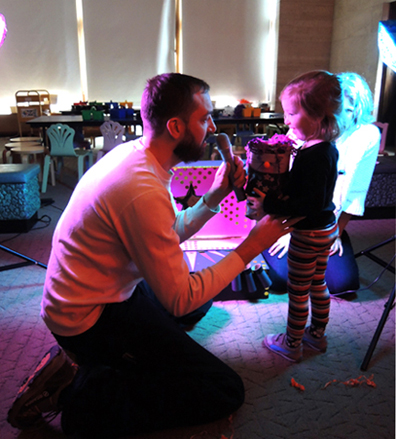 You might notice the kids are using a real microphone! I use a wireless amp for my story time programs, so I busted out a hand-held microphone and let kids experience the power of amplification. A cheaper (and less noisy) option is to make a paper and tin foil microphone. You’ll find instructions for that right
 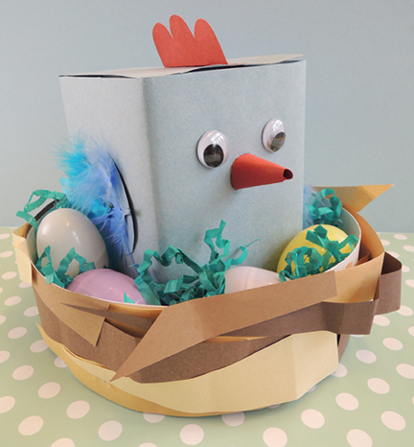 Seeing blue chickens? Do not adjust your monitor. Cerulean poultry are a perfectly normal story time occurrence.
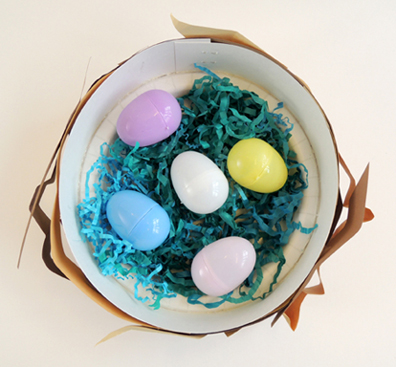
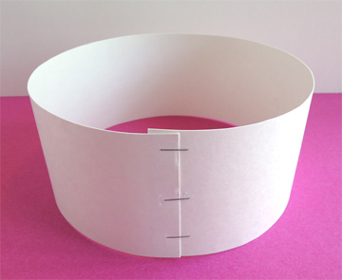 Slide the paper plate back inside the circle, pushing it all the way to the bottom.
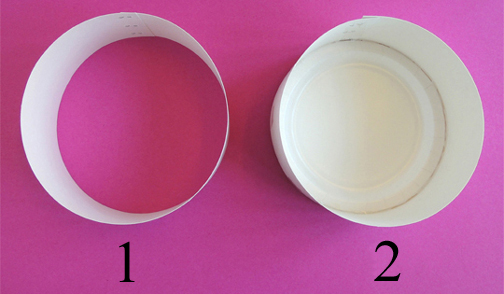 Now flip the “nest” over and use tape to reinforce the connection between the plate and the circle. I used at least 4 pieces of tape:
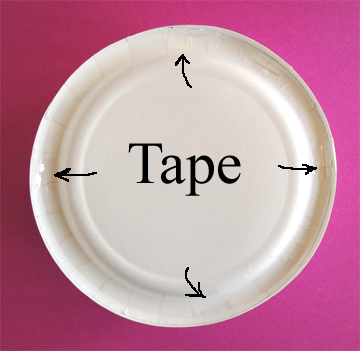 I also reinforced the inside connection with a ring of hot glue.
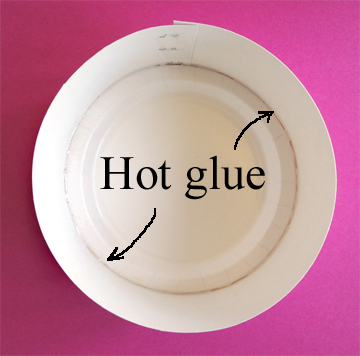 Finally, decorate your nest with uneven and crinkled strips of brown construction paper. Attach the strips to the nest with tape and/or glue.
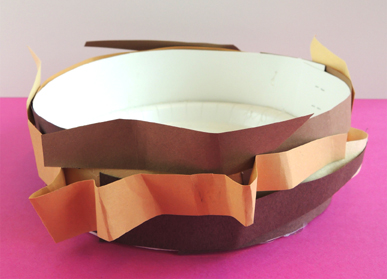 Set the nest aside, it’s time for the chicken!
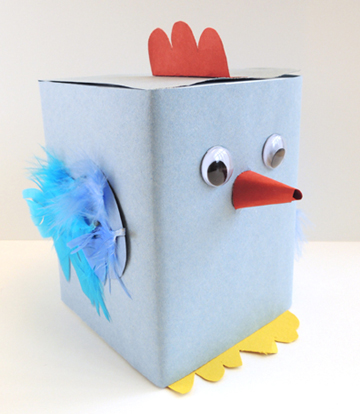 Wrap a box with blue construction paper. Glue a pair of yellow paper feet on the bottom, and blue paper wings on either side. Make a red paper cone beak, and hot glue it to the front of the box. Add a pair of wiggle eyes, or simply draw the eyes on with markers. Glue or tape feathers to the wings (add tail feathers to the rear if desired). Use red paper to make a comb for your chicken’s head. Then tab it and glue or tape it to the top of the box.
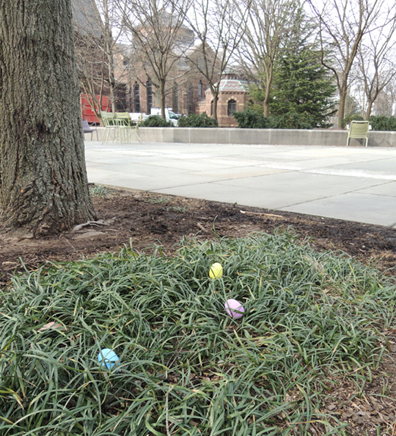
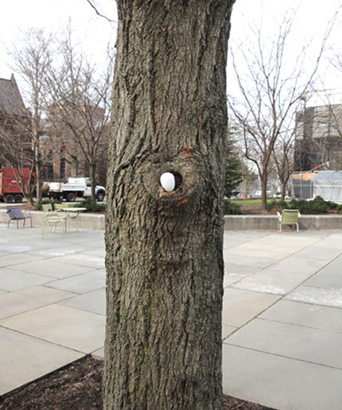
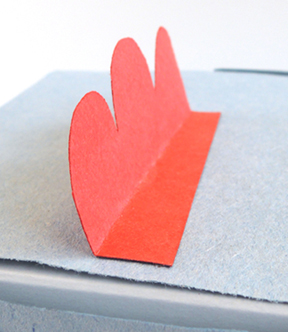 When the chickens were done, we headed outside to the library’s plaza, where we had hidden a bunch of plastic eggs. We told the kids they needed to find 5 eggs each, then shouted “1-2-3 Go!” To insure success, we tried to make the hiding places fairly obvious (and even held a few back to drop right in front of the kids while they were hunting):
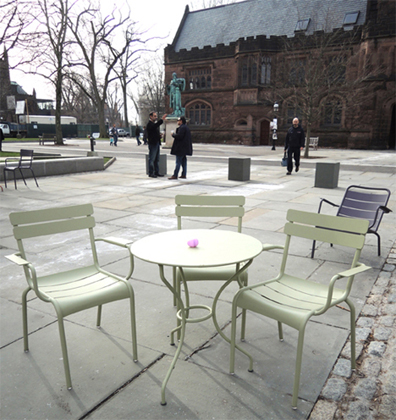
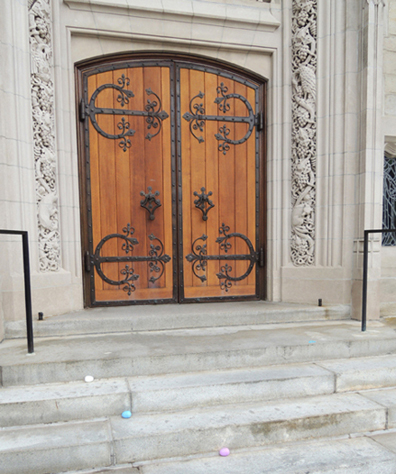 You might recognize that ornate door from