
 One of these sheep is not like the other! Revel in your creative individualism by designing a fluffy cotton ball sheep that is utterly unique.
We read Woolbur, written by Leslie Helakoski, and illustrated by Lee Harper (Harper Collins, 2008). Woolbur doesn’t do what the other sheep are doing. He likes to run with the dogs, card his own wool, and dye himself bright blue. Despite Grandpaa’s assurances that there’s nothing to worry about, Maa and Paa spend many sleepless nights fretting. Finally, they take Woolbur aside and explain that he must be like everyone else. That’s what sheep do. Woolbur’s solution? He teaches everyone how to do the different things he was doing. Now, everyone is happily playing, exploring, and experimenting just like Woolbur!
You’ll need:
- 1 large box (mine was 4.5” X 4.5” x 9” – a large tissue box works too)
- 4 toilet paper tubes
- White construction paper
- 1 paper (or styrofoam) bowl
- 1 oval of tagboard or brown construction paper
- 2 wiggle eyes
- White cotton balls
- Sheep decorating supplies (more on this later!)
- Scissors, tape, and glue for construction
- Markers for decorating
- Hot glue
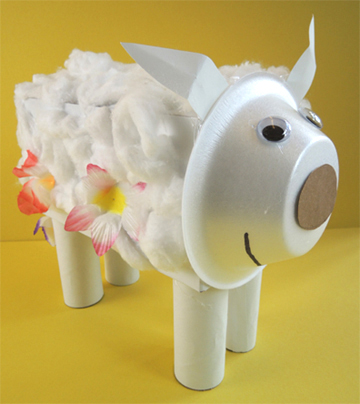
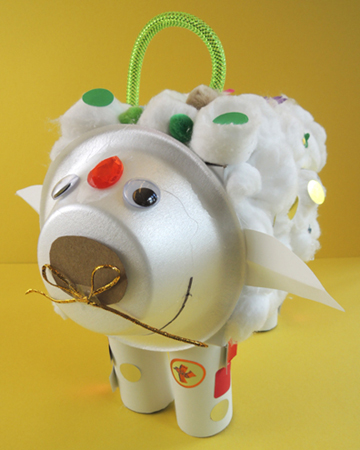
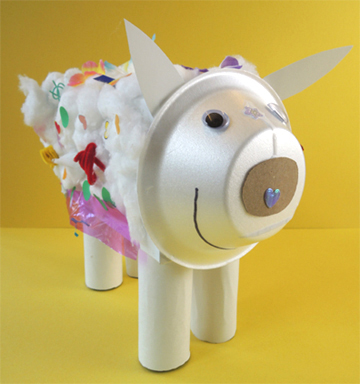
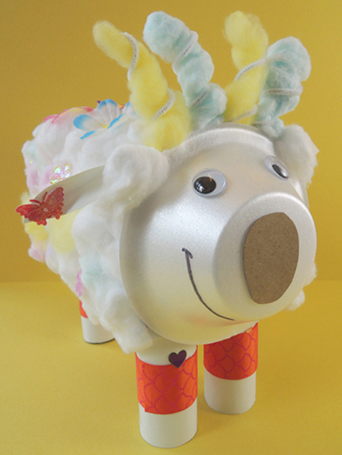
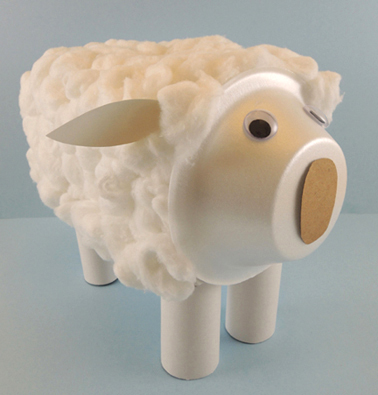 Begin with the basic sheep. Wrap 4 toilet paper tubes in white construction paper, then hot glue the tubes to the bottom of a box. Hot glue a brown oval nose and 2 wiggle eyes to a paper (or styrofoam) bowl, then hot glue the bowl to the box. Attach a pair of construction paper ears with tape (or hot glue). Finish by gluing white cotton balls to the box.
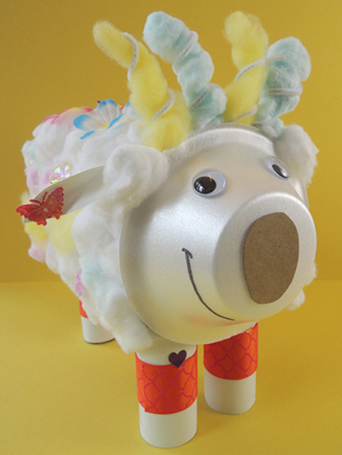
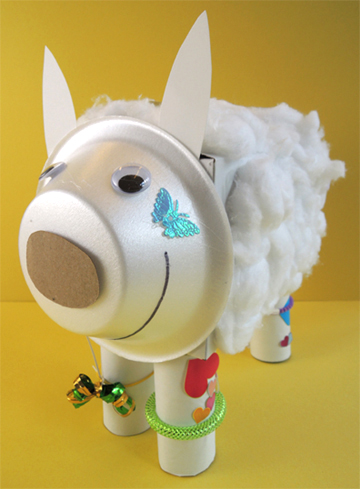
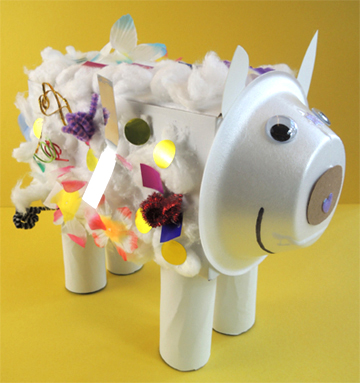
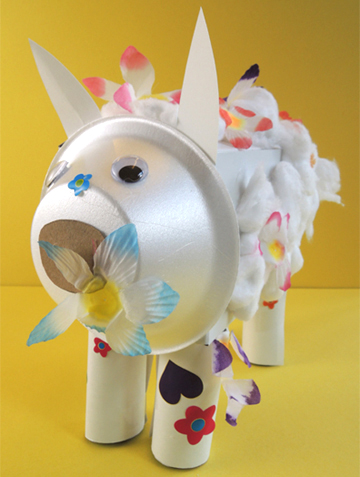
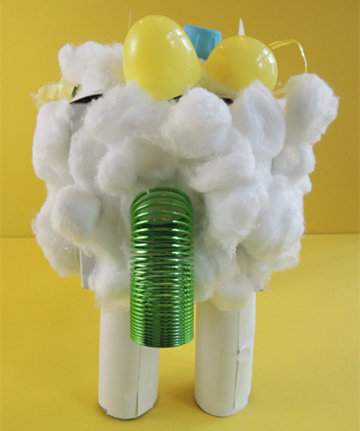
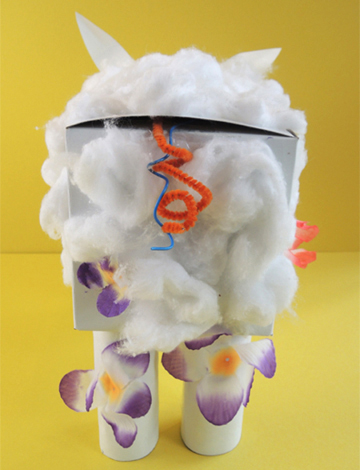
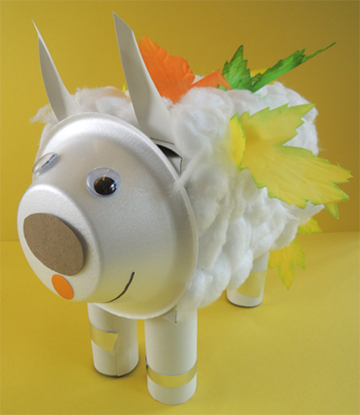
Once all the story time kids had completed a basic sheep, we brought out the art supplies so they could individualize them! In addition to the Bling Bin, we offered ribbon, color cotton balls (yellow, blue, and pink), iridescent fabric shapes, fabric flowers, fabric leaves, pipe cleaners, craft ties, and sparkle stems. Don’t forget to draw a smile on the face too!
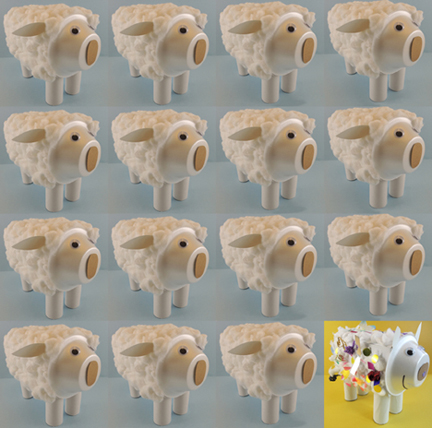
 The results were fantastic. There were anklets, headdresses, bows, decorative wooly coats, and some very interesting tail modifications. Here’s our happy herd!


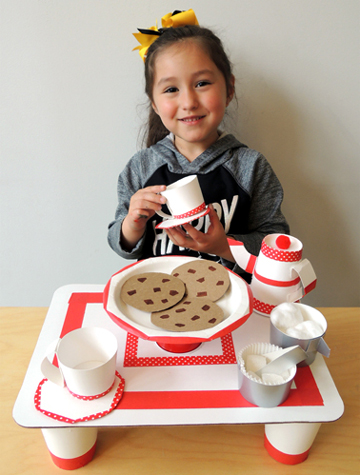
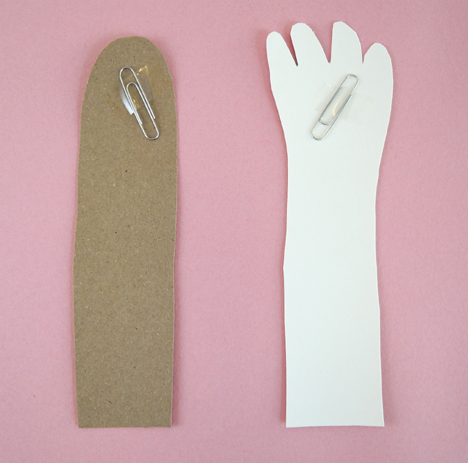
 This project consists of 1) A tea set with cookies; and 2) A pair hand grabbers for the snatching game. The cookies have magnets hot glued to them, and the hand grabbers have paper clips taped to them. Thus, when the hand slaps down on the cookie, it picks it up!
 We’ll begin with the tea set. To make the table, hot glue 4 paper cups to the bottom of a corrugated cardboard base. The cookie platter is a flipped-over cup hot glued to a small paper plate. You don’t want the cookie platter to be too tall, so you can either cut a full size paper cup down to 2.25″ inches, or use a shorter cup (we used 3.5oz plastic drinking cups from Target). Decorate the platter and table with patterned tape, color masking tape, and/or markers. Then hot glue the platter firmly to the top of the table.
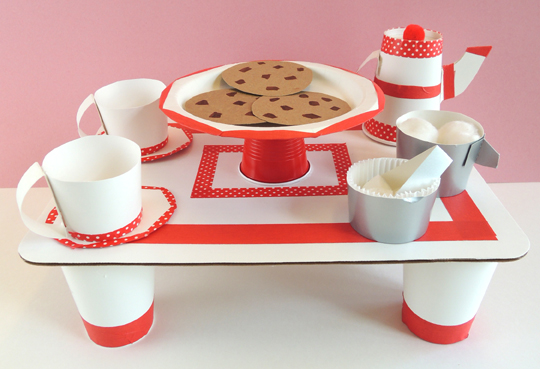
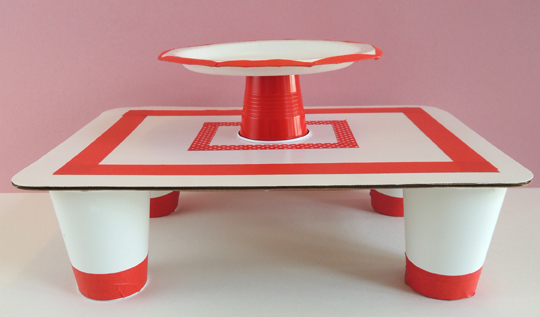 To make the teapot, flip a paper cup over, then tape (or hot glue) a poster board handle to one side. Cut the spout from the template and trace it onto white poster board. Fold the tea pot spout in half (the fold is marked with a solid black line on the template). Next, fold the spout’s tabs outward (the tabs are marked with dotted lines on the template). Attach the tabs to the tea pot with tape (or hot glue). Finish by hot gluing a small pom-pom to the top of the tea pot.
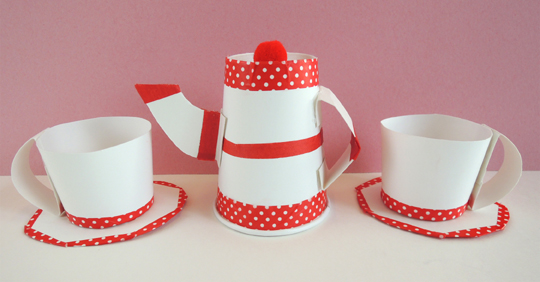 To make tea cups, cut 2 paper cups down to 2″. Use tape (or hot glue) to attach a white poster board handle to the side of each cup. Then place the cups on a white poster board “saucers.” Decorate the teapot, cups, and saucers with patterned tape, color masking tape, and/or markers.
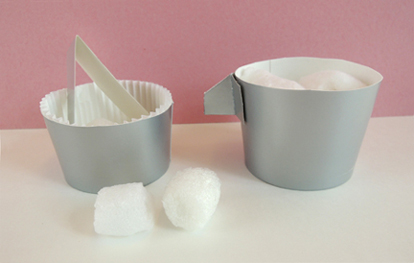 The creamer is a paper cup cut down to 2″. Cut the creamer spout from the template, and trace it into poster board. Fold the spout in half (the fold is marked with a solid black line on the template). Next, fold the spout’s tabs outward (the tabs are marked with dotted lines on the template). Attach the tabs to the cup with tape (or hot glue). We filled the creamer with white cotton ball “cream.”
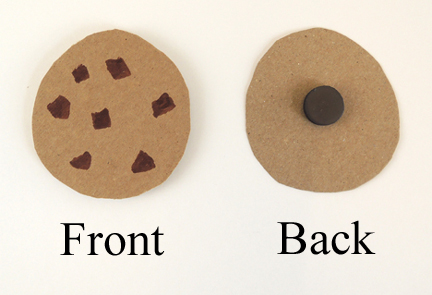
 Ready to play? Have 2 kids select a grabber and sit down at the table. On “Go!” each kid must use his/her grabber to quickly remove cookies from the platter. The kid who grabs the most cookies, wins!
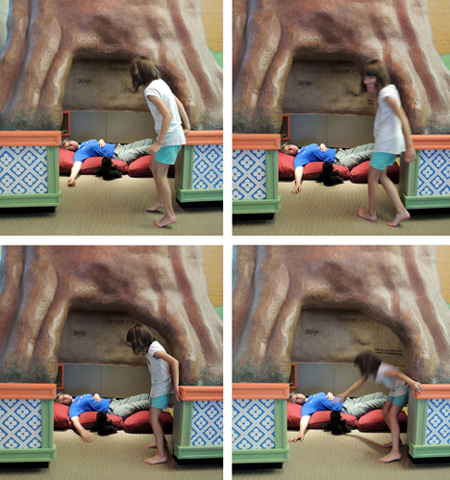 Navigate your way through a laser maze, steal a bear from a snoring sleeper, and snag some hidden diamonds. Stealthiness, sneakiness, and silence are strongly encouraged at
 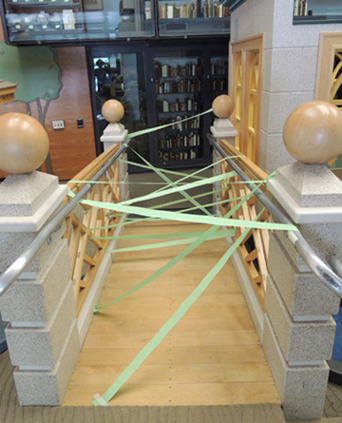 Starting at the bottom of the bridge, kids had to squeeze, crawl, and slide through the course without touching a single “laser beam.” I stood nearby, making “Zzzzzt!” laser noises at key moments.
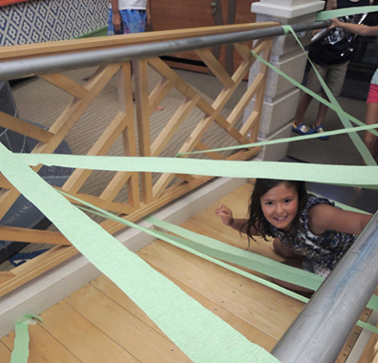 Story Time Task #2: George’s midterm exam involves stealing a teddy bear from a sleeping toddler. I grabbed a bear puppet, flopped on some pillows, closed my eyes, and started snoring wildly.
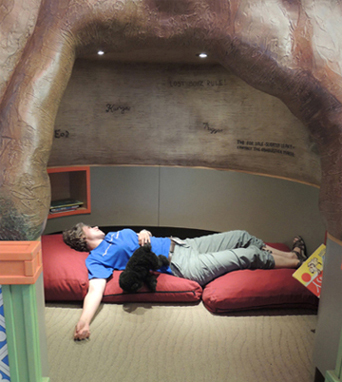 One by one, the kids had to sneak up and grab the bear without me noticing them (and they were quite astonishingly good at this). To increase the challenge, sometimes I would randomly thrash around in my sleep, throw the bear around, or grab it tightly to my chest.
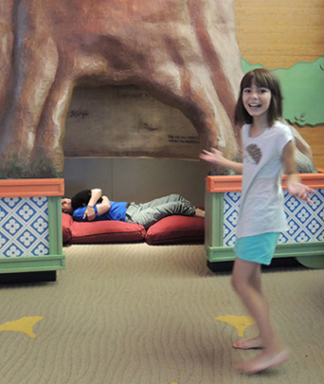 Story Time Task #3: The diamond hunt. Pilfer Academy is a massive Gothic mansion with arches, spires, and stained-glass windows. I thought it would be fantastic to immerse kids in a similar environment, so we headed over to one of my favorite places, the Chancellor Green Rotunda.
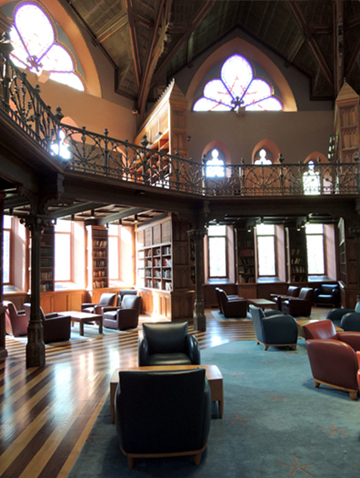 This beautiful room was once the original library for Princeton University. Now it’s a study space for the Andlinger Humanities Center. Here’s a shot of its elegant stained-glass dome.
 On this particular afternoon, however, the room was full of hidden diamonds!
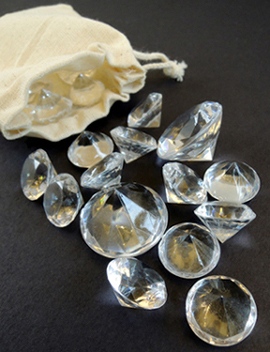 I found these acrylic diamonds in the wedding section of Michaels Craft store. A $5 pack contained over 75 diamonds of assorted sizes (from 0.75″ to 1″). I hid the larger diamonds in various locations in the room.
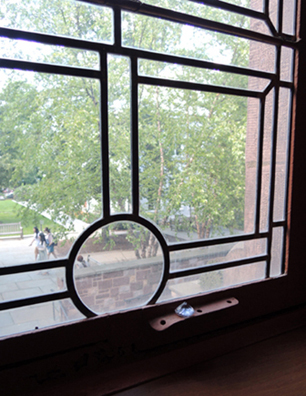 Sometimes I got a little sneaky. Can you spot the diamond in the wood paneling below?
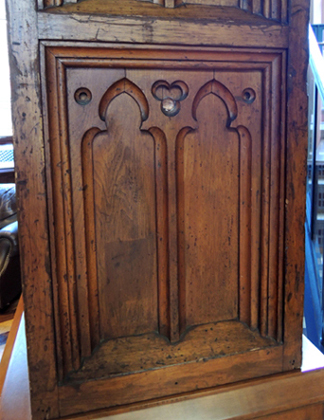 One by one, kids went searching for diamonds in the room. Once you found two diamonds, it was another person’s turn to search. And you had to be completely silent while searching!
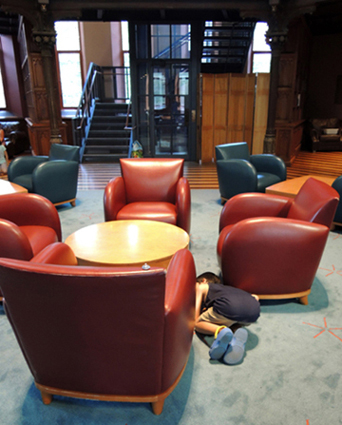 At the end of the program, each kid got to take home a little drawstring bag with some diamonds in it. Score!
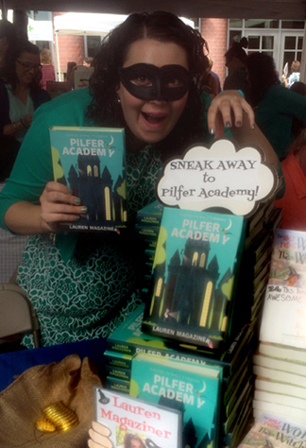 That’s right! Lauren Magaziner herself! Totally rocking a bandit mask, I must say. Thanks for the fantastic book Lauren. We absolutely loved it.