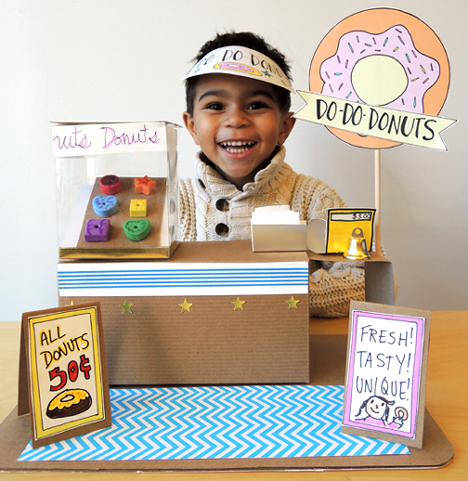
 The shop is open, the customers are arriving, and you, the donut chef, must make the most delicious, different, and decadent donuts you possibly can. But wait, there’s more! Your donut shop doubles as a matching game, thanks to the coupons tucked behind the counter!
We read The Donut Chef by Bob Staake (Golden Books, 2008). A donut chef owns a very popular donut shop. But when another donut shop opens on the very same block, the two chefs start competing for customers. They keep their shops open later, up the frosting level, and introduce unique flavors such as “Peanut-Brickle Buttermilk” and “Gooey Coca-Mocha Silk.” As things escalate, the donuts get weirder. There are square donuts, calamari donuts, pointy donuts, and cone donuts. So when little Debbie Sue walks in and orders a plain glazed donut, the donut chef is completely taken aback. Plain? But he whips one up and Debbie Sue loves it. And as his customers clamor for more of those plain glazed donuts, the donut chef realizes what his customers really want. Simple, delicious, donuts.
You’ll need:
- 1 corrugated cardboard base (I used a cake pad)
- A selection of patterned paper (or construction paper)
- 1 box (mine was 4 ½” X 4 ½” x 9” – a large tissue box works too!)
- A selection of patterned tape
- Poster board or tagboard for various pieces of the set
- 6-12 foam beads
- 1-2″ of self-adhesive magnetic tape
- 1 donut shop template, printed on 8.5″ x 11″ white card stock
- 1 paper visor (optional)
- 1 wooden dowel
- 1 donut coupon template, printed on 8.5″ x 11″ paper
- 1 envelope
- Scissors, tape, and glue for construction
- Markers for decorating
- Hot glue
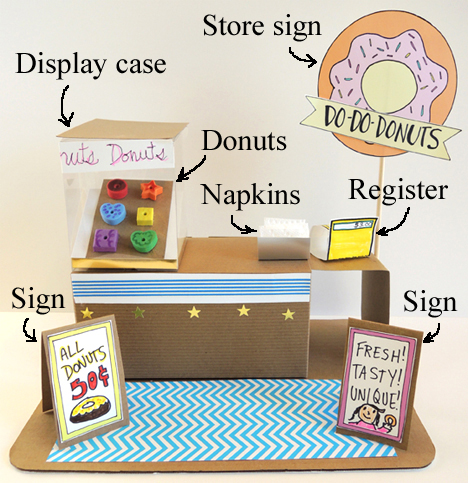
Here’s the finished set with all its pieces. If you don’t have a clear plastic box to make a display case, don’t worry! I’ll have an alternative display option for you a little later in the post.
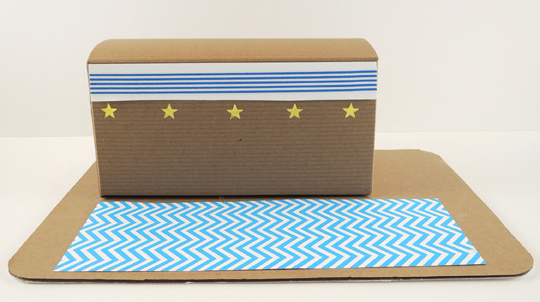
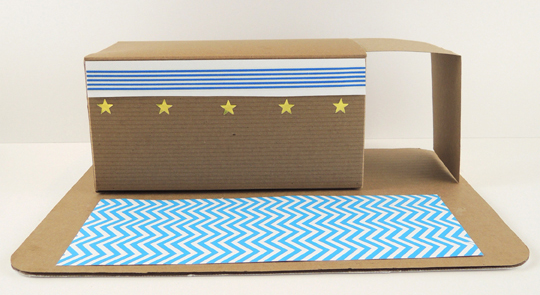
 First, glue a piece of patterned paper (or construction paper) to the top of the corrugated cardboard base. It’s OK if it doesn’t cover the entire base. Decorate a box with patterned tape and/or markers (we also used star stickers). Hot glue the box to the base, but not smack in the middle. You’ll need to leave a little room in the front for your shop signs, and a little room on the right-hand side for an extra counter.
 Fold, then tape a piece of tagboard to the side of the box to create the extra counter.
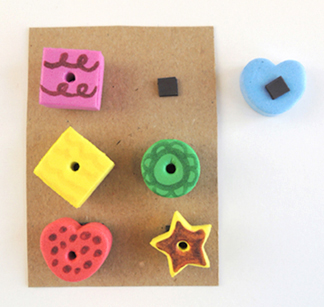
 Set the base aside for a moment, it’s time for donuts! Because we wanted to display, remove, and reset the donuts on the tray, we made them magnetic. Use markers to decorate various foam beads like “donuts,” then attach a little piece of self-adhesive magnetic tape to the back. Attach a matching piece of magnetic tape to a tagboard “tray.” We made 2 trays of donuts for our shops.
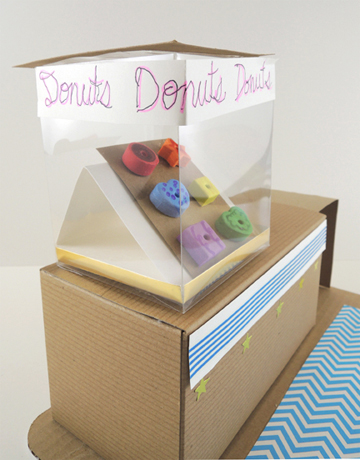
 I made display cases for the shop using leftover plastic boxes from this firefly lantern project. As you can see in the photo below, I slid a triangular white poster board base inside the plastic box, then placed the donut tray on top.
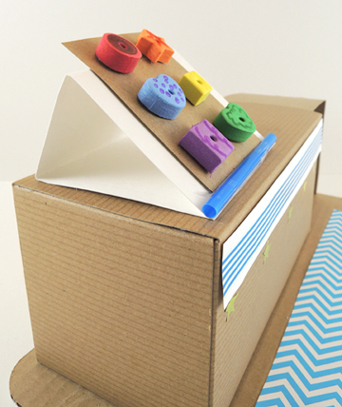
 If you don’t have a plastic box, just use the triangular base! To keep your donut tray from sliding off, tape a small piece of plastic drinking straw to the bottom of the base.
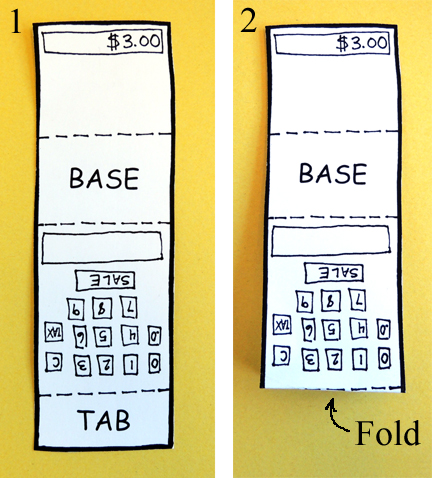
 Your shop will need a cash register, and you might recognize the one on the template from this lemonade stand story time (which, curiously, also featured a book by Bob Staake). First, fold the bottom tab of your register inwards like so:
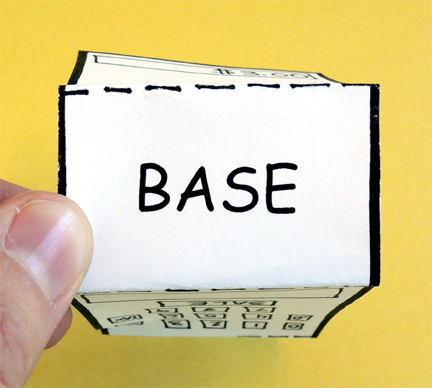
 Then, fold both sides downwards from the base like this:
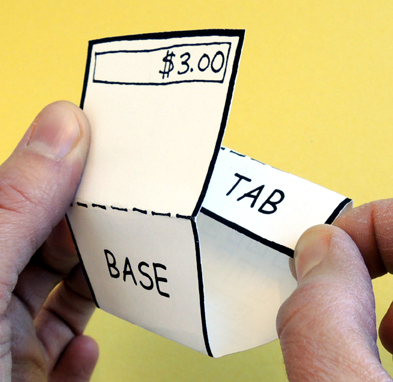
 Curl the tab around to meet the opposite side of the register
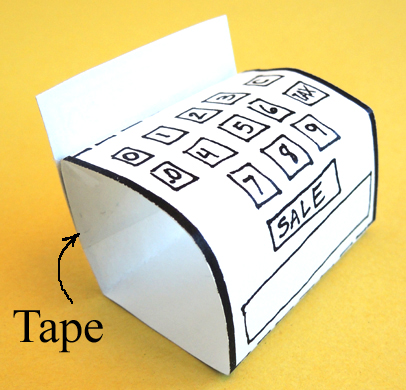
 Then secure the tab with tape. Hot glue (or tape) the register to the extra counter.
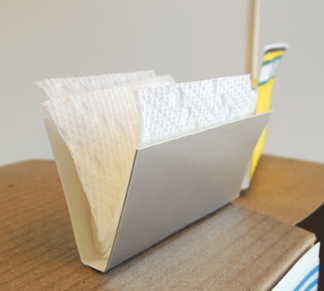
 I couldn’t resist adding a napkin holder to the set too. It’s a folded piece of silver poster board with little bits of paper towel tucked into it. Hot glue (or tape) it to the counter.
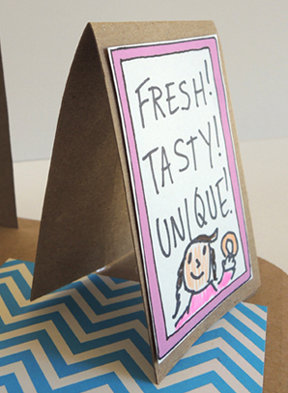
 The blank signs on the template get colored in and attached to folded pieces of tagboard.
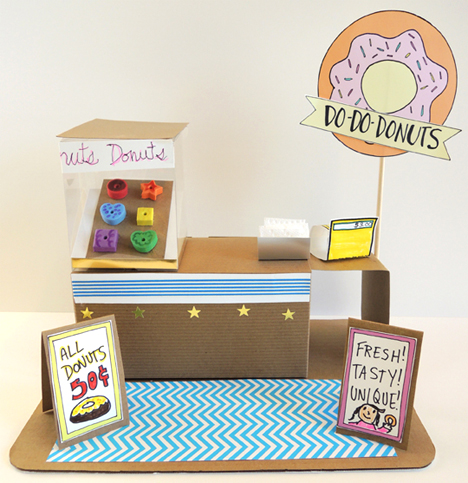
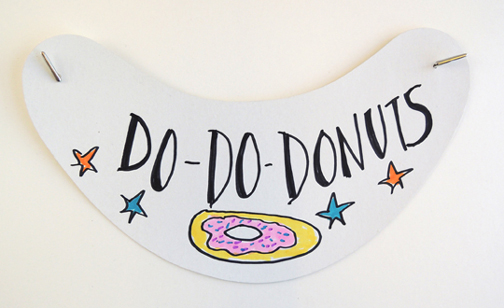
 And finally…the giant donut sign! Write the name of your shop on the banner, and tape (or glue) it across the giant donut. Tape the sign to a wooden dowel, then tape the dowel to the side of the extra counter. Here’s a finished stand with a display case:
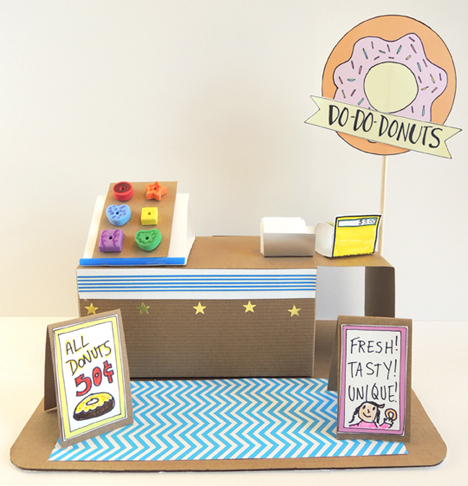
 And here’s the version with the simple display stand. Both are totally adorable.
 We had some blank white visors in the art cabinet (from Discount School Supply – 24 cost $9), so I dug them out and we decorated them with the names of our donut shop as well.
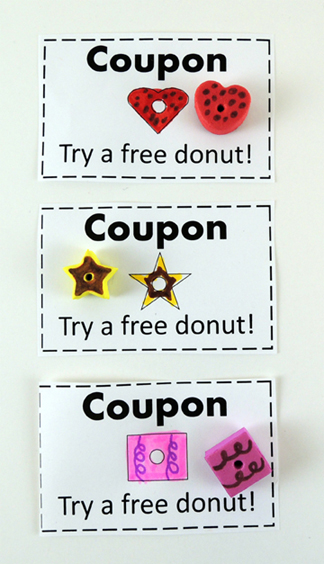
 Your shop is ready, now you need to entice your customers to try some donuts! We developed a simple coupon matching game for the kids. Print the coupons from the template, then draw donuts on the coupons that match the donuts in your case. As your customers arrive with their coupons, see how fast you can find and match their orders!
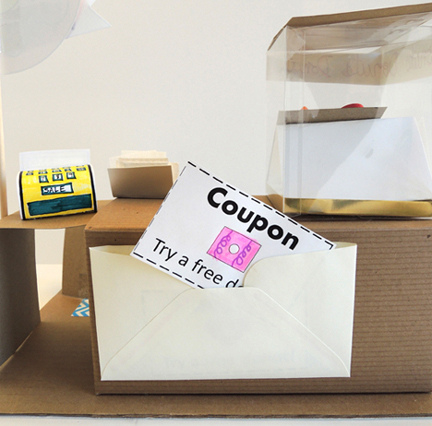
 Make sure to hot glue (or tape) an envelope to the back of the counter for convenient coupon storage.
 We wish you the sweetest success in all your donut endeavors!
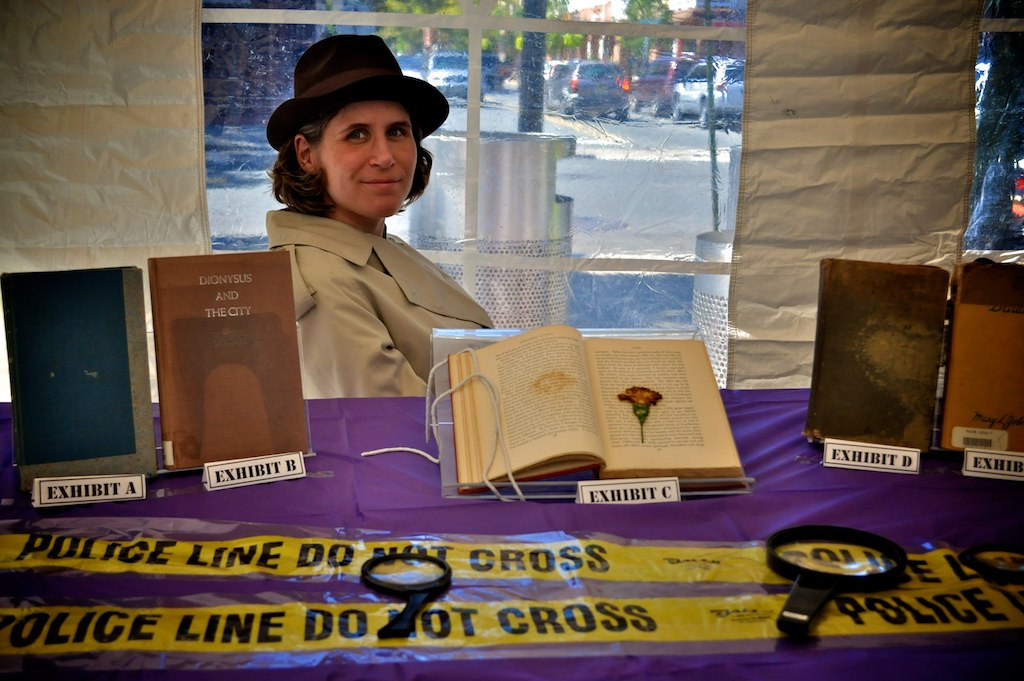
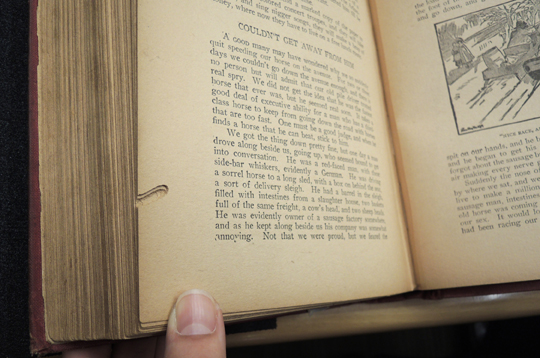
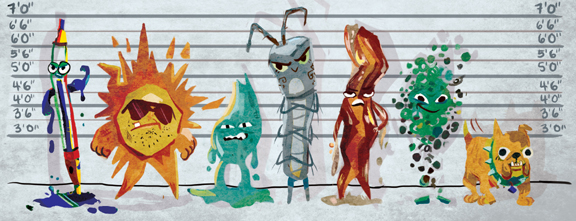 At the event, kids examined the books and guessed who damaged what book. If they identified the perpetrators correctly, they were awarded a small plastic magnifying glass. I bought mine from Educational Innovations. Cheaper (but lower quality) magnifying glasses can be found at Oriental Trading Company.
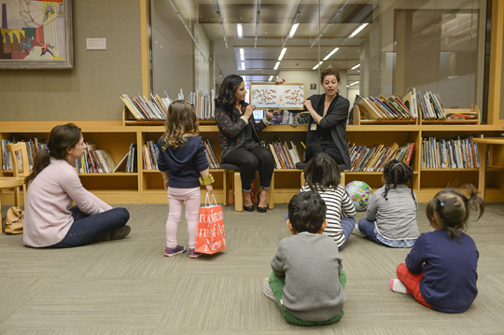
 Last year, when The Met launched
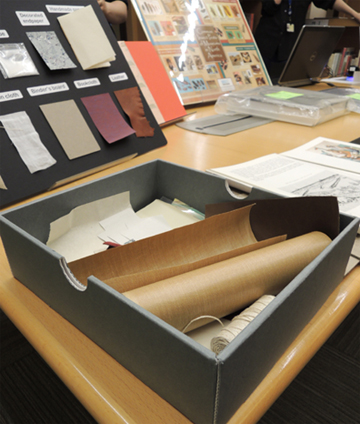
 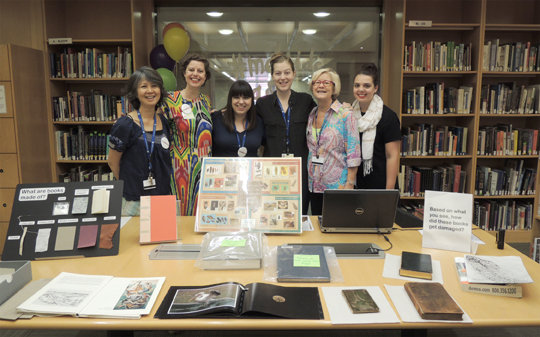 The exhibit was spread over two large tables. At the first table you could find things like damaged books, sample of paper, and posters of pests.
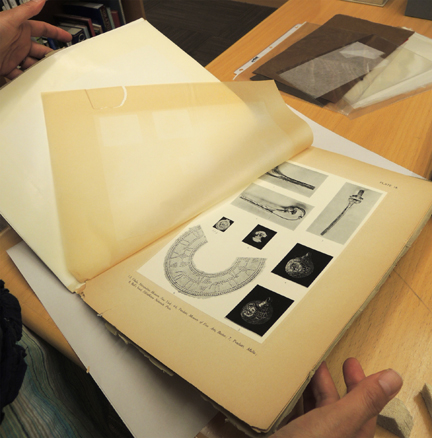
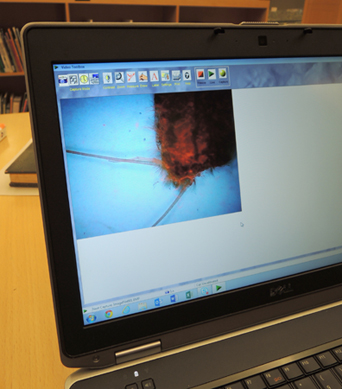
 Here’s my personal favorite – a microscope that shows a buggy book muncher up close.
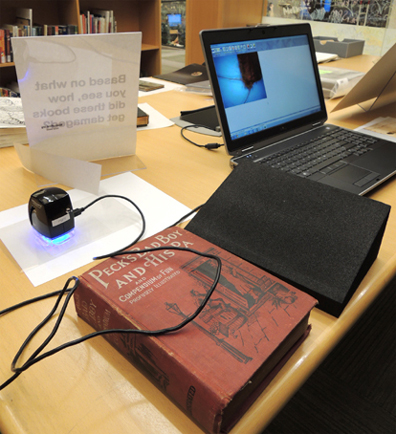
 Here’s a book catalog the conservators water-damaged on purpose for the event. So if you’re thinking of doing a similar table, and can’t find damaged books in your personal collection, feel free to customize one that would otherwise end up in the recycle bin!
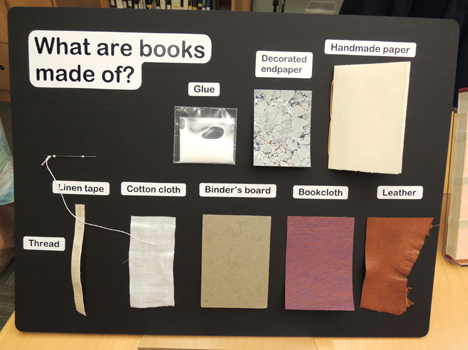
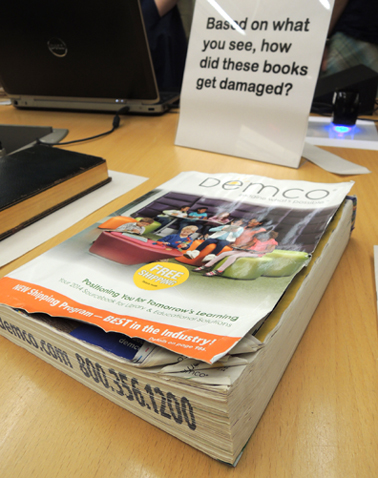 At the second exhibit table, there was information on how to fix books, including the various materials conservators use.
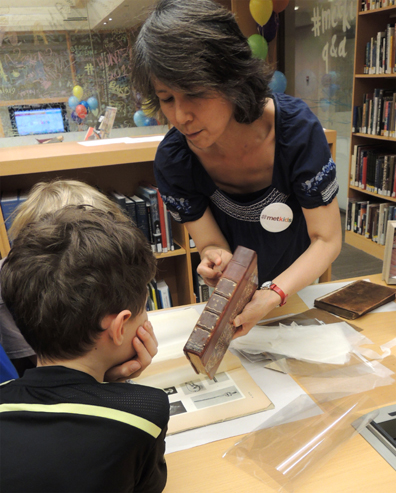 I really loved this – a laptop showing before and after shots of fixed books:
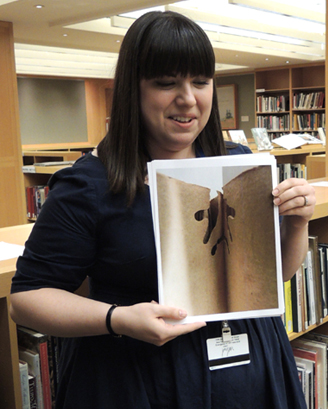
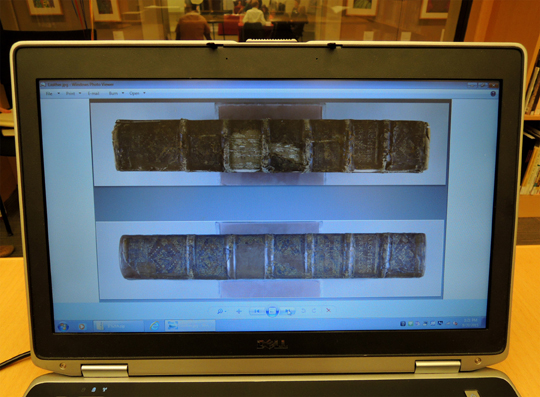 During the event, conservators gave a presentation, encouraged kids to touch and explore, and fielded all sorts of questions.
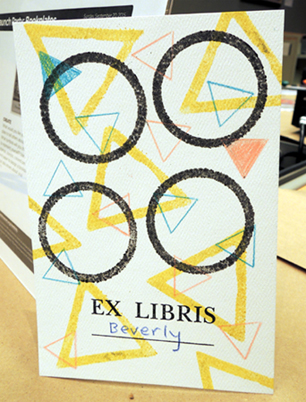
 The library also hosted a bookplate-making activity in a side room. On display were some of their fascinating historic bookplates (the real ones – not reproductions!).
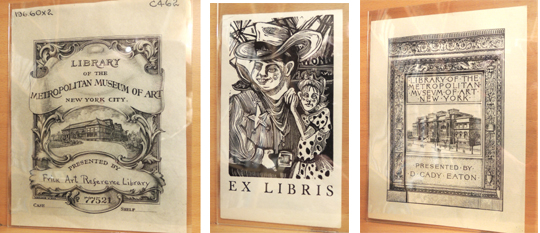 Nearby were plenty of art materials to make your own bookplate. Fantastic!
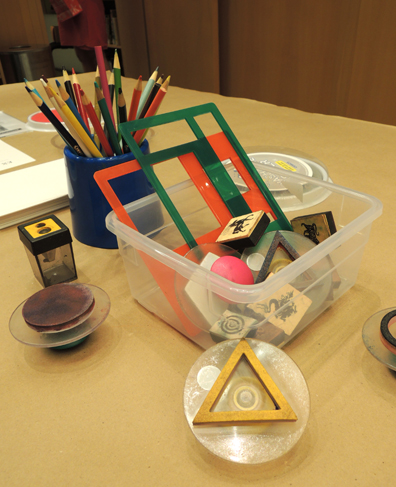
 If you haven’t been to The Met, by all means go. After my family and I left the MetKids event, we explored the rest of the museum. We were not prepared for how astounding, amazing, gigantic, and beautiful it was. I always wondered why Claudia wanted to run away to The Met and how the siblings managed to stay hidden (I speak, of course, of From the Mixed Up Files of Mrs. Basil E. Frankweiler). But now I understand. I understand!
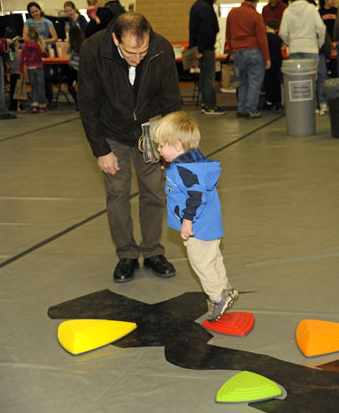 One, two, three, jump! Are you ready to meet our most popular toddler activity of all time? Ladies and gentleman, may I present…the Crevasse Challenge.
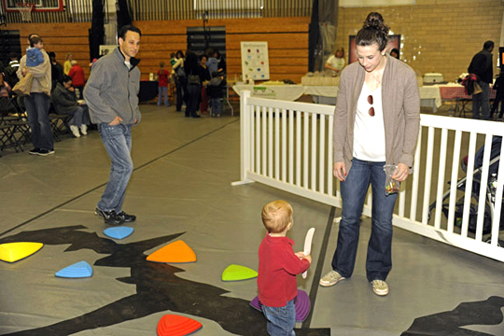
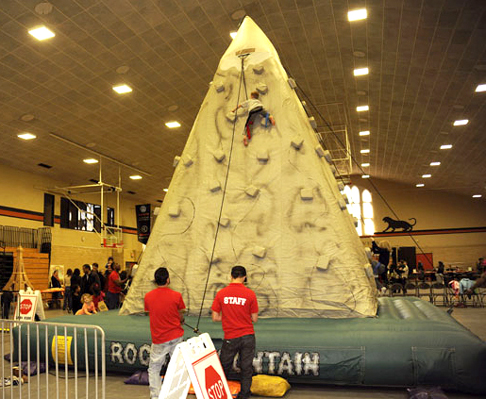 We needed something else. Something less vertical. Additionally, the climbing wall had age and height restrictions, so we wanted an activity everyone could try. So it needed to be adventurous, on the ground, with no age restrictions, and still rock related.
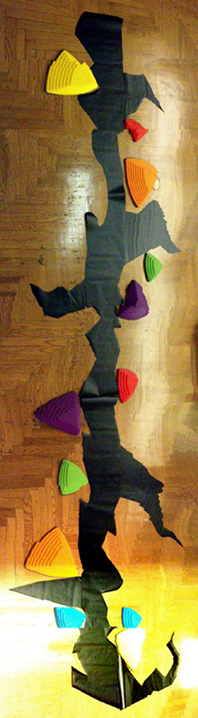
 It’s important to mark where the different pieces of the crevasse fit together. That way, on the day of the event, you simply match the pieces, peel the backing off the contact paper, and stick everything in place. We used the matching lettering system below to pair the side cracks with the main crack (the letters were written on the backs of the pieces in permanent marker):
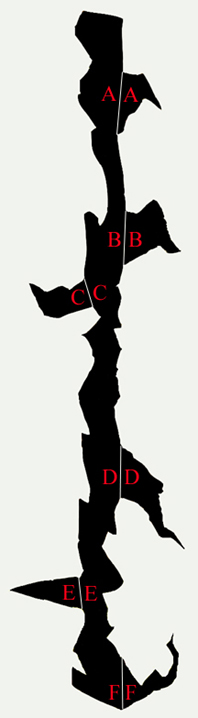 The crevasse is done. Are you ready to rock? I bought these “riverstones” from Discount School Supply. Not only are they colorful and sturdy, they have anti-slip bottoms. At $70 a set, they are a bit of a splurge (especially since we bought 2 sets). But I considered it an investment in quality and safety. After the event, we donated both sets to our local YMCA for further fun.
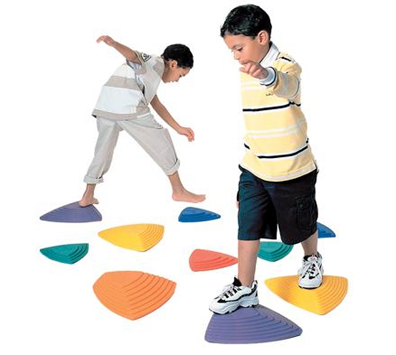
 The rules for the Crevasse Challenge were simple. Start on the first yellow rock and navigate the length of the crevasse until you land on the second yellow rock. If you fell off a rock, you had to start all over again (unless you were very young, and then you just climbed back up on the rock and tried again). If older kids wanted to increase the challenge, they had to complete the course only using the large rocks.
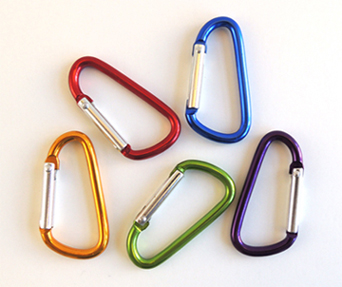 On event day, the Crevasse Challenge was hopping for five hours straight. Kids went nuts for it! The crevasse! The rocks! The jumping! The carabiners! The only challenge was keeping the course clear of kid collisions. But the YMCA folks were total pros, and we had no accidents.
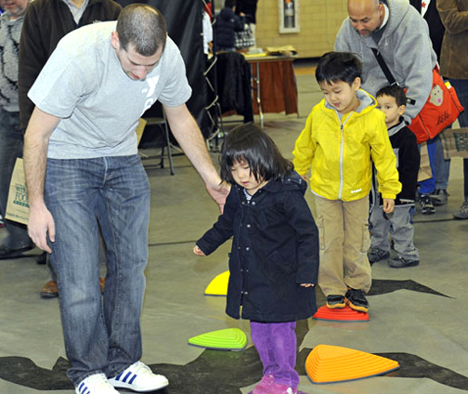 Big kids tried it, little kids tried it, grown-ups tried it, but the toddlers were they main players. They couldn’t get enough of it! My daughter, who was 2 at the time, spent 45 minutes hopping, jumping, running, and trying different rocks. And just look at this cute little guy!