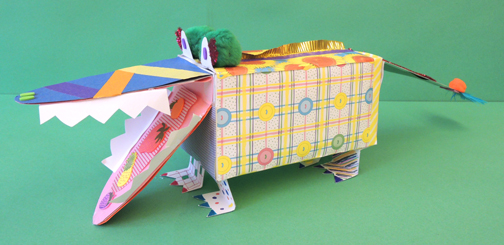
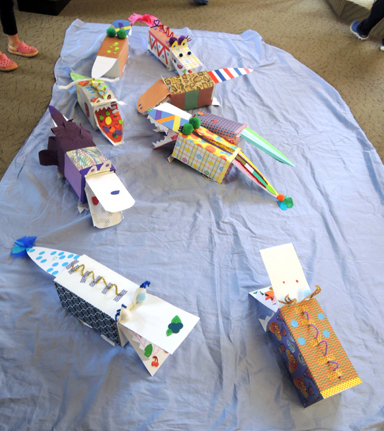
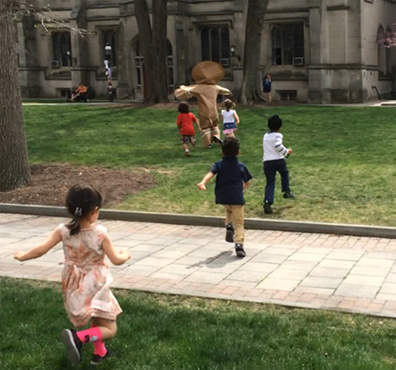
 I admit, some of my story times can get a little…elaborate. We’ve had drive-through car washes, candy factories, cow wrestling, train trips, ice fishing, spooky old trees, equestrian show jumping courses, crêpe carts, sushi sets, a covered wagon trading post, and kitty karaoke. And let us not forget the giant gingerbread cookie chase across Princeton University campus.
 When I first started doing preschool story times (11 years ago!) I knew I wanted to concentrate on a single picture book and then do an art project that creatively and concretely connected the child with the story. Also, our preschool story times are an hour long, so we need to do projects/activities that take a little more time. Hence, the projects you find on our Tuesday posts (and on this Pinterest board).
But that’s not everyone’s story time! Sometimes there’s very little budget, time, or staff to plan and execute craft projects, no matter how badly you’d like to incorporate them. So today, I’m launching “Snap Story Times.” These are very simple projects you can do with very few materials, along with a book recommendation (or recommendations) for story time success.
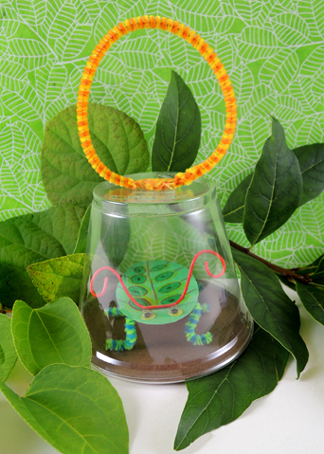
We’ll start the fun off with a plastic cup bug jar.
You’ll need:
- 1 clear plastic cup (we used a 9oz “cocktail” cup)
- Poster board
- Pipe cleaners and/or twisteez wire
- A pair of wiggle eyes or eye stickers (optional)
- Scissors and tape for construction
- Color pencils or crayons for decorating
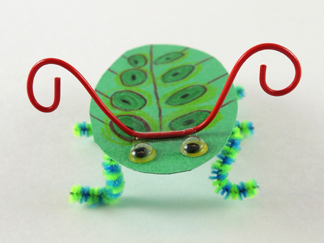
First, the bug! Cut a 3″ oval out of a piece of poster board. This is your bug’s body. Use color pencils or crayons to add buggy details to the oval (I would avoid markers, as they can saturate the poster board and cause it to buckle). Use scissors to cut pipe cleaner (or twisteez wire) legs and antennae, then attach them to the body with tape.
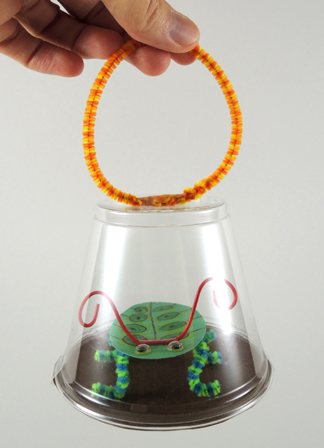
 To make the jar, trace the mouth of a plastic cup on a piece of poster board. Cut the circle out. Place your bug inside the cup, then tape the poster board circle to the mouth of the cup. To make a carrying handle, simply circle and tape a pipe cleaner to the top of the bug jar.
BOOK SUGGESTIONS
Please note: There are swarms of bug books out there, but Marissa selected ones that she actually pulled off the shelves and paged through herself :)
I Love Bugs, written by Philemon Sturges, and illustrated by Shari Halpern (Harper Collins, 2005) A little boy loves bugs. He describes different bugs he finds in his backyard. He looks for bugs, takes pictures of bugs, and observes bugs. But his favorite bug is his little sister, who dresses up like a lady bug.
Summer Days and Nights by Wong Herbert Yee (Macmillan, 2012). A little girl enjoys summer and the sights, sounds, and bugs that come along with it. She tries to catch a butterfly, watches a bee fly by, and ants join her picnic.
Juna’s Jar, written by Jane Bahk, illustrated by Felicia Hoshino (Lee & Low Books, 2015). Juna uses an old kimchi jar to collect bugs and rocks with her friend Hector. When Hector moves away, Juna’s brother buys a fish to cheer her up. She puts the fish in the jar and dreams of undersea adventure. The next day, the fish is too big for the jar, so her brother gives her a bean sprout. Juna puts the sprout in the jar and dreams of jungle adventures. She replaces the overgrown sprout with a cricket she finds in the park, and dreams of flying on the cricket’s back over the city. The next day, she lets the cricket go and meets a new friend in the park (who asks to use her jar for an inchworm).
Hello, Bugs! [board book]. Written by Smriti Prasadam-Halls, illustrated by Emily Bolam (Tiger Tales, 2010). A bunch of shiny bugs saying hello to each other. The book uses black and white illustrations with shiny foil paper inserts.
Ugh! A Bug written and illustrated by Mary Bono (Walker, 2002). The book asks questions (in rhymes) about how you would respond to different creepy, crawly, bugs. Bugs are everywhere and we mostly encounter them when we enter their space. So there’s no need to freak out! The book concludes by saying, “bugs are happier when they are not in a jar” (so make sure you let those craft bugs out at the end of story time!).

