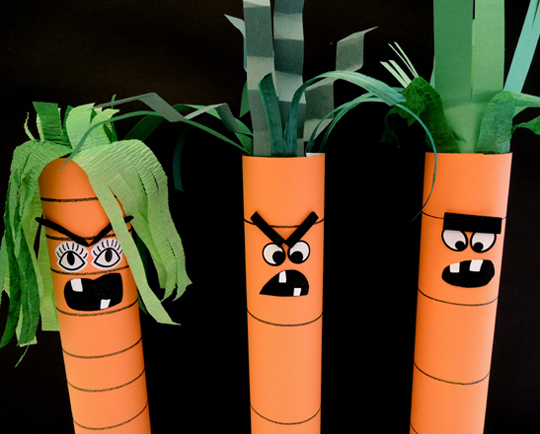
 They’re coming…sneaking up on you with a soft tunktunktunk…breathing that awful carroty breath. That’s right, you are being stalked by CREEPY CARROTS (or, as my daughter calls them, “cweepy cawwots”)!
We read Creepy Carrots, written by Aaron Reynolds and illustrated by Peter Brown (Simon & Schuster, 2012). Jasper Rabbit loves to snack on carrots, and munches quite liberally on the ones that grow in Crackenhopper Field. Until the carrots start stalking him. It begins when Jasper is brushing his teeth. Glancing in the mirror, he sees three creepy carrots leering out at him from the bathtub. But when he whips around, the carrots appear to be nothing more than innocent orange bathtub items. The drama continues. Carrots appear everywhere, breathing their terrible carroty breath, stalking him (“tunktunktunk“) and generally driving Jasper mad. Finally, Jasper builds an elaborate fence (complete with an alligator moat) to keep the carrots from leaving Crackenhopper Field. The carrots rejoice. Their plan worked – Jasper will never be able to get into Crackenhopper Field for carrot snacks again!
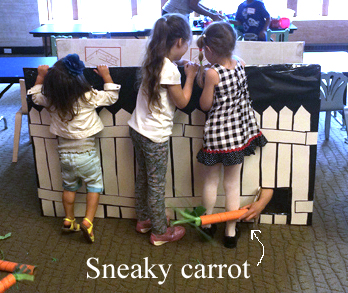
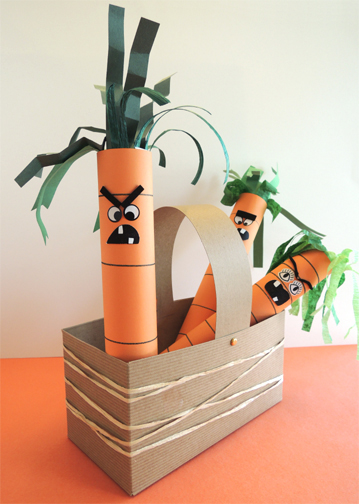
We made some creepy carrots in a basket, oh yes we did. But then we challenged kids to get their carrots into Crackenhopper Field. And sometimes, the carrots sneaked back out!
 You’ll need:
- 1 box (mine was 4 ½” X 4 ½” x 9”)
- 1 strip of tagboard (approximately 2.5″ x 14″)
- 2 brass fasteners
- 1 piece of white construction paper (mine was 5″ x 8.5″)
- 1 long piece of brown raffia (mine was 120″)
- 3 paper towel tubes
- 3 sheets of 8.5″ x 11″ orange construction paper (or regular orange printer paper)
- 1 small rectangle of white card stock (approximately 1.75″ x 5.75″)
- Green raffia
- Green crepe paper streamer
- Green construction paper
- Green paper crinkle
- A selection of eye stickers
- 1 creepy carrot mouth template, printed on 8.5″ x 11″ white card stock
- A few slivers of black self-adhesive foam
- 1 Crackenhopper Field (more on that later)
- Scissors, tape, glue stick for construction
- Markers for decorating
- Hole punch
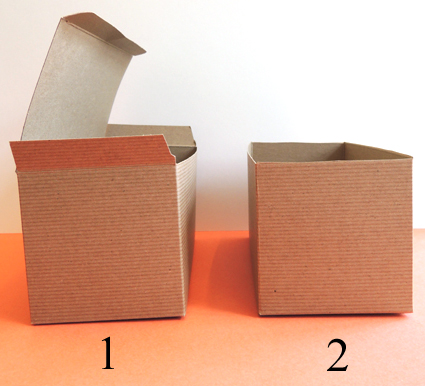
 We’ll start with the basket, then add some creepy carrots! First, cut the lid and the tabs off the top of the box (or, if you’re using a tissue box, cut the entire top off).
 To make a basket handle, punch a hole in both ends of the strip of the tagboard. Then punch holes in the sides of the box. Attach the tagboard handle to the box using brass fasteners. Finish by taping the tagboard handle to the interior of the box to keep the basket from wobbling on its handle.
To create a wicker effect on your basket, tape one end of a long piece of raffia to the outside of the box, then wrap it around the box. Tape the other end securely.
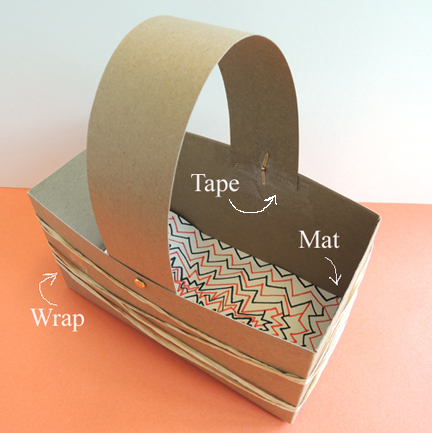
We also drew patterns on white construction paper and lined the bottom of the basket with a “basket mat.” You can see the taped handle, the raffia wrapping, and the basket mat in the photo below. Your basket is finished!
 On to the creepy carrots! Draw lines on a piece of orange paper.
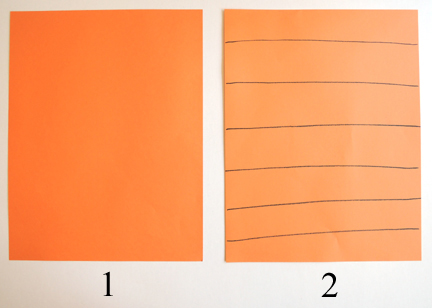 The lines, of course, represent the bumps or rings on the outside of a carrot. Technically, those are called “lateral root scars” (thank you World Carrot Museum, UK. Did you also know that average person will consume 10,866 carrots in a lifetime?). Wrap the lined paper around a paper towel tube and secure with tape. Repeat these steps with the remaining 2 paper towel tubes.
To top off the carrots, we prepped a bunch of different types of carrot greens – fringed construction paper, pieces of raffia, swathes of crepe paper streamers, and crinkle.
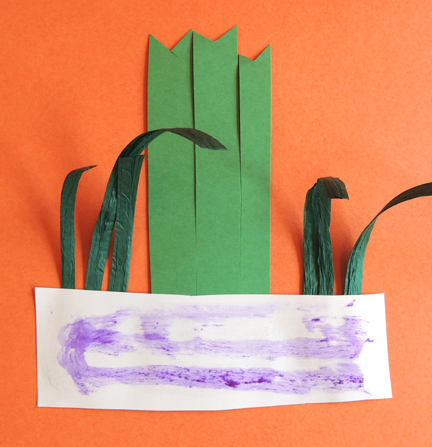
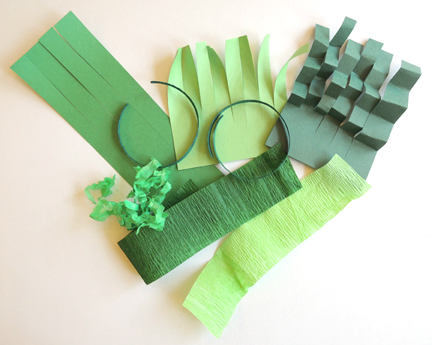 You can attach these items to the interior of the paper towel tube OR you can try our patented carrot hairstyling technique. Namely, tape the greens to a small rectangle of white card stock…
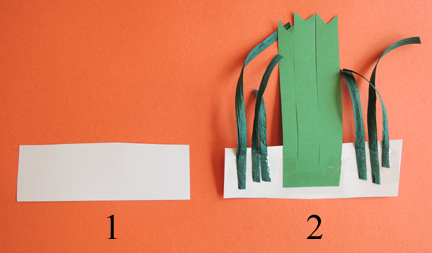 Then, flip the card stock rectangle over and apply glue with a glue stick.
 Gently circle the card stock, keeping the glue on the outside…
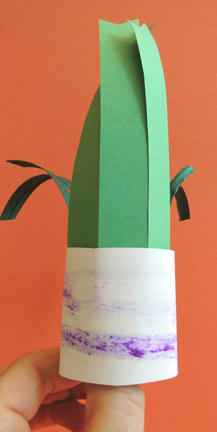 And slip the card stock circle into the top of the paper towel tube. Push the glue onto the interior of the tube.
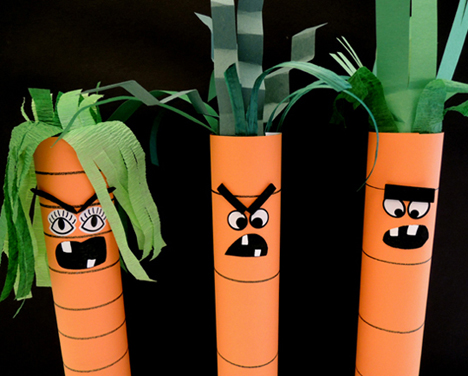
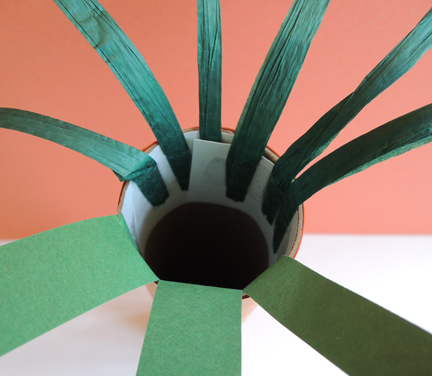 The final step is creating carrot faces. You can simply draw the faces on with markers, or you can use eye stickers, mouths from the template, and small pieces of black self-adhesive foam for eyebrows. And there you have it. Creepy carrots.
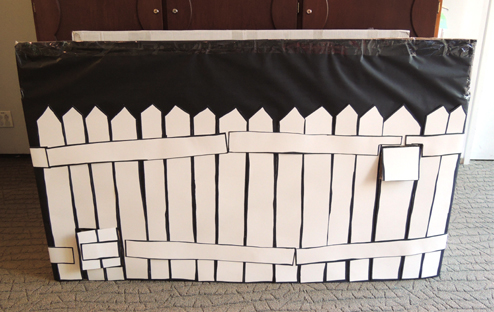
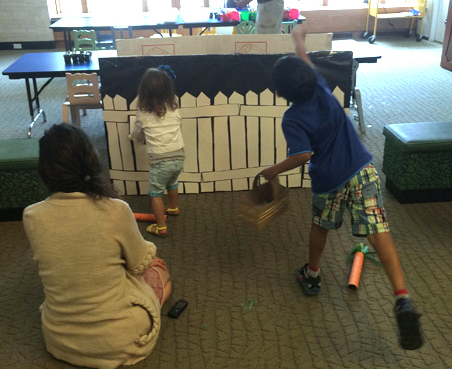
 Off to Crackenhopper Field! The field doesn’t have to be fancy. In fact, in can just be an empty box, bin, or paper grocery bag. But since we had a couple large, flat boxes on hand (and because I’m never one to “rein it in”) we built a fenced field with two little doors for carrots to sneak in and out of.
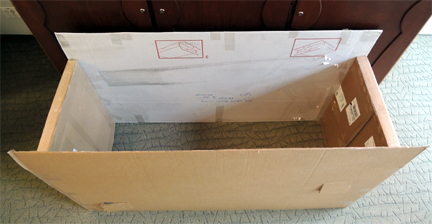
 First, we taped the boxes together to form a rough rectangle (60″ long x 26″ high x 23″ deep). We left plenty of room inside the box for one of us to sit.
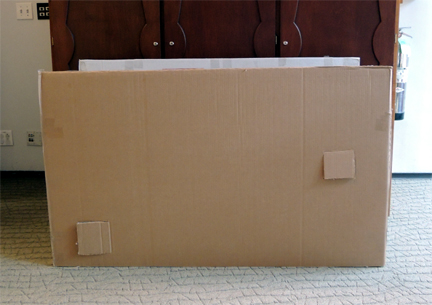
 Then we used a box cutter to cut two small doors in the front of the box.
 Next, Katie the Stupendous Assistant (you officially met her in this post) wrapped the front and two sides of the box in black paper (we left the back undecorated). I cut fence pieces out of white poster board and Katie hot glued them to the box.
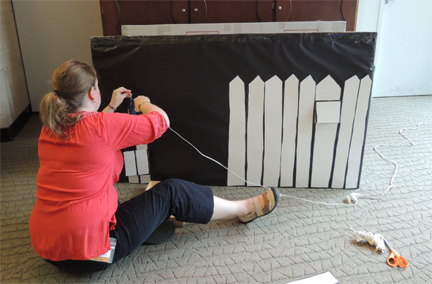 She super-reinforced the little doors with packing tape so they would hold up to a bunch of kids tugging on them.
During story time, kids were challenged to toss their carrots inside the field or sneak them in through one of the little doors. I, however, was sitting inside the box, tossing carrots back, rocketing them through the doors, or making the carrots poke their heads above the fence and laugh in a semi-creepy way. I lost count of how many times I was bonked in the head by paper towel tube carrots but who cares…they loved it!
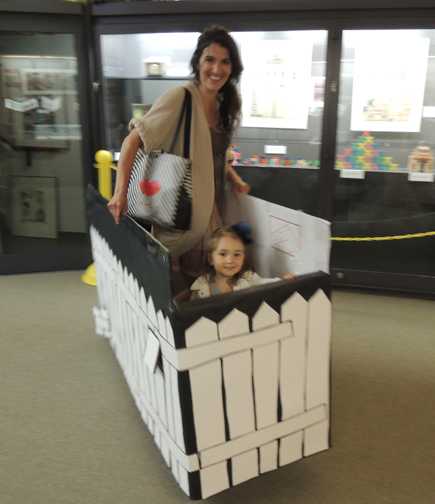
 After story time ended, a delighted parent took Crackenhopper Field home for further adventures (the blank side was going to be converted into a play castle for a party). I managed to catch them as they were heading out of the library. What a way to travel!
Many thanks to Kendra Tyson for recommending this fabulous book! Is there a book you’d like to see us do at one of our story times? E-mail danas@princeton.edu
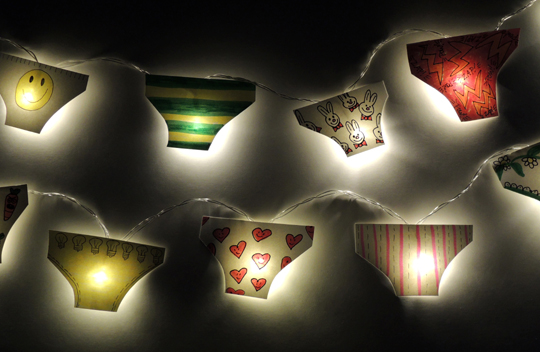
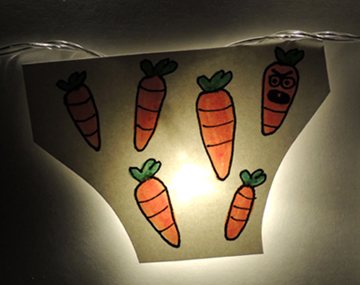
 To make your illuminated underpants, cut underpants shapes from white card stock, then decorate with markers. Tape the underpants to the string lights, and let them glow!


 Off to Crackenhopper Field! The field doesn’t have to be fancy. In fact, in can just be an empty box, bin, or paper grocery bag. But since we had a couple large, flat boxes on hand (and because I’m never one to “rein it in”) we built a fenced field with two little doors for carrots to sneak in and out of.


