 Want a pet rhino? Of course you do! But pet ownership is a tremendous responsibility. Get prepared with a customized accessory bag that contains a water dish, rhino snacks, and a cozy fleece blanket.
We read Rita’s Rhino by Tony Ross (Andersen Press, 2014). Rita wants a pet, but her mom insists on something small. Like a flea. Or a tadpole. Unimpressed, Rita heads to the zoo and invites a rhinoceros home. She’s thrilled, but there are some problems. Like coaxing the rhino into the elevator, cramming him into her family’s small apartment, paying for heaps of specialized rhino food, and dealing with the enormous piles of poop that must be hidden in the park every day. Rita’s rhino is a good sport about his new, cramped life. Until he’s mistaken for a bouncy castle during a visit to Rita’s school. That does it. The rhino heads back to the zoo. But Rita and the rhino miss each other. So they agree to meet up, every summer, for a little beach vacation.
You’ll need:
- 1 large box (mine was 4.5” X 4.5” x 9” – a large tissue box works too)
- Light blue poster board
- A rhino body template, printed on 11 x 17 paper
- White poster board
- 1 small rectangle of tagboard or poster board (approximately 1.75″ x 3″)
- 1 piece of yarn (approximately 29″ in length)
- A pair of wiggle eyes
- 1 paper bag
- A rectangle of felt or fleece (approximately 11 x 15.5″)
- 1 paper cup
- A rectangle of blue cellophane (approximately 4″ x 5″)
- 1 small drawstring bag (or a small paper bag)
- A bit of paper crinkle
- Scissors and tape for construction
- Markers for decorating
- Hot glue
The rhino basically is a pull string toy, and we wanted it to glide effortlessly across the floor on its leash. So we attached wheels to the bottom of our boxes. We used the same plastic wheels assemblies from this crêpe cart project (and if you’re interested in purchasing the wheels, you’ll find info in this post). Tape shortened drinking straws to the bottom of the box, thread some bamboo skewer axles through the straws, then stick the plastic wheels on the ends of the skewers.
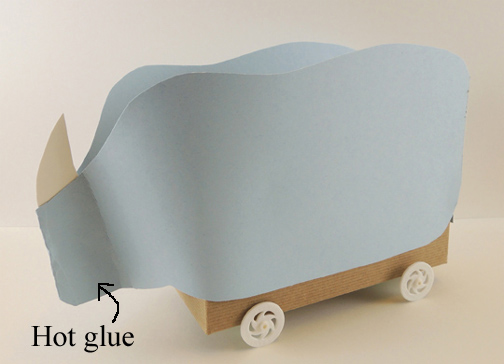
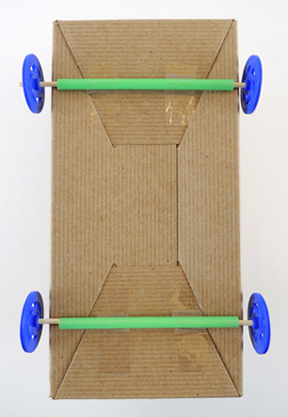 You can also use cardboard wheels or skip the wheels entirely and simply slide the box across the floor. Now for the rest of the rhino! Fold a large, 7.5″ x 28″ piece of light blue poster board in half. Cut the rhino body from the template, then place the nose of the rhino template against the fold in the poster board. Cut the template out of the poster board, leaving the nose fold intact.
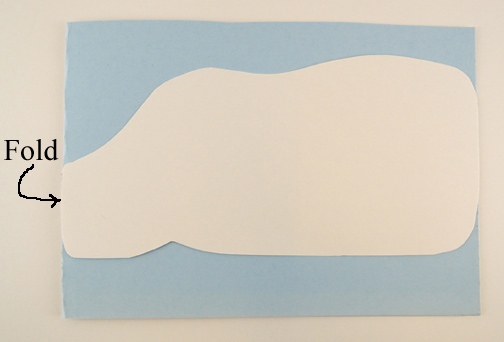 Cut a rhino horn out of white poster board and hot glue it inside the fold. Hot glue 1″ of the entire front of the fold together as well. This gives your rhino the appropriate muzzle shape. Tape or glue the rhino body to the box, making sure the leave about 1″ of space between the rhino body and the bottom of the box.
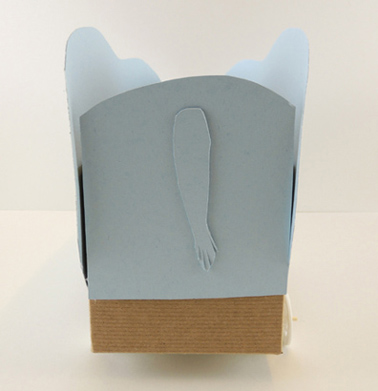
 Cut a piece of light blue poster board to fit the back section of the box. Round the top of it and tape or hot glue it to the box. This is your rhino’s rump. Again, leave about 1″ of space between the rhino body and the bottom of the box. And don’t forget to add a tail!
Attach a pair of ears, a pair of wiggle eyes, and 4 legs. Our legs were 2″ x 3.5″. We bent them slightly so they wouldn’t drag on the ground or rub against the wheels. Use markers to add nostrils, a smile, and toenails. Decorate two strips of white poster board (ours were 1″ x 6″) and attach to either side of the neck to create a collar.
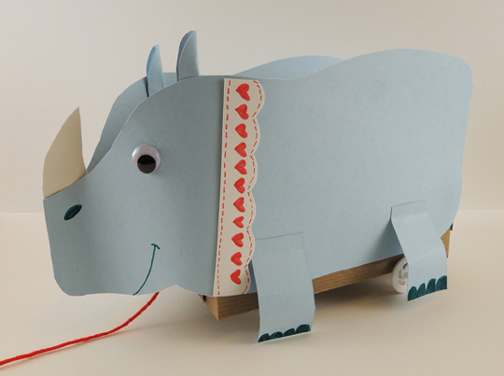
Did you notice the red yarn leash in the above photo? To make a leash, cut notches in a 1.75″ x 3″ piece of tagboard or poster board, then knot a 29″ piece of yarn around it.
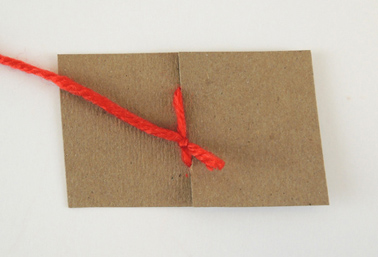 Attach the leash assembly to the front of the box (under the rhino’s the “chin”). Keep the assembly towards the bottom of the box. If it’s up too high, your rhino will keep tipping over.
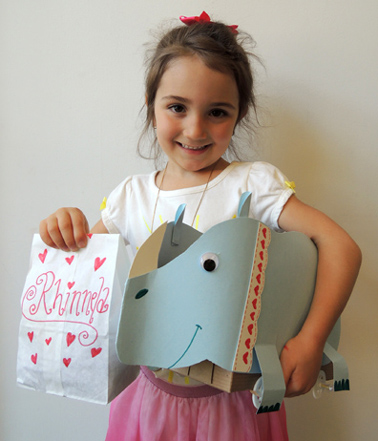
 That’s it for the rhino, now for your accessories! Our paper accessory bags held a water dish, a bag of African grass, and a fleece blanket (we offered a choice of pink, blue, or purple).
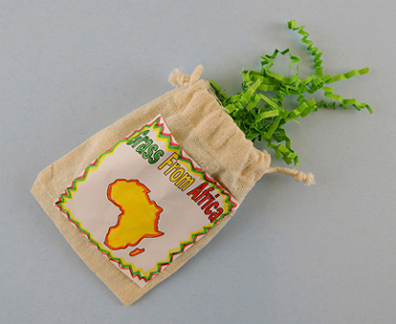
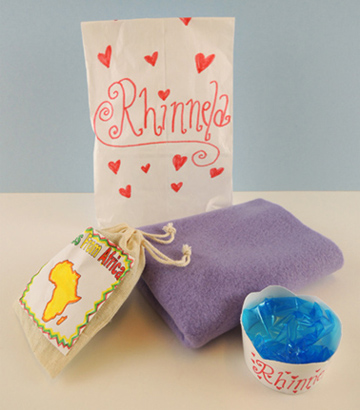 The water dish was a shortened paper cup with blue cellophane taped to it. In the book, Rita’s rhino eats African grass, so we hot glued labels to the front of a small drawstring bag (left over from this Viking event). The kids colored in the labels and stuffed the bags with a green paper crinkle.
You’ll notice the paper bag and the water dish have the rhino’s name emblazoned on them. You can write directly on the paper bag, but we used address labels for the water dish. I loved this part of the project. The names were so creative! A few of my favorites? Bluebell, Giga, Bubba, Trix, Tany, Twinkle, and Baki. You gotta love Twinkle the rhino.
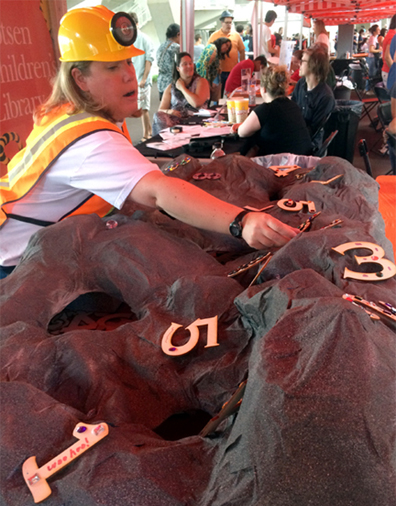 Welcome to the number mines of Digitopolis, the famous kingdom from The Phantom Tollbooth! This fall, we hosted a table at Princeton University’s annual Community & Staff Day event. Big crowds meant that we needed something simple, but we wanted to be creative too. Since we had successfully offered the number mines at a massive math event last spring (you can read about it
 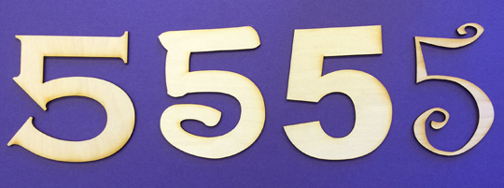 We found that 4″ was a great size for decorating, but if 56
 Once kids found a number they liked (7 and 8 were very popular), they went over to the number decorating area, which was stocked with metallic makers, glitter markers,
 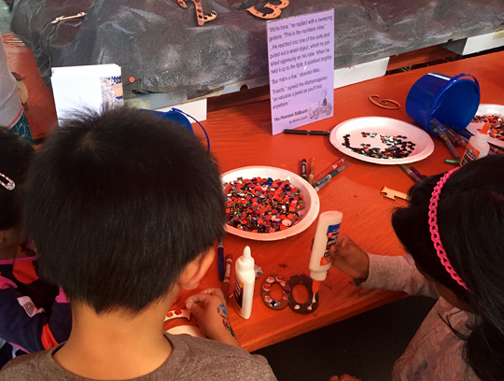 Note! If you use squeeze glue (as opposed to hot glue) make sure to have paper towels or small paper plates handy so families can safely transport their numbers home. Hand wipes are also a good idea for sticky fingers and tabletops. Katie and I dressed for the occasion in miner’s helmets and safety vests.
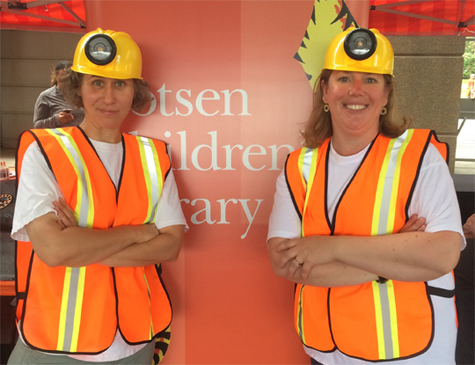 So, that’s our event table…now for constructing the mine! You certainly don’t have to get as elaborate as we did. You can create a mine by covering a box with grey paper. Cut a hole in the box’s lid, throw some numbers in there, and have kids reach into the box! Or you could skip the mine altogether and just do the number decorating part of the project. But if you do want to build a mine, here’s how we did it.
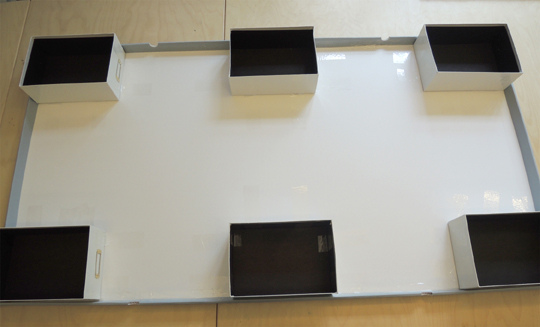 Since the box lid didn’t reach all the way to the bottom of the photo storage boxes, we closed the gap by attaching big strips of corrugated cardboard to 3 sides of the mine. We left it the mine open in the back so we could restock numbers during the event.
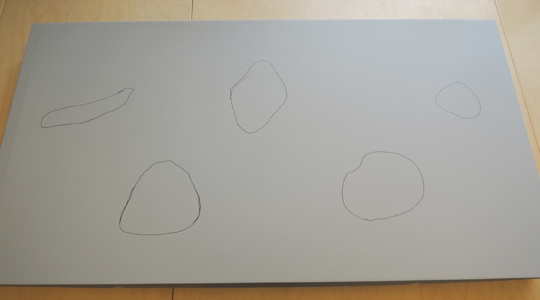
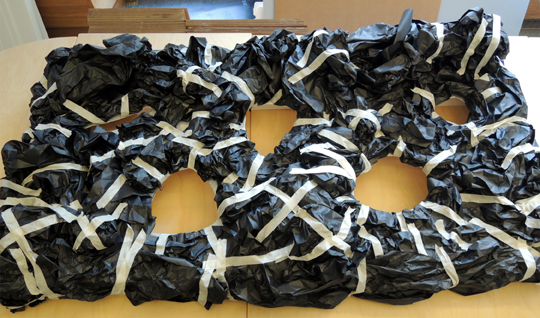
 Since we had a lot of area to cover, we used big, 6″ x 16.5″ pieces of newspaper. Occasionally, we use a smaller strip for edges or crevices, but mostly we stuck with the big ones.
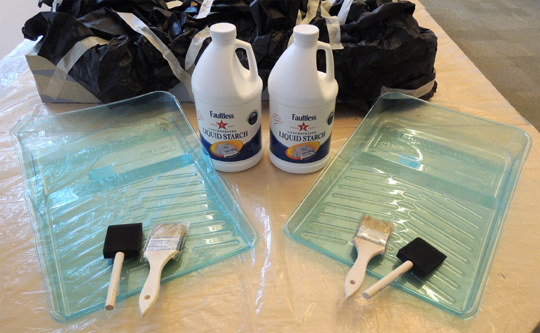
 The liquid starch held up well! It did coat our hands with sticky residue that required multiple rounds of soap and scrubbing to remove, but it wasn’t too bad. Honestly, the worst thing about the liquid starch was the fact that it was scented. “Mountain Fresh” scent to be exact. Hoo boy. You could smell the mountains the minute you took the cap off. After a couple minutes, the fragrance was looming in the room like a big, ominous fog. Katie put together a little graphic to convey the overpowering Mountain Freshness.
 We left the first layer to dry overnight. For the second layer, we got a little experimental. While researching liquid starch, we learned that some people absolutely rave about using white paper towels and computer printer paper for papier-mâché projects, especially if the projects are going to be painted later. So we decided to give it a try. We papier-mâchéd the bottom of the mine with paper towels, and the top portion with computer printer paper.
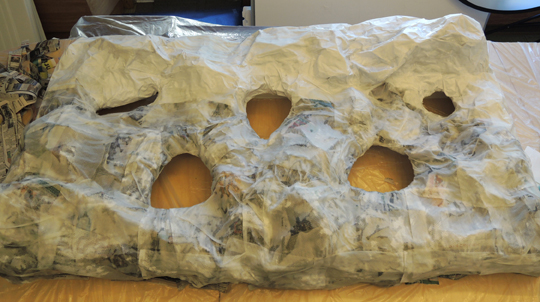 Wow, did the paper towels suck up the liquid starch! The printer paper needed much less. But the printer paper was so stiff, it created unwanted gaps like this one:
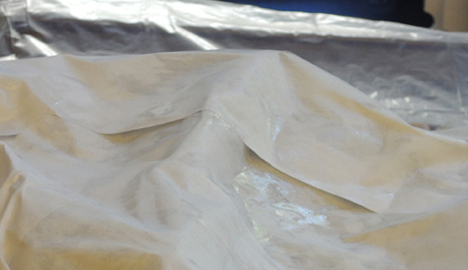 The solution was to drape a liquid starch-soaked paper towel over it. Below is that same gap with the paper towel over it. As you can see, the soft paper towel completely obscures the gap. I didn’t officially test this, but I believe newspaper would obscure gaps as well, perhaps even better than the paper towels.
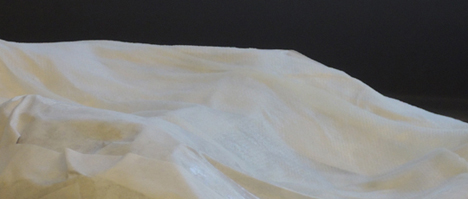 I was a little worried the paper towels were too transparent. But overnight, they magically dried to solid white.
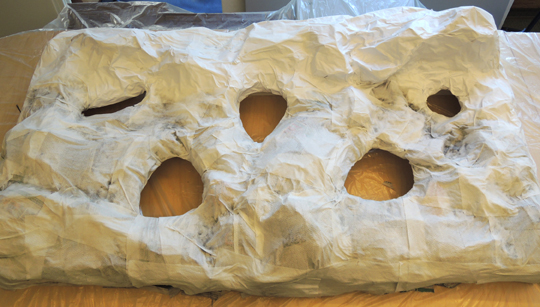 In the above photo, you can see there were still wet patches in crevices where the liquid starch had pooled. Katie hit those with a hair dryer, no problem. And we should add that, even now, things were still smelling quite Mountain Fresh.
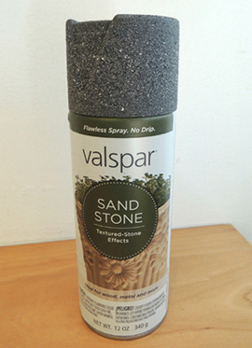 A cheaper option would be to use gray paint to cover the mine, then dab on darker gray with a piece of sponge. This will get you a textured surface, without the hefty spray paint price. Once the spray paint had dried (which, we might add, finally dissipated the Mountain Fresh fragrance), we decorated some numbers and attached them to the mines with hot glue. We hot glued some large plastic gems on as well – purchased from the wedding favor aisle at Michaels Craft Store.
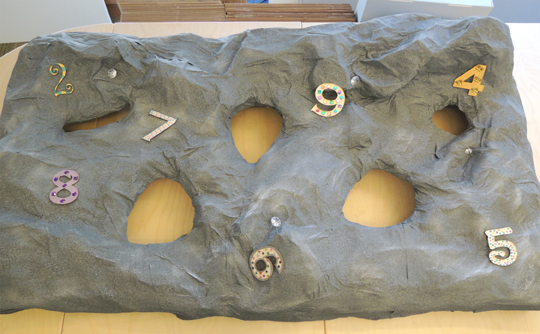 And this, dear readers, is when we discovered the fatal flaws in regards to paper towels:
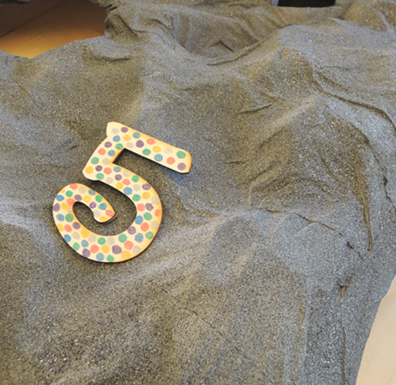 The printer paper, on the other hand, was much sturdier and the edges were hidden under the paint. The lesson? DON’T use paper towels for papier-mâché projects. Use newspaper and printer paper instead. In fact, I highly recommend printer paper for the second layer of painted papier-mâché projects. Very sturdy, holds paint very well.
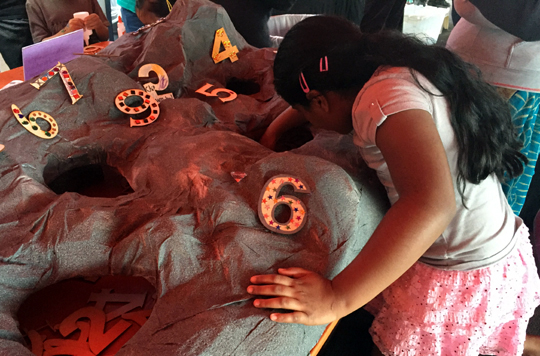 Anticipating trouble, we brought duct tape and a couple of step stools to the event. The stools elevated the kids right up to table level, allowing them to keep their weight mostly on the stools and not on their hands. So the paper towels held, but there were a couple time you could see them bending. Katie and I would brace ourselves for a tearing, crunching, breaking sound. Thankfully, it never happened. Whew!
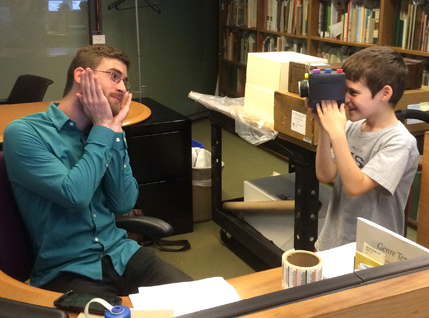
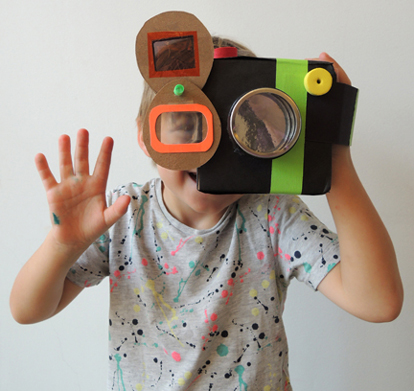 Ready, and…action! This fantastic camera shoots in 3 different screen modes, so you can exercise your complete creative freedom and film a breakthrough masterpiece. Add a fabulous movie poster, a plot synopsis, and you’re totally Oscar bound!
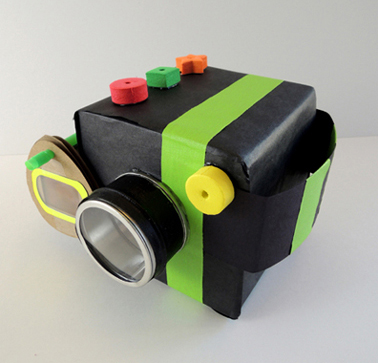 First, wrap a small box with black paper. Tab both ends of a strip of black poster board, then attach the tabs to the box with hot glue (or tape). Use color masking tape to add some snazzy accents to the camera. Hot glue 3 foam beads to the top of the camera (these are your “operating” buttons) and 1 to the front (this is your “light”). For the lens, I found these fantastic 2″ mini containers with clear lids at Oriental Trading Company:
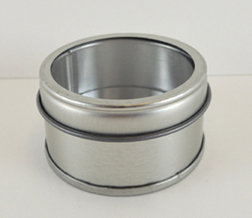 We hot glued a circle of silver
 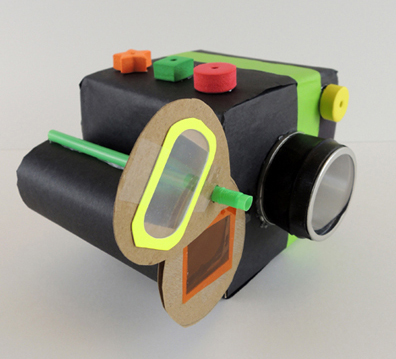 To make the screen slides, cut 3 screen slides from the template. You can either use them directly from the template, or trace them onto something sturdier, like tagboard or poster board (we used tagboard). Punch a hole in the top of the slide, then use a box cutter to cut away the rectangular window in the center. Tape a small piece of cellophane over the window (we offered choices of orange, red, purple, blue or green).
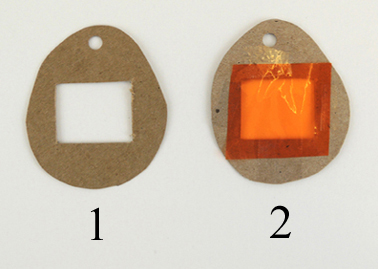 Next, cut the top section off a bendy drinking straw (i.e. the section right above the ribbed segment). Make sure to leave the ribbed segment untouched.
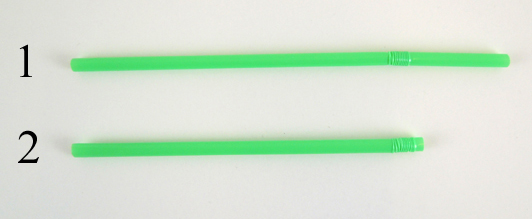 Thread the 3 screen slides onto the opposite end of the straw, sliding them down towards the ribbed segment. Don’t slide thread them over the ribbed segment. The ribbed segment is what keeps the slides from falling off the straw later. You want this to remains as rigid and un-squished as possible.
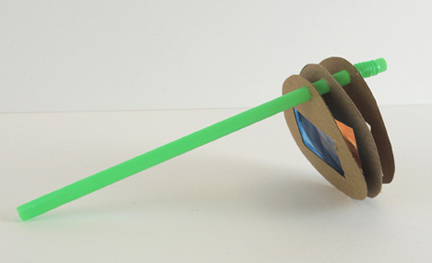 Place the straw on top of the toilet paper tube viewfinder and adjust the screen slides. The slides shouldn’t be packed together – they need plenty of room to rotate upwards and downwards. Once you’re satisfied with your spacing, cut the straw down and hot glue it to the viewfinder. Note! The straw should be slightly shorter than the viewfinder. Excited kids are going to be putting their eye right up to the viewfinder, and you don’t want them getting poked in the eye with a straw.
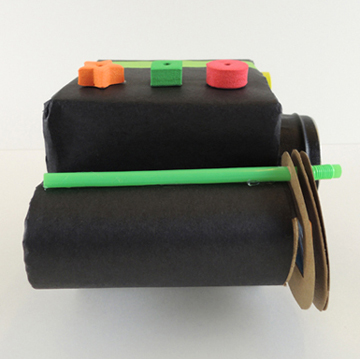 The camera is done! Slide your hand through the strap, select a screen slide, place your eye against the viewfinder, and start filming! Here’s the view of the different screen slides through the viewfinder:
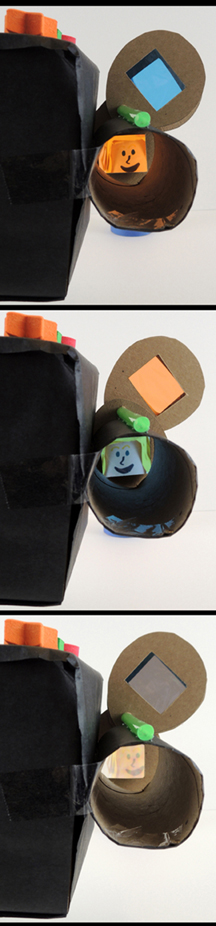 That last screen slide might look like clear cellophane…but it’s not! It’s a plastic lens from a pair of prism glasses. You can get these paper glasses from Educational Innovations (a pack of 10 costs $9). When you look through them, they diffract light into its spectral components. In other words, you see lovely rainbows everywhere.
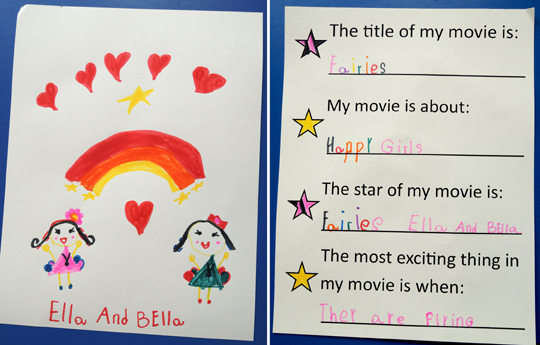
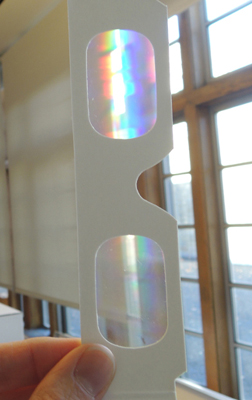 In addition to making a camera, we also made movie posters with plot synopsis on the black. Print the movie poster template on white card stock. Draw your poster on the front, and write your synopsis on the back. Here’s my poster:
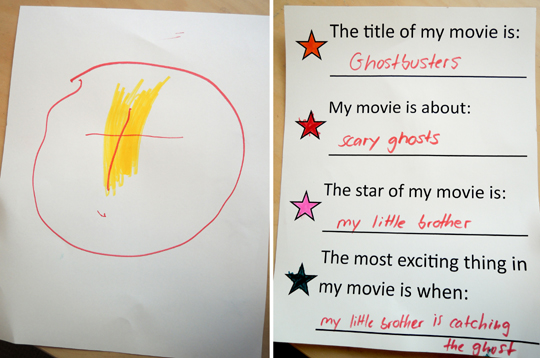
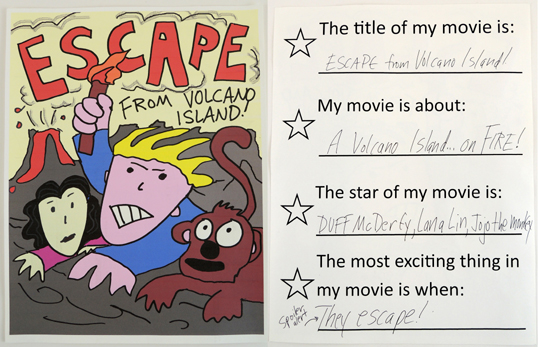 And here are a few kid posters I managed to snap…
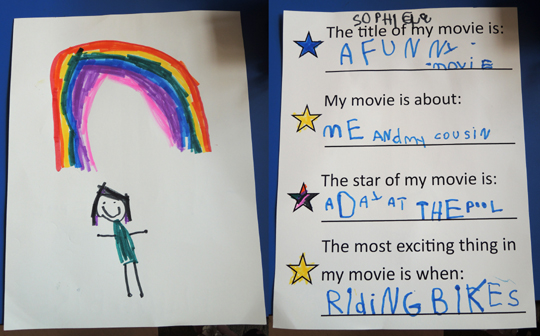
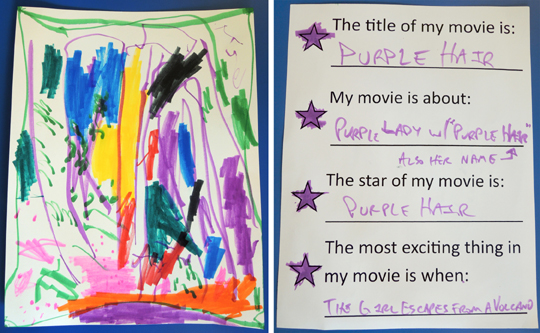
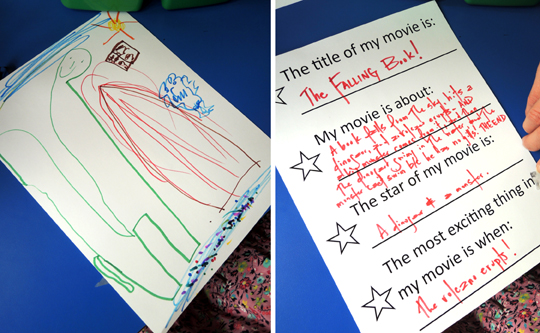 Just in case you can’t read that last poster, the movie is plot is “A book falls from the sky, hits a dinosaur, and a volcano erupts AND a sky monster comes from it, and the dinosaur swims in the water and the monster can’t swim because he has no gills. THE END.”
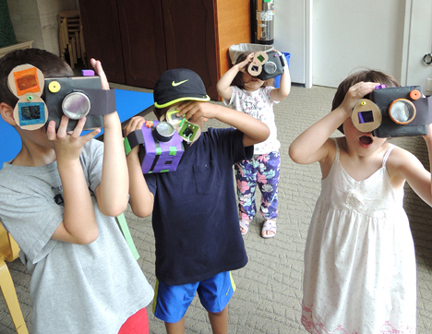 One filmmaker marched into our offices and captured Ian’s best angles. You’re a shoe-in for an Academy Award for Best Supporting Actor, Ian!