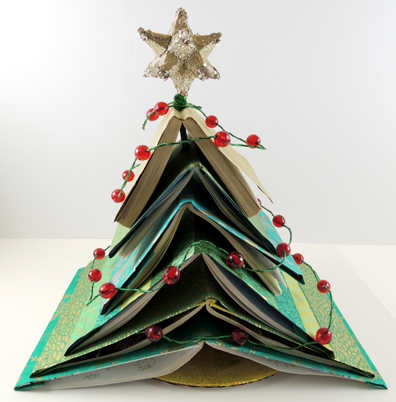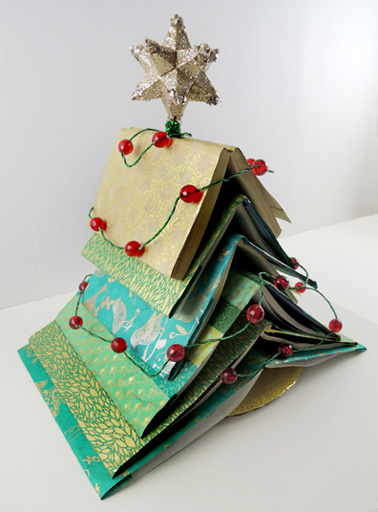
Reuse, repurpose, and redecorate this holiday season! Katie crafted this clever little book tree using 6 recycled books, wrapping paper, a cake support rod, and a bit of drill work. The results? Fa-bu-lous!
You’ll need:
- 5-6 books
- Mod Podge
- 1 foam paint brush
- Green wrapping paper
- 1 cake support rod
- 1 corrugated cardboard base
- An electric drill for construction
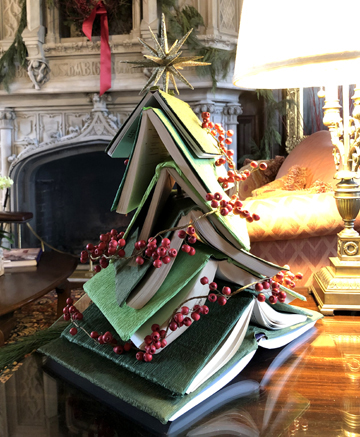
Katie was inspired to do this project when she spotted this beautiful book tree at Drumthwacket last year. Drumthwacket is the official residence of the Governor of New Jersey, where Katie proudly serves as a docent for their historical tours. Every December, local gardening groups deck the halls, and this little tree stole her heart. She was determined to craft one of her own.
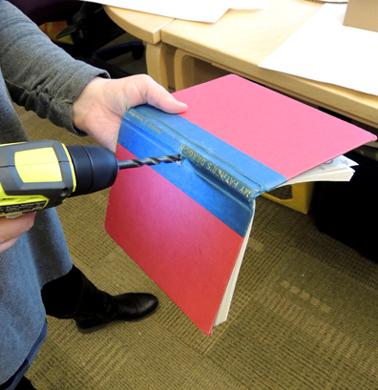
 Let me start by saying that Katie selected six OLD books for this project…retired editions that had torn pages, faded covers, and ripped bindings. Because otherwise we would have been cringing during the first step of the project…drilling holes in the spines of the books! Katie used the largest drill bit in the set – a 5/16″ bit to be exact – to drill holes in the center of the books’ spines.
 Next, she used a bottle of Mod Podge and a foam paint brush to glue wrapping paper onto the covers of the books. We went all schmancy and bought our wrapping paper from Paper Source.
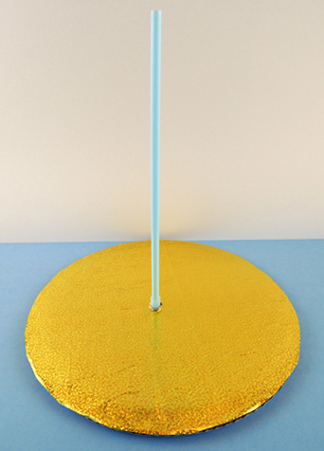
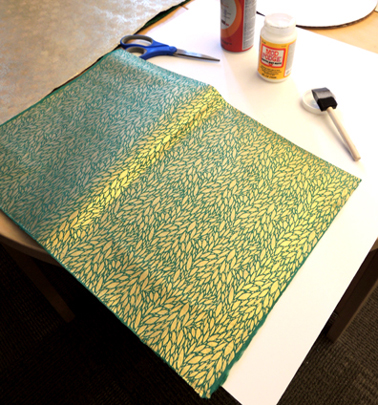 While the book covers were drying, Katie construct the tree base. She glued together two, 12″ cake pads, then glued wrapping paper on the top circle. She again drilled a hole in the center of the base, then threaded a cake support rod upwards, through the hole.
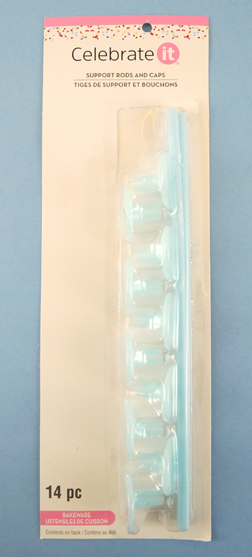
If you are like me and have NEVER heard of cake support rods until today, they are metal or plastic rods and bases used to build multi-tier cakes (think wedding cakes or elaborate Kardashian baby showers). Katie found her rods in the cake decorating section of Michael’s craft store. The rods a package of fourteen, 12″ rods costs around $8.
 Annnnd here’s the finished base, ready to support some books!
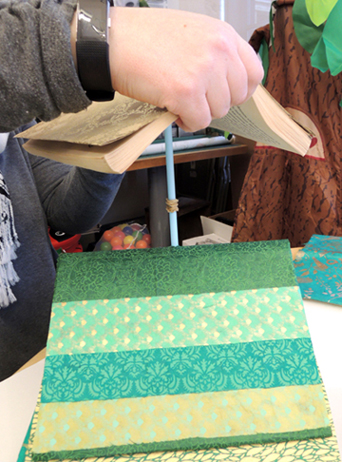
 Since the initial holes Katie drilled in the books were covered with wrapping paper, she carefully re-drilled them. Then she threaded the books onto the support rod. Almost immediately, she noticed a problem. The books sagged down the smooth rod and flattening out! Katie quickly fixed the problem by wrapping rubber bands around the rod to brace each book.
 When the books were stacked, Katie added a star to the top. This was a cheap ornament with a sparkle stem wrapped around the ornament’s loop. The sparkle stem was threaded inside the cake support rod, then the star/rod connection was reinforced by a second sparkle stem. Add a strand of lights and you are done!
