

New York City is quite the literary town, but there is one place I hear about repeatedly in my line of work. The famous, fun, and fabulous children’s bookstore, Books of Wonder. On a recent trip to the city, Katie and I stopped by their 18th Street location to bask in the stuff of legend.
Independently owned and operated, Books of Wonder first opened its doors in 1980. Originally slated to sell antiquarian children’s books, the stock soon expanded to encompass new children’s books as well. In 37 years of business, Books of Wonder has moved, expanded multiple times, coordinated events both large and small, launched a publishing division, and become the keepers and champions of Frank Baum’s Oz books. Another interesting fact – Books of Wonder inspired the setting for the children’s bookstore in You’ve Got Mail, right down to being measured, photographed, and rebuilt on the movie’s sound stage.
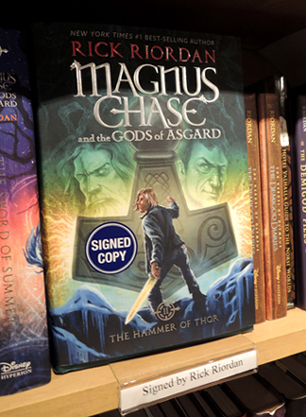
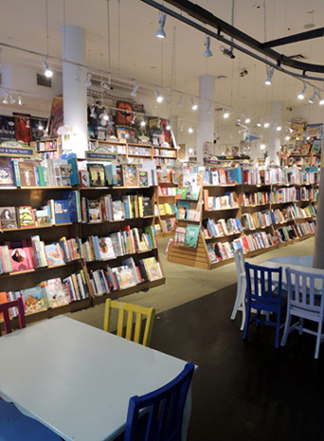 Books of Wonder is PACKED with a huge selection of books. The books are so enticingly displayed, you just want to grab one and read it right away (and plenty of readers were camped out on the floor and in little chairs, doing just that). They have quantities of signed copies too.
 Katie left with not one but two signed copies of The Girl Who Drank the Moon (the 2017 Newbery winner). Once I torn myself away from the stacks, I turned my eyes to the quirky and inviting decor.
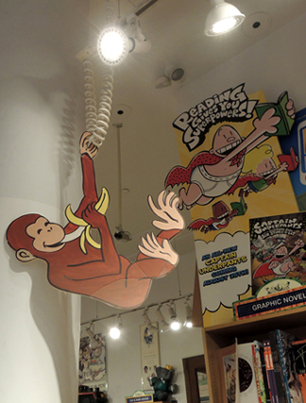
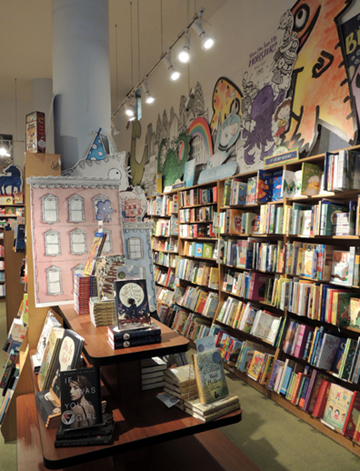 Layered on endcaps, tables, walls, and bookshelves are posters, original artwork, and characters from illustrated books. It almost feels like you’re inside some sort of awesome pop-up book. Do you recognize the dragon in the image that started this post?
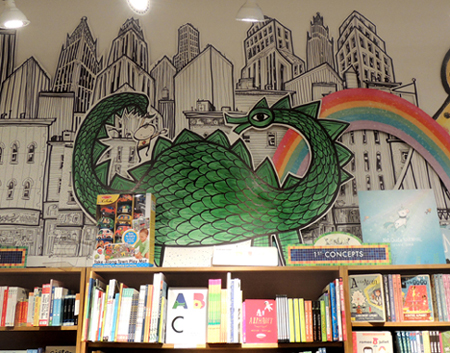 Yup! It’s by author and illustrator Steve Light, wielder of the fountain pen extraordinaire (we made these fantastical steampunk airship for his book, Zephyr Takes Flight). The artwork pops up in unusual places too. Curious George swinging from a light fixture…
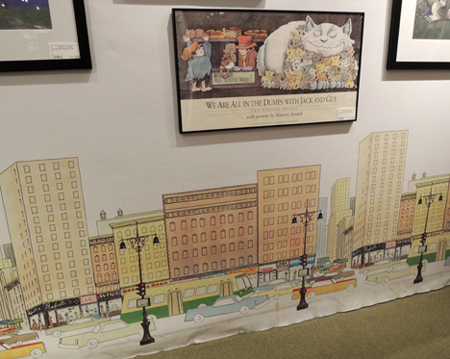
 A street scene on the floor of the gallery:
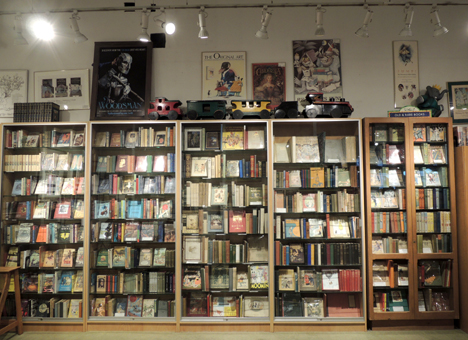
 The back wall of the store is dedicated to Books of Wonder’s extensive antiquarian and rare books section.
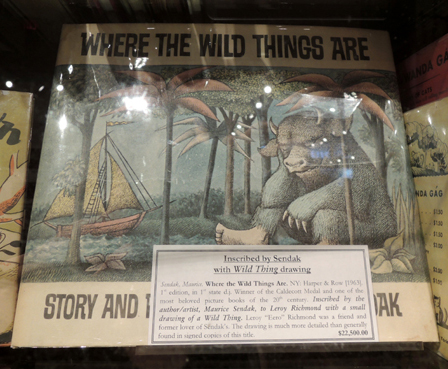
 Here you can find an amazing array of your favorites. If you’re wondering how much a first edition of Where the Wild Things Are (inscribed, with an original sketch) is going for these days, it’s $22,500.
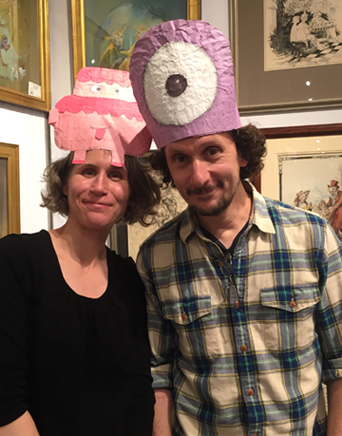
 Not far from the rare books, I was delighted to find a real live author signing books! In fact, I shouted across three shelves of retail space to tell Katie that Rowboat Watkins was in the store. Rowboat is the author and illustrator of Rude Cakes (which I love, and which we story timed here). His newest book is Pete With No Pants. Not only did I get a signed copy of Rude Cakes, Rowboat let me model his awesome headgear.
 Moving towards the front of the store, I soon discovered “Blind Date With A Book.”
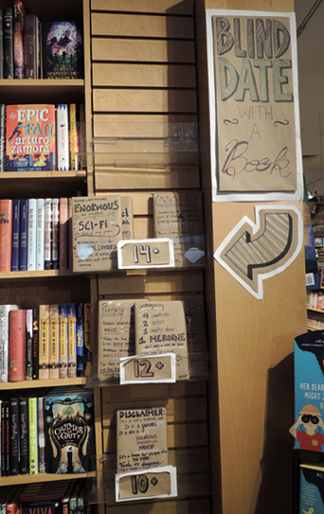 Essentially, it’s a book wrapped in brown paper with a suggested age range, genre, and enticing teaser. YES!
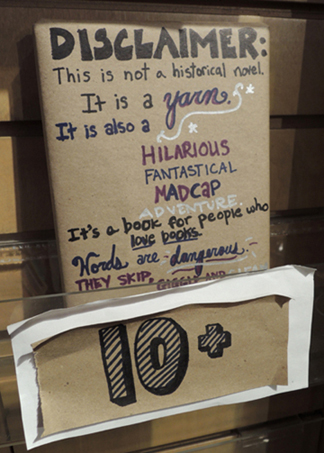
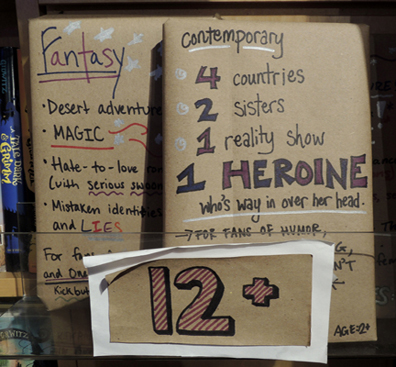 I almost bought this one…
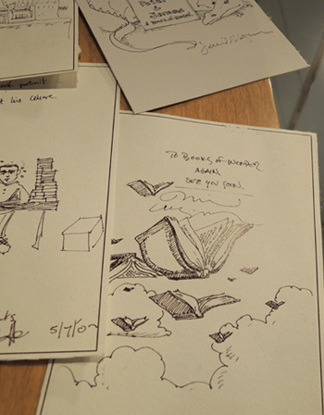
 One more fantastic detail. At the front of the store are thank you illustrations from visiting artists. It reminded me of the fabulous conference room walls at the Mazza Museum (which you can see at the end of this post).
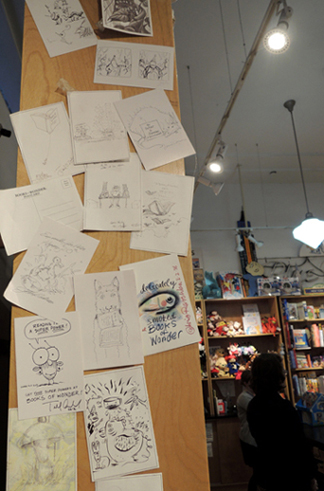 Here’s my personal favorite:
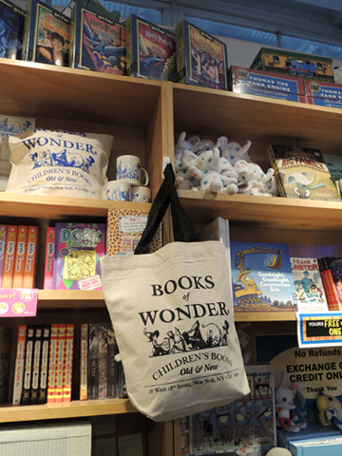
 Katie and I spent a happy hour shopping Books of Wonder before we had to dash to catch our train. My only regret is that I spotted this cool canvas logo bag as I was walking out the door. Too late to go back and snag it, darn it!
 But not to worry. I’ll definitely return. In fact, in September a second location will be opening on 217 West 84th Street. If you’re in town, definitely make Books of Wonder a destination. Just be prepared to leave with LOTS of books. This store is bursting with love for children’s books. How can you resist taking some of the love home with you?
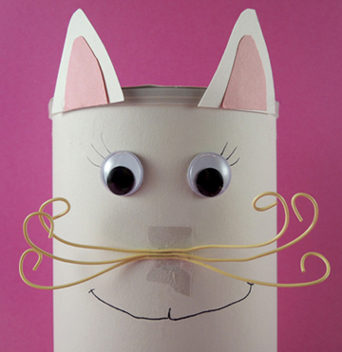 Peel and stick a triangle of self-adhesive foam over the tape.
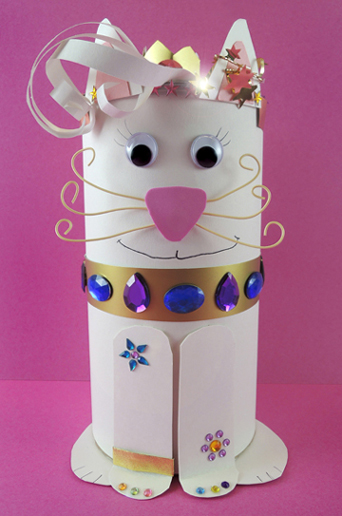
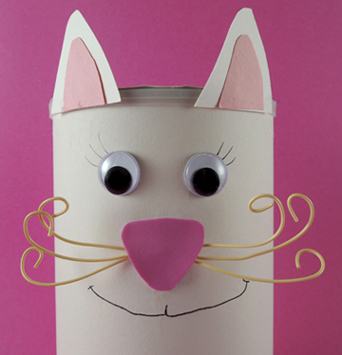 To make the cat’s hind legs, cut a 4.25″ x 6.25″ rectangle of white poster board into the shape you see below. Hot glue it to the bottom of the oatmeal container.
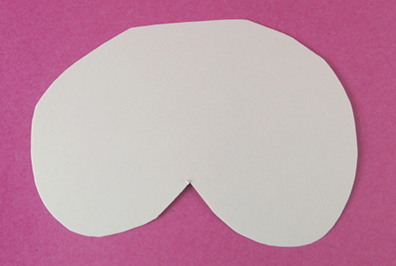 The front legs are two, 1.75″ x 4.5″ rectangles of white poster board. Round the rectangles at both ends, then fold one end to create cat paws. Hot glue or tape the legs to the front of the container. And don’t forget to add a tail!
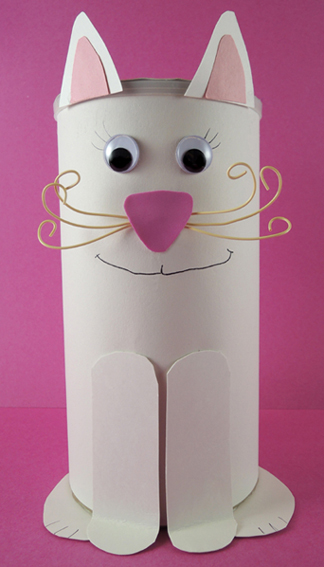 Now to fancy things up! We crafted paper bangs, a little gold poster board crown, and a gold poster board collar embellished with
 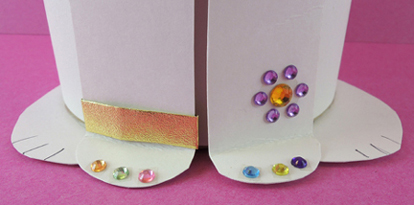 Your cat is finished, now for the accessories! The blanket is a 7″ x 11.5″ piece of fleece trimmed with gold tape. The water dish is a be-jeweled gold paper cup (cut down to 1.75″), with 2 blue cotton balls.
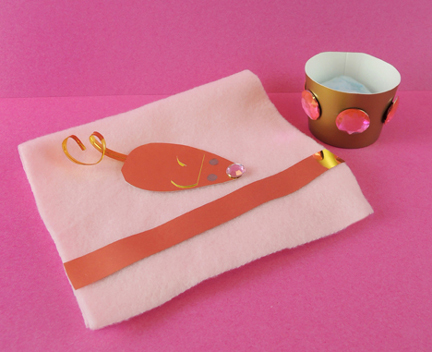 The gold mouse toy is a 2.25″ x 3.25″ rectangle of gold
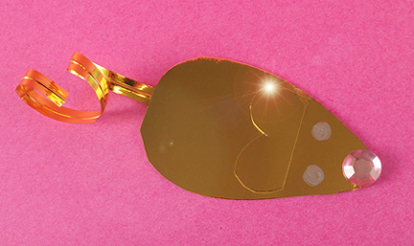
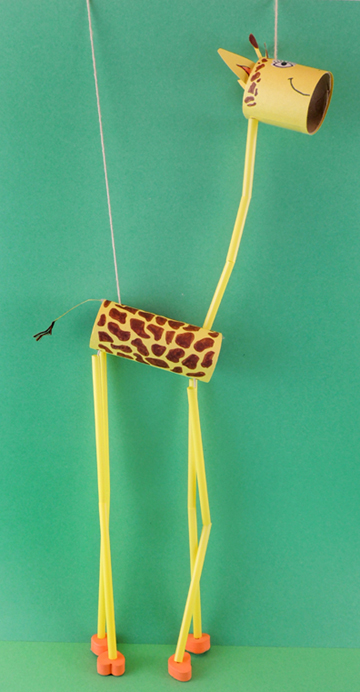 The giraffe has a toilet paper tube body, and a 2″ long toilet paper tube head. Both of the tubes are wrapped with yellow construction paper. We used extra yellow construction paper to create the ears, antlers, and tail. Then we used markers to add the giraffe’s spots, mouth, and nostrils. We used
  The second hole is positioned underneath the first, on the opposite side of the tube.
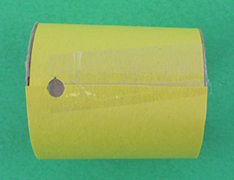 If my description seems a little confusing, this next image should clear things up. Here’s the finished marionette head with the string running through the 2 holes you punched in the head tube.
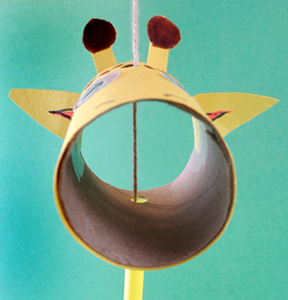 Next, punch a hole at each end of the top of the body tube:
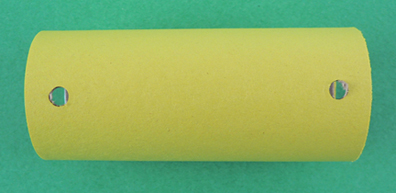 Then turn the tube over and punch 4 holes in the bottom. As you have probably guessed, these 4 holes are where the marionette’s legs attach in the next step.
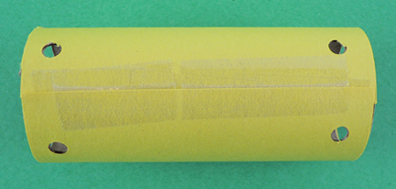 To make the giraffe’s legs, thread a piece of string through a foam bead. Secure the string to the bottom of the foam bead with tape. Cut a drinking straw in half, then slide the 2 pieces down the string towards the foam bead. Thread the loose end of the string into the leg hole you punched in the body tube. Secure the string inside the tube with tape. Repeat these steps with the 3 remaining legs.
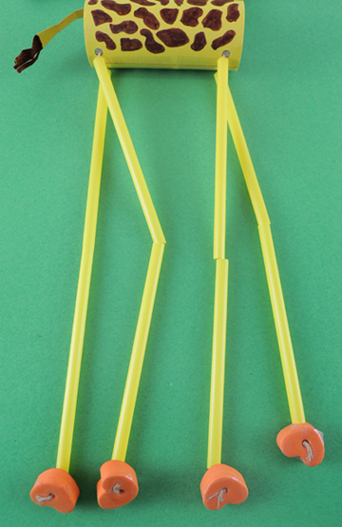 The lower part of the your puppet is done, now for the upper part! The puppet is attached to its drinking straw control stick by two strings. The first string runs from the control stick to the giraffe’s rear end, where it is secured inside the tube with tape. The second string runs through the head, the neck, and then attaches to the body tube with tape. The neck is a drinking straw cut into 3 pieces. We used black masking tape to secure the string to the control stick too.
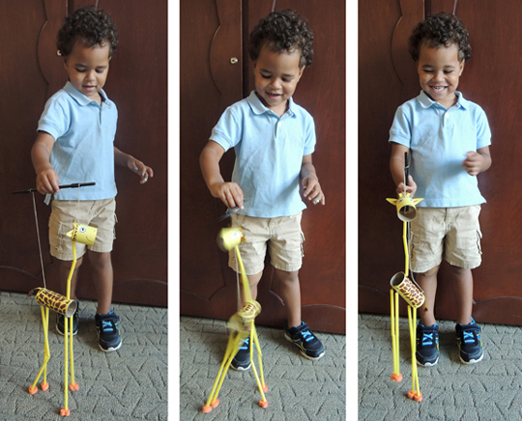
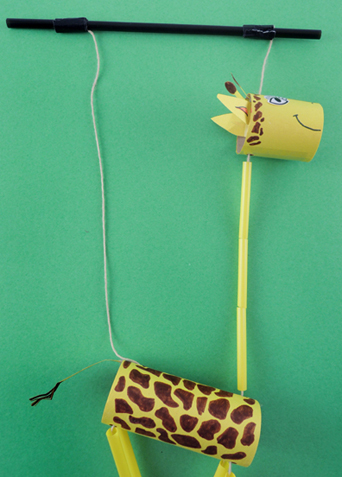 Your marionette is done! We put on some tunes and invited kids to dance their giraffe friends. This resulted in some bouncy, twisty, bendy, jumpy dance moves, as well as a few bars of an original song we’re calling “Dancing, Dancing, Dance-a-lee-Dance!”