The Bear Necessities

the bear necessities

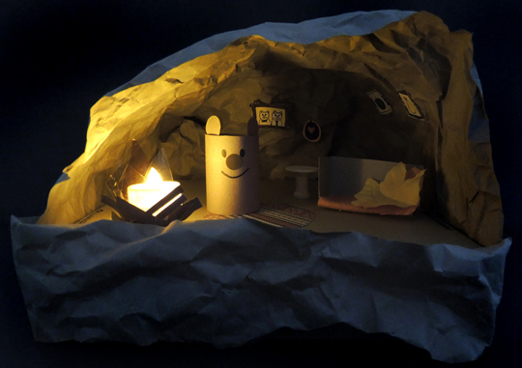
Settle in for some serious sleep in this cozy bear cave complete with all the creature comforts…sofa, table, rug, artwork, and a flickering fire!

We read Sleep Tight, Little Bear, written by Martin Waddell, illustrated by Barbara Firth (Candlewick press, 2005). When Little Bear finds a little cave close to the Big Cave, he moves right in. Soon, there’s a bed, a table, a chair, and a stuffed doll! Supper is served in the little cave and Little Bear is having a grand time…until bedtime. Will Big Bear miss him? He’d better check. Sure enough, back at the Big Cave, there’s a story and a snuggle waiting.

You’ll need:

  • 1 cardboard box lid or tray
  • Brown packing/wrapping paper
  • 1 small box
  • Felt, any color
  • A selection of patterned paper
  • 1 bear cave frames template, printed on 8.5″ x 11″ paper
  • 1 LED votive
  • Yellow and red cellophane
  • 1 half of a toilet paper tube
  • Brown construction paper
  • Scissors and tape for construction
  • Markers for decorating

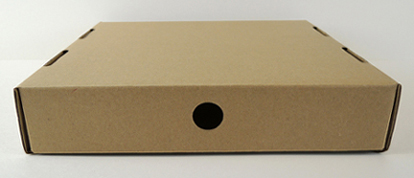
The bear cave’s base is a box lid or cardboard tray. We used these 9.5″ x 11″ cardboard trays (you might recognize them from this butterfly garden post!).

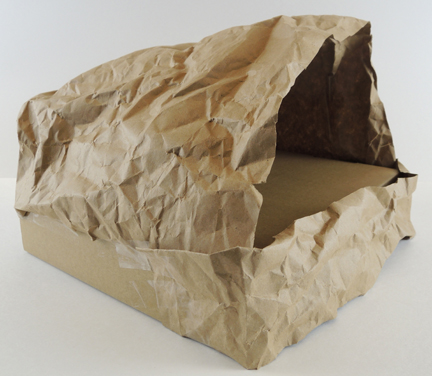
bear cave baseFirst, crinkle up brown packing or wrapping paper. Then arch it over the top of the base and secure to the sides and back of with tape. We taped a strip of crinkled paper to the front of the base as well.
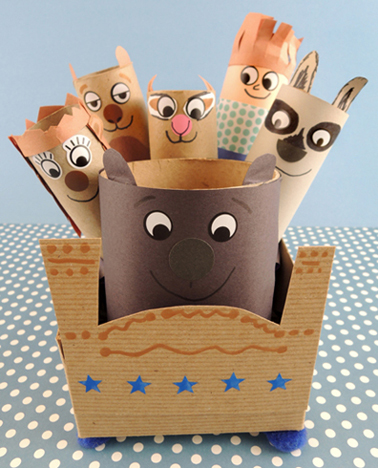
bear cave constructionNow, for the inside! We made a half a toilet paper tube bear (with a dot sticker nose), a sofa made out of a little box with a bit of felt glued to it, a patterned paper rug, and a table made out of a wood circle and spool.
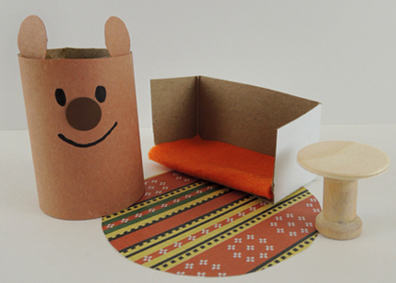
bear cave furnitureReady for some artwork? Cut the frames from the template, draw some pictures, and attach your artwork to the walls of the cave with tape loops. We also added some s in fall colors to make things extra cozy (we get our leaves from Discount School Supply, 200 leaves are $6).
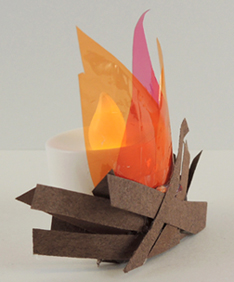
The final touch? A flickering fire! Tape red and yellow cellophane to the front of an LED votive. Then add a few construction paper “sticks” over top.

led cave fireTo make things extra fun, we turned off the lights during the fire construction portion of the program. It was so cute to see these little illuminated caves on all the tables. But here’s the cave that completely captured my heart…this bear is roasting a marshmallow!
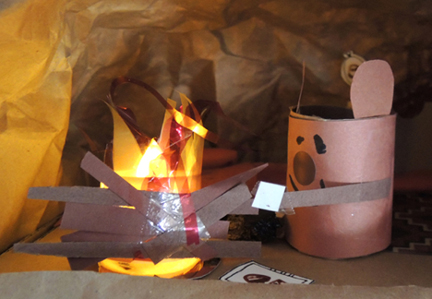
bear roasting marshmallows

The Hummingbird of Happiness

the hummingbird of happiness

Help your oatmeal container bear reunite with his friend hummingbird in this gentle (and super silent) game of hide and seek!

We read Hector and Hummingbird by Nicholas John Frith (Arthur Levine Books, 2015). Hector is a bear who lives in Peru, and Hummingbird is his best friend. The problem is, Hummingbird likes to talk, and talk, and talk, and talk and doesn’t realize Bear is becoming increasingly annoyed with his chattiness. Finally, Hector blows his top and yells at Hummingbird that he wants to be left alone. But silence and solitude aren’t all they’re cracked up to be, and Hector soon wishes for his friend to return. Zip! Hummingbird returns in a flash (he’s been hiding close by on every page) and all is well. These days, the two friends still talk, but they also spend time enjoying a little companionable silence…sometimes.

You’ll need:

  • 1 large oatmeal container
  • Brown and black construction paper
  • 1 pair of large wiggle eyes
  • 1 pair of small wiggle eyes
  • 1 jumbo pom-pom
  • 1 medium pom-pom
  • A selection of small feathers
  • Scissors, tape, and glue for construction
  • Markers for decorating
  • Hot glue

just the bear

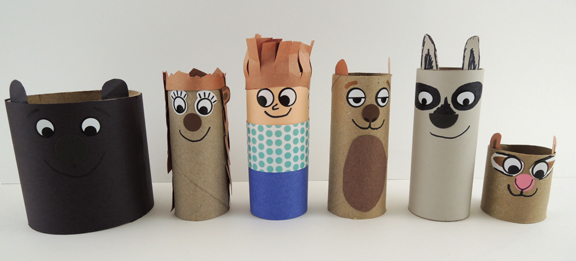
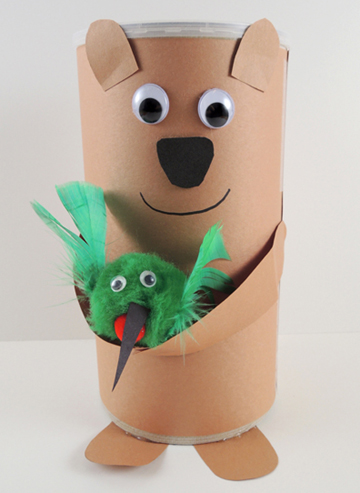
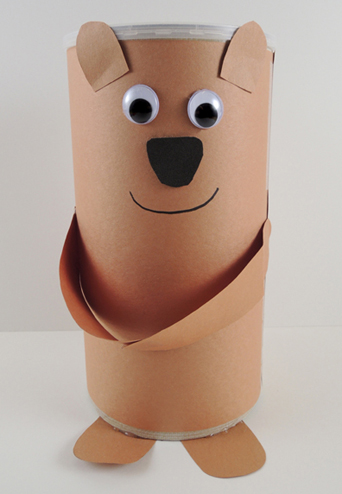
The bear is very simple to construct. Wrap an oatmeal container with brown paper, then use the extra bits to make the feet, tail, and ears. Attach a pair of wiggle eyes and a self-adhesive foam nose (or just use markers to draw these on). Draw a smile on with a marker. Last come the construction paper arms, which are extra long and attach at the hands. This is so the bear can carry its hummingbird friend.

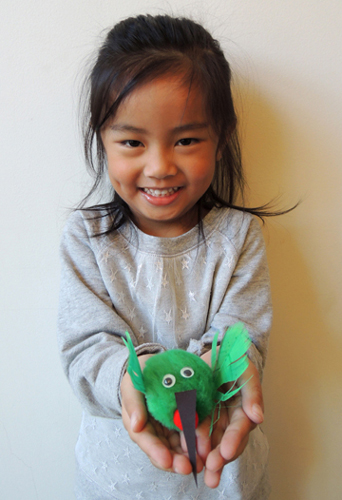
bear with hummingbirdThe hummingbirds were created by Katie. Aren’t they cute? She made a green version modeled after the ruby-throated hummingbird, and a purple version modeled after the violet sabrewing hummingbird.
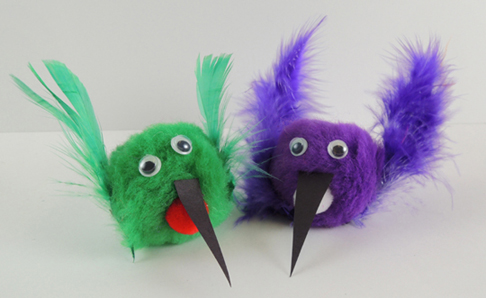
a pair of hummingbirdsTo make a hummingbird, glue a thin black construction paper beak onto a large (1.5″ diameter) pom-pom. Glue a smaller (.75″) pom-pom underneath the beak. Add a pair of small wiggle eyes and 2 feathery wings and you’re set!
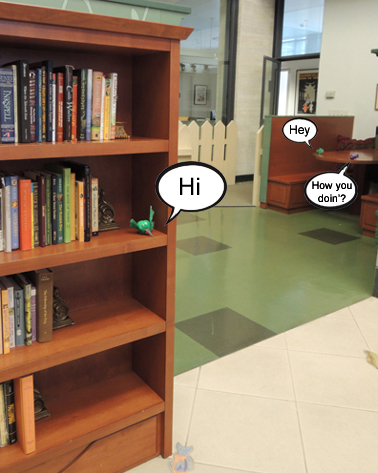
We loved how the book’s creator hid the hummingbird on various pages, so Katie made 2 hummingbirds for each story time kid and placed them in different locations in the gallery.

hide and seek hummingbirdsThen, slowly, and oh-so-quietly, kids and their bears went in search of their hummingbirds.
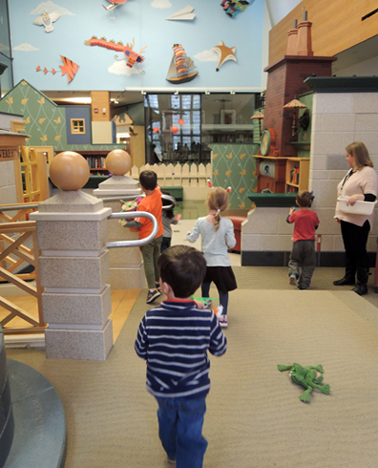
searching for hummingbirdsLooking for more feathered friends? Check out this reading canary, this chick magnet, this photo-ready penguin, and this avian obstacle course. Need something simpler? Give this craft stick bird a try, or this wrist parakeet. We have featured one celebrity bird on the blog…you’ll find him here, along with his famous literary connections.

This Tea Party RULES

this-tea-party-rules

It might look like a proper tea table with matching teapot, cups, saucers, sugar bowl, creamer, and a platter of cookies. But beware! Your guests want those cookies something fierce, and aren’t afraid to get grabby in our fast-paced cookie snatching game! Video, of course, at the end of the post.

We read Tea Party Rules, written by Ame Dyckman, and illustrated by K.G. Campbell (Viking, 2013). A bear cub follows the delicious smell of cookies to a little girl’s tea party. Pretending to be the girl’s stuffed bear, the cub eagerly awaits the moment when he can devour the cookies. He’s got her completely fooled, but then the girl decides that her toy bear needs to follow the “Tea Party Rules.” In other words, he needs to be clean, neat, fancy, and dainty. Poor Cub is subjected to a bath, ribbons, perfume and a dress. But when it comes time for a lecture on dainty eating, he snaps. He attacks the cookies. When only one cookie remains, Cub stops. Suddenly, he realizes that he’s not only ruined the tea party, he’s made the girl very sad. So he gives the final cookie to her. Does she eat daintily? No she does not. She decides it’s time to play BEAR!

You’ll need:

  • 9 – 10 paper cups
  • 1 corrugated cardboard base (I used a 9.75″ x 13.75″ cake pad)
  • A selection of patterned tape
  • A selection of color masking tape
  • 1 small paper plate (mine was 7″ in diameter)
  • 1 spouts template, printed on 8.5″ x 11″ card stock
  • Extra poster board for tea set handles, spouts, and sugar tongs
  • 1 small pom-pom
  • 2 circles of white poster board (approximately 3.5″ in diameter)
  • 3 circles of tag board or brown poster board (approximately 3.5″ in diameter)
  • 3 button magnets
  • 1 rectangle of or brown poster board (approximately 2.5″ x 9.25″)
  • 1 rectangle of white poster board (approximately 3.5″ x 9.25″)
  • 2 jumbo paper clips (mine were 2″ long)
  • Scissors and tape for construction
  • Markers for decorating
  • Hot glue

finished-tea-tableThis project consists of 1) A tea set with cookies; and 2)  A pair hand grabbers for the snatching game. The cookies have magnets hot glued to them, and the hand grabbers have paper clips taped to them. Thus, when the hand slaps down on the cookie, it picks it up!

glove-with-cookieWe’ll begin with the tea set. To make the table, hot glue 4 paper cups to the bottom of a corrugated cardboard base. The cookie platter is a flipped-over cup hot glued to a small paper plate. You don’t want the cookie platter to be too tall, so you can either cut a full size paper cup down to 2.25″ inches, or use a shorter cup (we used 3.5oz plastic drinking cups from Target). Decorate the platter and table with patterned tape, color masking tape, and/or markers. Then hot glue the platter firmly to the top of the table.

tea-tableTo make the teapot, flip a paper cup over, then tape (or hot glue) a poster board handle to one side. Cut the spout from the template and trace it onto white poster board. Fold the tea pot spout in half (the fold is marked with a solid black line on the template). Next, fold the spout’s tabs outward (the tabs are marked with dotted lines on the template). Attach the tabs to the tea pot with tape (or hot glue). Finish by hot gluing a small pom-pom to the top of the tea pot.

tea-pot-and-tea-cupsTo make tea cups, cut 2 paper cups down to 2″. Use tape (or hot glue) to attach a white poster board handle to the side of each cup. Then place the cups on a white poster board “saucers.” Decorate the teapot, cups, and saucers with patterned tape, color masking tape, and/or markers.

Next up – the sugar bowl and creamer. To make the sugar bowl, cut a paper cup down to 1.5″. Drop a paper baking cup inside for extra flair. To make tongs, fold a narrow strip of poster board in half. Those cute little sugar cubes? Foam packing peanuts, cut in half.

sugar-bowl-and-creamerThe creamer is a paper cup cut down to 2″. Cut the creamer spout from the template, and trace it into poster board. Fold the spout in half (the fold is marked with a solid black line on the template). Next, fold the spout’s tabs outward (the tabs are marked with dotted lines on the template). Attach the tabs to the cup with tape (or hot glue). We filled the creamer with white cotton ball “cream.”

Finally…the cookies. These are circles of tagboard (or poster board) decorated with markers. We made 3 cookies per kid. Hot glue a button magnet to the back of each cookie.

magnet-cookies

Now for the game! We had 2 hand grabbers – a bear paw and a fancy white glove. To make the bear’s paw, round one end of a 2.5″ x 9.25″ strip of tag board (or brown poster board). To make the glove, cut a hand in one end of a 3.5″ x 9.25″ strip of white poster board. Tape a jumbo paperclip across the palms of both grabbers.

game-handsReady to play? Have 2 kids select a grabber and sit down at the table. On “Go!” each kid must use his/her grabber to quickly remove cookies from the platter. The kid who grabs the most cookies, wins!