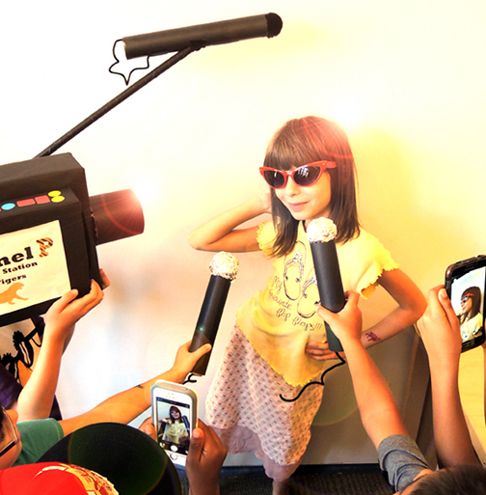
 Whether you’re covering a celebrity event or conducting an in-depth interview, you’ll need the right equipment to get the job done. Namely a camera, a handheld microphone, and a boom microphone!
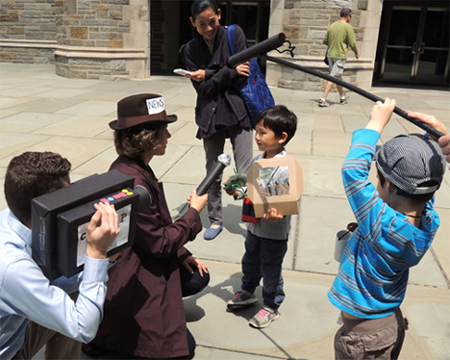
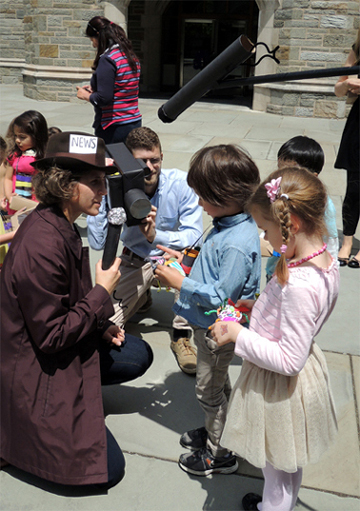
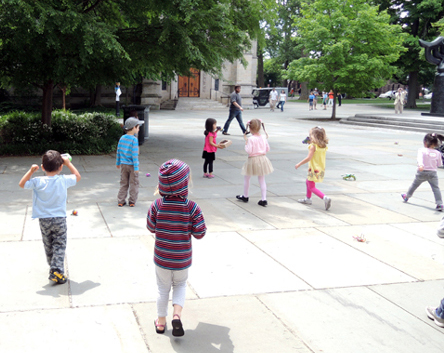
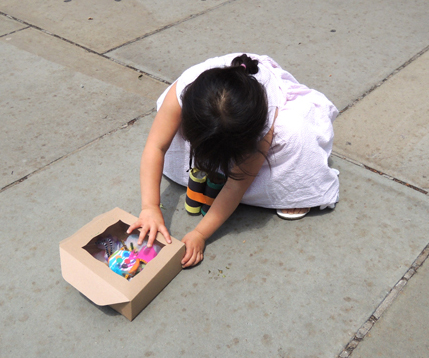
We’ve successfully “filmed” story time fashion shows, spoken with future presidents, covered red carpet entrances, and chatted with entomologists about a new bug species they’ve discovered. We’ve also let kids take over the equipment. It’s guaranteed to hold up to even the most enthusiastic documentarion.
You’ll need:
- Black paper or paint
- 2 cereal boxes (one extra large, one small)
- 1 packing tape core
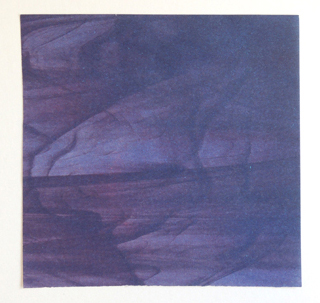
- A 4″ x 4″ square of mirror board
- 1 toilet paper tube
- A selection of dot stickers (optional)
- 2 paper towel tubes
- 2 black pipe cleaners
- 1 black jumbo pom-pom (mine was 1.5″)
- A 38″ piece of PVC pipe
- A roll of black masking tape
- Scissors and tape for construction
- Hot glue
CAMERA
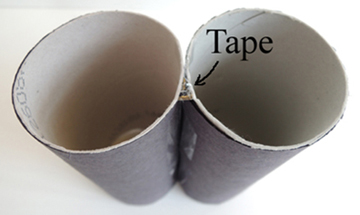
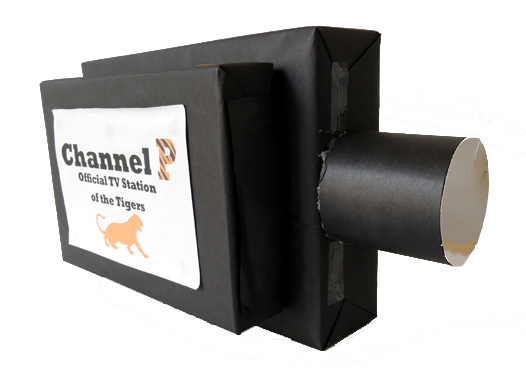 Wrap the cereal boxes, packing tape core, and toilet paper tube with black paper (we used a roll of bulletin board paper, but you could also use black paint). Hot glue the 2 cereal boxes together. Katie glued a “Channel P” sign to the side of the small cereal box as well.
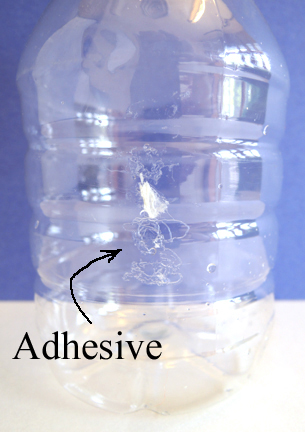
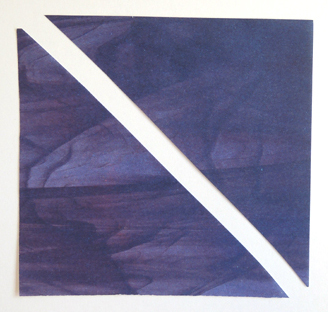
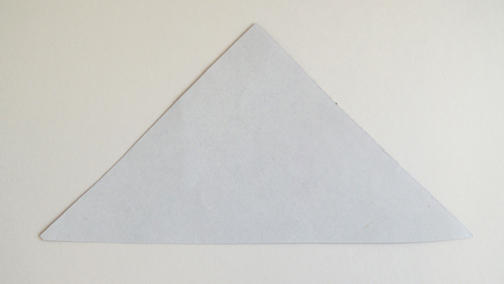
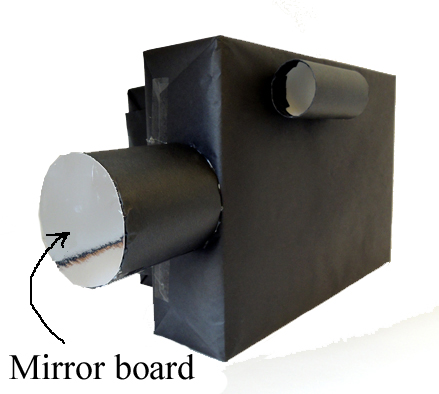
To make your camera lens, cut the mirror board to fit the circumference of the packing tape core, then attach the mirror board to the core with hot glue. Hot glue the core to the front of the extra large cereal box.
 Hot glue the toilet paper tube “viewfinder” to the extra large cereal box. Put dot sticker “buttons” on the small cereal box (or draw your own button panel on white paper and attach to the box). Here’s a bird’s eye view of the camera with all of its parts in place.
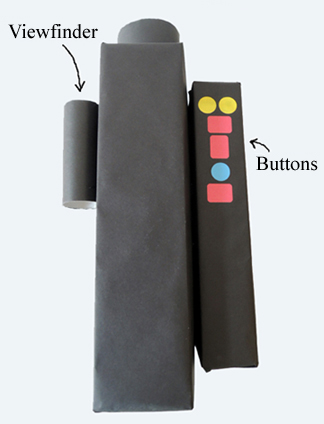 Make sure the viewfinder is on the opposite side of the camera from the small cereal box. Otherwise, you won’t be able to hold the camera on your shoulder!
HANDHELD MICROPHONE
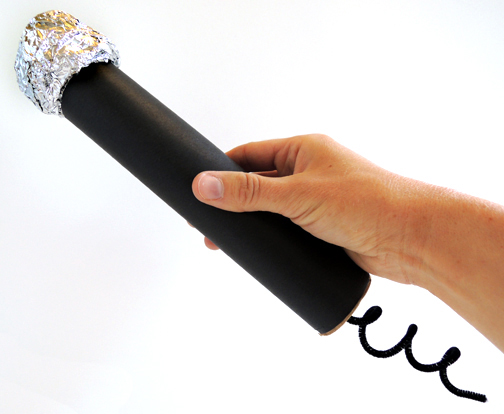 Cut a paper towel tube down to 8″ then wrap with black paper (or use black paint). To make the spiral cord, curl a black pipe cleaner around a marker. Then tape the pipe cleaner inside the bottom of the tube.
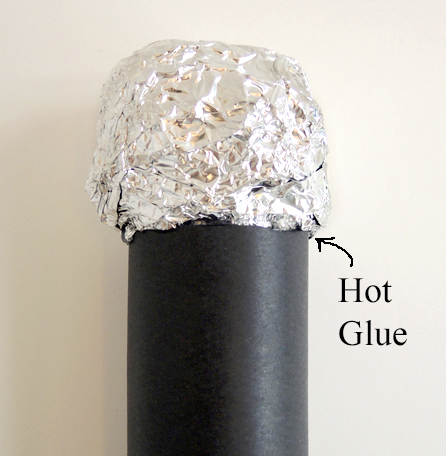
For the microphone’s “windscreen,” bunch pieces of tin foil into a bulbous cone shape. It should look like this:
 Layer more piece of tin foil on top of the bulb so the windscreen bulges over the rim of the paper towel tube. Then hot glue the foil to the tube.
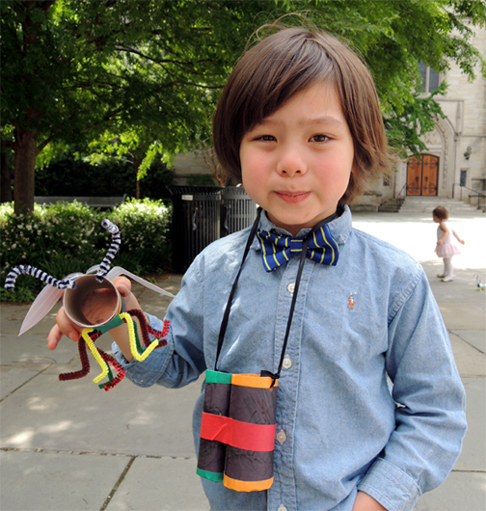
 Feel free to add some dot sticker buttons if you like. Your microphone is ready to record!
BOOM MICROPHONE
 The camera and the handheld mic are great, but the boom mic REALLY makes this set!
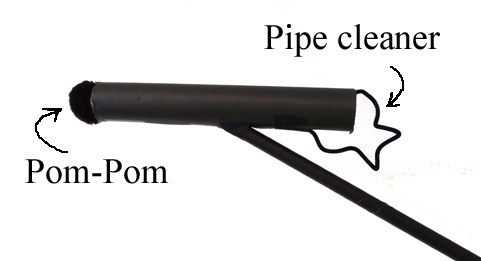
First, wrap the paper towel tube with black paper (or use paint). Then hot glue a jumbo pom pom on one end. To make the cord, curl a black pipe cleaner around a marker. Tape one end inside the tube. Tape the other end of the pipe cleaner to the outside bottom of the tube.
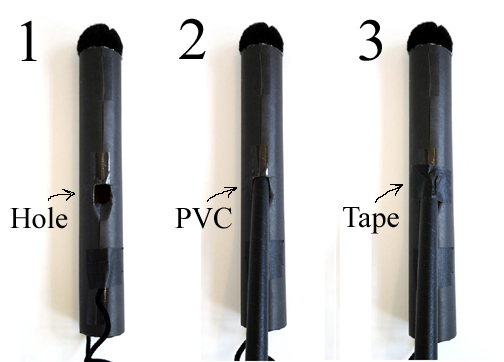
 To create the boom, wrap a 38″ piece of PVC pipe with black masking tape. Use scissors (or a box cutter) to make a hole in the middle of the tube. Insert the PVC pipe into the hole, and keep pushing until the pipe touches the interior of the tube. Secure with black masking tape.
 Your set is complete! When covering a news story, I sometimes throw on a coat and matching fedora. To make things more official, you know.