 Just posted! A webcast and podcast with Nadia Hashimi.
Born to Afghan parents who immigrated to American in the 1970s, Hashimi began her career as a medical doctor, but also wrote stories about the rich and complex experiences of Afghan culture. This resulted in a number of bestselling international novels for adults and the two books for children we will be discussing today – One Half From the East, and The Sky at Our Feet.
One Half from the East is the story of Obayda the youngest daughter of an Afghan family living in Kabul. When her father loses his leg in a car bombing, the family moves to a remote village. As her father retreats further into depression, it becomes increasingly more difficult for the family to live. This is when Obayda first hears the term bacha posh, which is the practice of turning a girl in the family into a boy by cutting her hair, dressing her in boy’s clothing, and changing her name. Ohbayda, now Obayd navigate this completely different world.
In The Sky At Our Feet, we meet Shah, whose American name is Jason. On his mother’s birthday, Jason learns that his father did not die in a car accident as his mother has always told him. His dad is a murdered Afghan journalist, and his mother has been living on an expired visa, terrified she will be discovered, deported, and separated from her son. When her worst nightmare happens, Jason is left alone. His only hope, he believes, is to find his mother’s friend in New York City and ask for help.
Hashimi writes with richness, emotion, and empathy, enfolding the reader into her characters’ lives and families. Difficult topics such as violence, racism, poverty, and misogyny are handled deftly, clearly, and with compassion. She applies the same powerful brushes to her beautiful themes as well, like friendship, identity, inclusion, and acceptance. The result is an intimate and uplifting reading experience.
Follow this link to the BiblioFiles interview

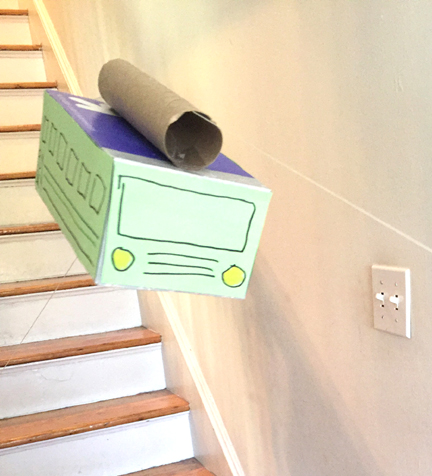
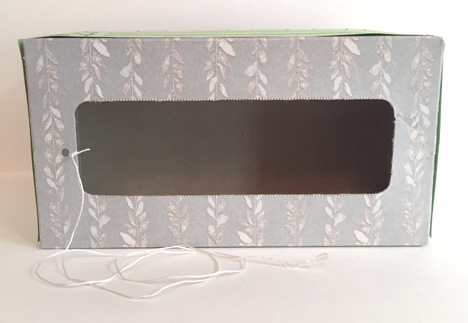
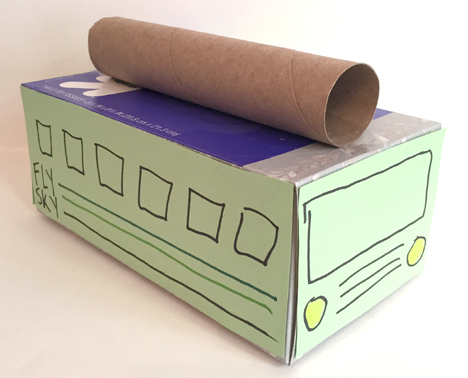 Next, turn the box on it’s side and punch a hole in the back. Knot a 15-24″ string through the hole. This is the string that your kid will use to pull the tram car up and down the zip line. Otherwise, it’s going to be YOU doing it. Probably the very moment you are trying to get lunch on the table while answering work texts during a Zoom meeting while also searching for your daughter’s lost LEGO figurine.
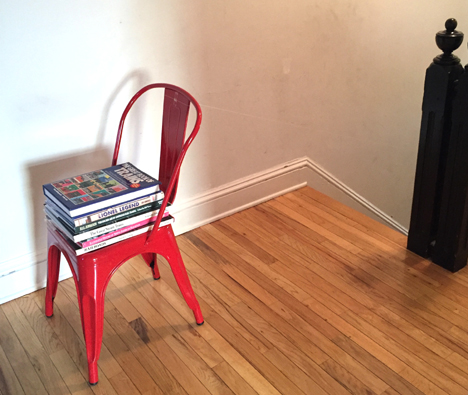
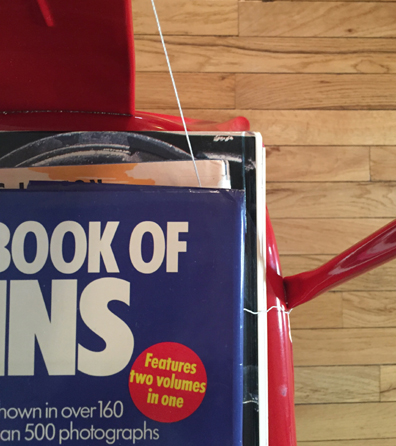
 Next comes the zip line! I used kite string, but we tested yarn and it works as well. We rigged our zip line on stairs, but a tree in the yard or a tall chair & shorter chair works too. Two very important things: WEIGH BOTH CHAIRS DOWN WITH BOOKS. There will be quite a bit of kid traffic on and around the zip line. Weighing both chairs reduces the chance of nudging or tipping.
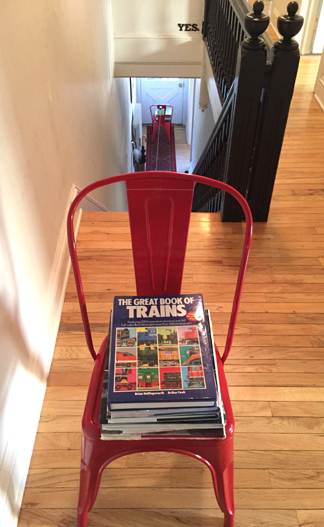 Next very important thing: if you are doing this on a stair case, SET BOTH CHAIRS BACK FROM THE STAIRS. Especially if you have two or more kids. You don’t want anyone falling down, or tripping up, the stairs. Below is the minimum I would set the chair from the top of stairs. More so for younger kids and.or multiple kids.