 Inspire a love of fruits and vegetables with this peppy little produce stand!
We read Market Day, written by Carol Foskett Cordsen and illustrated by Douglas B. Jones (Dutton Juvenile, 2008). When the Benson family oversleeps, they’re in such a rush to get their produce to market, they forget to feed the cow! The hungry cow solves the problem by following them to market, wreaking unintentional havoc along the way.
You’ll need:
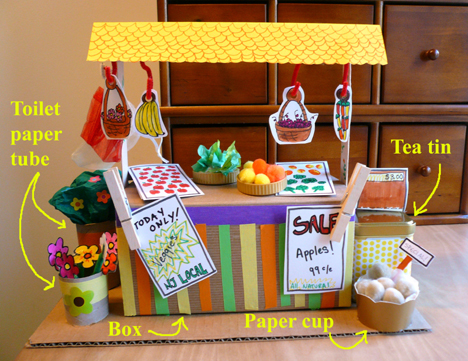
- 1 box (I used a 9” x 4 ½” X 4 ½” brown craft box)
- 1 piece of 10.5″ x 4.5″ poster board for your roof, any color
- A selection of color masking tape
- 1 tea tin (or another little box)
- A selection of patterned paper
- 1 toilet paper tube
- 1 standard paper cup, any color
- 1 corrugated cardboard base (approximately 14.5″ x 7.5″)
- Hot glue
- 2 jumbo craft sticks
- 2 clothespins
- 1 produce stand template, printed on 8.5″ x 11″ card stock
- 1 red pipe cleaner
- 2 green pipe cleaners
- 2 beverage caps
- Scissors, tape, and hole punch for construction
- Markers for decoration
- Scraps of tissue paper
- Assorted pom-poms
First, pattern the box with color masking tape (or markers). Decorate the poster board “roof” with markers and fold lengthwise. Tape a piece of pattered paper around the tea tin. Snip a toilet paper tube into two pieces (one piece was 2.5,” the other was 1.5″). Cut the top part of the paper cup off, creating a “basket” out of the bottom, with 1.5″ sides.
Then bring everything to hot glue central.
Whip out your corrugated cardboard base and glue the box in the center, the tea tin on one side, the toilet paper tube pieces on the other side, and the paper cup in front of the tea tin.
 Then, hot glue the bottom of 2 craft sticks on either side of the box (sorry about the blah image, I thought it would be easier to demonstrate it this way).
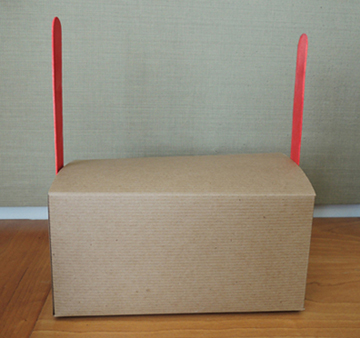 Blob hot glue on the tops of the craft sticks, then gently press the roof on.
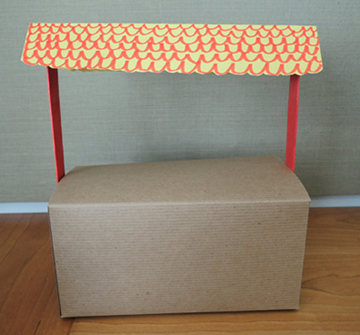
Finish by hot gluing two clothespins on the front of the box to hold your “posters.”
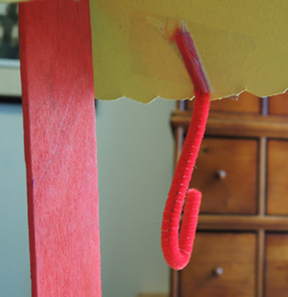
 Whew! That’s quite a lot of hot gluing (especially since there were 24 kids at my story time that day)! To keep them busy, I handed out the produce stand template for coloring and cutting. Next up, the hooks for the hanging baskets! Cut the red pipe cleaner into fourths. Then, fashion each piece into a hook like this:
 Then tape the top of each hook to the underside of the roof.
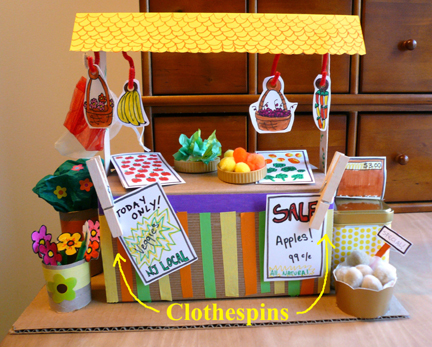
 Use the hole punch to punch out the black dots on each hanging item on the template (namely, two baskets, a bunch of bananas, and a bunch of peppers). Hang each item on a hook. Now it’s time for other creative decorating details, such as:
- Taping the template “trays” to the box “counter.”
- Clipping the template “posters” to the clothespins on the front of the stand.
- Taping the template flowers to green pipe cleaner pieces and tucking them in the toilet paper tube “vases” (you can put tissue paper in the vases too).
- Filling the beverage caps with tissue paper & pom pom produce.
- Filling the paper cup “basket” with pom pom produce.
- Taping the template “Special!” sign somewhere. Perhaps on the paper cup basket?
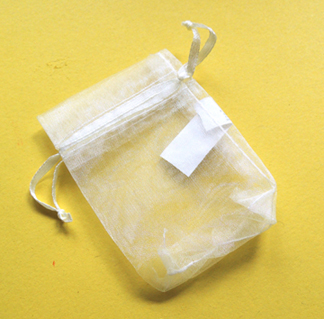
I had some 3.5″ organza bags left over from another program, so I taped an extra hook to a craft stick roof support and hung 2 bags from it. Some kids started “shopping” for produce with the bags right away. Pretty cute!
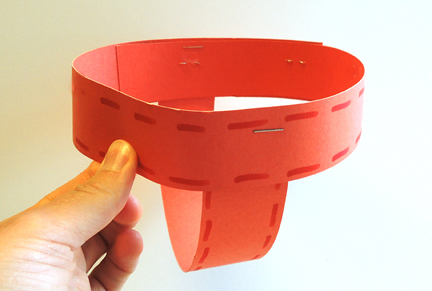
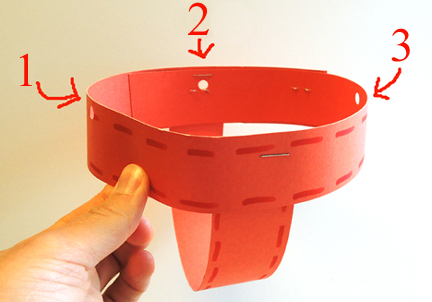
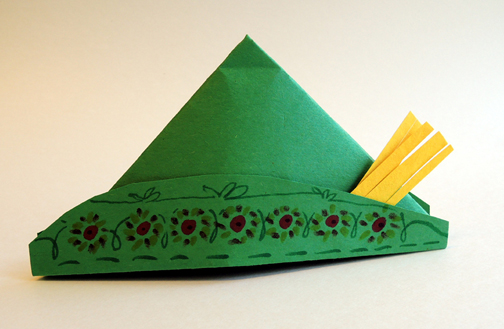
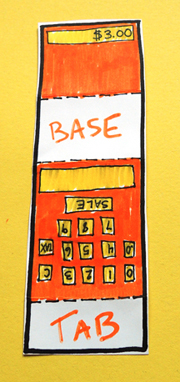
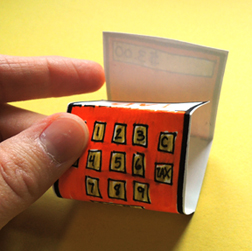
 Now for the FINAL challenge – the cash register! It’s a little tricky to fold, so some kids might need help. To begin, face the cash register towards you like this:
 Then fold the “tab” downward.
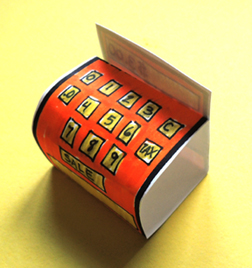
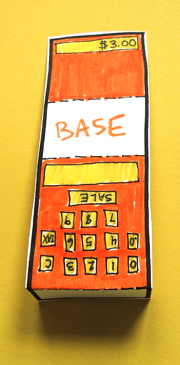 Then fold the parts above and below the “base” downward.
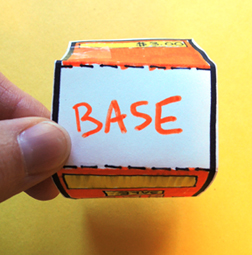 Flip the register over, and tape the “tab” panel to the back of the sales panel (the sales panel is the one with “$3.00” written on it).
 Done!
Done!
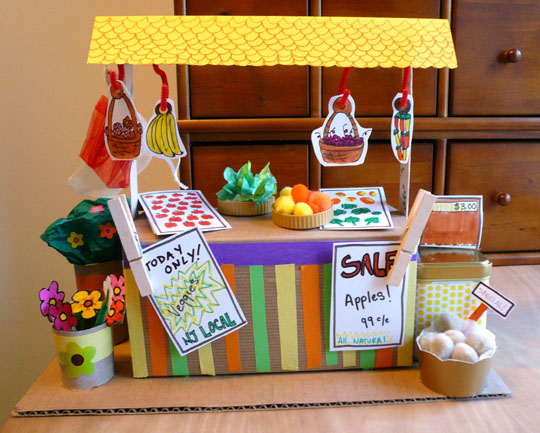
 Tape the register to the top of the tea tin and your produce stand is complete!